Show support for Lybouv!
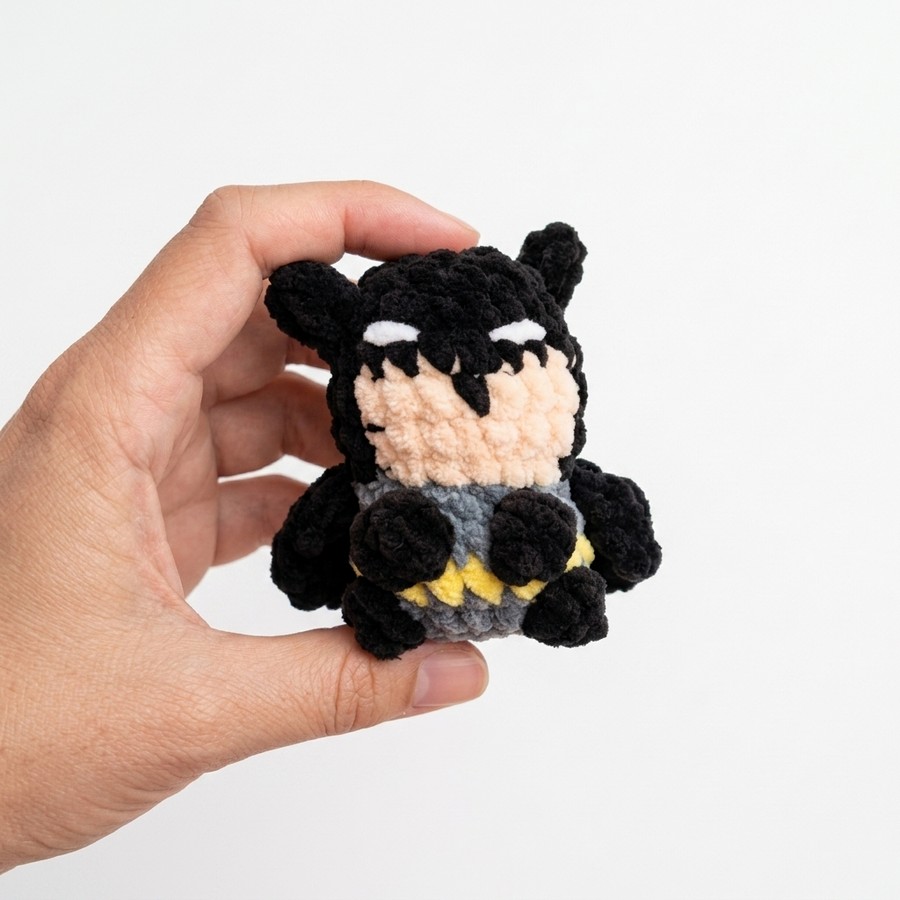
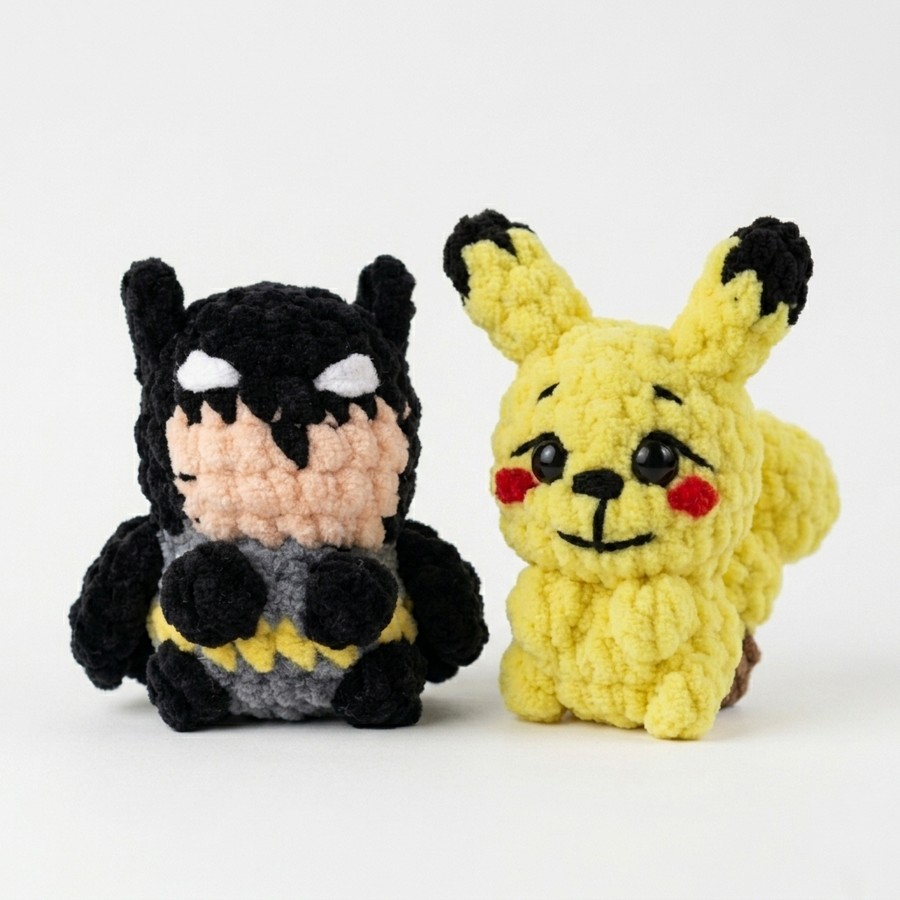
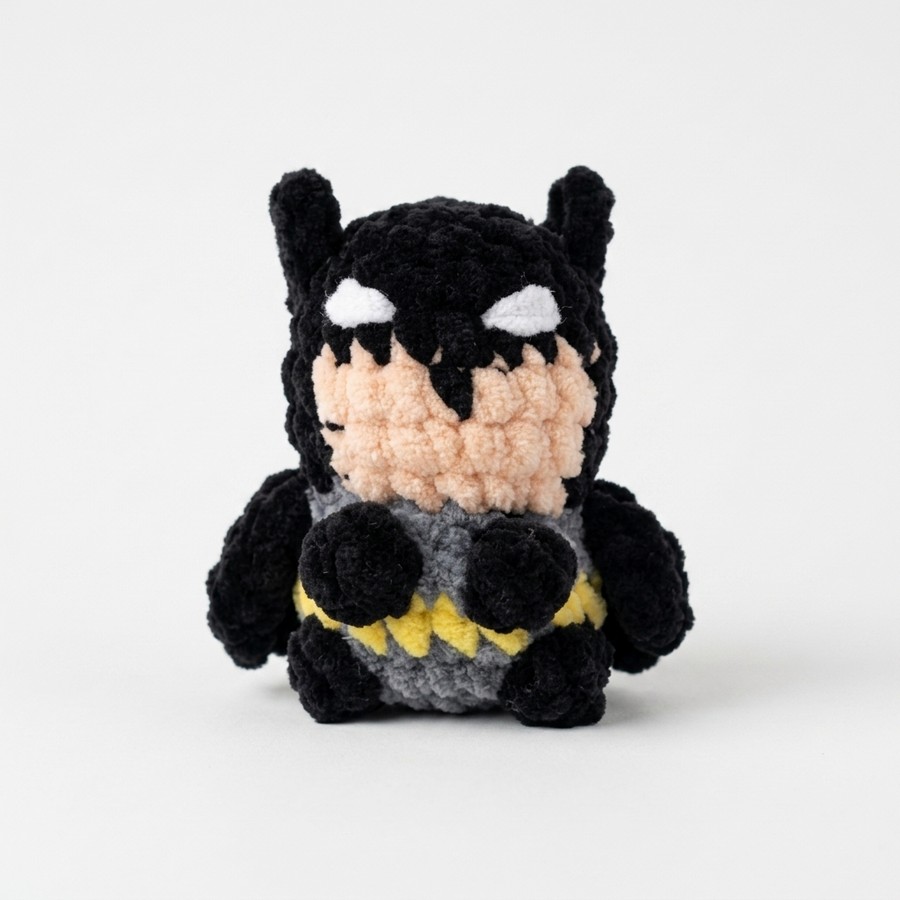
Today, I am probably sharing the 10th plushie pattern of the “no-sew or low-sew methods to crochet iconic characters” series! But my excitement is at its peak because today you will learn how to crochet my favorite superhero character plushie with a step-by-step tutorial + a written pattern as well. Introducing the low-sew crochet miniature sitting Mr. Bat superhero plushie that just measures 7cm just like the previous crochet superhero and legendary crochet plushies!
Today, we are crocheting a chubby sitting Mr. Batman plushie, working from the bottom up. The only parts crocheted separately are its iconic crochet cape and the ears.
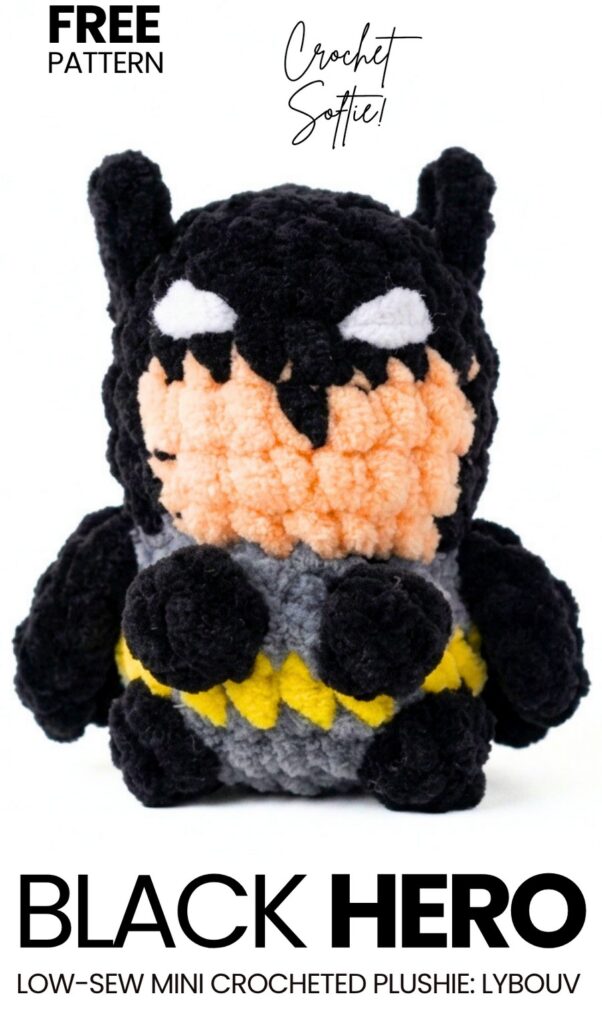
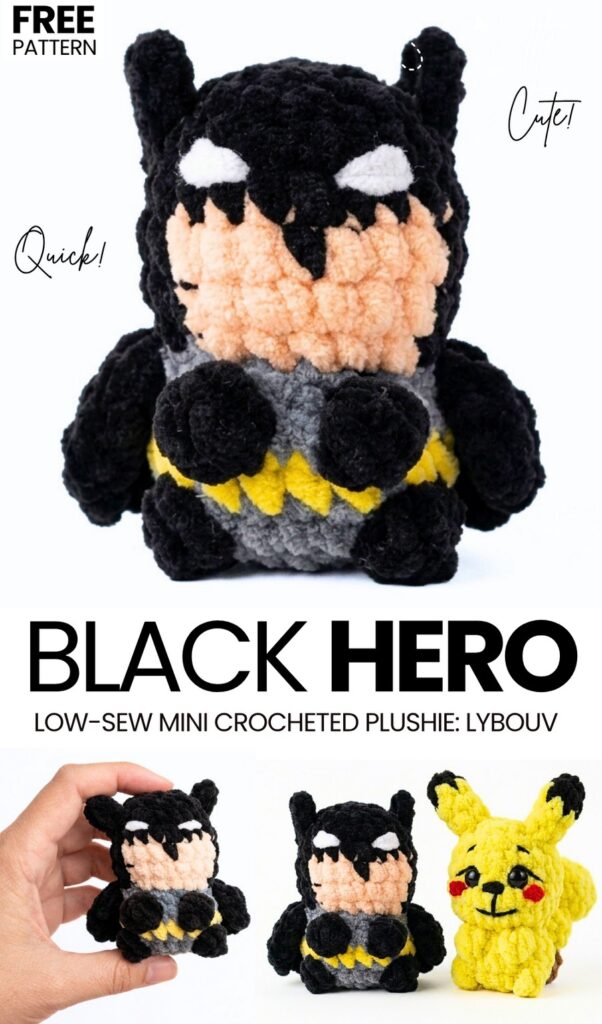
Even being designed to be the fastest and easiest crochet Mr. Bat superhero plushie, it has the features of a crochet Mr. Batman costume. I would highly recommend crocheting your plush Batman superhero plush along with the crochet bendable and sitting Spider-Man plushies. You can also pair yours with a crochet Pikachu and even a Princess plush, all available right in the “crochet iconic characters” plushies series. Now, you can continue reading to learn more about this plush black and yellow superhero with the pattern provided just below, too.
Similar Project(s)

Pattern to Crochet the Low-Sew Batman Plushie (Miniature Version)
This project is a small hero toy. You make the whole body in one piece from the bottom to the top. You do not sew parts together. You use different yarn colors to make the suit, belt, and face. Then, you make the cape on the back. It is a very fast and fun toy to make.
Materials
Plush Yarn (Chenille): 100g = 120m. You will need Dark Grey, Black, Yellow, and Skin/Peach color.
Hook: 4.0 mm crochet hook.
Stuffing: Fiberfill.
Needle: Large-eye tapestry needle for weaving in ends.
- Scissors
Stitch Abbreviations (US Terms)
MR: Magic Ring
sc: single crochet
inc: increase (2 sc in one stitch)
dec: decrease (sc 2 together)
ch: chain
sl st: slip stitch
dc: double crochet
BLO: back loops only
FLO: front loops only
Bobble: 3 double crochets worked into the exact same stitch with a shared top (cluster).
Are you a Beginner? Learn Crocheting Easily!
You can learn to crochet better with this kawaii fidget toy with the following video tutorials or continue to the pattern:
Step-by-Step Pattern
The Body You will work in a continuous spiral from the bottom up.
Round 1: With Dark Grey yarn, make 8 sc in a MR. (8)
Round 2: 8 inc. (16)
Round 3: 5 sc. On the 5th sc, change to Black yarn.
Make first leg: 1 Bobble stitch in Black. Change back to Dark Grey.
4 sc. Change to Black.
Make second leg: 1 Bobble stitch in Black. Change back to Dark Grey.
5 sc. On the very last step of the 5th sc, change to Yellow yarn. (16)
Round 4: With Yellow yarn, 16 sc around. On the last step of the 16th sc, change back to Dark Grey. Cut the Yellow yarn and tie the ends inside. (16)
Round 5: With Dark Grey, 6 sc. Change to Black.
Make first arm: 1 Bobble stitch in Black. Change back to Dark Grey.
2 sc. Change to Black.
Make second arm: 1 Bobble stitch in Black. Change back to Dark Grey.
6 sc. (16)
Round 6: [2 sc, 1 dec] repeat 4 times. On the last step of the final dec, change to Black yarn. Cut the Dark Grey yarn and tie off inside. (12)
The Head
Round 7 (Worked in BLO): [1 sc, 1 inc] repeat 2 times in Black.
On the 2nd increase, change to Skin color.
With Skin color, [1 sc, 1 inc] repeat 2 times. On the 2nd increase, change back to Black.
With Black, [1 sc, 1 inc] repeat 2 times. (18)
Round 8: With Black, 3 sc, 1 inc, 2 sc. Change to Skin color.
With Skin color, 3 sc, 1 inc, 2 sc. Change back to Black.
With Black, 3 sc, 1 inc, 2 sc. (21)
Round 9: With Black, 7 sc. Change to Skin color.
With Skin color, 3 sc. Change to Black.
With Black, 1 sc. Change to Skin color.
With Skin color, 3 sc. Change to Black. (Cut the skin color yarn and secure inside).
With Black, 7 sc. (21)
Round 10: With Black, 21 sc around. (21)
Round 11: [5 sc, 1 dec] repeat 3 times. (18)
Action: Stuff the toy firmly with fiberfill now.
Round 12: [1 sc, 1 dec] repeat 6 times. (12)
Round 13: 6 dec. (6)
Fasten off. Thread the yarn tail onto a needle, weave it through the front loops of the final 6 stitches, and pull tightly to close the hole. Hide the yarn tail inside.
The Mask Ears
Attach Black yarn to the top side of the head.
Chain 2. Work 1 dc into the exact same base stitch. Chain 2, and slip stitch back into the same base stitch to anchor it. Fasten off and hide the tails inside the head.
Repeat on the opposite side of the head for the second ear.
The Cape
Row 1: Turn the toy so the back is facing you. Locate the unused Front Loops from Round 7 (where you switched to the head). Attach Black yarn to the front loop on the back of the neck.
Chain 2. Work 2 dc (an increase) in each front loop across the back of the neck.
Row 2: Chain 2, turn. Work 1 dc in every stitch across.
Fasten off, cut the yarn, and hide the tails inside the cape.
Details
Use white yarn to embroider two small slanted lines for the eyes on the black part of the face mask.
Share on Social Media!