Love-Knitting, here!
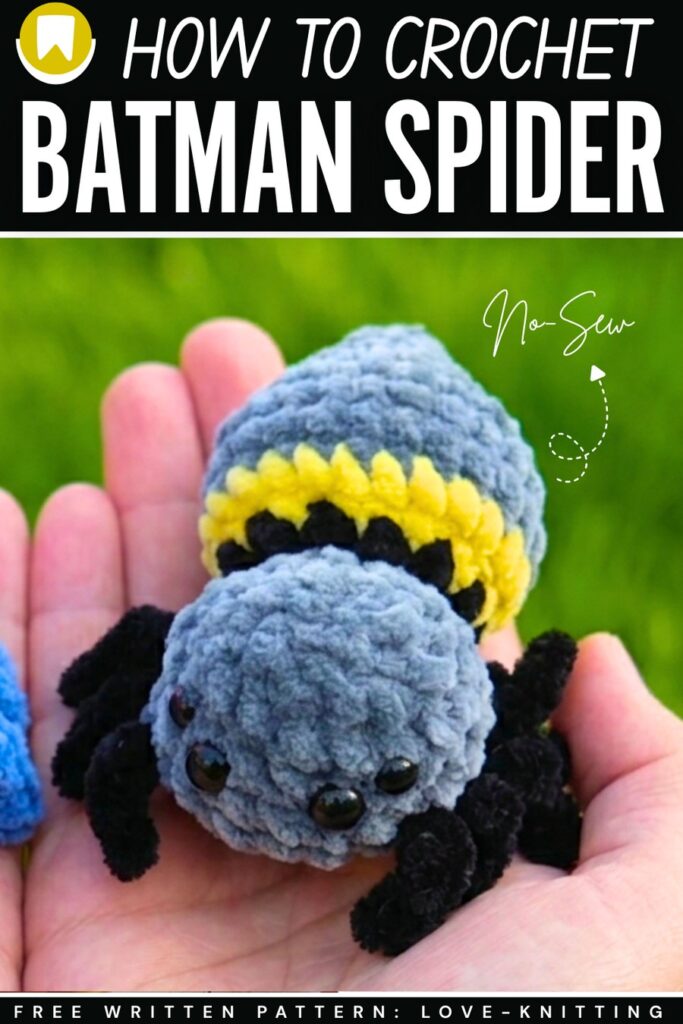
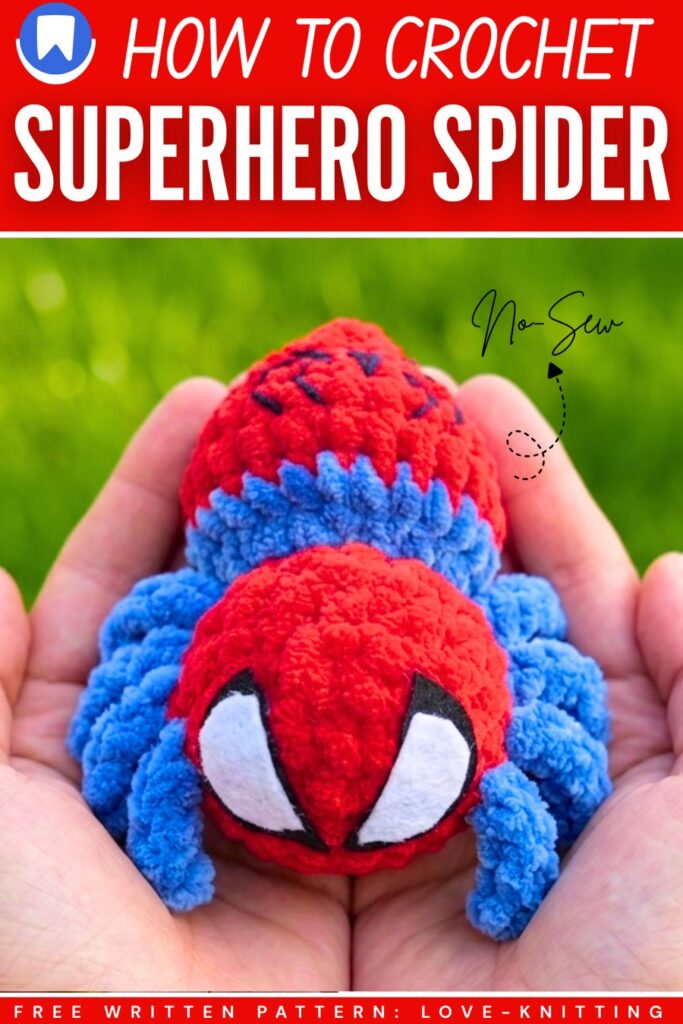
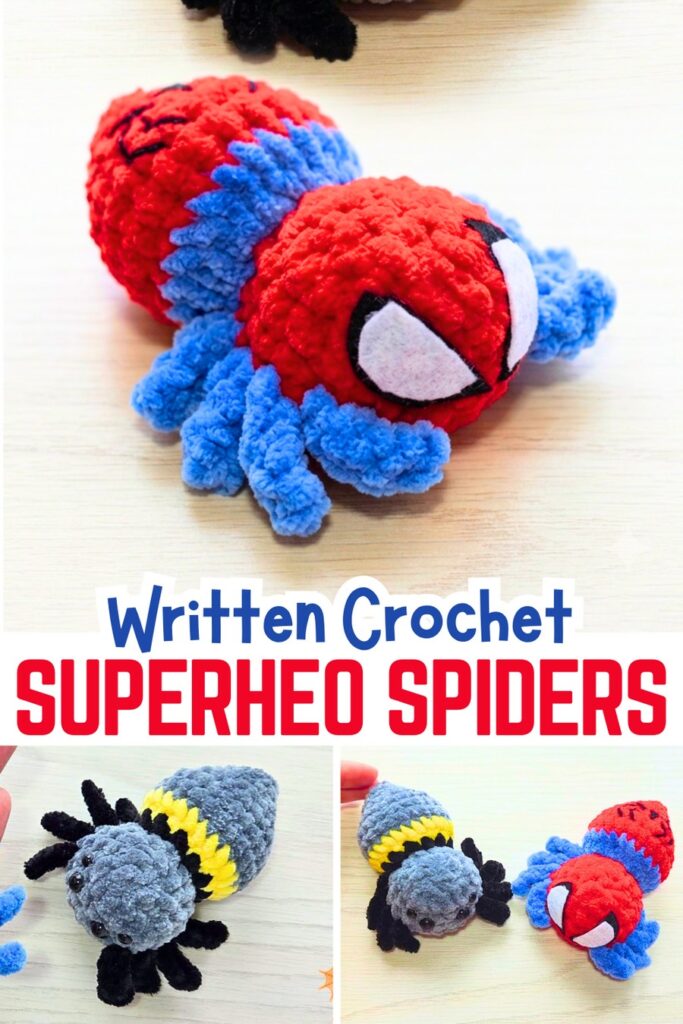
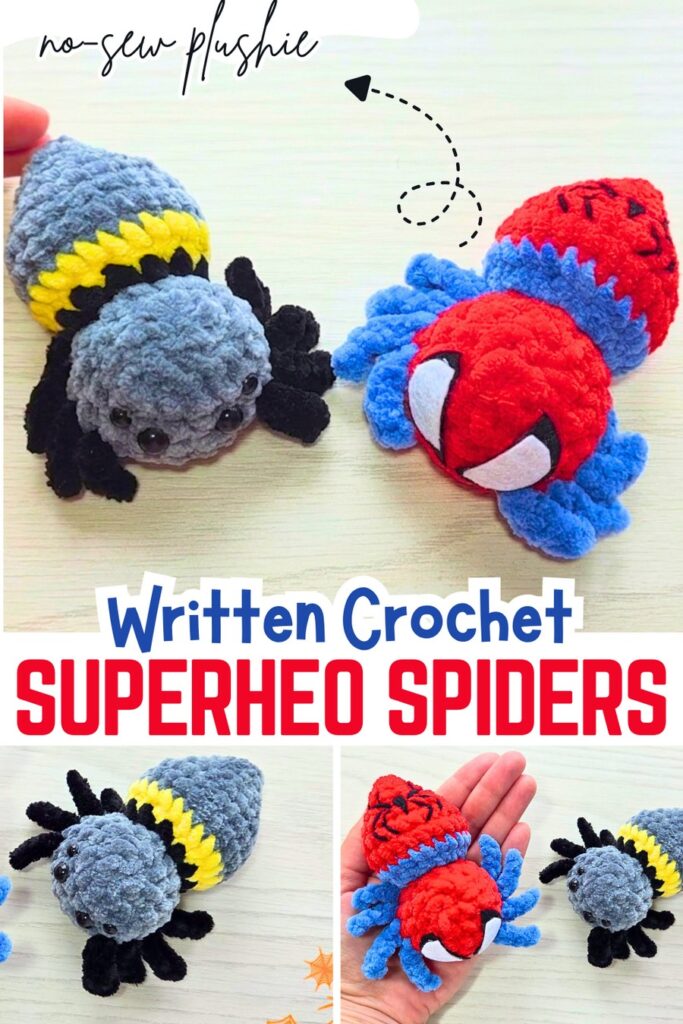
Cosplay is not just limited to us, but also to crochet Halloween plushies, too. So, with this 2-in-1 pattern for Halloween, learn how to crochet these 2 Superhero Cosplay no-sew Spider plushies for absolute beginners. Crochet either the Spider-Man Spider plush or the Batman Spider plush following this same pattern.
Or, you can also choose the traditional Halloween velvet yarn colors to make it your own. This spider plush will make an irresistible Halloween present for kids.
You can easily crochet it within 45 minutes using the super bulky yarn. The Spider-Man version is interesting as it features the signature felt eyes made from white felt, and also the iconic Spider Embroidery. So, continue reading for the full crochet Spider plush pattern for Halloween.
[ez-toc]
How to Crochet Superhero Spider Plushies
This project creates a small, plush amigurumi spider inspired by superhero themes. The base doll consists of two main parts: a rounded head with eight joined legs joined directly during the rounds, and a separate abdomen (tail) that is crocheted and sewn onto the back of the head.
Working the legs right into the head piece avoids tedious limb attachment later, making this a quick, continuous-style pattern.
Materials
- Yarn: Plush/chenille yarn (120m/100g) in Red and Blue (or Black and Yellow for Batman style).
- Hook: 4.0 mm crochet hook.
- Notions: Fiberfill stuffing, yarn needle, scissors.
Abbreviations
- MR: Magic Ring
- sc: single crochet
- inc: increase (2 sc in the same stitch)
- dec: decrease (sc 2 together)
- sl st: slip stitch
- ch: chain
Are you a Beginner?
In case you can’t follow the written pattern, continue with the following tutorial or the written pattern below!
Share on Social Media!
See More:
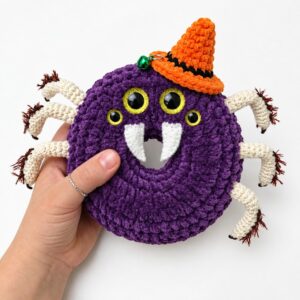
Pattern Tester: How to Crochet A Plush Spider in Hat Doughnut Plushie for Gifting
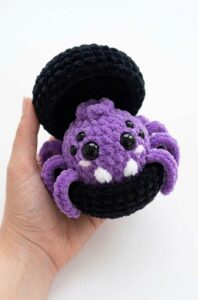
Tester Pattern: How to Crochet Spider in Black Food Box Plush for Gifting
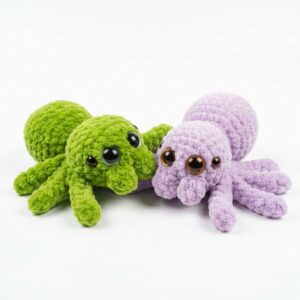
Featuring: Crochet 8-Legged & Four-Eyed Spider Plushie for Halloween
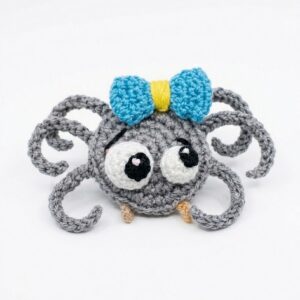
How to Crochet a Funny Googly-Eyed Spider in A Bow Amigurumi Decorations
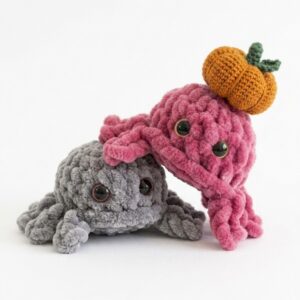
How to Crochet the CUTEST No-Sew Baby Spider Plushie for Halloween Craft Fairs
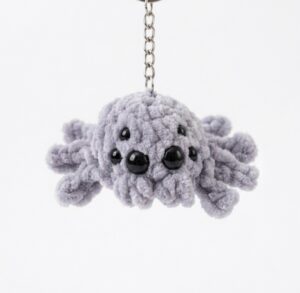
How to Crochet a Jumping Spider Plushie for Halloween in Under 20 Minutes
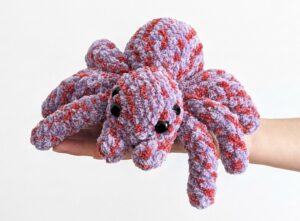
How to Crochet Big Low-Sew Black-&-Red Spider Plushie for Halloween

Featuring: How to Crochet A Plush Blushing Flying Mr. Soul Ghost Plushie for Halloween

How to Crochet Bunny Bat White Foldable Wings Amigurumi with Bow for Halloween