
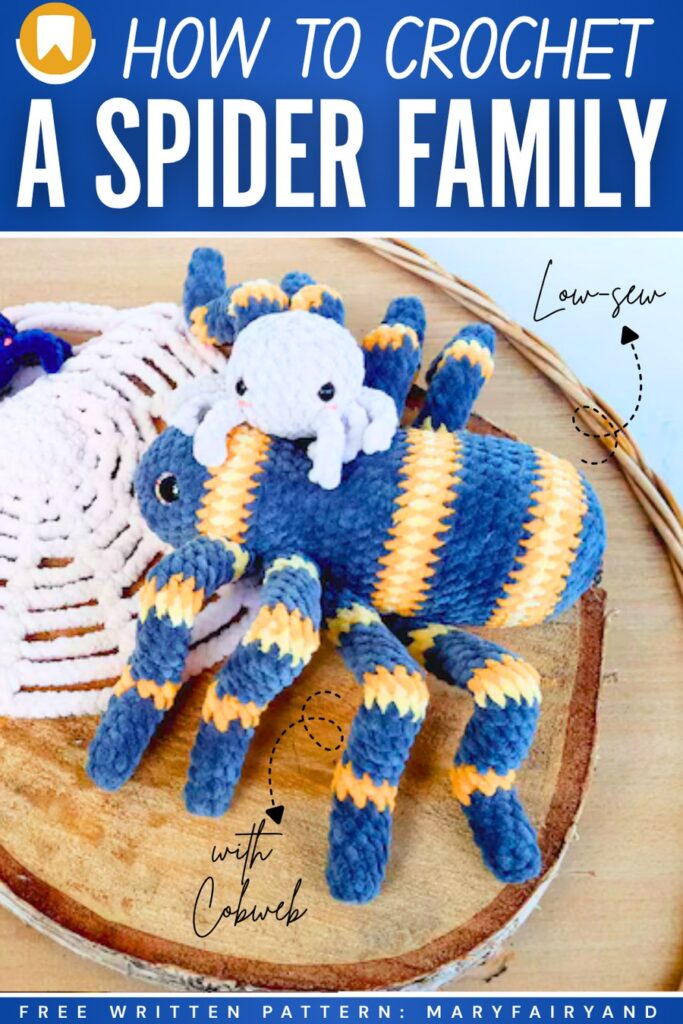
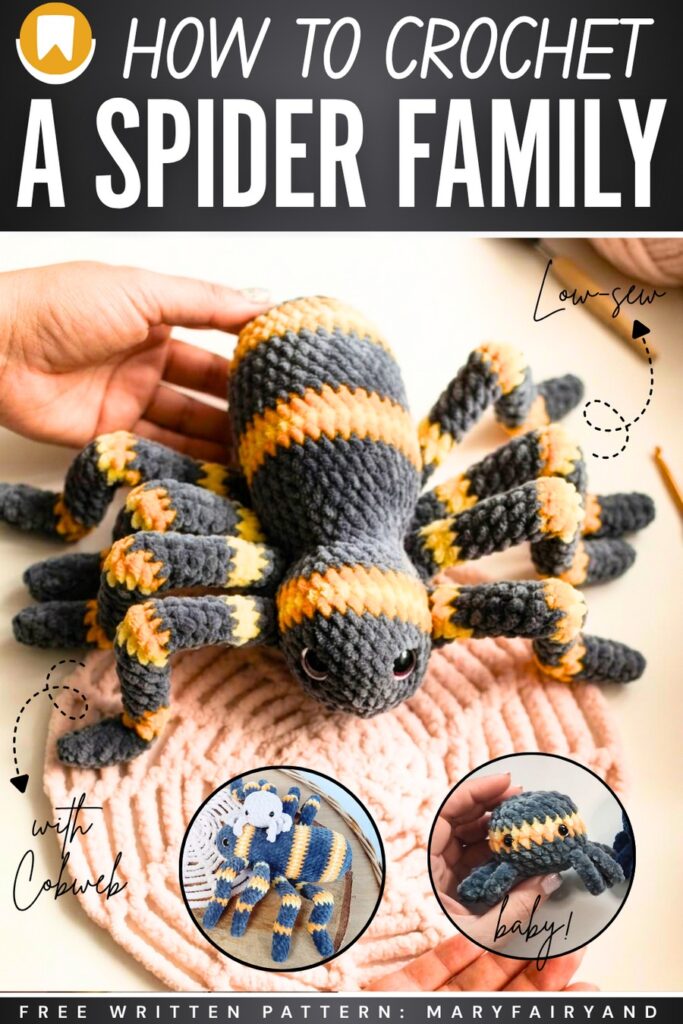
Today, learn how to crochet this 24cm by 18cm version of the crochet striped spider plushie to complete our spider family, along with a plush cobweb! In this same written pattern & a tutorial as well, you will learn to crochet both the large long-legged spider plushie and the spiderweb that has an easy, repetitive pattern. So, for your Halloween decor, you can make a lively scene of spider family plushies.
If you missed it, I have already shared the pattern for crocheting the chubby spider plush (of which this large spider is a part) and two more lovely variations. This is actually a low-sew spider plush, so with little time invested, continue reading for the full crochet spider pattern.
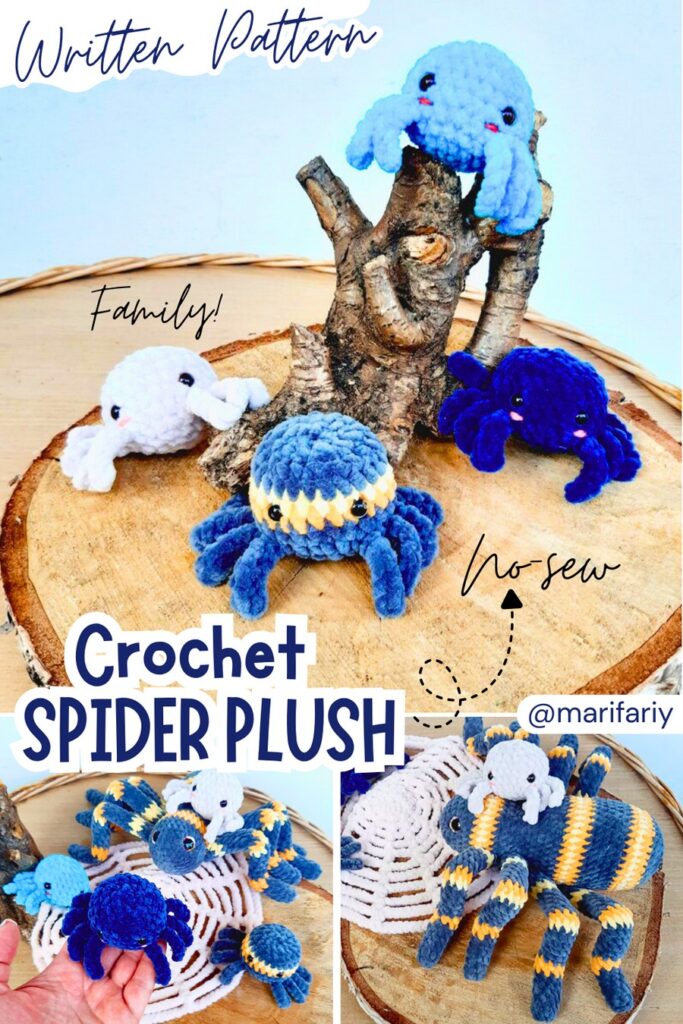
How to Crochet Large Spider Plushie for Halloween
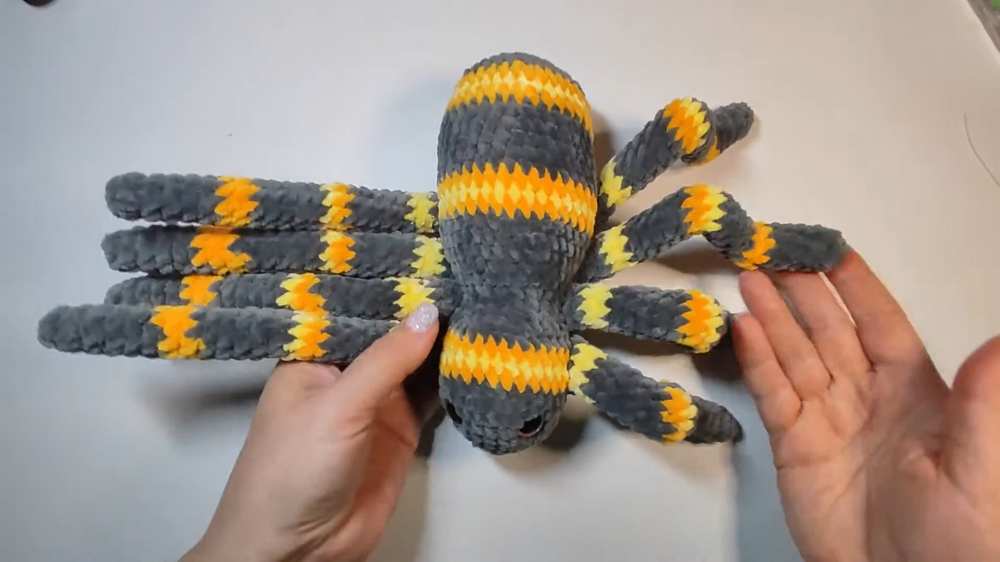
Learn how to crochet a spider plush that is perfect for Halloween decor or as a unique soft toy. The spider is crafted using plush yarn and features eight poseable legs created by inserting chenille wire inside the crocheted limbs.
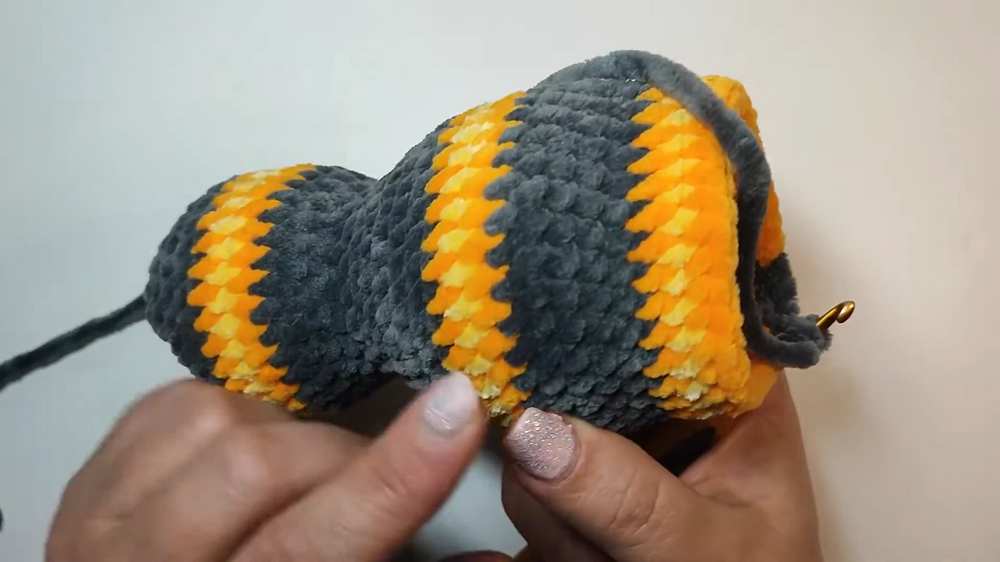
The body is worked in continuous rounds, alternating between gray and yellow tones to create a cute, bee-like striped effect.
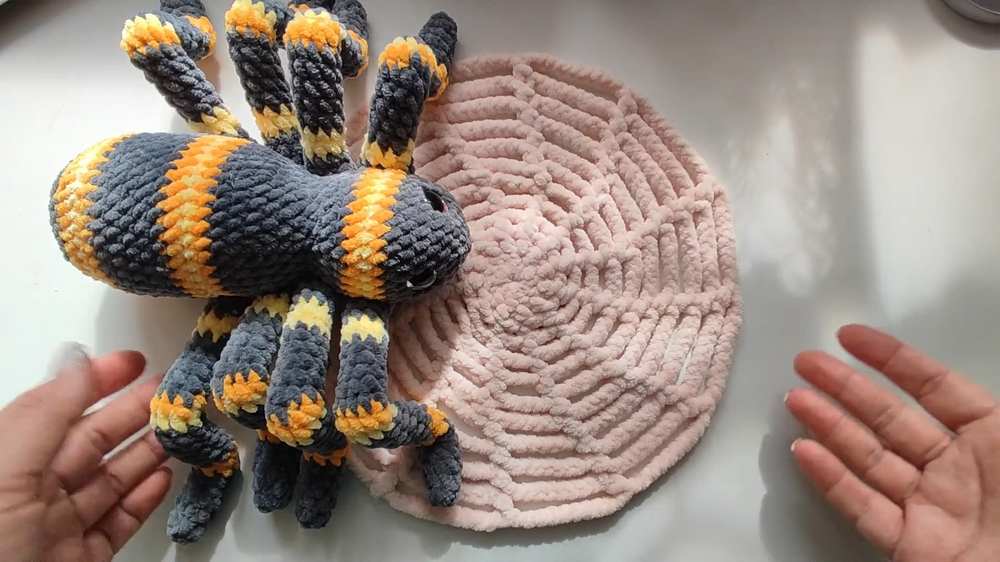
As a bonus, the project includes a pattern for a delicate, web-like “sunburst” mat that serves as the perfect display base for your large spider, along with the option to crochet smaller miniature spiders from yarn scraps to complete the scene!
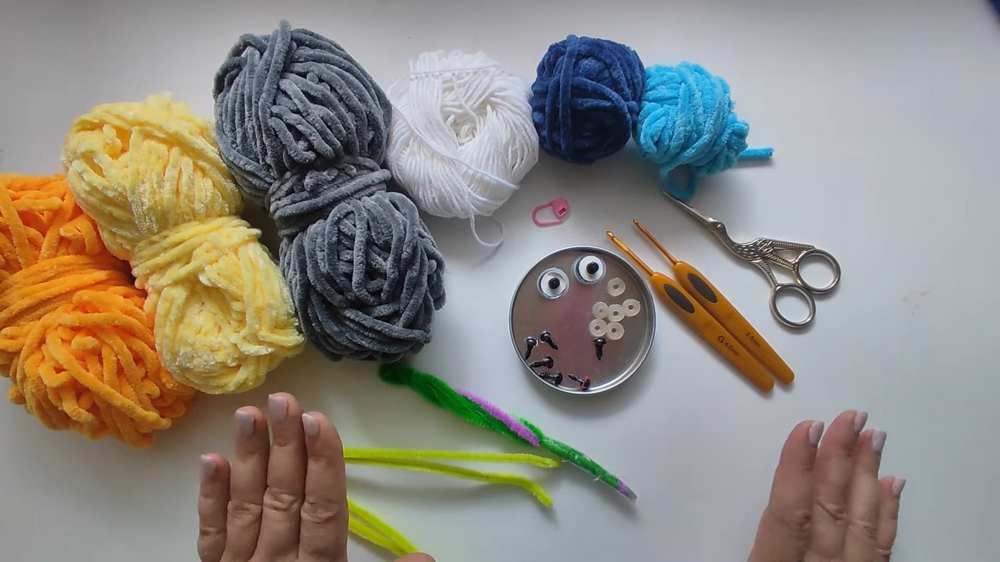
Materials
- Yarn: Plush yarn (approx. 100g/120m, such as Himalaya Dolphin Baby or YarnArt Dolce). You will need three colors: Gray, Dark Yellow, and Light Yellow.
- Hook: 4.0 mm crochet hook
- Wire: Chenille wire for the legs (approx. 16cm per leg, doubled and twisted for stability)
- Safety Eyes: 15-16 mm for the large spider (8 mm for mini spiders)
- Tools: Stitch marker, scissors, sewing needle, tape (for wire ends)
- Stuffing: Holofiber or polyfill
Abbreviations (US Terms)
- MR: Magic Ring
- ch: chain
- sc: single crochet
- dc: double crochet
- inc: increase (2 sc in one stitch)
- dec: decrease (single crochet 2 together)
- sl st: slip stitch
- st(s): stitch(es)
Pattern Instructions
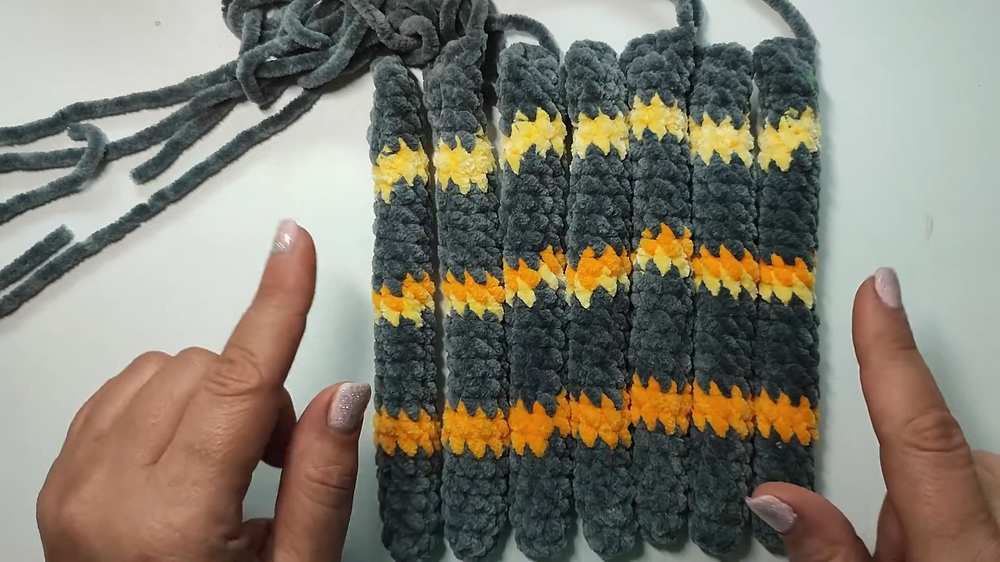
Legs (Make 8)
Use Gray, Light Yellow, and Dark Yellow as indicated. Twist two 16cm pieces of chenille wire together and tape the sharp ends.
- Rnd 1: MR, 6 sc. [6]
- Rnd 2: 6 sc. [6]
- Rnd 3: (Inc, 2 sc) repeat 2 times. [8]
- Rnds 4-6: 8 sc. [8] (Gray)
- Rnds 7-8: 8 sc. [8] (Dark Yellow)
- Rnds 9-13: 8 sc. [8] (Gray)
- Rnd 14: 8 sc. [8] (Light Yellow)
Are you a Beginner?
If you can’t follow the written pattern, continue with the tutorial or the pattern below!
- Rnd 15: 8 sc. [8] (Dark Yellow)
- Rnds 16-20: 8 sc. [8] (Gray)
- Rnds 21-22: 8 sc. [8] (Light Yellow)
- Rnds 23-25: 8 sc. [8] (Gray)
- Insert the wire.
- Closing: Sc through both sides of the opening with 4 sc. Fasten off, leaving a long tail for sewing.
Body & Head
- Rnd 1: MR, 6 sc. [6]
- Rnd 2: 6 inc. [12]
- Rnd 3: (1 sc, inc) x 6. [18]
- Rnd 4: (2 sc, inc) x 6. [24]
- Rnds 5-7: 24 sc. [24]
- Rnd 8: (3 sc, inc) x 6. [30]
- Rnds 9-10: 30 sc. (9: Dark Yellow, 10: Light Yellow)
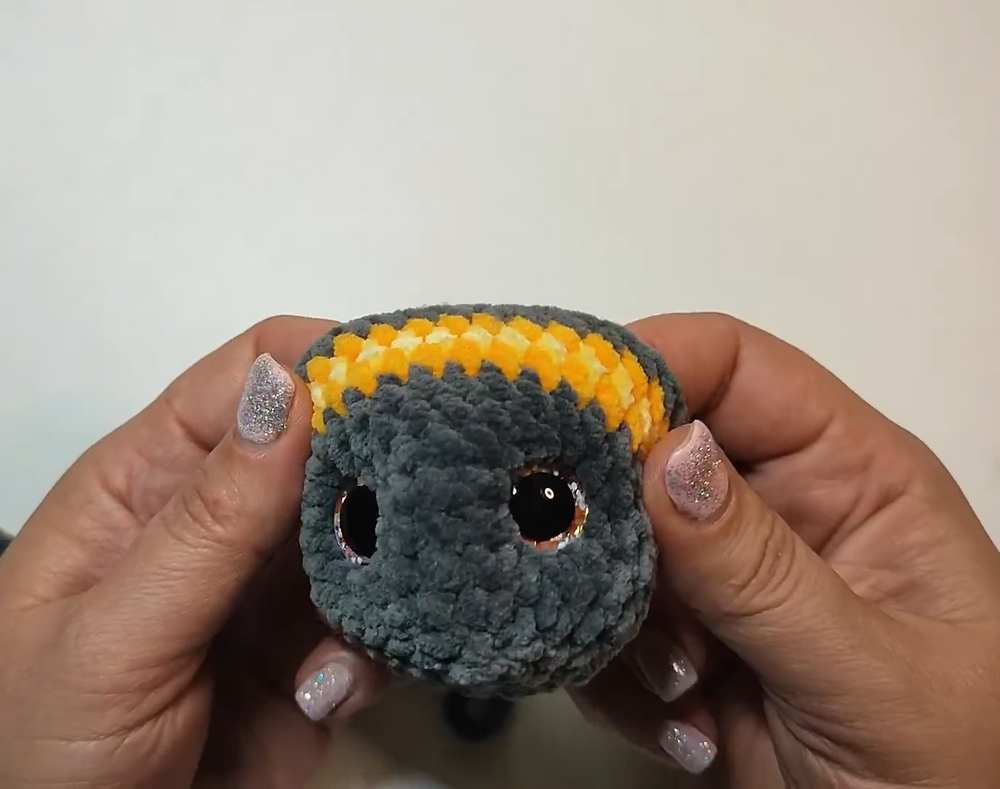
- Rnd 11: 30 sc. (Dark Yellow)
- Rnd 12: 30 sc. (Gray)
- Rnd 13: (2 sc, dec) x 6. [24]
- Rnd 14: (1 sc, dec) x 6. [18]
- Rnd 15: 18 sc. [18]
- Rnd 16: 18 sc. [18]
- Rnd 17: (2 sc, inc) x 6. [24]
- Rnd 18: (3 sc, inc) x 6. [30]
- Rnd 19: (4 sc, inc) x 6. [36]
- Rnds 20-22: 36 sc. [36]
- Rnds 23-33: 36 sc. (Continue in stripes, alternating Gray, Dark Yellow, and Light Yellow).
- Rnd 34: (4 sc, dec) x 6. [30]
- Rnd 35: (3 sc, dec) x 6. [24]
- Rnd 36: (2 sc, dec) x 6. [18]
- Rnd 38: (1 sc, dec) x 6. [12]
- Rnd 39: 6 dec. [6]
- Stuff and close.
Web Mat (Display Piece)
- Rnd 1: ch 3, 12 dc in 3rd ch from hook, sl st to first st.
- Rnd 2: (1 dc, ch 1) x 12.
- Rnd 3: (1 dc, ch 2) x 12.
- Rnd 4: (1 dc, ch 3) x 12.
- Rnd 5: (1 dc, ch 4) x 12.
- Rnd 6: (1 dc, ch 5) x 12.
- Rnd 7: (1 dc, ch 6) x 12.
- Rnd 8: (1 dc, ch 7) x 12.
- Rnd 9: (1 dc, ch 8) x 12.
- Rnd 10: (1 dc, ch 9) x 12.
- Rnd 11: (1 dc, ch 10) x 12.
- Fasten off and steam to flatten.
Assembly
- Eyes: Insert 15-16mm safety eyes between rows 5 and 6 of the head section (approx. 10 stitches apart).
- Legs: Sew the 8 legs symmetrically onto the sides of the body. Once attached, bend each leg in two places to give the spider its characteristic shape.
Save on Social Media!
See More:
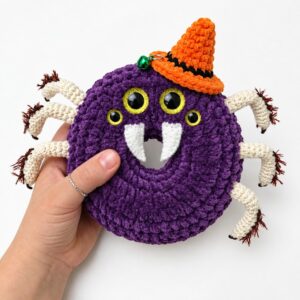
Pattern Tester: How to Crochet A Plush Spider in Hat Doughnut Plushie for Gifting
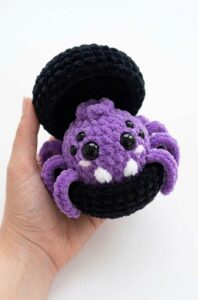
Tester Pattern: How to Crochet Spider in Black Food Box Plush for Gifting
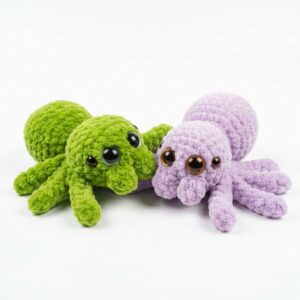
Featuring: Crochet 8-Legged & Four-Eyed Spider Plushie for Halloween
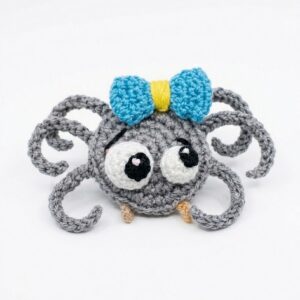
How to Crochet a Funny Googly-Eyed Spider in A Bow Amigurumi Decorations
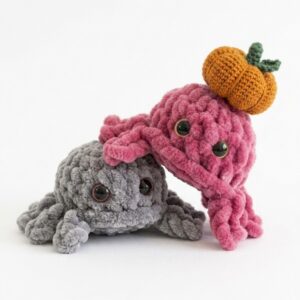
How to Crochet the CUTEST No-Sew Baby Spider Plushie for Halloween Craft Fairs
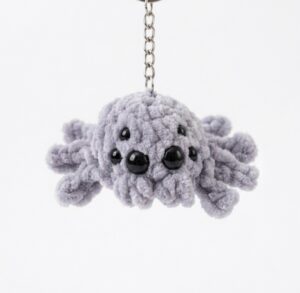
How to Crochet a Jumping Spider Plushie for Halloween in Under 20 Minutes
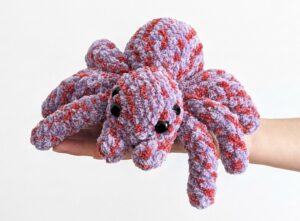
How to Crochet Big Low-Sew Black-&-Red Spider Plushie for Halloween

Featuring: How to Crochet A Plush Blushing Flying Mr. Soul Ghost Plushie for Halloween

How to Crochet Bunny Bat White Foldable Wings Amigurumi with Bow for Halloween