Show support for her!
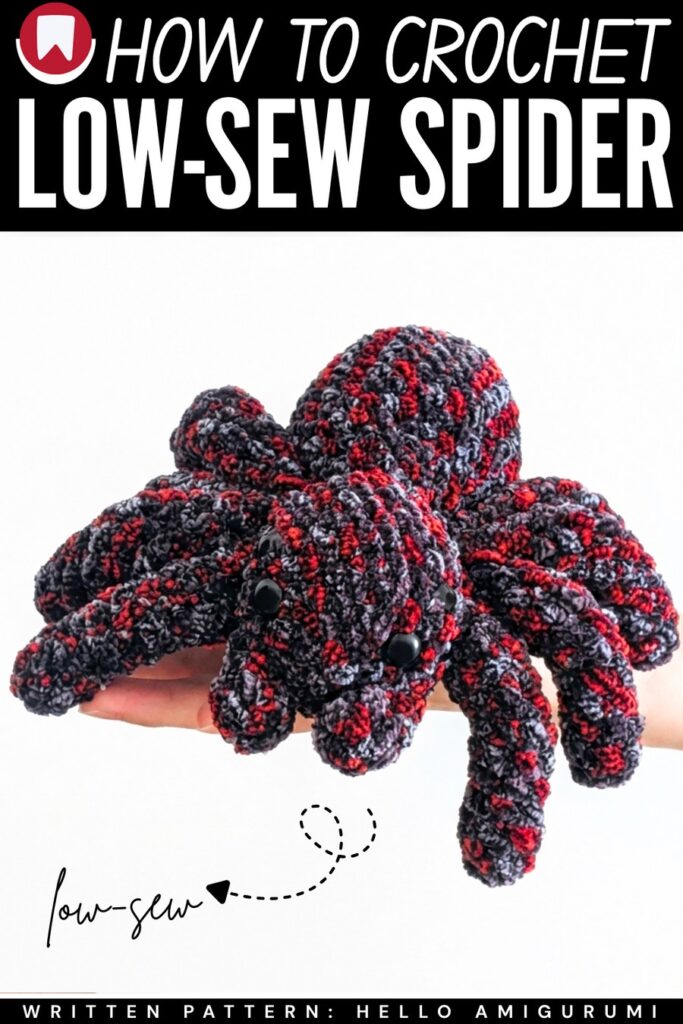
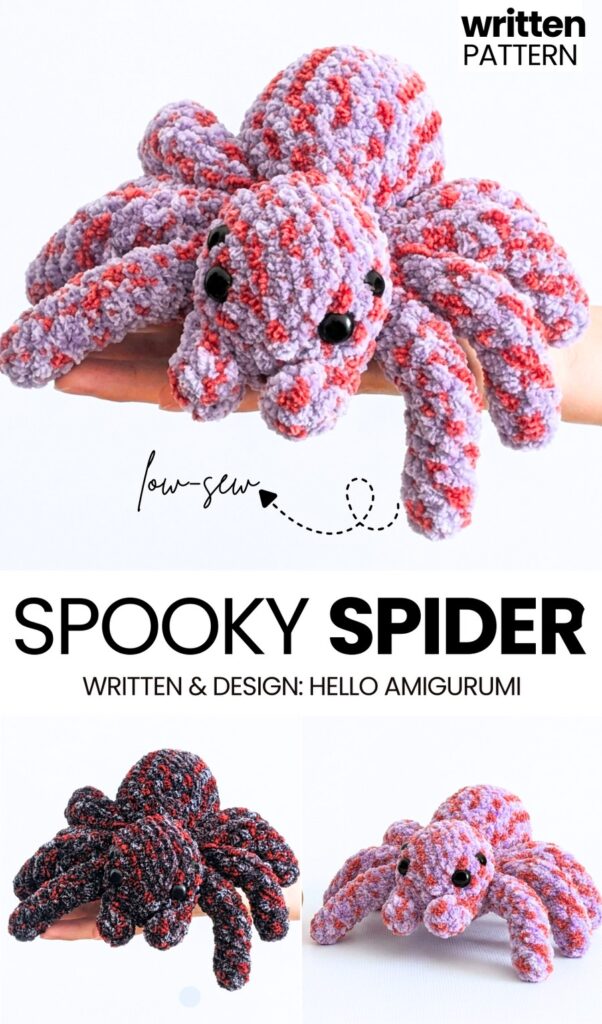
Looking for a little spookier, UNIQUE, and still easy crochet spider plush? Let’s crochet this big, multicolored spider plushie with a written pattern and a tutorial. This 8-legged, lifelike spider plushie is crocheted from variegated black, white, and grey yarn. Crochet it as a last-minute Halloween present for kids, a part of Halloween decorations, or just because!
Unlike the self-striping yarn, the yarn used to crochet this spooky Halloween spider plush has a much more random color print. That spreads each color evenly all along the spider body, which makes it look so natural and spooky!
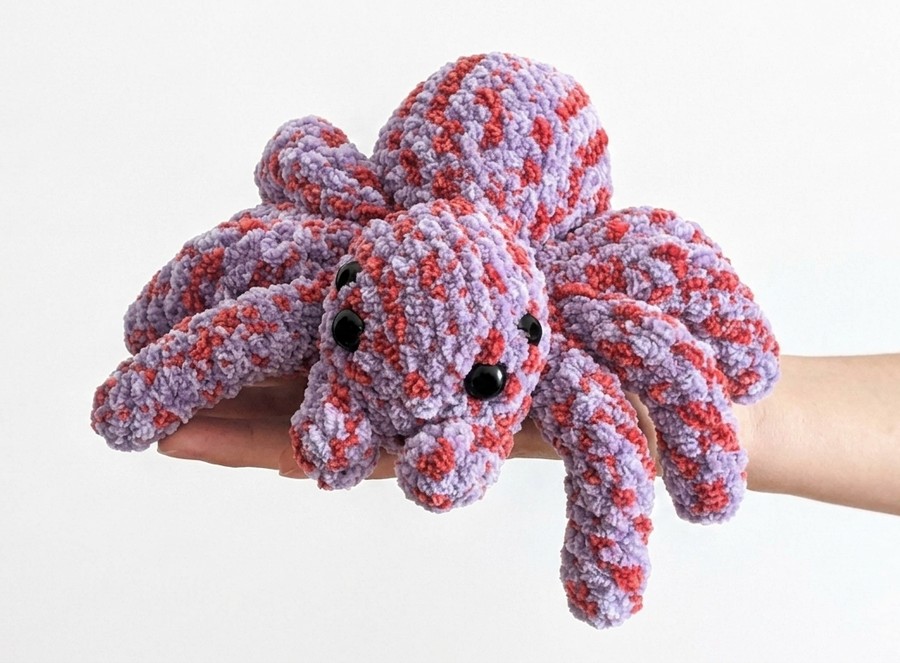
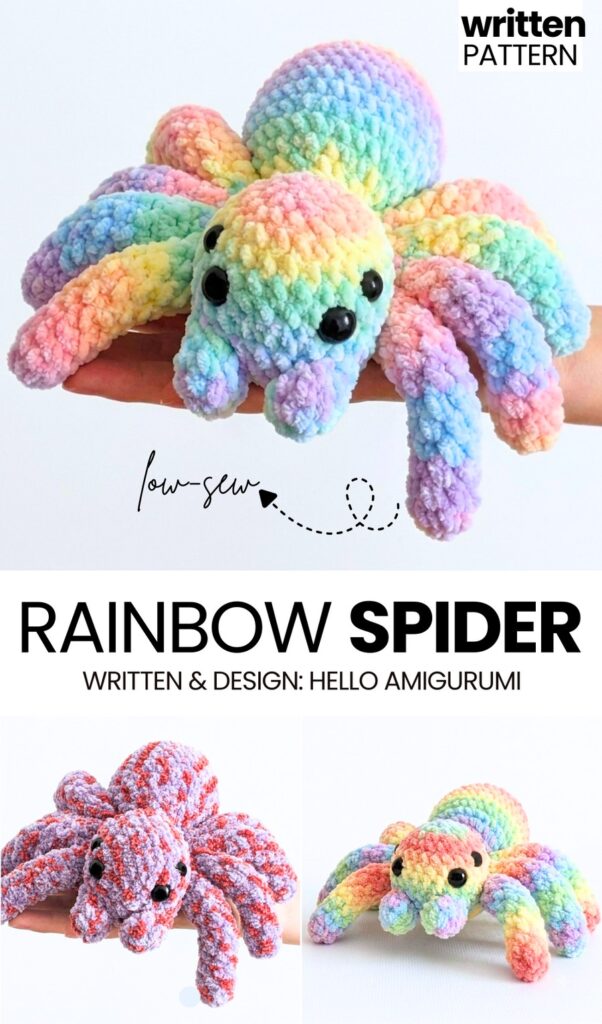
This crochet spider also has fangs and a belly, unlike the no-sew Halloween mini spider. You can also use the kawaii eyes and the purple color to crochet your spider plush if you want to make it look cuter and not spookier. I will definitely put an inspirational photo for this variation. Now, continue reading to learn crocheting this spider plushie with the pattern below.
[ez-toc]
How to Crochet the Large Spider Amigurumi Plushie: Full Pattern
Here is how you will crochet this multi-colored spider plush: crochet the head and body of this spider plushie as one piece, adding the safety eyes before the opening gets too small. Stuff firmly as you go, then close the body. Make four large paws and four small paws, stuffing them lightly before folding each flat.
Pair one large and one small paw to create each leg cluster, then make a second matching cluster.
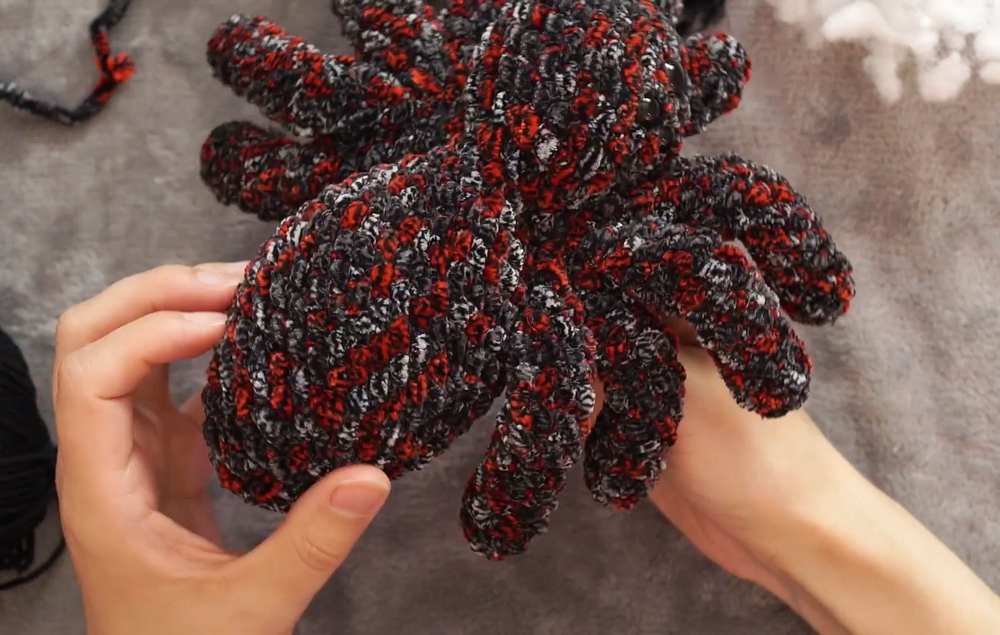
Crochet two jaws, shape them, and sew them to the front of the face. Finally, attach the leg clusters securely at the neck/body join, weave in all yarn ends, and give your spider a shape.
Materials Needed
- Multi-colored chenille yarn (red/black/grey mix)
- Stuffing (fiberfill)
- Safety eyes: 2 large, 2 small
- Crochet hook
- Stitch markers
- Yarn needle and scissors
- Black thread for sewing
Abbreviations
- ch: chain
- sc: single crochet
- inc: increase (2 sc in one stitch)
- dec: decrease (sc 2 together)
- FLO: front loop only
- rnd: round
1. Head and Torso
- Rnd 1: 2 ch, 6 sc in the first loop (6)
- Rnd 2: 6 inc (12)
- Rnd 3: (1 sc, inc) x 6 (18)
- Rnd 4: (2 sc, inc) x 6 (24)
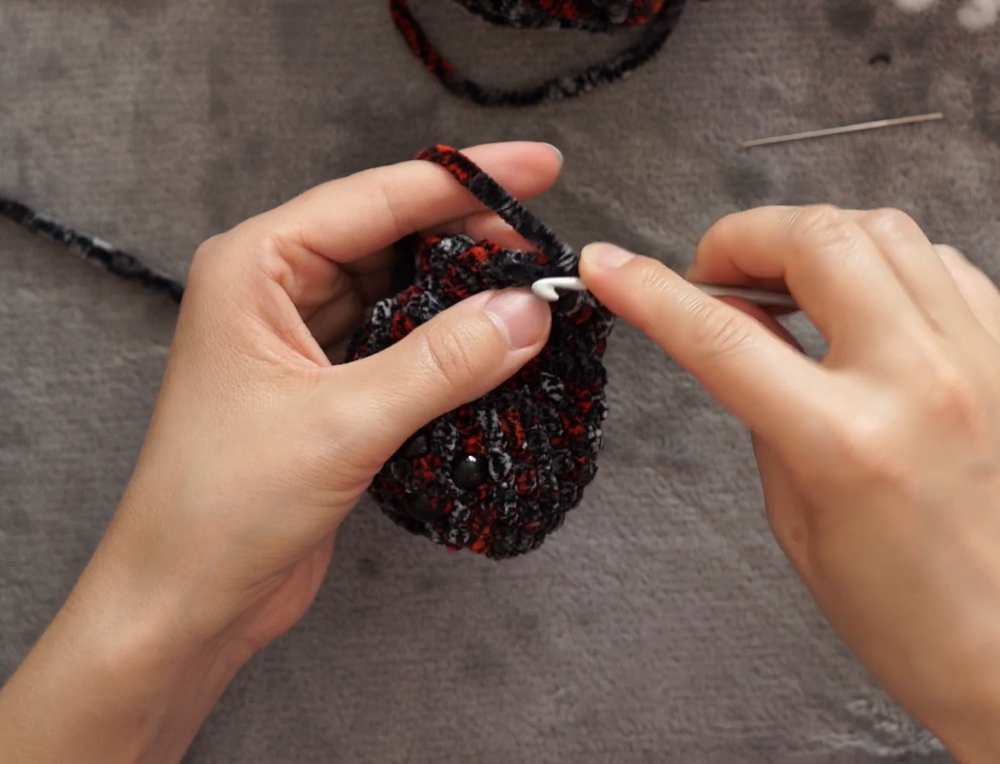
- Rnd 5–8: 24 sc (4 rounds)
- Rnd 9: (2 sc, dec) x 6 (18)
Are you a Beginner? Learn Crocheting Easily!
You can learn to crochet better with this large-sized crochet spider plushie tutorial as a beginner:
- Rnd 10: (1 sc, dec) x 6 (12)
- Rnd 11: FLO: 12 sc (12)
- Rnd 12: (1 sc, inc) x 6 (18)
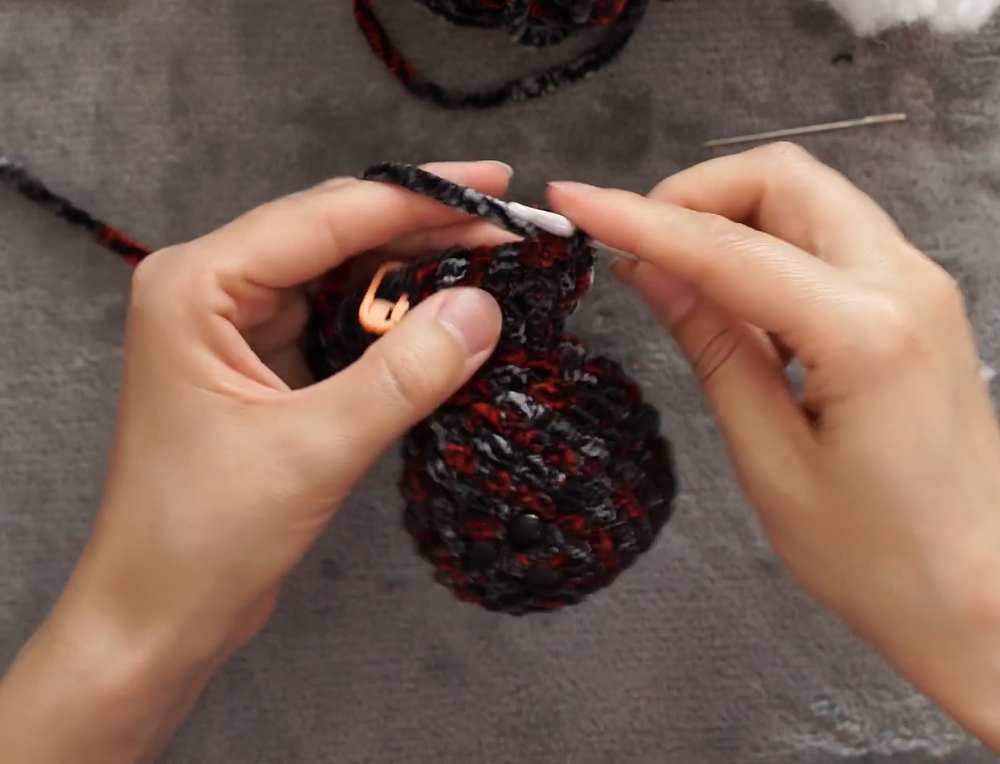
Stop here to insert safety eyes between rounds 3 and 4. Place 2 large eyes slightly above centre, with 1 small eye next to each large one.
- Rnd 13: (2 sc, inc) x 6 (24)
- Rnd 14: (3 sc, inc) x 6 (30)
- Rnd 15–21: 30 sc (7 rounds)
- Rnd 22: (3 sc, dec) x 6 (24)
- Rnd 23: 24 sc (24)
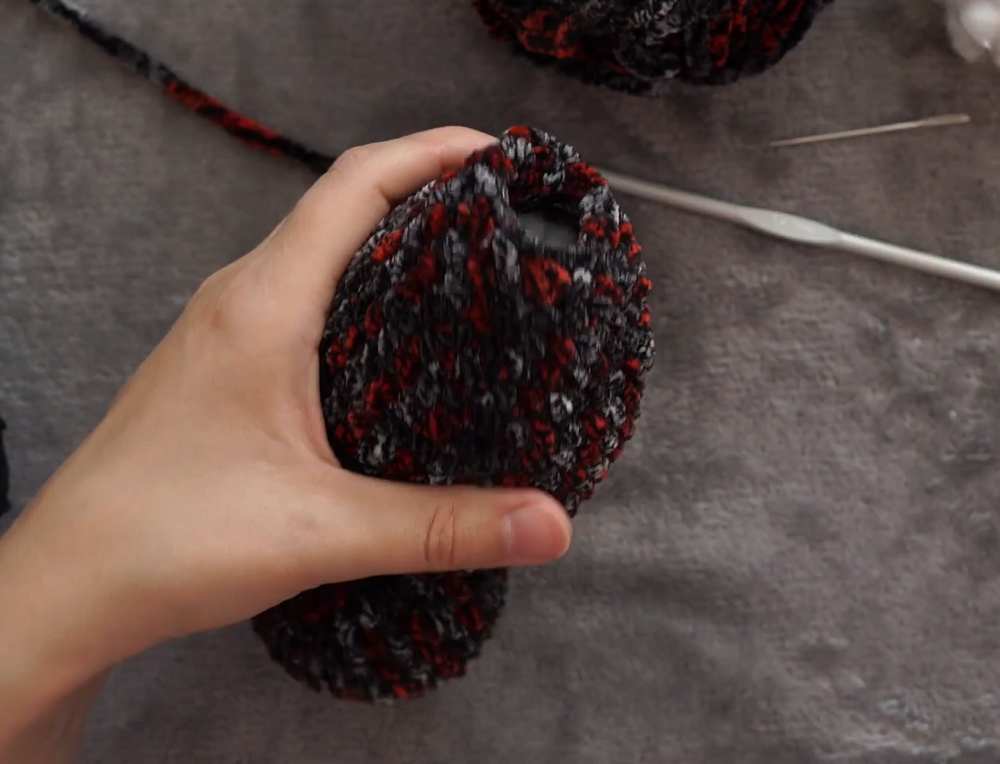
- Rnd 24: (2 sc, dec) x 6 (18)
- Rnd 25: 18 sc (18)
- Rnd 26: (1 sc, dec) x 6 (12)
- Rnd 27: 6 dec (6)
- Stuff firmly throughout the process. Cut yarn, tighten, and hide the thread.
2. Big Paws (Make 4)
- Rnd 1: 2 ch, 6 sc in the first loop (6)
- Rnd 2–8: 6 sc (7 rounds)
- Rnd 9: 2 inc, 2 dec (6) — this creates the leg bend
- Rnd 10: inc, 1 sc, inc, 3 sc (8)
- Rnd 11: 4 sc, 2 dec (6)
- Rnd 12–14: 6 sc (3 rounds)
- Rnd 15: Fold the part in half and work 3 sc through both sides to close (3)
- Stuff lightly.
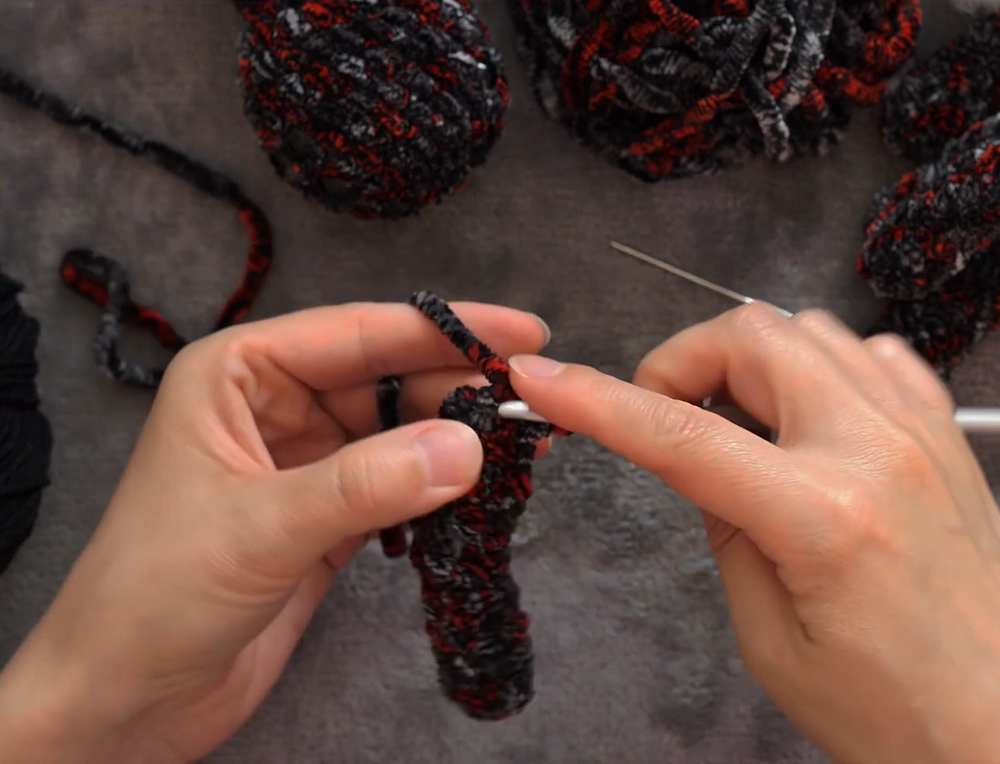
3. Small Paws (Make 4)
- Rnd 1: 2 ch, 6 sc in the first loop (6)
- Rnd 2–7: 6 sc (6 rounds)
- Rnd 8: 2 inc, 2 dec (6)
- Rnd 9: inc, 1 sc, inc, 3 sc (8)
- Rnd 10: 4 sc, 2 dec (6)
- Rnd 11–12: 6 sc (2 rounds)
- Rnd 13: Fold in half and work 3 sc through both sides to close (3)
- Stuff lightly.
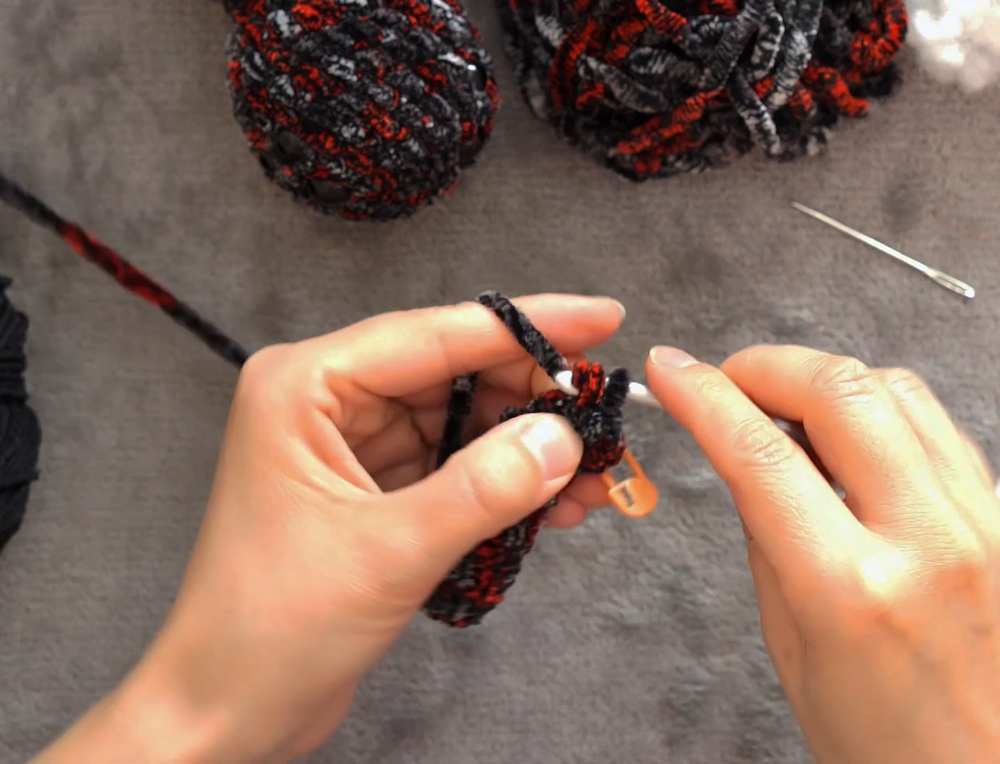
4. Jaws (Make 2)
- Rnd 1: 2 ch, 6 sc in the first loop (6)
- Rnd 2–3: 6 sc (2 rounds)
- Rnd 4: 3 dec (3)
- Hide the thread.
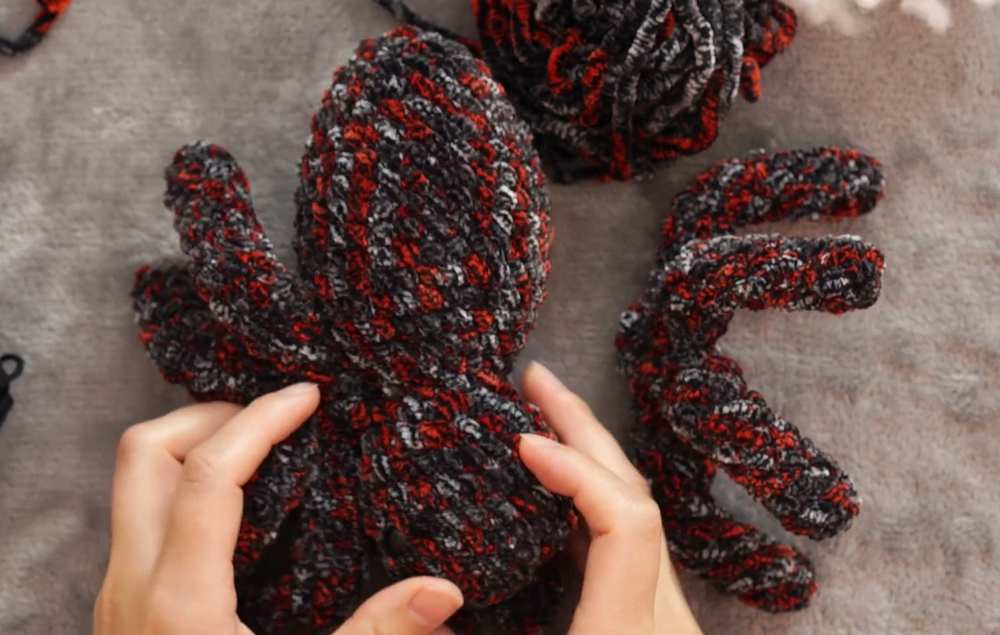
Assembly
- Jaws: Sew the two jaws onto the front of the head, slightly below and between the eyes using black thread.
- Legs: Take 2 small paws and 2 large paws. Fold them together so the large paws are on the outside and the small paws are on the inside. Sew these four together at the base to create a leg cluster. Repeat for the other side.
- Final Attachment: Position the leg clusters on either side of the body, between the head and the torso. Sew them securely into the “neck” area with black thread.
Share on Social Media!
See More:
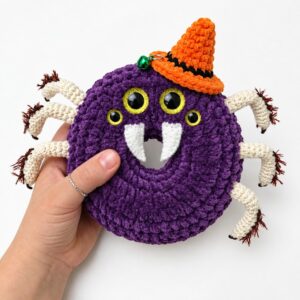
Pattern Tester: How to Crochet A Plush Spider in Hat Doughnut Plushie for Gifting
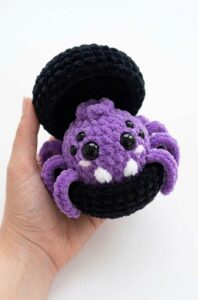
Tester Pattern: How to Crochet Spider in Black Food Box Plush for Gifting
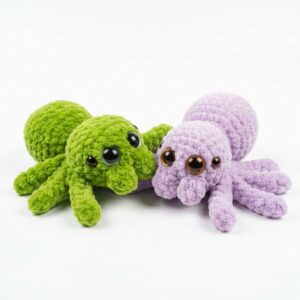
Featuring: Crochet 8-Legged & Four-Eyed Spider Plushie for Halloween
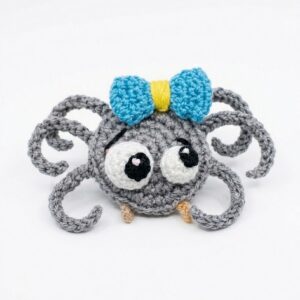
How to Crochet a Funny Googly-Eyed Spider in A Bow Amigurumi Decorations
How to Crochet the CUTEST No-Sew Baby Spider Plushie for Halloween Craft Fairs
How to Crochet a Jumping Spider Plushie for Halloween in Under 20 Minutes
Free Crochet Spider-Man Spider & Batman Spider Amigurumi Plushie for Halloween

Featuring: How to Crochet A Plush Blushing Flying Mr. Soul Ghost Plushie for Halloween

How to Crochet Bunny Bat White Foldable Wings Amigurumi with Bow for Halloween