Show support for her!
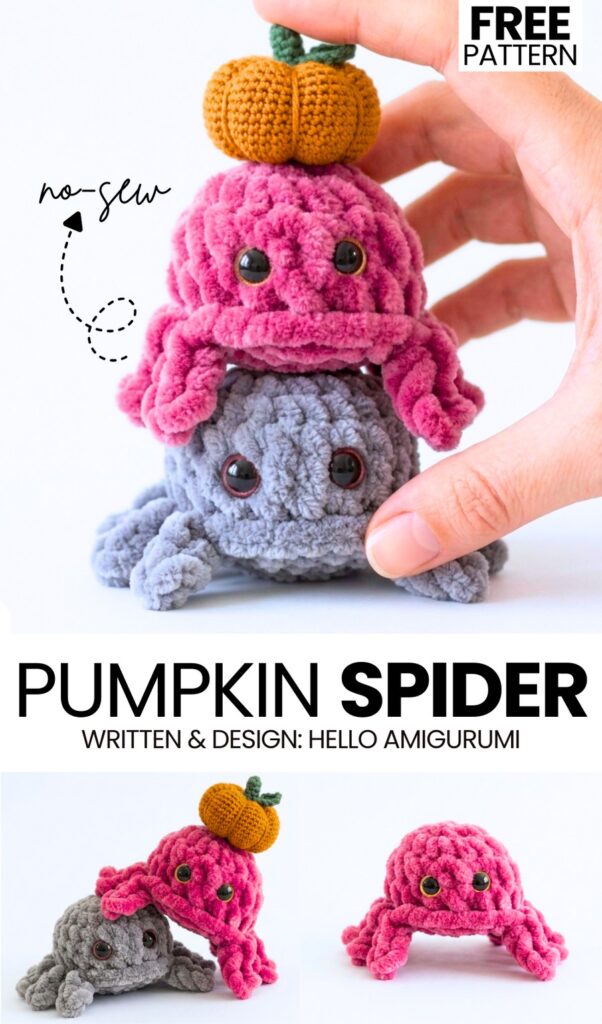
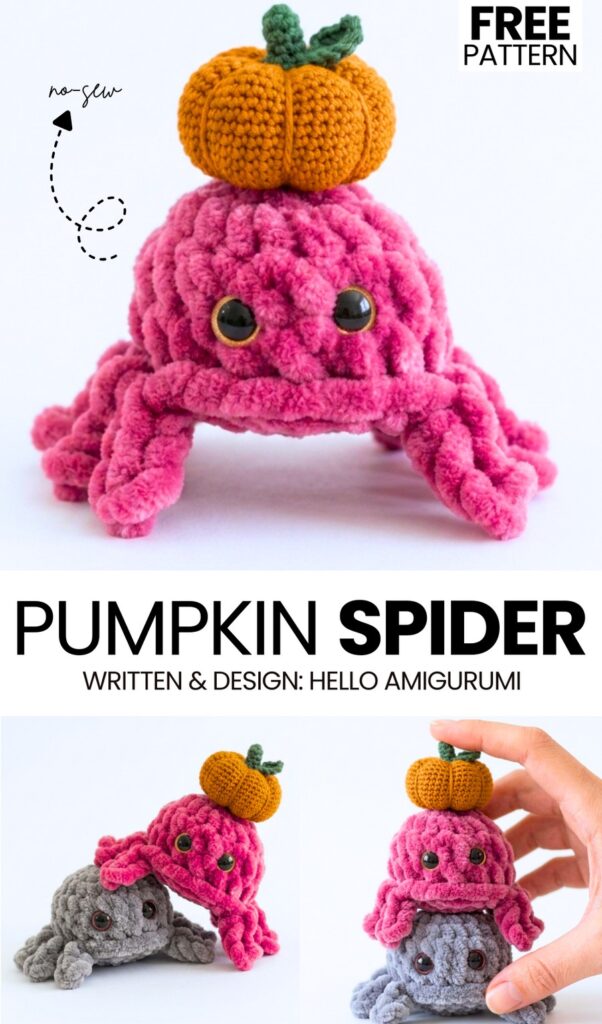
Today’s no-sew baby spider plushie is the CUTEST & the EASIEST. This crochet spider amigurumi made with super bulky yarn is the same as the chubby spider plushie. This spider can be crocheted as quickly as the jumping spider plush. It has only six 8-chain-stitch arms, glitter eyes, and a no-mouth face. A four-eyed chubby spider variation also looks adorable. Be sure to crochet one this Halloween as a last-minute present.
You can attach two big eyes in the middle and two smaller eyes on the sides. Embroider a basic smile using thin yarn. For Halloween, you can choose black, orange, or purple instead of deep pink.
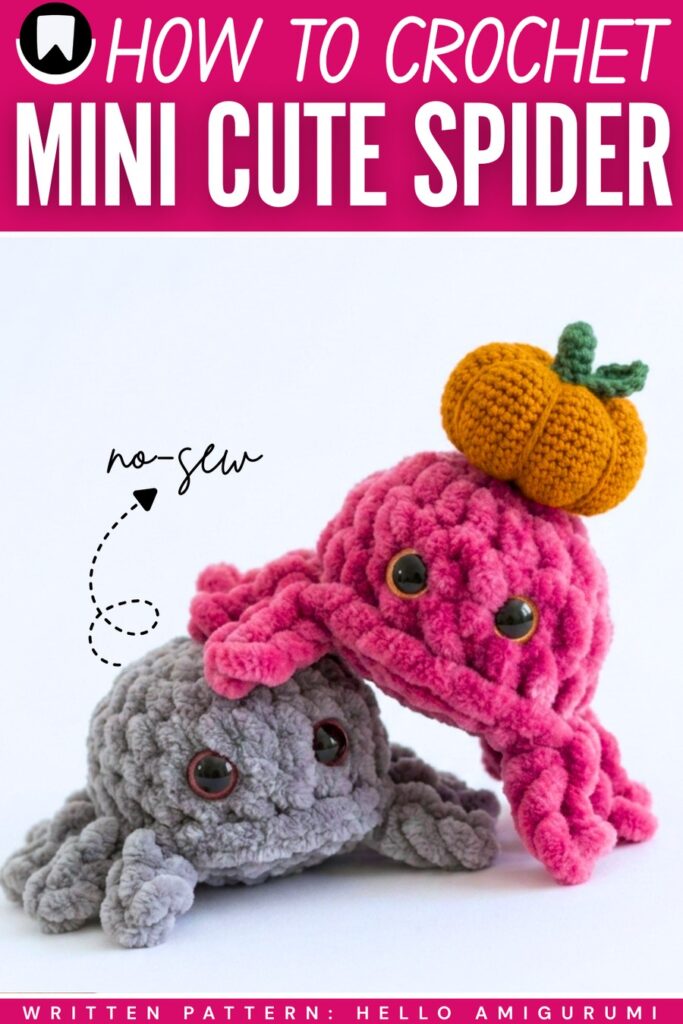
You crochet a no-sew round head and add the arms as you go. It is also worked in a chain-2 loop with 8 single crochet in the first round. Learn how to crochet this plush spider with a free written pattern + a tutorial, as well. Anyway, continue reading to learn how to crochet the spider.
[ez-toc]
Pattern to Crochet Miniature No-Sew Baby Spider
This plush spider is quick and easy to make, perfect for beginners who want to work with plush yarn. Here is how you will crochet this spider plush: crochet the spider body from the top down in rounds, increasing to create the rounded shape. Add the safety eyes before closing the body, then stuff lightly with polyester fibre fill.
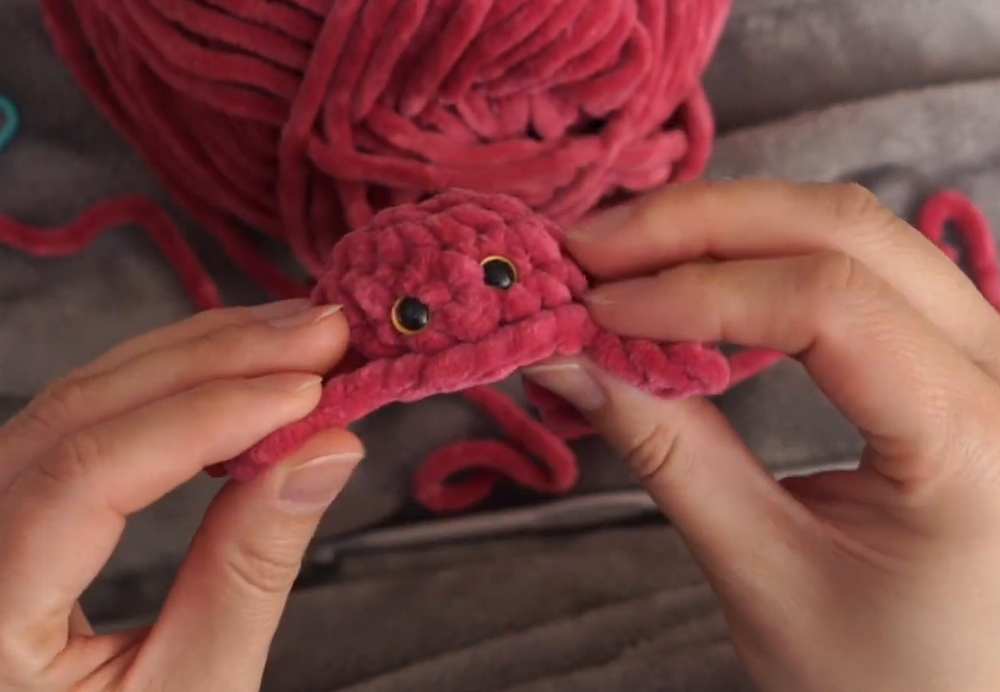
Make the eight legs directly onto the body using chain stitches and slip stitches, working through the front loops to keep the legs attached. Close the bottom by working decreases into the remaining back loops, then fasten off and weave in the yarn tail.
Shape the legs by gently bending them downwards and adjust the stuffing to give the spider its cute plush form. No sewing is needed, making it a quick and beginner-friendly amigurumi project.
Materials
- Yarn: Super bulky plush/chenille yarn (bright pink/magenta).
- Crochet Hook: 4.0mm or 5.0mm (adjust to your yarn tension).
- Safety Eyes: Two small black eyes.
- Tools: Scissors, tapestry needle, stitch marker.
- Stuffing: Polyester fiberfill.
Abbreviations (US Terms)
- Rnd: Round
- ch: Chain
- sc: Single crochet
- slst: Slip stitch
- inc: Increase (2 sc in one stitch)
- dec: Decrease (join 2 stitches into one)
- FLO: Front loop only
- BLO: Back loop only
- st(s): Stitch(es)
Pattern Instructions
Spider Body
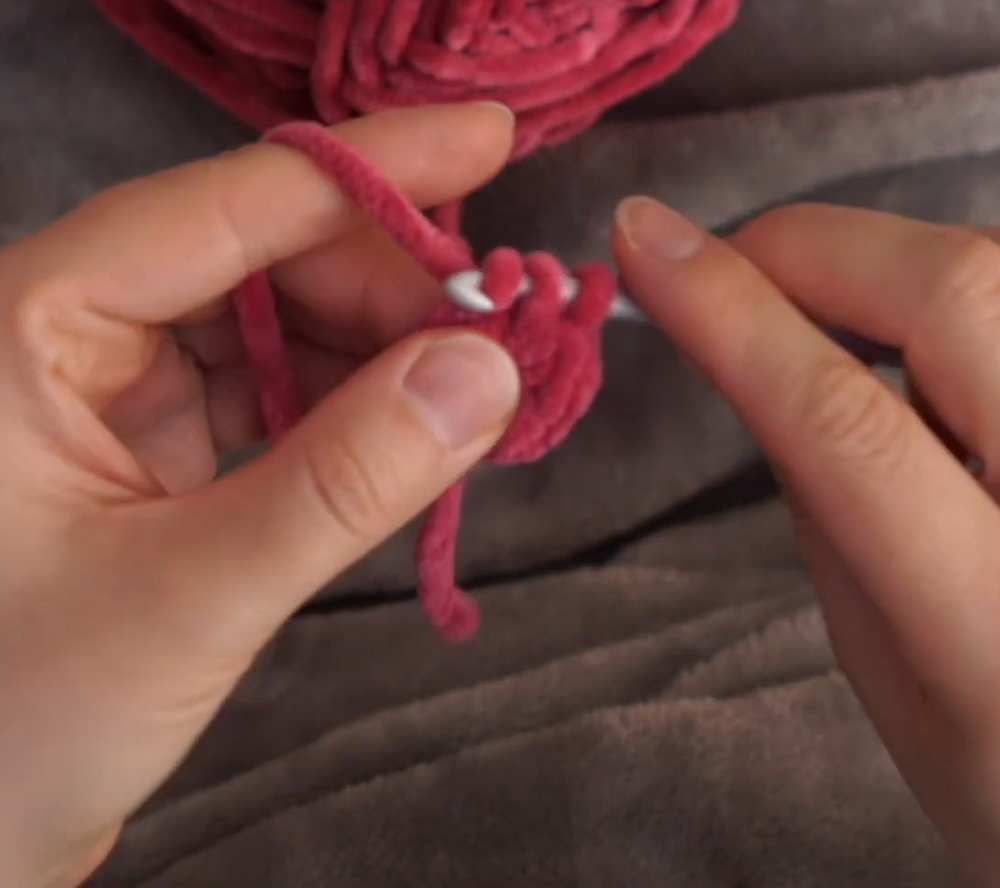
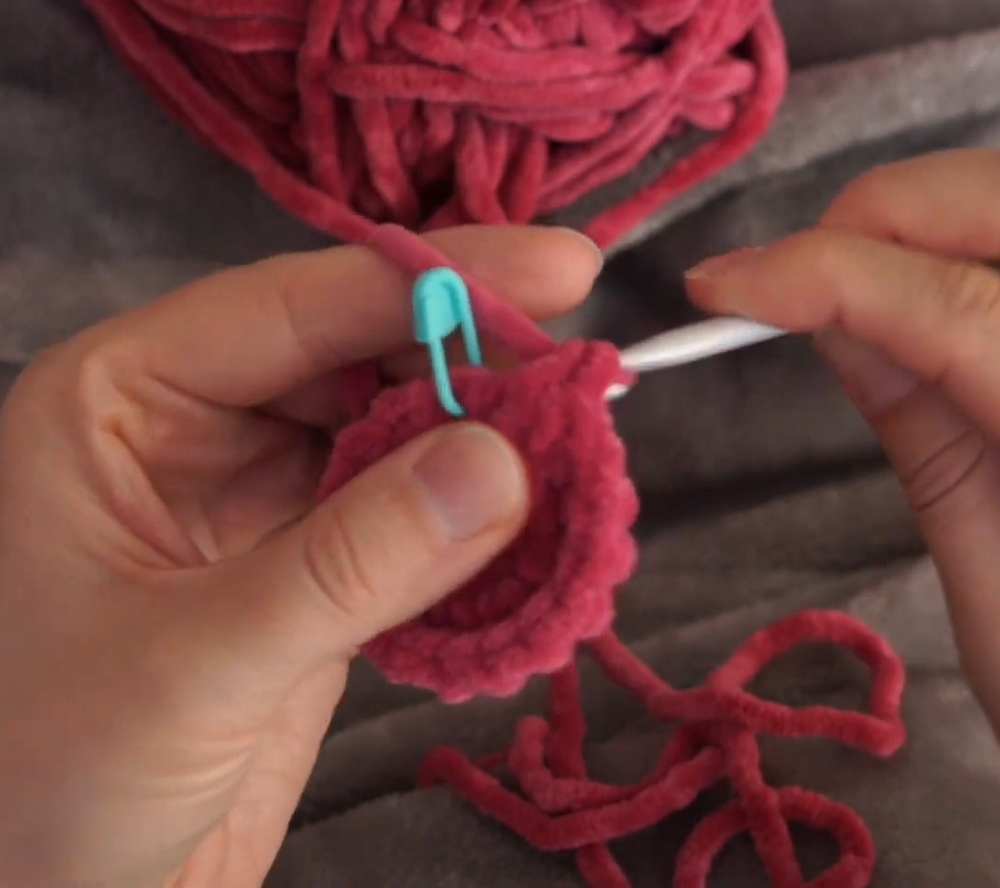
- Rnd 1: ch 2, then work 8 sc into the first loop. (8 sts)
- Rnd 2: Work 8 inc around. Insert a stitch marker in the first stitch to keep track. (16 sts)#
- Rnd 3: 1 sc in each stitch around. (16 sts)
- Rnd 4: 1 sc in each stitch around. (16 sts)
Are you a Beginner? Learn Crocheting Easily!
You can learn to crochet better with this miniature spider plushie tutorial as a beginner:
Spider Legs & Bottom
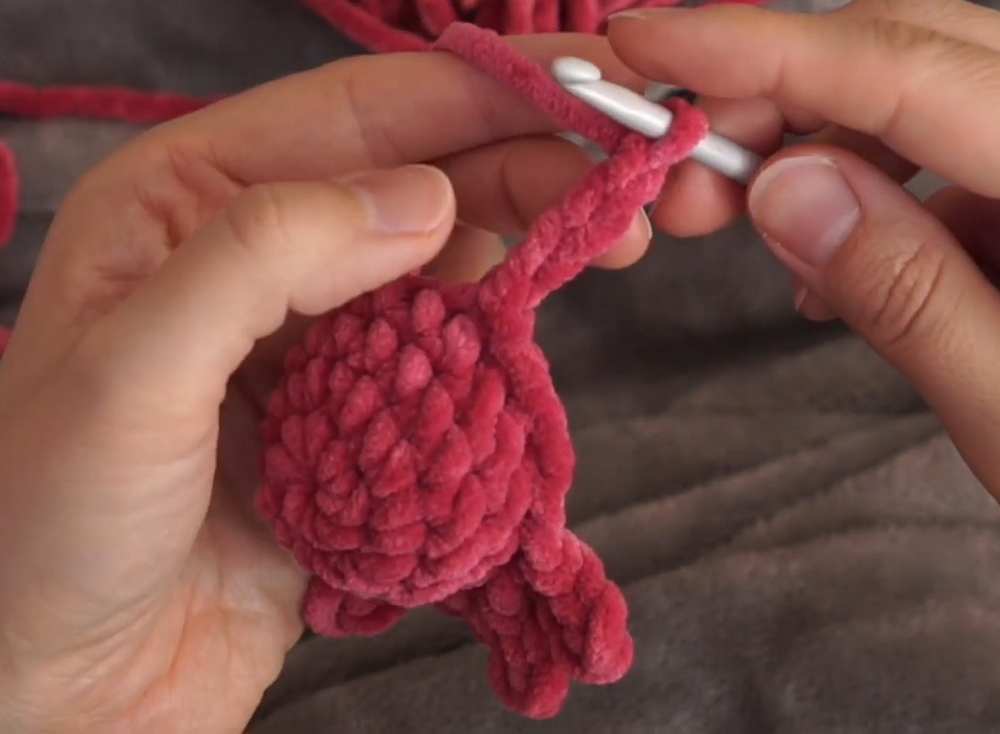
- Rnd 5 (Worked in FLO):
- 3 slst.
- Leg 1: ch 4, start from the second loop from the hook and work 3 slst back down the chain. slst into the next stitch on the body.
- Leg 2: ch 4, 3 slst starting from second loop, slst into the next stitch.
- Leg 3: ch 4, 3 slst starting from second loop, slst into the next stitch.
- Leg 4: ch 4, 3 slst starting from second loop, slst into the next stitch.
- 5 slst.
- Leg 5: ch 4, 3 slst starting from second loop, slst into the next stitch.
- Leg 6: ch 4, 3 slst starting from second loop, slst into the next stitch.
- Leg 7: ch 4, 3 slst starting from second loop, slst into the next stitch.
- Leg 8: ch 4, 3 slst starting from second loop, slst into the next stitch.
- 2 slst.
Eyes & Stuffing
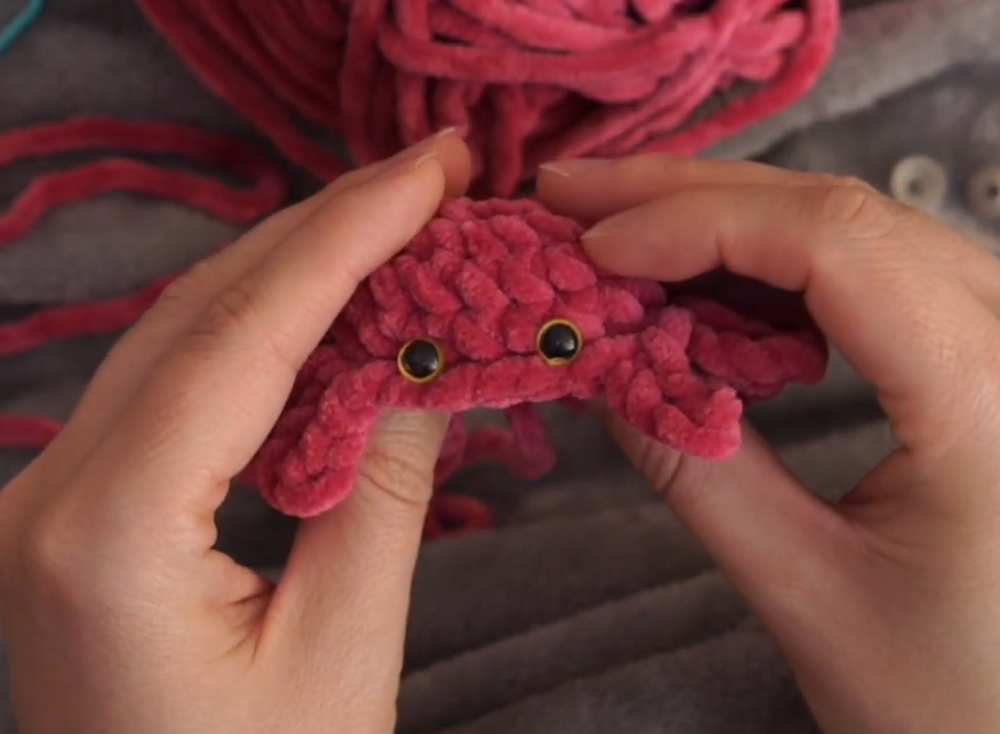
- Eyes: Insert safety eyes between Rounds 3 and 4, spaced about 1–2 stitches apart. Secure with the back guards.
- Stuffing: Begin stuffing the spider with fiberfill.
Closing
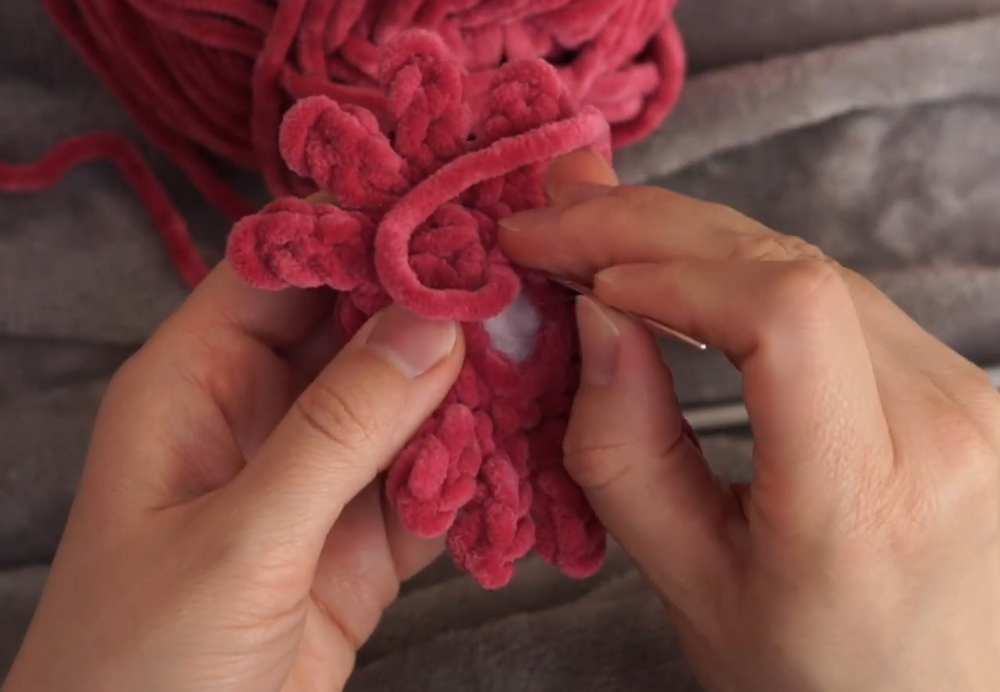
- Rnd 6: Work this round behind the legs into the remaining Back Loops of Round 5.
- Work 8 dec around. (8 sts)
- Fasten off, leaving a short tail.
Finishing
- Using a tapestry needle, weave the yarn tail through the remaining 8 stitches and pull tight to close the hole.
- Hide the thread inside the body and cut the excess.
- Adjust the legs so they point downward.
Share on Social Media!
See More:
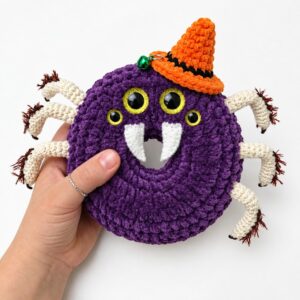
Pattern Tester: How to Crochet A Plush Spider in Hat Doughnut Plushie for Gifting
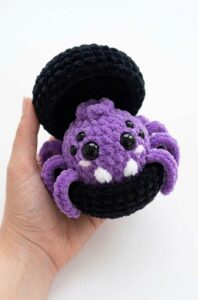
Tester Pattern: How to Crochet Spider in Black Food Box Plush for Gifting
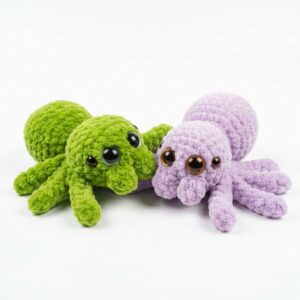
Featuring: Crochet 8-Legged & Four-Eyed Spider Plushie for Halloween
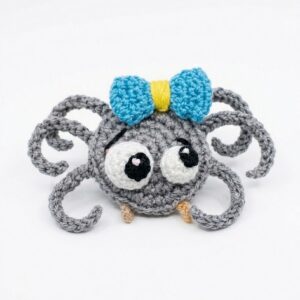
How to Crochet a Funny Googly-Eyed Spider in A Bow Amigurumi Decorations
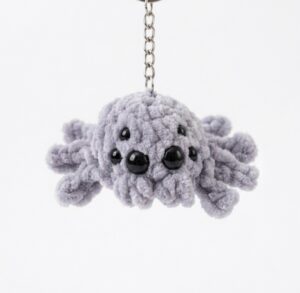
How to Crochet a Jumping Spider Plushie for Halloween in Under 20 Minutes
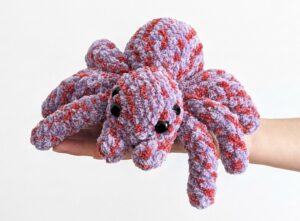
How to Crochet Big Low-Sew Black-&-Red Spider Plushie for Halloween
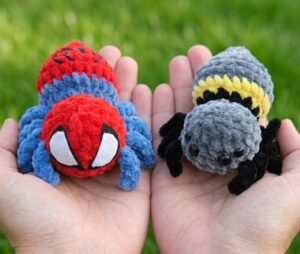
Free Crochet Spider-Man Spider & Batman Spider Amigurumi Plushie for Halloween

Featuring: How to Crochet A Plush Blushing Flying Mr. Soul Ghost Plushie for Halloween

How to Crochet Bunny Bat White Foldable Wings Amigurumi with Bow for Halloween