
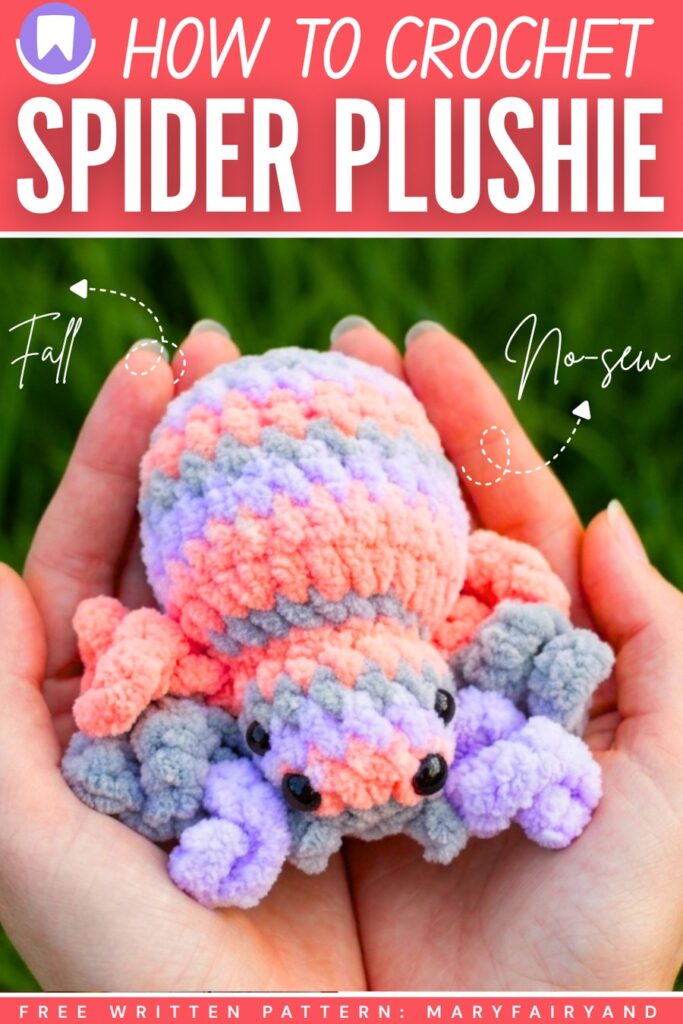
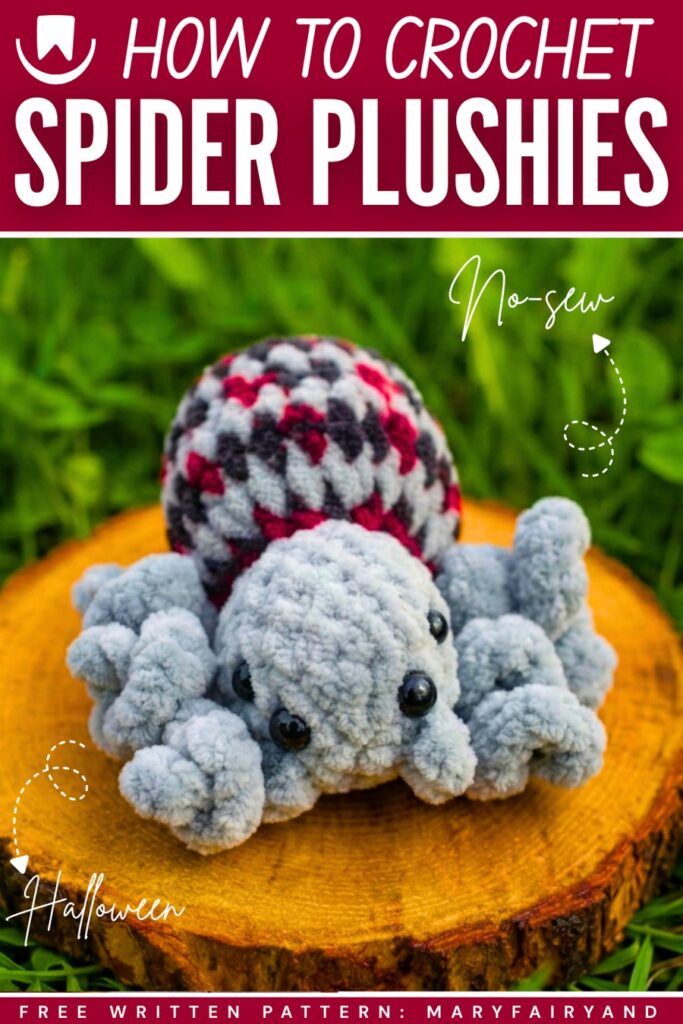
Here is another FREE pattern to crochet a no-sew spider plushie for Halloween. Introducing the crochet striped spider plushie that is finished with CUTE curly legs, 4 eyes, and this time, a life-like spider body. Crochet it as a spooky Halloween present, party decoration, or a buddy for Halloween.
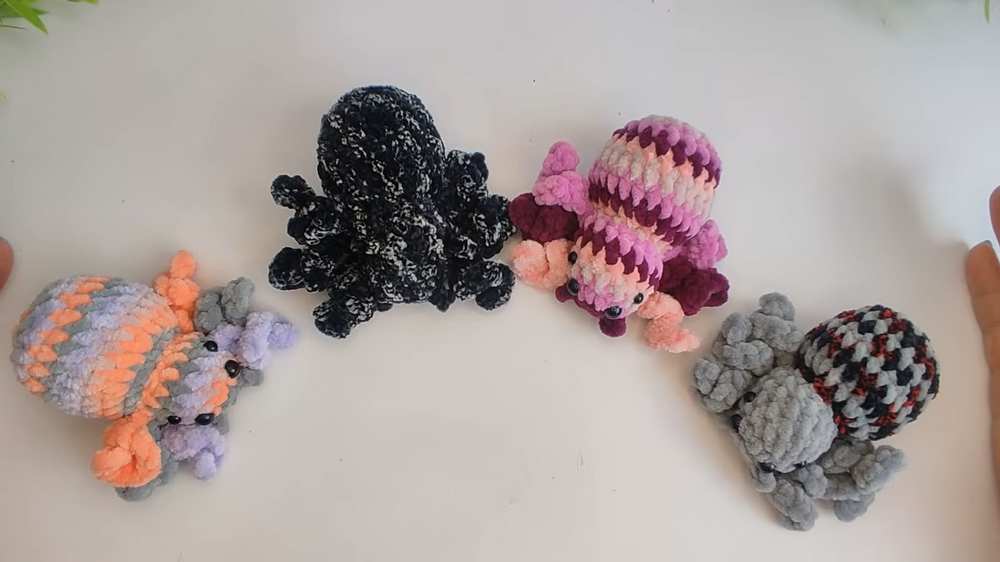
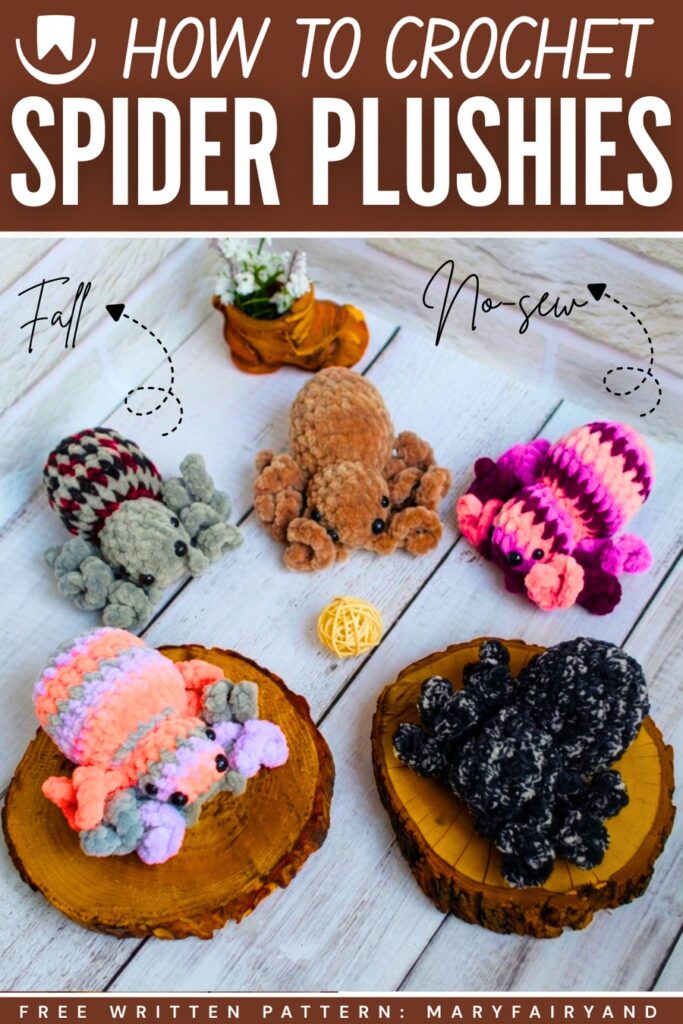
You can choose from the spotted, solid, and many colors of bulky yarn to crochet different variations of this crochet spider plush. The curly legs are a fun detail; You can also crochet the normal legs.
You will be able to work it as a single piece with the same beautiful colorwork within 30 minutes, as this spider plushie is smaller. You can also choose the glitter eyes for your crochet spider plush. Now, continue reading for the full pattern to make your spider plush.
How to Crochet Spooky Spider Plushie for Kids
This is a super cute and quick way to crochet an entire curly-legged spider in one continuous piece! Perfect for beginners and for using up leftover scrap yarn, this plush little spider measures about 9 cm and features adorable, spiraled legs that don’t require any sewing to attach.
The pattern is worked from the front of the face to the back of the abdomen, with the legs crocheted directly onto the body as you go. You can easily customize this pattern by making the legs a different color from the body or by using variegated yarn for a funky, multi-colored look.
Abbreviations (US Terms)
- ch = chain
- sc = single crochet
- sl st = slip stich
- inc = increase (2 sc in one stitch)
- dec = decrease (sc 2 together)
- st(s) = stitch(es)
- MR = magic ring
Materials Needed
- Yarn: Super bulky plush/chenille yarn (e.g., YarnArt Dolce). The creator used color 754 (dark beige). You can use a single color or mix it up!
- Hook: 4.5 mm crochet hook.
- Eyes: Half-bead eyes for gluing (one pair of 8mm and one pair of 6mm).
- Extras: Hollowfiber or toy stuffing, stitch marker, scissors, a tapestry needle, and fabric or hot glue for the eyes.
Written Pattern Instructions
The Head and Legs
Note: The spider is crocheted in one piece, starting at the head.
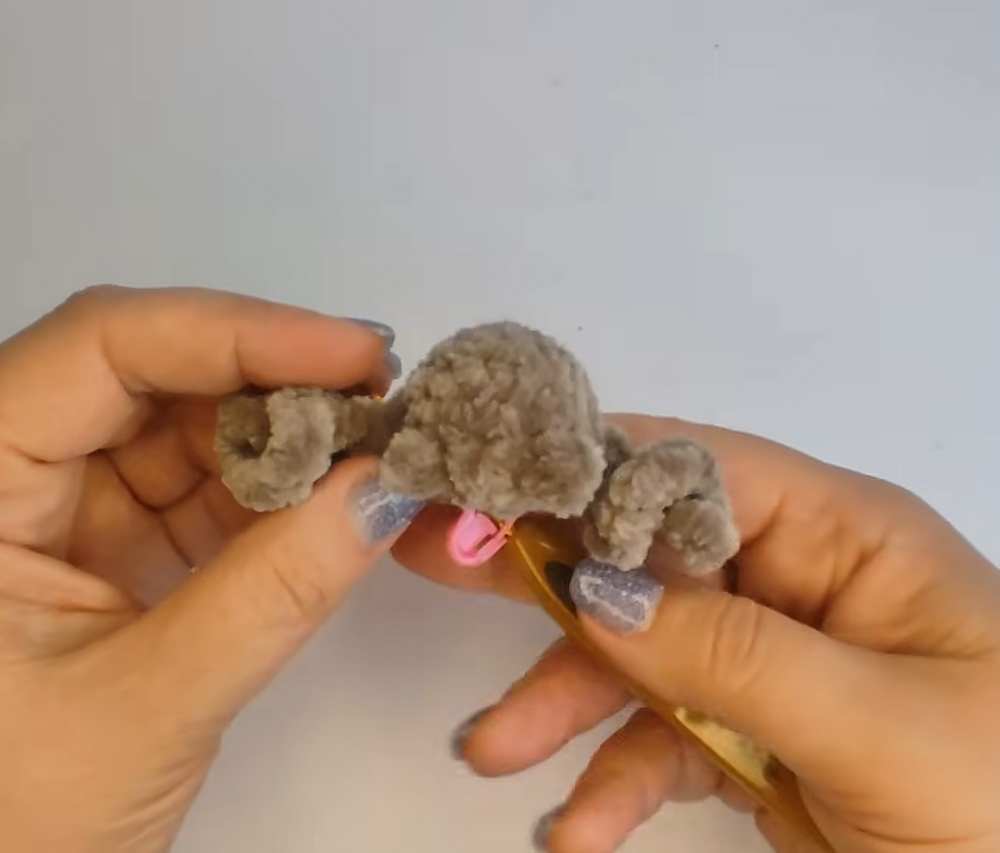
- Rnd 1: Ch 2. In the 2nd ch from the hook: make 1 sc. Then, ch 3, sl st into the 3rd ch from the hook (this creates the first tiny feeler/pedipalp).
- Make 4 sc into the original 2nd chain from the hook. Ch 3, sl st into the 3rd ch from hook (second feeler). Finally, make 1 more sc into the original starting chain. (You should have a ring of 6 sc, with two feelers sticking out).
Are you a Beginner?
If you can’t follow the written pattern, continue with the tutorial or the pattern below!
- Rnd 2: Inc in each st around. When you reach the feelers, push them forward and make your increase stitches into the main body stitches behind them. (12 sts)
- Rnd 3: Sc in each st around. (12 sts)
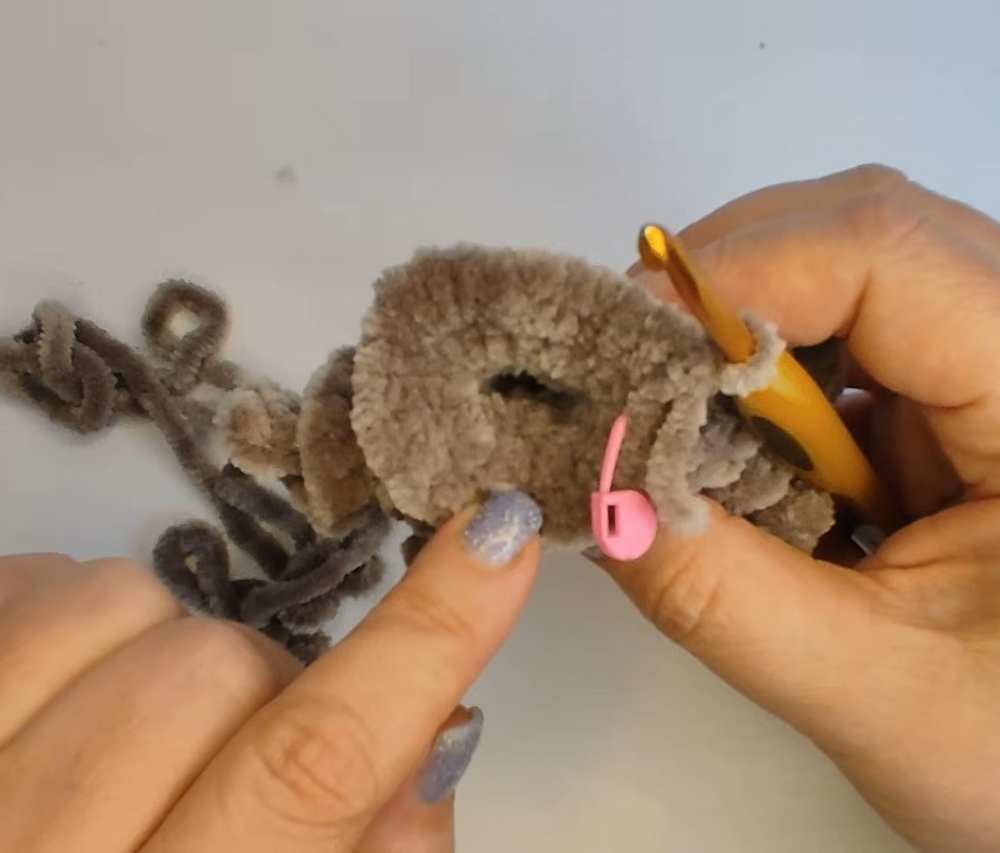
- Rnd 4 (Legs 1 & 2): 3 sc. First Leg: Ch 8, make 7 inc down the chain. Sl st into the base of the last sc worked on the body. Make 8 sc along the body. Second Leg: Ch 8, make 7 inc down the chain. Sl st into the base of the last sc worked on the body. 1 sc in the last st to finish the round. (You still have 12 sc on the main body).
- Rnd 5 (Legs 3 & 4): 3 sc. Push the first leg forward. Make 4 sc along the body. Third Leg: Ch 8, make 7 inc down the chain. Sl st into the base of the last sc worked on the body.
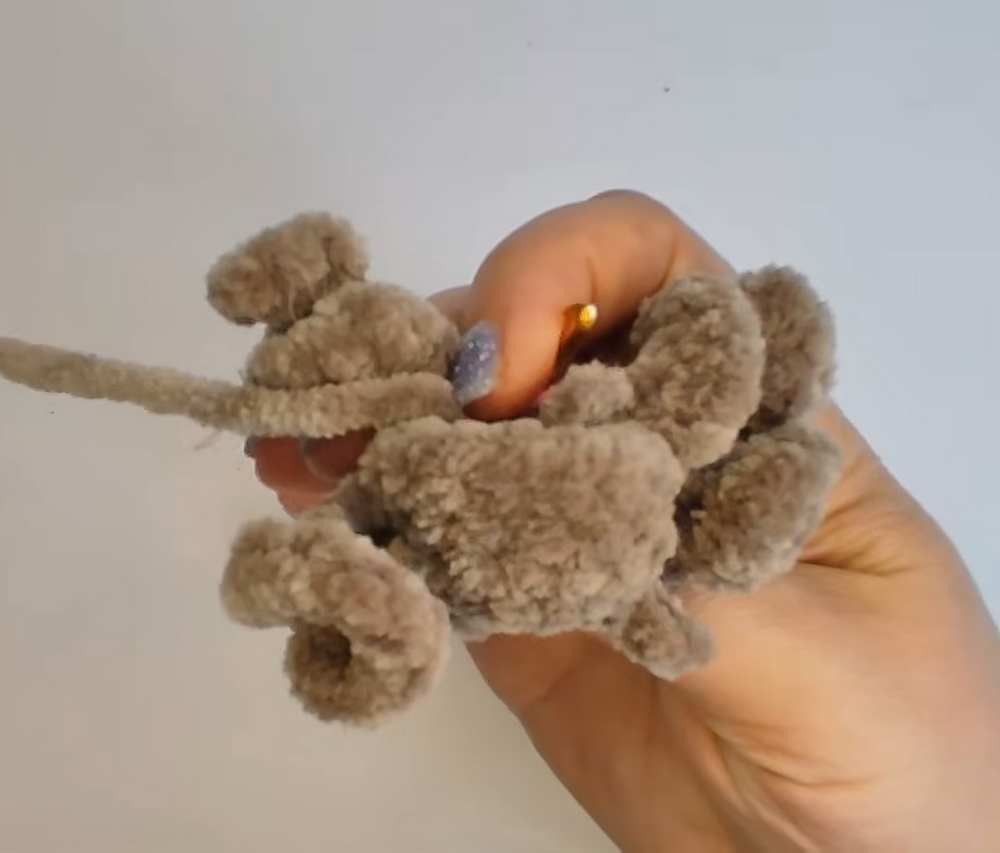
- Make 4 sc along the body. Push the second leg forward and make 1 more sc along the body. Fourth Leg: Ch 8, make 7 inc down the chain. Sl st into the base of the last sc worked on the body.
- Rnd 6 (Legs 5 & 6): 4 sc. Fifth Leg: Ch 8, make 7 inc down the chain. Sl st into the base of the last sc worked on the body. Push the third leg forward. Make 8 sc along the body. Sixth Leg: Ch 8, make 7 inc down the chain. Sl st into the base of the last sc worked on the body.
- Rnd 7: (The legs are now finished) 5 sc, dec 3 times, 1 sc. (9 sts) Stuff the head firmly.
The Abdomen
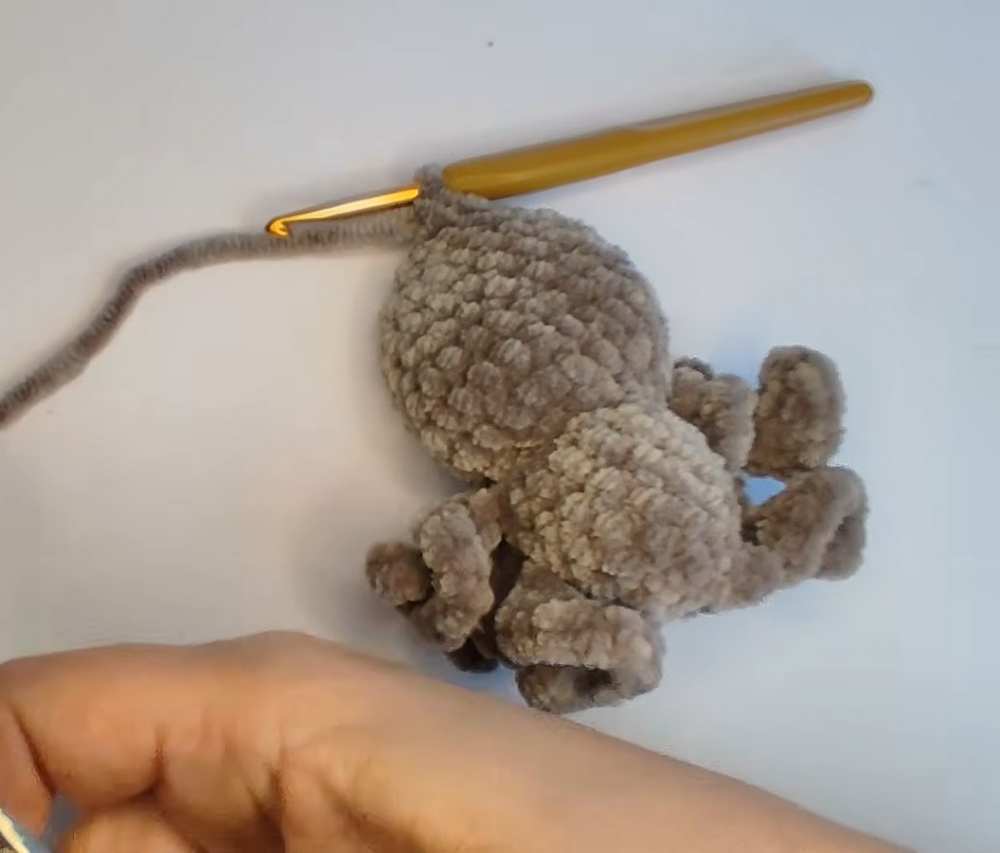
- Rnd 8: Inc in each st around. (18 sts)
- Rnd 9: (2 sc, inc) repeat 6 times around. (24 sts)
- Rnds 10 – 11: Sc in each st around for 2 rounds. (24 sts)
- Rnd 12: (2 sc, dec) repeat 6 times around. (18 sts)
- Rnds 13 – 14: Sc in each st around for 2 rounds. (18 sts)
- Rnd 15: (1 sc, dec) repeat 6 times around. (12 sts) Stuff the abdomen firmly.
- Rnd 16: Dec 6 times. (6 sts)
Finishing
- Fasten off, leaving a tail for sewing.
- Thread the tail onto a tapestry needle and weave through front loops of remaining 6 stitches. Pull tight to close securely, tie off, and hide the thread inside the body.
- Eyes: Glue the 8mm half-bead eyes onto the front of the face, right above the tiny feelers. Then glue the smaller 6mm half-bead eyes next to them, slightly further back on the head.
Share on Social Media!
See More:
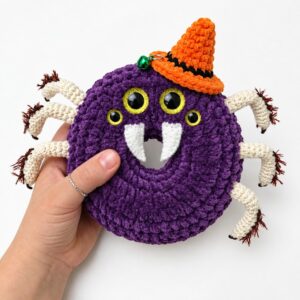
Pattern Tester: How to Crochet A Plush Spider in Hat Doughnut Plushie for Gifting
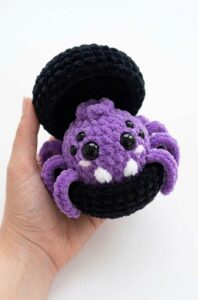
Tester Pattern: How to Crochet Spider in Black Food Box Plush for Gifting
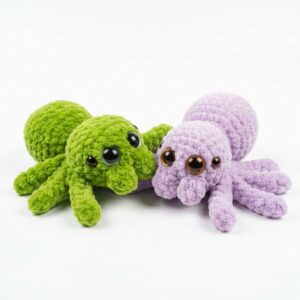
Featuring: Crochet 8-Legged & Four-Eyed Spider Plushie for Halloween
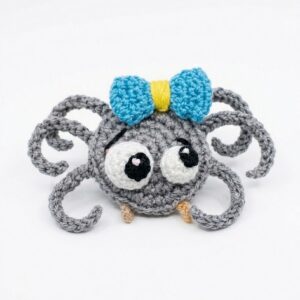
How to Crochet a Funny Googly-Eyed Spider in A Bow Amigurumi Decorations
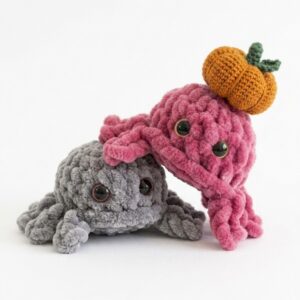
How to Crochet the CUTEST No-Sew Baby Spider Plushie for Halloween Craft Fairs
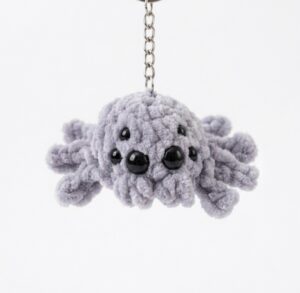
How to Crochet a Jumping Spider Plushie for Halloween in Under 20 Minutes
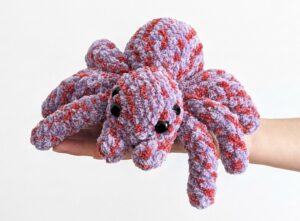
How to Crochet Big Low-Sew Black-&-Red Spider Plushie for Halloween

Featuring: How to Crochet A Plush Blushing Flying Mr. Soul Ghost Plushie for Halloween

How to Crochet Bunny Bat White Foldable Wings Amigurumi with Bow for Halloween