Show support for Otakulandia!
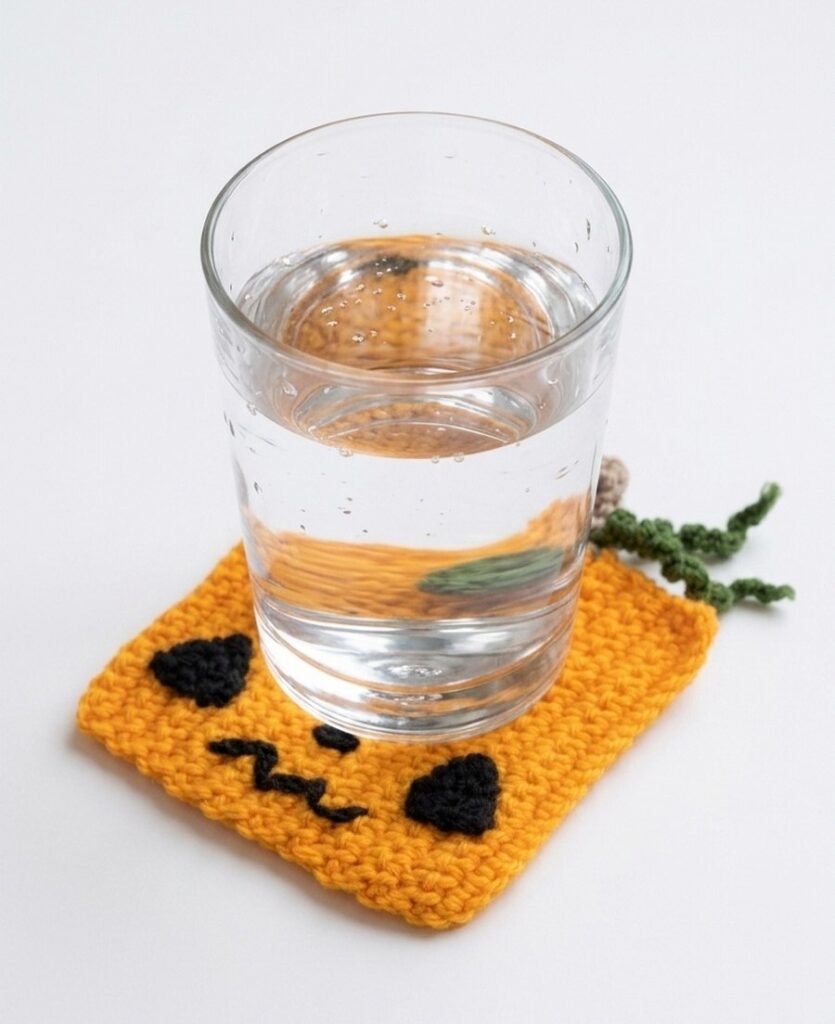
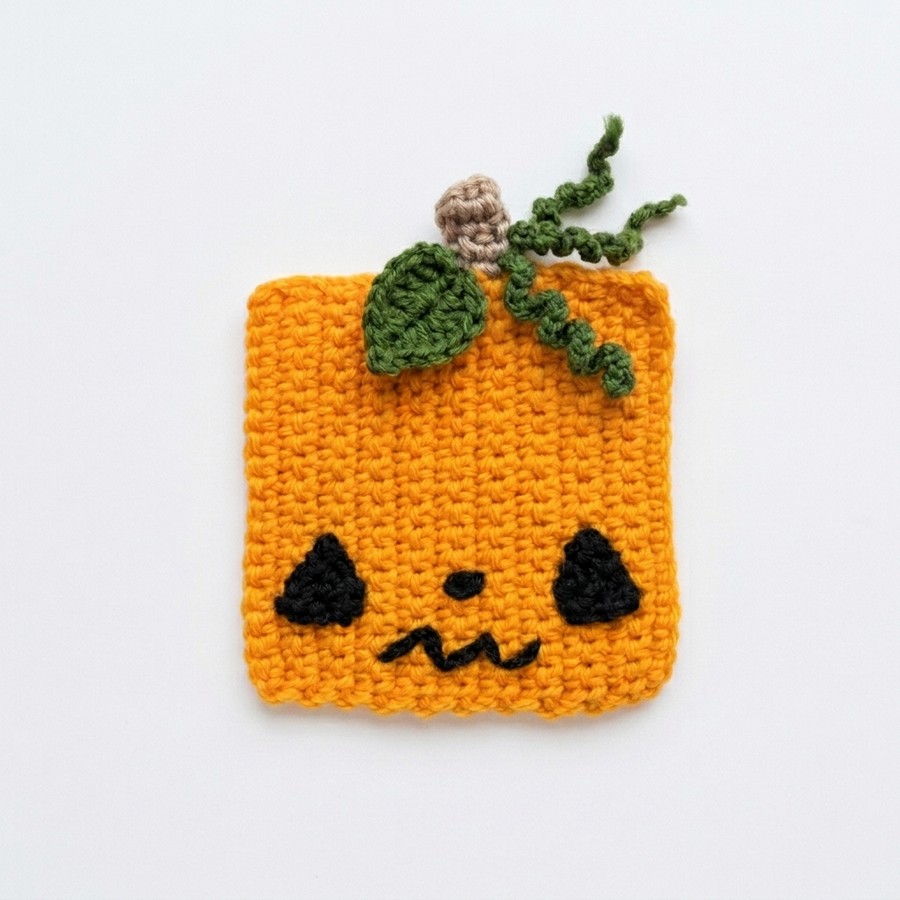
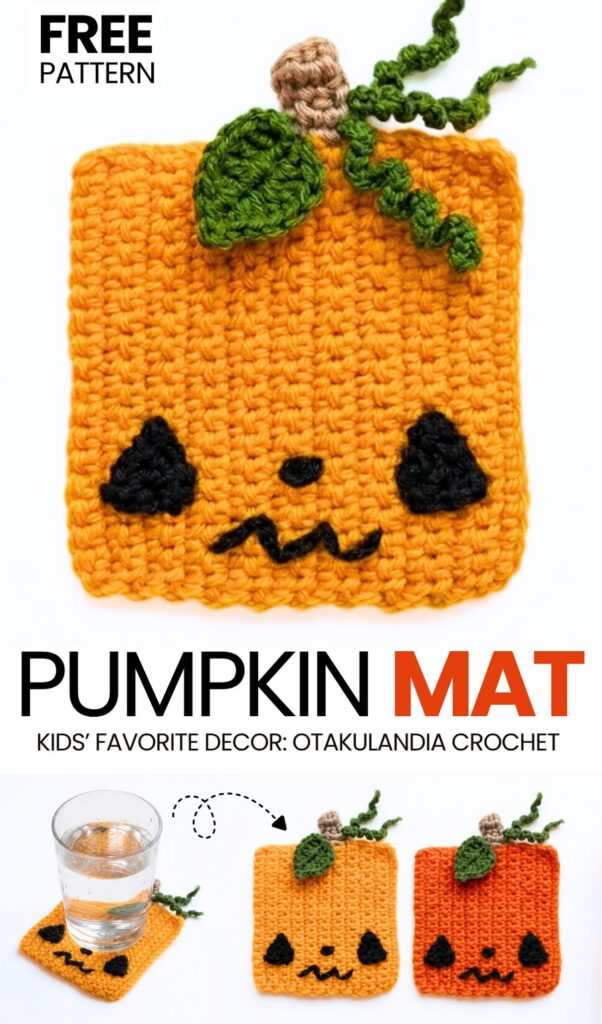
A crocheted square coaster can’t be cuter than today’s crochet spooky-kawaii fall & Halloween coaster! Learn how to crochet this last-minute pumpkin face and vines coaster for fall in any shade of orange by following a step-by-step tutorial and a written pattern. The crocheted and embroidered kawaii pumpkin face features are added to the bottom 1/3 of the pumpkin coaster, so you will have ample space to place your coffee mug while still enjoying the cozy, cute crochet pumpkin face. You can also turn your crochet pumpkin coaster into a fall ooz cozie.
This crochet square fall coaster is all crocheted using the basic stitches with a 1-row repeat pattern. Even the leaf pattern is the same as the one I taught you in the crochet basic leaf masterclass.
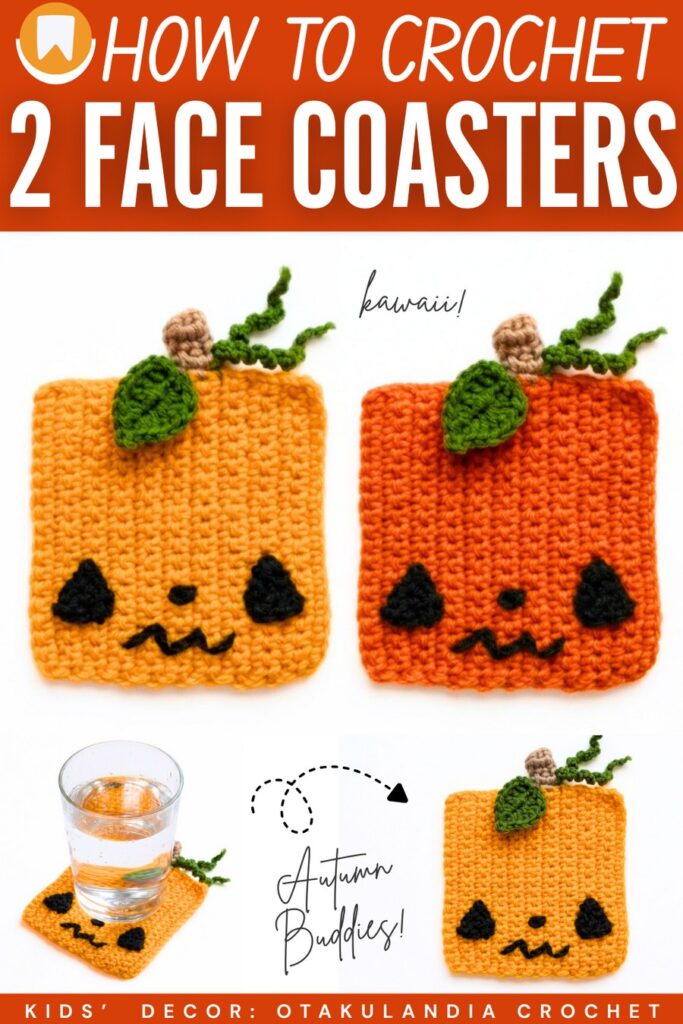
At the top, we have a pair of little crochet pumpkin tendrils that are made using just the chain stitches, crocheted tightly. Since most beginners already know how to crochet a flat solid triangle, this crochet pumpkin square coaster will be the easiest for all skill levels and the most beginner-friendly project of this fall. Choose from the dark orange and the light pumpkin coaster variations in this pattern. Now, continue reading to learn more about this crochet Halloween and fall coaster!
[ez-toc]
Tutorial to Crochet the Easy Kawaii Square Coaster
This project is a crochet pumpkin coaster for Halloween. You make a flat square piece with orange yarn to form the pumpkin head. Next, you make black triangle eyes, a black triangle nose, and embroider a black mouth.
Then you crochet a brown stem on top, one green leaf, and two curly green tendrils. Finally, you sew all the pieces onto the orange square. You can use this finished project as a drink coaster, a table decoration, or attach it to a Halloween banner.
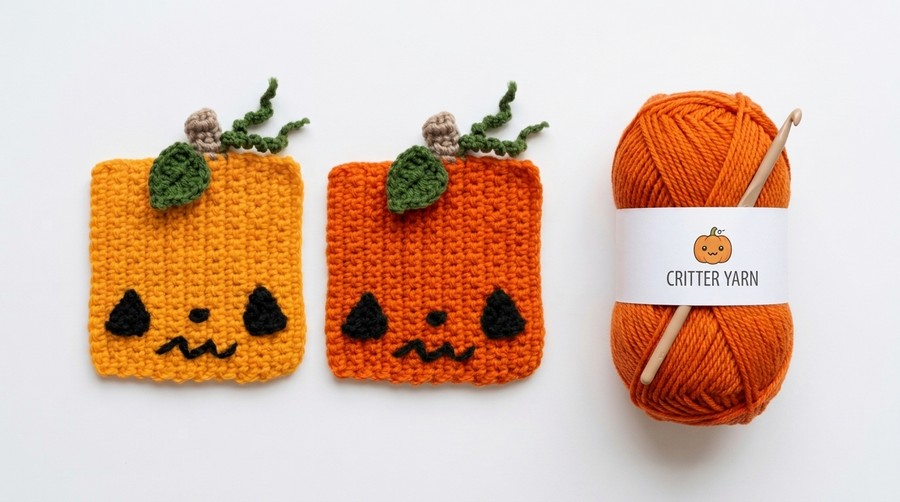
Materials Needed
Yarn (Acrylic or Cotton, Medium / Worsted Weight):
Orange yarn (for the main pumpkin square)
Brown yarn (for the stem)
Black yarn (for the eyes, nose, and mouth)
Green yarn (moss green or forest green for the leaf and tendrils)
Crochet Hook: 2.55 mm (a 2.50 mm hook works as well)
Tapestry Needle / Yarn Needle (and a sewing needle for thin thread if needed)
Scissors
Stitch Marker / Safety Pin (to easily mark the center stitches)
Pattern Abbreviations
ch: chain
sc: single crochet
hdc: half double crochet
dc: double crochet
sl st: slip stitch
st(s): stitch / stitches
Are you a Beginner? Learn Crocheting Easily!
You can learn to crochet better with this kawaii pumpkin coaster with the following video tutorials or continue to the pattern:
Detailed Pattern Instructions
1. Pumpkin Base (Orange Yarn)
The base is worked in flat rows of single crochet to create a solid square.
Foundation Row: Chain 21.
Row 1: Starting in the 2nd chain from your hook, work 1 sc into each chain across. Turn. (20 sc)
Rows 2–20 (19 rows total): Ch 1, turn. Work 1 sc into each stitch across. (20 sc per row)
To Finish: Fasten off and weave in the yarn ends.
Tip: Always count your 20 stitches per row to ensure the sides remain straight and square.
2. Triangle Eyes (Make 2 – Black Yarn)
Each eye is worked in decreasing flat rows to form a pointed triangle.
Foundation Row: Chain 6.
Row 1: Starting in the 2nd chain from your hook, work 1 sc into each chain across. Turn. (5 sc)
Row 2: Do not chain 1. Skip the first stitch, work 1 sc in each remaining stitch across. Turn. (4 sc)
Row 3: Do not chain 1. Skip the first stitch, work 1 sc in each remaining stitch across. Turn. (3 sc)
Row 4: Do not chain 1. Skip the first stitch, work 1 sc in each remaining stitch across. Turn. (2 sc)
Row 5: Do not chain 1. Skip the first stitch, work 1 sc into the last stitch. (1 sc)
To Finish: Fasten off, leaving a long yarn tail for sewing onto the pumpkin base. Repeat steps for the second eye.
3. Face Assembly & Details (Black Yarn)
Eyes: Place the two triangle eyes on the lower portion of the orange square (about 1 to 2 rows above the bottom edge). Sew them flat using a yarn needle and the yarn tails.
Nose: Find the center between the eyes. Using black yarn and a needle, embroider an upside-down triangle shape by outlining three stitches and filling the center with straight stitches.
Mouth: Using black yarn, embroider a zigzag mouth line along the bottom portion below the eyes and nose. Secure and weave in the back threads.
4. Pumpkin Stem (Brown Yarn)
The stem is worked directly onto the top edge of the orange pumpkin square.
Find the top center of the orange square and mark 4 stitches.
Attach brown yarn to the first marked stitch.
Row 1: Work 1 sc in each of the 4 marked stitches across. Turn. (4 sc)
Row 2: Ch 1, turn. Work 1 sc in each stitch across. (4 sc)
Row 3: Ch 1, turn. Work 1 sc in each stitch across. (4 sc)
To Finish: Fasten off and weave in yarn ends behind the stem.
5. Green Leaf (Make 1 – Green Yarn)
Foundation Row: Chain 8.
Leaf Setup:
In the 4th chain from your hook, work 1 dc.
In the next chain, work 2 dc in the same stitch.
In the next chain, work 1 hdc.
In the next chain, work 1 sc.
In the last chain, work
(1 sl st + ch 1 + 1 sl st)all into the same chain (this forms the leaf tip).
Working on the opposite side of the chain:
Work 1 hdc in the next chain space.
Work 2 dc in the next chain space.
Work 1 dc in the next chain space.
Work 1 hdc and 1 sl st into the base of the leaf.
To Finish: Fasten off, leaving a long tail for sewing. Attach the leaf to the base of the brown stem at the top edge.
6. Curly Tendrils / Vines (Green Yarn)
Attach green yarn directly to the top edge next to the brown stem.
First Tendril: Chain 21 tightly. (Making tight chain stitches causes the strand to curl naturally into a spiral).
Anchor the strand back into the base with a slip stitch.
Second Tendril: Chain 25 tightly.
To Finish: Fasten off, pull the yarn securely through, and tie off the back ends. Use your fingers to manually twist each chain sequence into a tight spiral coil.
Share on Social Media!
See More:

Crochet CUTEST Guest-Welcoming BOO Ghost with Bow, Hat and Pumpkin Accessories

Tester Call: How to Crochet A Candy Corn, Pumpkin & Kawii Buddy Potted Plant Plushie

Featuring: How to Crochet the Smallest Pumpkin Fall Turtle Plushie with Orange & Parrot

Pattern Tester: How to Crochet Pumpkin Ridges Face Donut Ring Plushie for Fall

How to Crochet An Amigurumi Long-Legged Kawaii Pumpkin in Shoes Buddy

How to Granny Square with Pumpkin Applique in the Middle

Tester Pattern: To Crochet Pumpkin Hello Kitty Plushie with Big Paws Buddy

Featuring: How to Crochet Tiered Unusual Texture Pumpkin Decoration (3 Sizes)

Tester Pattern: To Crochet A Grizzly Bear Presenting You A Pumpkin Plushie
![[PDF Pattern] Crochet A Plush Autumn Acorn-Lover Plushie for Fall](https://criazalblog.com/wp-content/uploads/2026/09/crochet-squirrel-2-225x300.jpg)