Author: Talha
I am a crochet designer, macramé maker and a crafter who also loves doing MATH.
Contributor: Annie of AnnieAHMAD
She crochets and designs accessories and cute things and has been our friend since mid 2026 via mycraftybasket.
Show support for heyannieahmed!
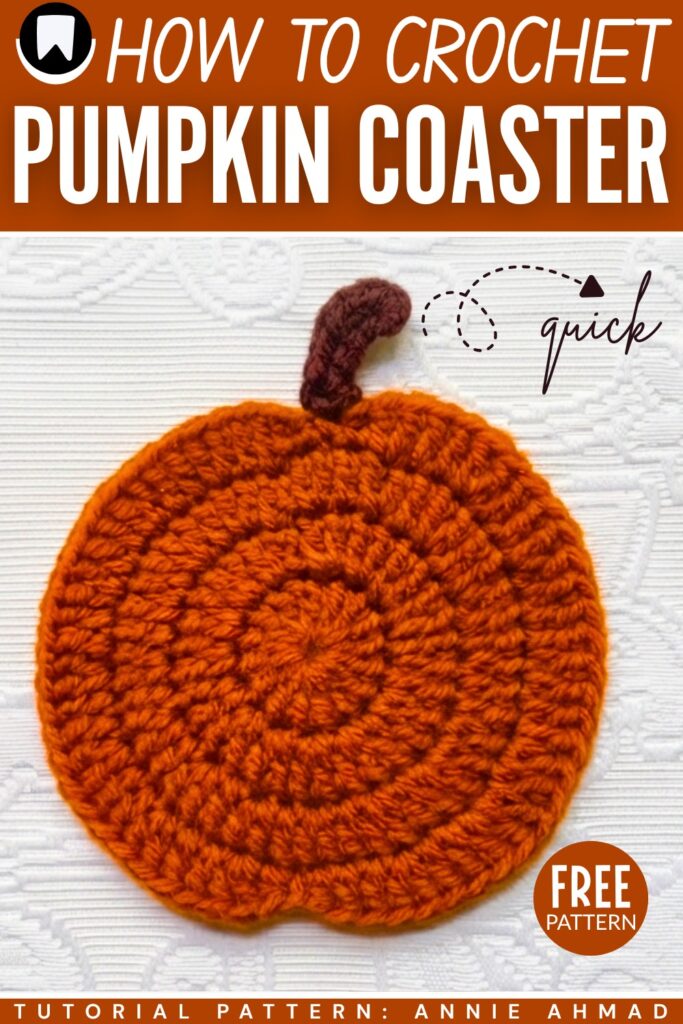
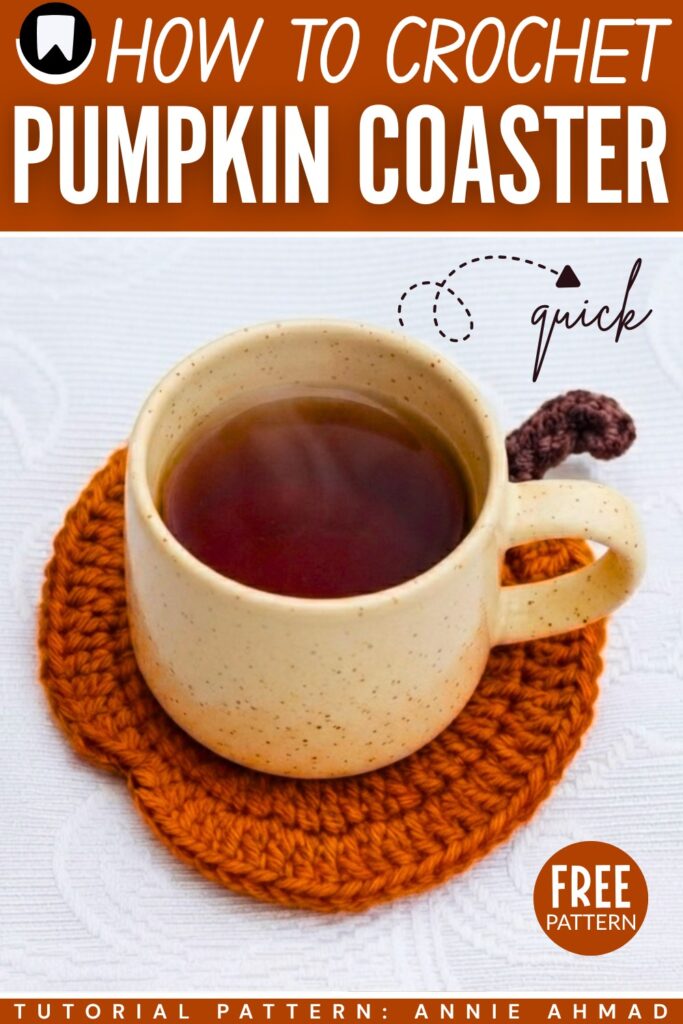
Looking for the easiest and fastest crochet decoration pattern to try this fall? Let’s try this crochet 10-minute pumpkin coaster – a REALLY elegant and SIMPLE pumpkin-themed coaster for your coffee table. This is a traditional pumpkin coaster pattern, so you can also sell it at craft fairs without having to mention any designer. You can crochet a set of 2 pumpkin cup coasters and one large pot coaster. Luckily, you only have to change the number of middle rounds to adjust the size.
This is the same crochet pumpkin coaster I also shared a pattern for a few months ago. However, this time, I have come up with a video tutorial + a more detailed crochet pumpkin coaster written pattern for absolute beginners.
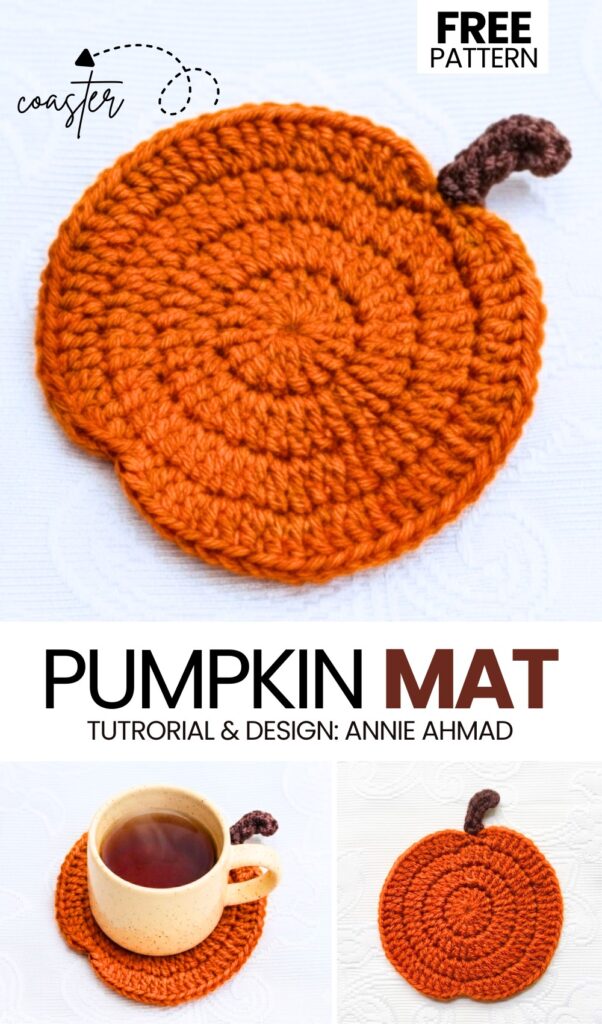
You can crochet your pumpkin coaster in golden yellow, green, and even earthy red. I would also recommend crocheting one in off-white or aqua. You can also turn your crochet coaster into a coin purse by sewing two pieces. There is also a small stem applique that is, again, quite easier to crochet. Now, continue reading to learn more about this fall coaster project as well as getting the complete tutorial to crochet one.
Similar Project(s)
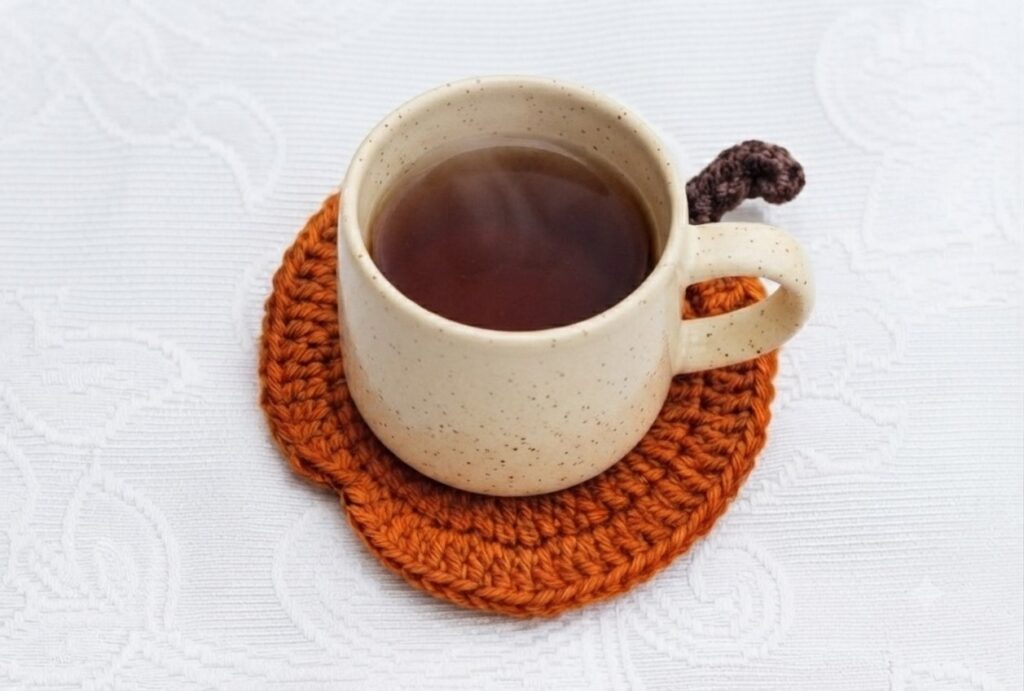
PATTERN TO CROCHET Pumpkin Coaster for Autumn
Skill Level: Beginner – Level 2
Below is a full pattern for crocheting this pumpkin coaster. Note that this is a classic pattern and made by a slight modification in the last round. That’s why it is considered easier.
Materials Needed:
Yarn: Acrylic (4-ply) in orange and brown colors.
Crochet Hook: 3.0mm.
Needle: For weaving in ends.
Stitch Marker: To keep track of your rounds.
Scissors: To cut your yarn.
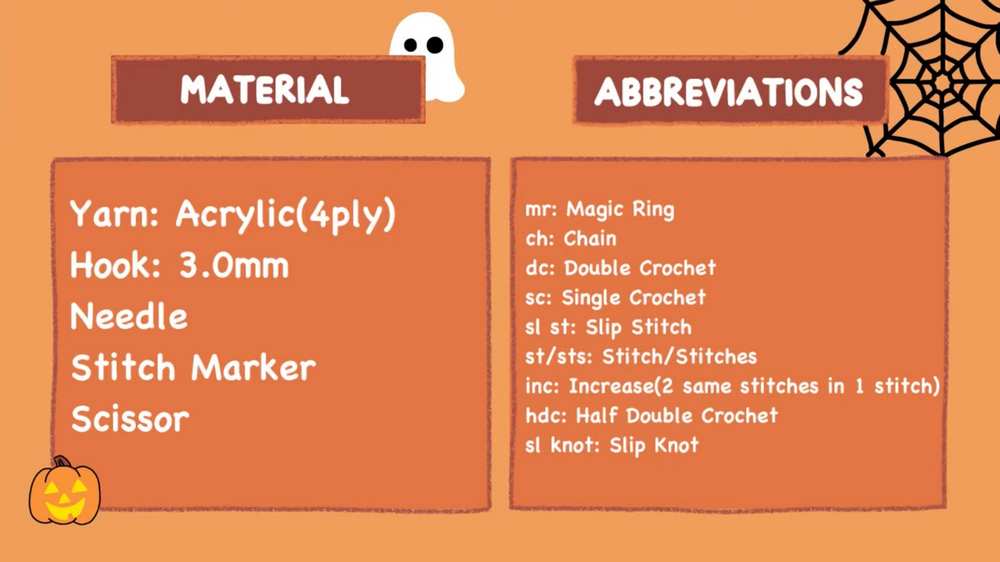
Abbreviations Used:
mr: Magic Ring.
ch: Chain.
dc: Double Crochet.
sc: Single Crochet.
sl st: Slip Stitch.
st/sts: Stitch/Stitches.
inc: Increase (2 same stitches in 1 stitch).
hdc: Half Double Crochet.
sl knot: Slip Knot.
Are you a Beginner? Learn Crocheting Easily!
You can learn to crochet this autumn’s ultimate coaster as a beginner by following this tutorial, too:
Pattern Instructions:
The Main Pumpkin Body
Start with the orange yarn.
Round 1 (R1):
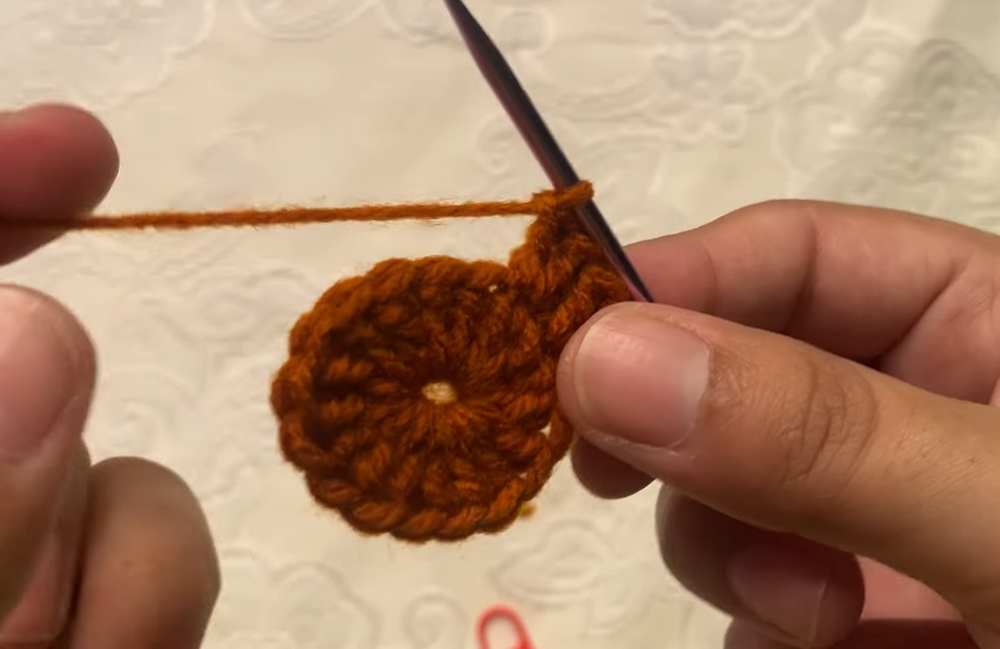
Create a magic ring (mr). Chain 2 (ch 2). Work 16 double crochets (16 dc) into the ring. Once you’ve completed your 16 stitches, pull the tail of the magic ring to tighten the center. Finish the round by making a slip stitch (sl st) into the first stitch. You should have 16 stitches at the end of this round.
Round 2 (R2):
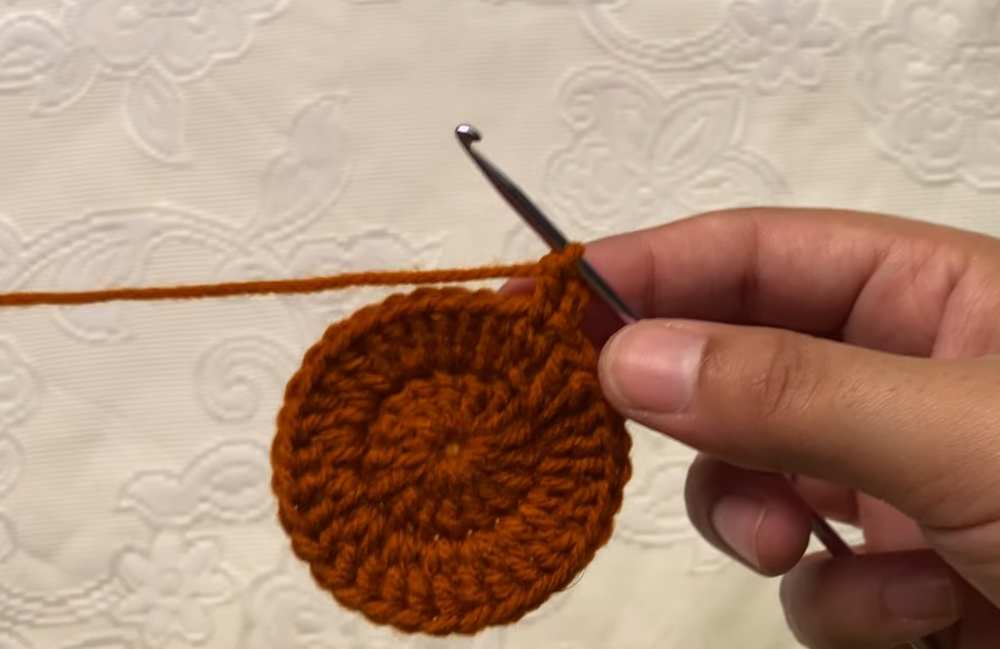
Chain 2 (ch 2). For this round, we are going to increase our stitch count by working two double crochets in each stitch. Work 2 dc in each st around (inc). This will double your stitch count. Finish with a sl st in the first stitch. You should now have 32 stitches.
Round 3 (R3):
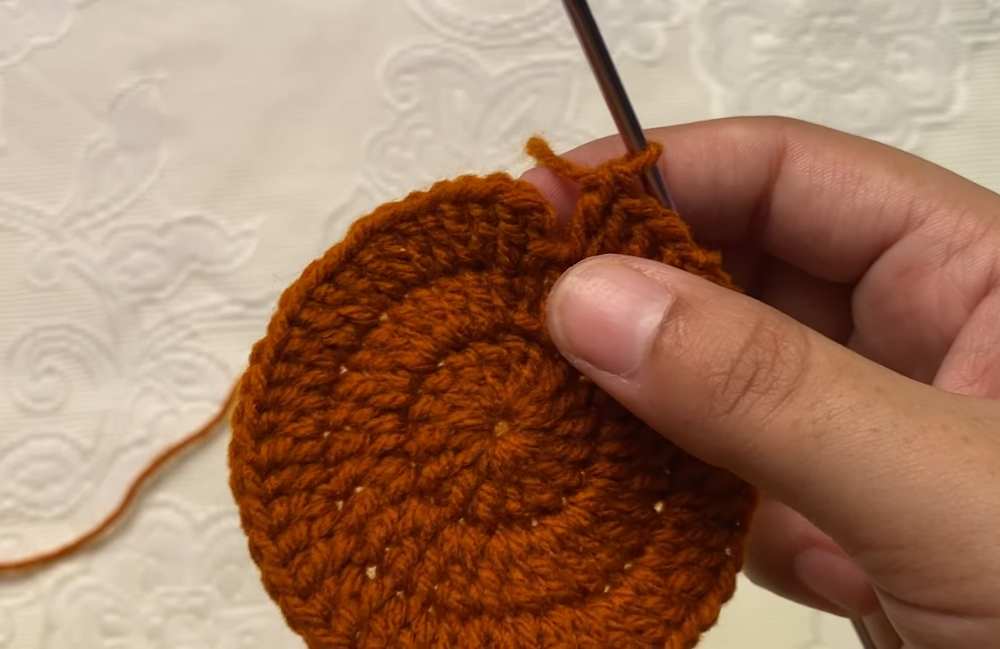
Chain 2 (ch 2). In this round, we follow a pattern of one double crochet in the first stitch and then an increase (two double crochets) in the next stitch. Work (1 dc, 1 inc) around. This pattern will help the pumpkin body grow into a flat circle. Finish with a sl st in the first stitch. You should have 48 stitches at the end of this round.
Round 4 (R4):
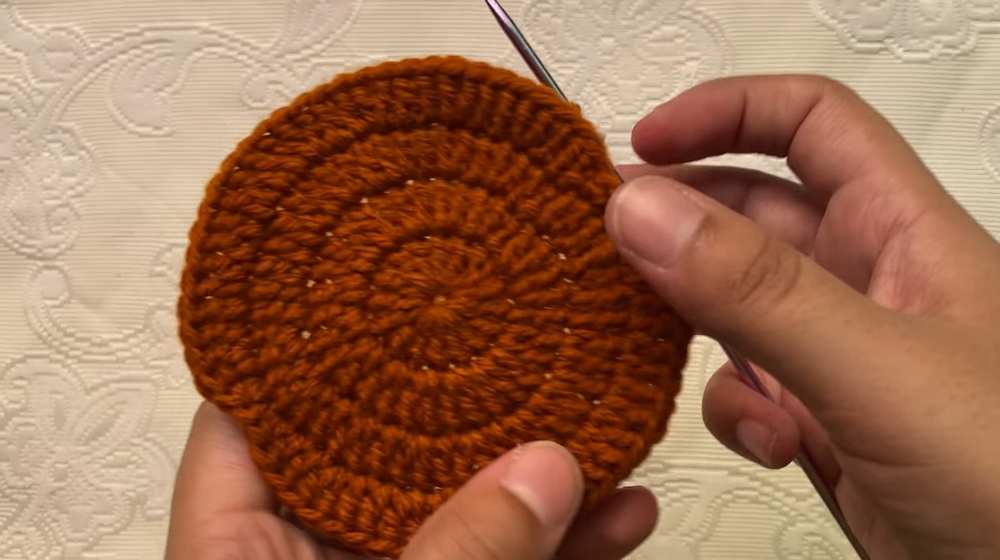
This round is where we start giving the pumpkin its characteristic shape.
Chain 2 (ch 2).
Work the pattern: (2 dc, 1 inc) a total of 7 times across the first 21 stitches.
Next 3 stitches: This is to create one of the pumpkin’s curves. Work 1 hdc, 1 sl st, 1 hdc in the next three stitches.
Next 21 stitches: Continue with the pattern: (2 dc, 1 inc) across the next 21 stitches.
Last 3 stitches: To finish the bottom of the pumpkin and create another curve, work 1 hdc, 1 sl st, 1 hdc in the last three stitches.
Once the round is complete, cut your orange yarn, leaving a short tail. Thread your needle and weave the end neatly into the back of your work to secure it.
The Pumpkin Stem
Switch to the brown yarn.
Start with a slip knot (sl knot) and attach the yarn to the top center of your pumpkin, where you want the stem to be.
Chain 5 (ch 5).
Working back down the chain:
In the second chain from your hook, work 2 sc (2inc).
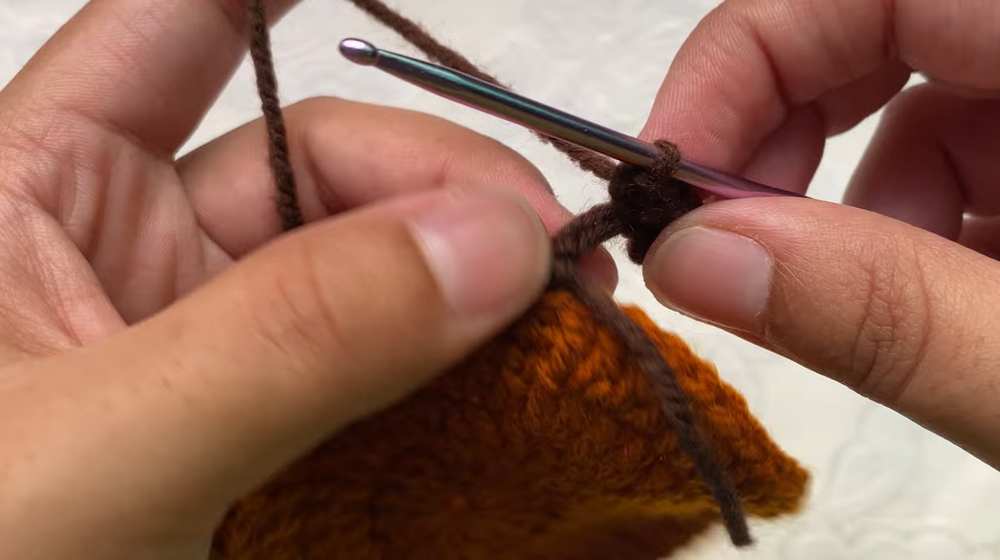
In the next chain, work 2 sc (2inc).
In the remaining two chains, work 1 sc each (2 sc total).
Finish by making a slip stitch (sl st) into the same stitch where you attached the yarn.
Cut the yarn, weave in the ends, and your pumpkin stem is complete!
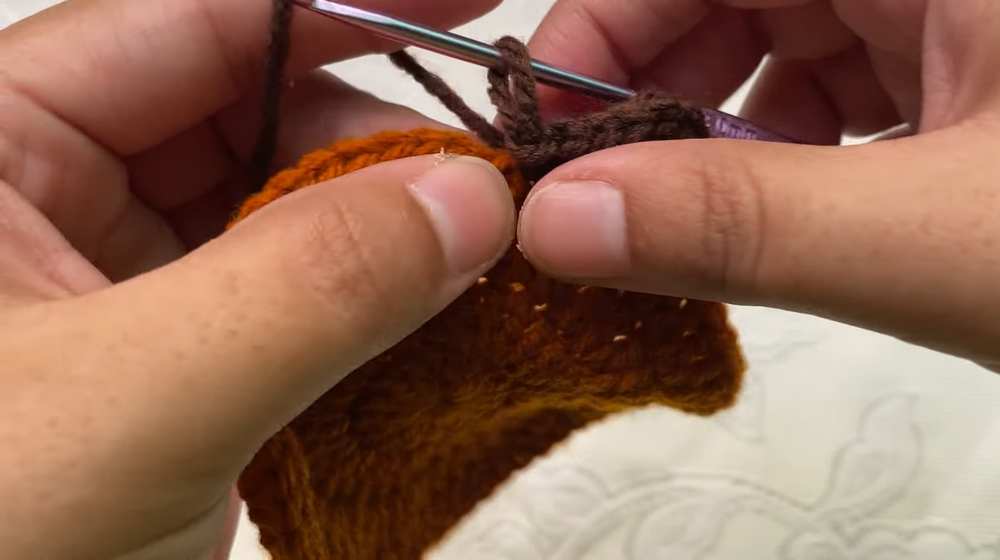
Your pumpkin coaster is now finished! The increases in the main body help it lie flat, while the hdc and slip stitches in the final round give it that subtle pumpkin shape. This project is a great way to use up leftover yarn and makes for a festive addition to your home during the autumn season. Happy crocheting!
Share on Social Media!
See More:

How to Granny Square with Pumpkin Applique in the Middle

Tester Pattern: To Crochet Pumpkin Hello Kitty Plushie with Big Paws Buddy

Featuring: How to Crochet Tiered Unusual Texture Pumpkin Decoration (3 Sizes)

Tester Pattern: To Crochet A Grizzly Bear Presenting You A Pumpkin Plushie

Tester Pattern: To Crochet A Witch Cat Plush Gifting You A Pumpkin Softie
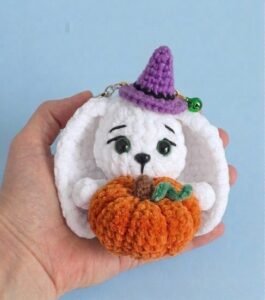
Tester Pattern: Free Crochet Pumpkin-Holding Witch Bunny Plushie Pattern
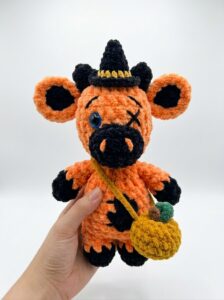
Tester Pattern: How to Crochet Spooky Cow with Pumpkin Bag Plushie
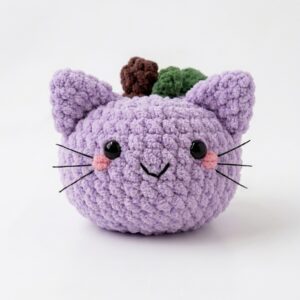
Tester Pattern: How to Crochet Smiling Pumpkin Kitty Cat Plushie
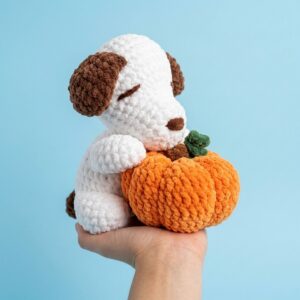
Featuring: How to Crochet Pumpkin Lover Puppy Plushie for Fall Decorations