Author: Talha
I am a crochet designer, macramé maker and a crafter who also loves doing MATH.
Contributor: Annie of AnnieAHMAD
She crochets and designs accessories and cute things and has been our friend since mid 2026 via mycraftybasket.
Show support for heyannieahmed!
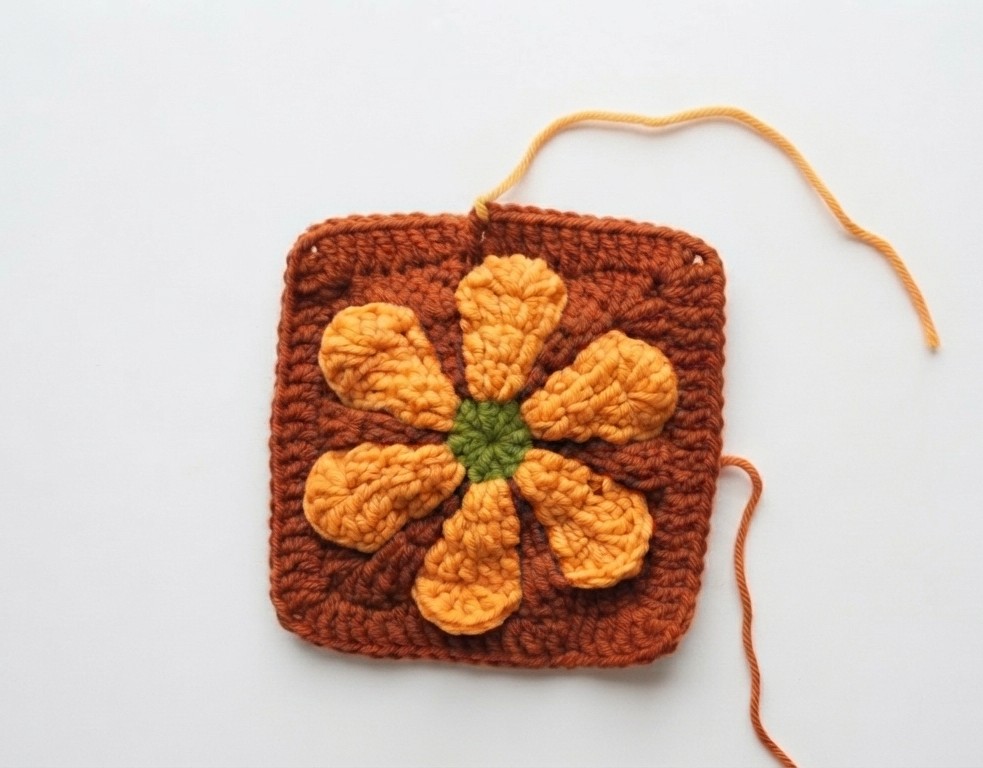
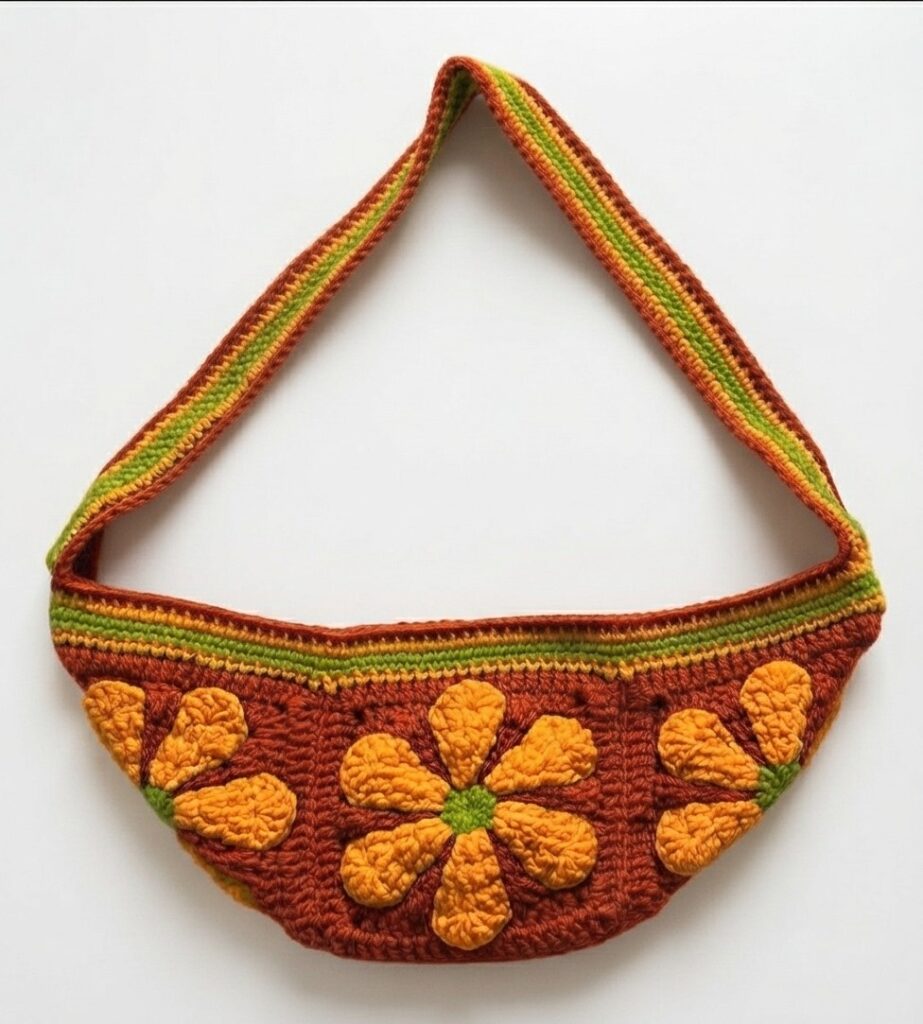
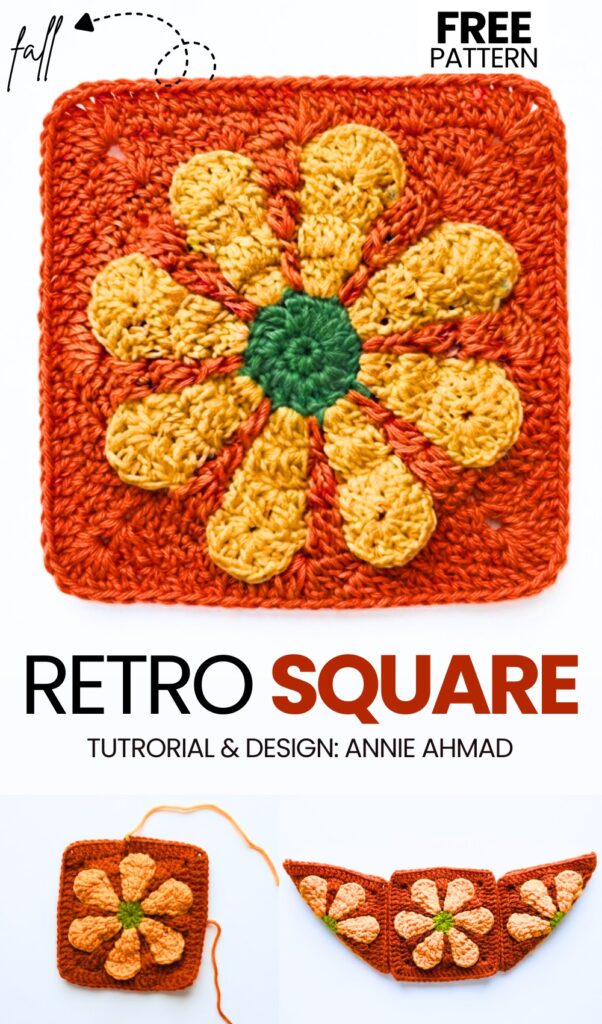
For this year’s back-to-school, learn how to crochet this 70s retro granny square handbag following a free pattern + video tutorial. This is a crochet crossbody moon bag with a striped no-sew crochet handle and rim crocheted with a fall-colors variation of the viral retro daisy granny square. This crochet handbag pattern only requires 4 daisy squares. You can charm up your bag with crochet fall leaves, crochet baby ghost keychains, and even daisy flowers.
You can also crochet a small pouch for this fall handbag following our granny square coin purse tutorial. The striped colorwork of this crochet retro square fall bag is so beautifully done.
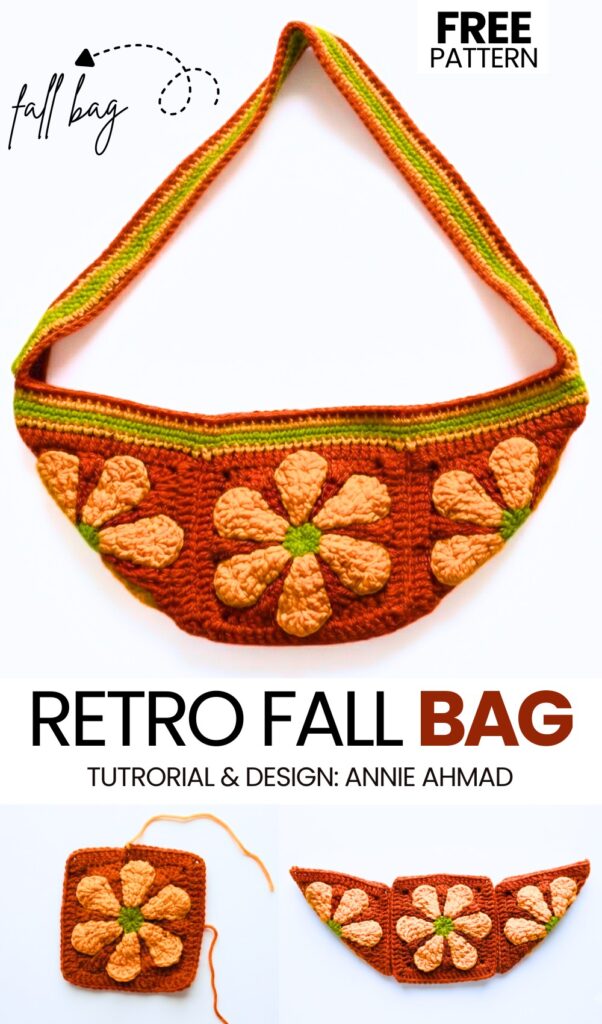
You can also check my shoulder crochet bag series for learning how to crochet more interesting themed and textured crochet bags. Today, we are crocheting this 3D square handbag that can hold your makeup, mobile phone, and small purse. You can also crochet it as a carry-around yarn & hook holder. Anyway, continue reading to learn how to crochet the daisy square + assembling the bag in detail.
Similar Project(s)
Pattern to Crochet Daisy Retro Square Bag for Back-to-School
Skill Level: Beginner – Level 3
Materials Needed
Yarn: Medium-weight (4) acrylic or cotton yarn in four colors:
Forest Green (for the flower centers and strap accent)
Bright Orange (for the petals)
Navy Blue (for the background and bag body)
Golden Yellow (for the accents and borders)
Crochet Hook: 3.5mm or 4.0mm (adjust based on your tension)
Scissors
Yarn Needle
Zipper: 10–12 inch zipper matching your yarn
Fabric: Half a yard of cotton or polyester fabric for the lining
Stitch Markers
Pattern Abbreviations (US Terms)
MR: Magic Ring
Ch: Chain
St: Stitch
Sl St: Slip Stitch
Sc: Single Crochet
Hdc: Half Double Crochet
Dc: Double Crochet
- Inc: Increase (two stitches in the same space)
Are you a Beginner? Learn Crocheting Easily!
You can learn to crochet this UNIQUE fall handbag as a beginner by following this tutorial, too:
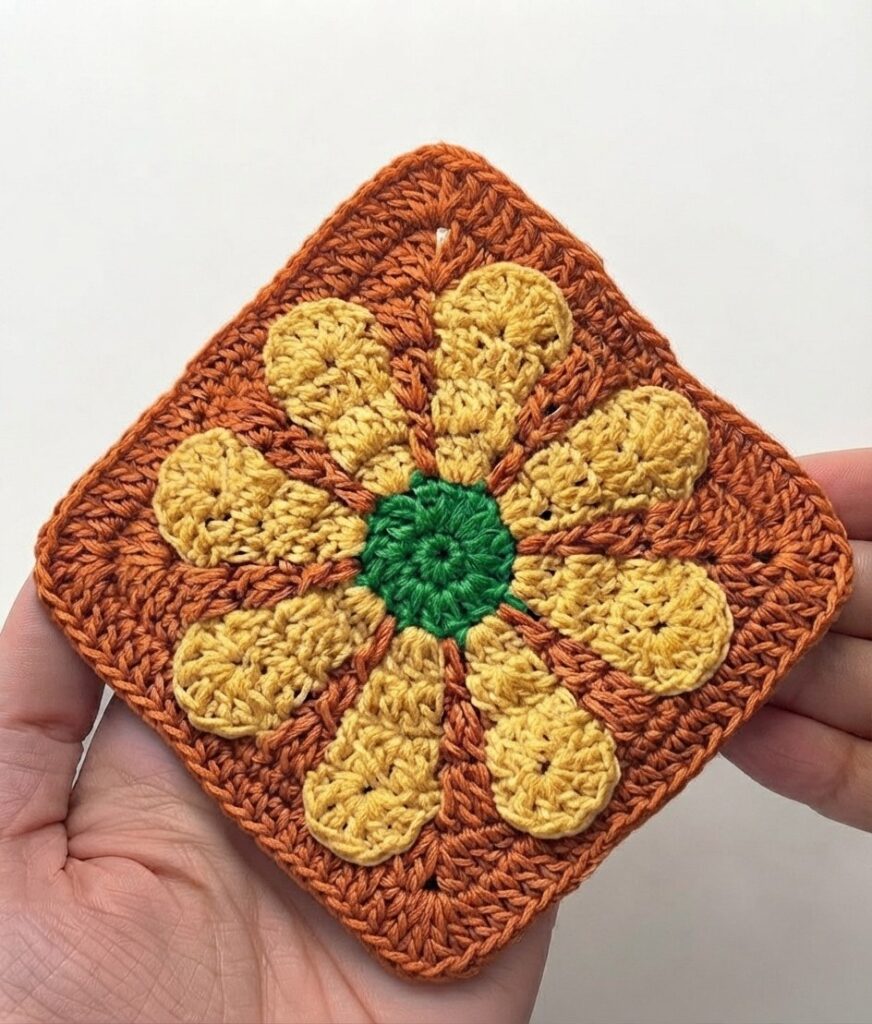
Part 1: The Daisy Granny Square (Make 4)
The heart of this fanny pack is the daisy square. You will need four identical squares to form the front panel of the bag.
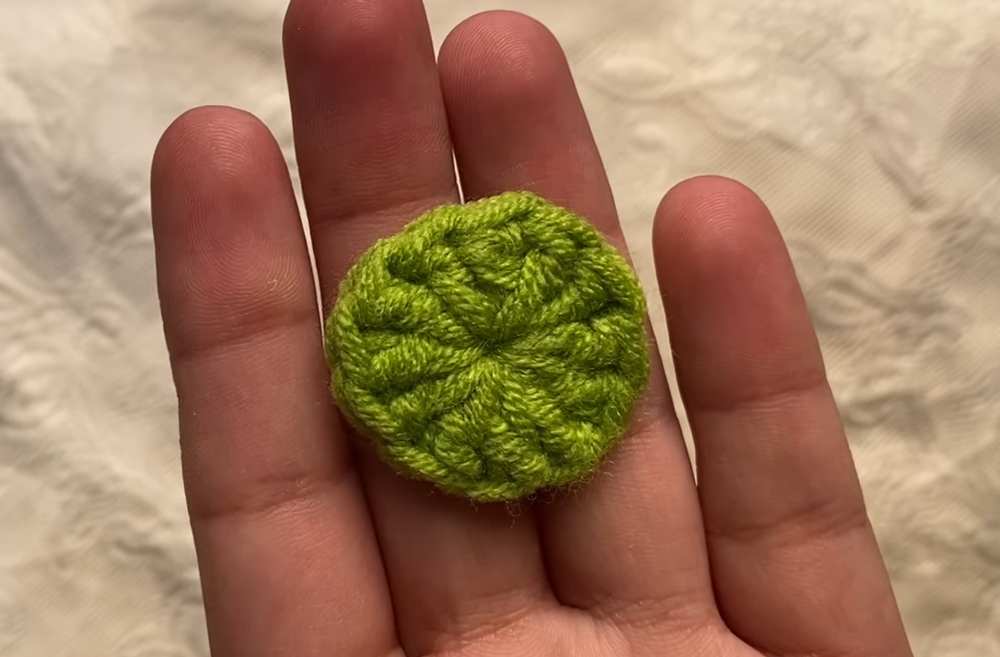
Step 1: The Flower Center (Green Yarn)
Begin by making a Magic Ring (MR). This ensures the center of your flower is tight and seamless.
Round 1: Chain 3 (this counts as your first double crochet). Work 11 Double Crochets (dc) into the ring. You should have a total of 12 dc including the starting chain.
Pull the tail of the magic ring to close the center hole.
Join with a Slip Stitch (sl st) into the top of the initial Ch-3. Fasten off the green yarn.
Step 2: The Petal Base (Orange Yarn)
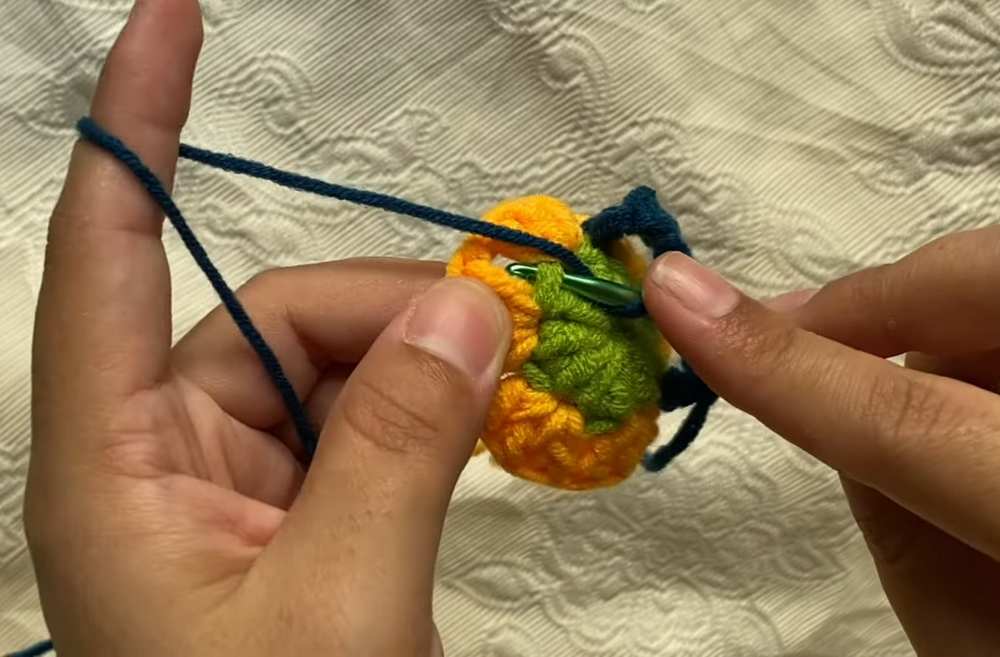
Attach your orange yarn to any stitch from the previous round with a Slip Knot.
Round 2: (Skip the next stitch, work 3 dc into the following stitch) * Repeat 5 more times.
This creates six clusters of 3-dc around the circle. Chain 1 and join with a sl st.
Round 3: Chain 3 (counts as dc). Work another dc into the same stitch. Chain 5.
(Work 2 dc in the next cluster space, Ch 5) * Repeat around to complete the 6-petal foundation. Fasten off.
Step 3: The Background and Squaring (Navy Blue Yarn)
Now we transform the circular flower into a square shape.
Attach Navy Blue yarn behind the petals.
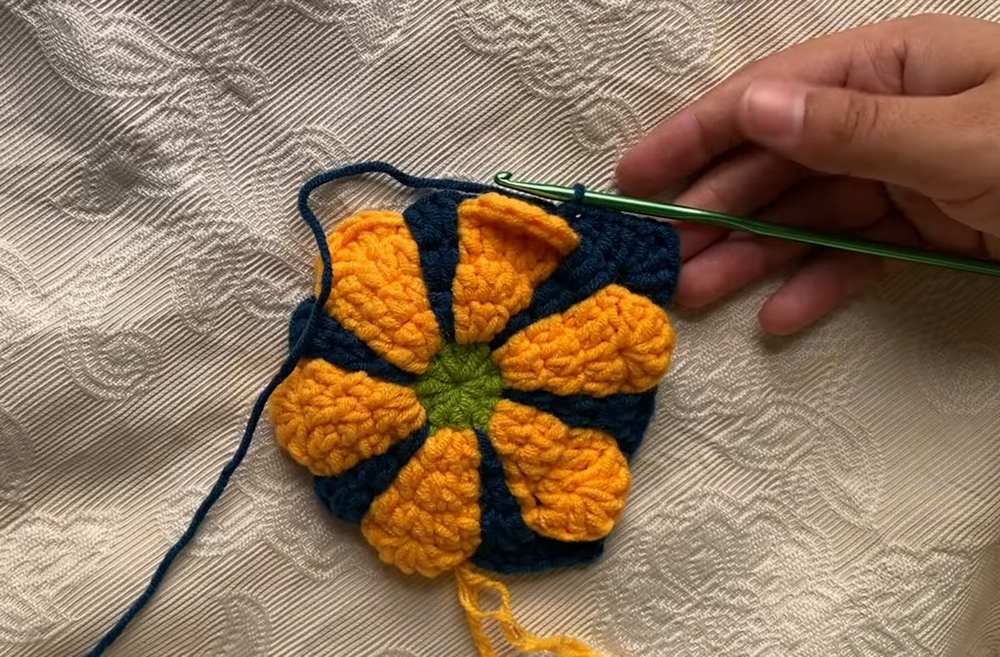
Round 4: Chain 3, work an increase (2 dc), then 1 dc. Chain 2.
Follow the pattern: (dc, inc, dc, Ch 2) repeat 5 times around. This fills in the gaps between the orange petals.
Round 5: This is the “Squaring Round.” Ch 3, 4 dc. In the corner space, work (2 dc, Ch 2, 2 dc). Work 15 dc along the side.
Repeat the corner and side pattern until you have a perfect square. The blue stitches should frame the orange petals, making them “pop” outward for a 3D effect.
Part 2: Assembling the Squares
Once you have four finished squares, it is time to turn them into the bag’s body.
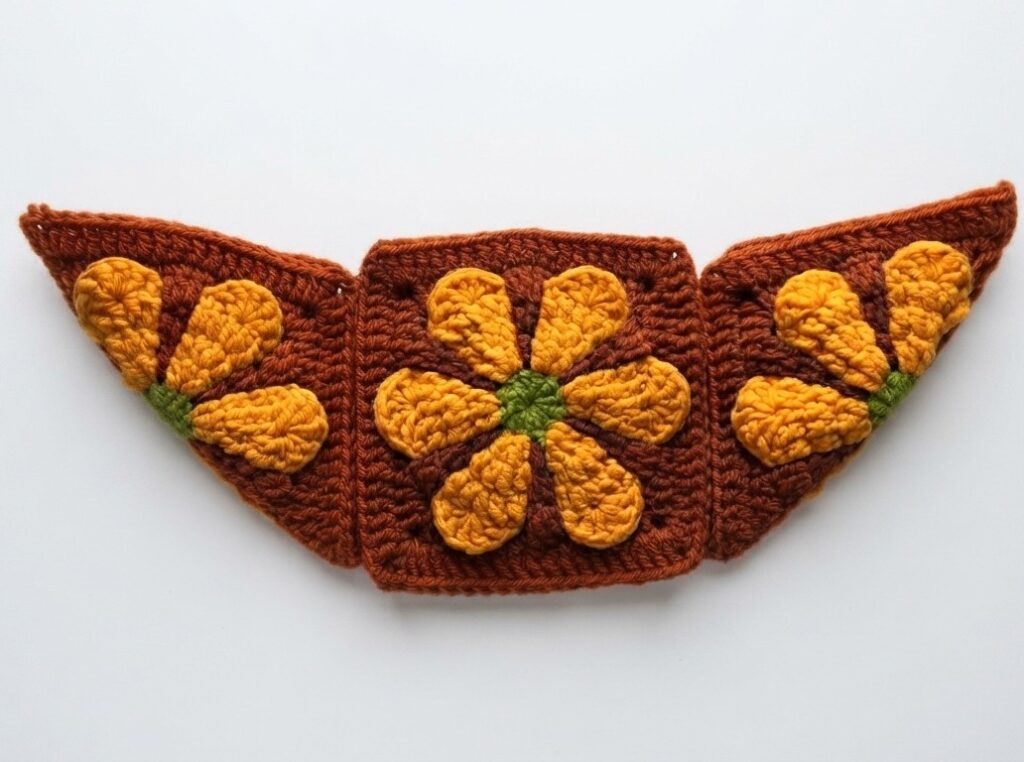
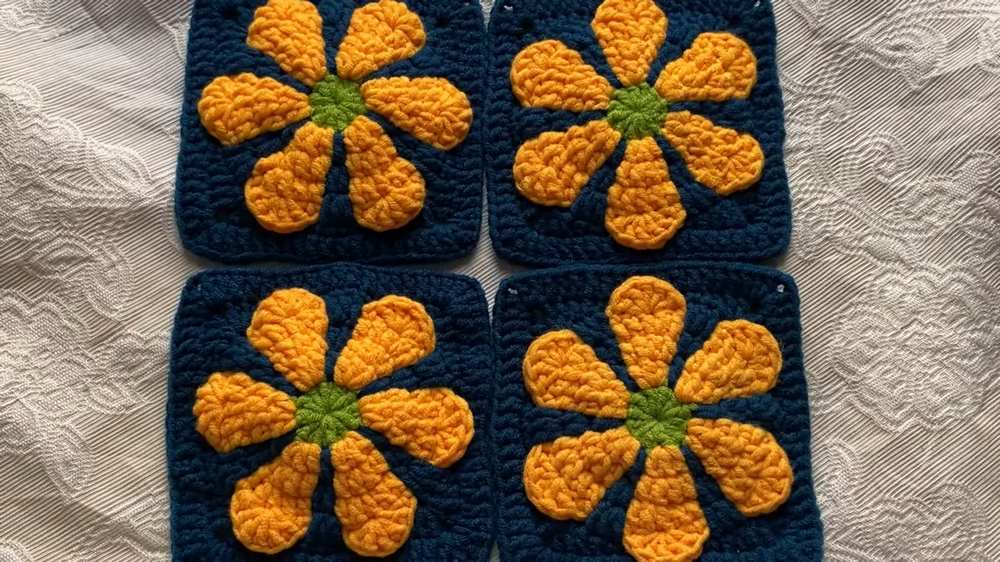
Layout: Lay the four squares side-by-side in a horizontal row.
Joining: Use the Navy Blue yarn and a yarn needle to sew the squares together. Use a Whip Stitch or a Mattress Stitch through the back loops only. This creates a flat, invisible seam.
The Shape: Unlike a standard tote bag, a fanny pack needs to be slightly tapered. Once joined, you will notice the row is long. Fold the outer squares slightly inward to begin visualizing the “pouch” shape.
Part 3: Building the Bag Body
Now we add rows to the top and bottom of the joined squares to create height and the bag’s opening.
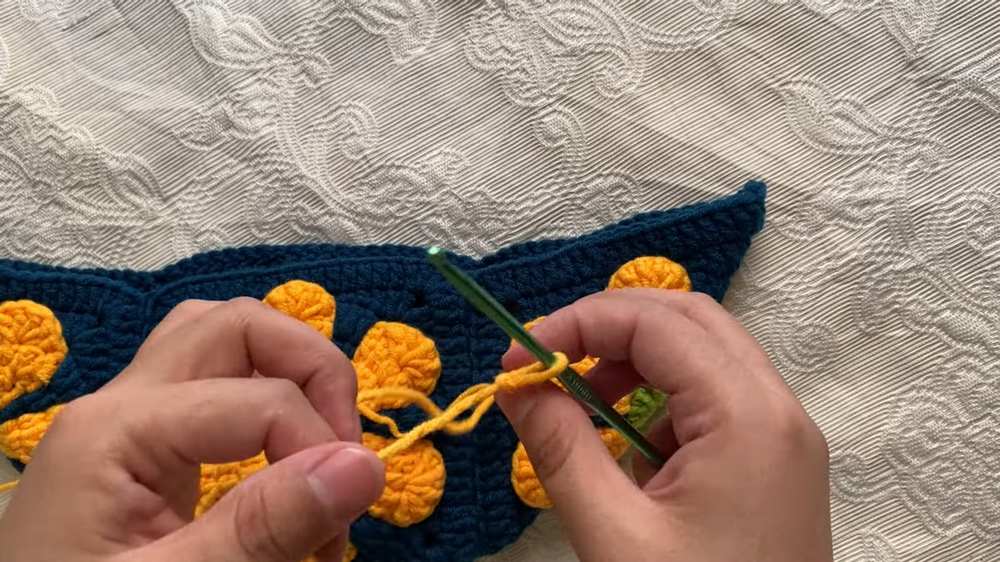
Top Edging (Navy Blue): Attach yarn to the top corner of the row. Work 1 row of Double Crochet (dc) across the entire length.
Shaping the Opening:
Switch to Yellow yarn. Attach with a slip knot and work a row of Single Crochet (sc).
Switch back to Green yarn. Work another row of sc.
Switch to Orange yarn. Work a row of sc.
Finish with 4 rows of sc in Yellow. This creates a thick, sturdy “lip” where the zipper will eventually be attached.
Bottom Tapering: On the bottom of the squares, work rows of sc, decreasing at the far edges to create a rounded bottom. This ensures the fanny pack sits comfortably against the hips.
Part 4: The Adjustable Strap
A fanny pack needs a strong strap that won’t stretch out over time.
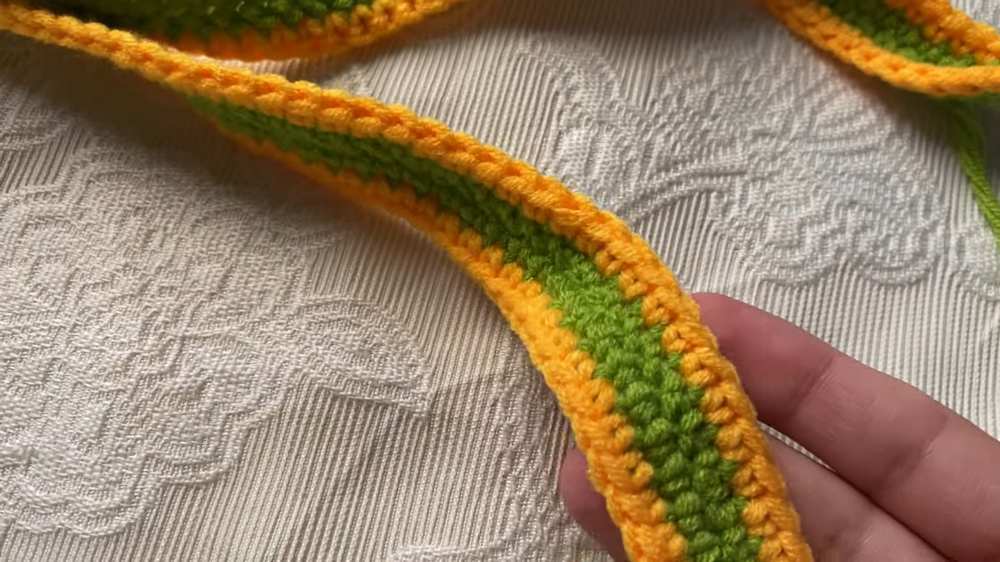
Foundation: Using Green yarn, Chain 101.
Row 1: Skip the first chain, work 100 sc across.
Rows 2–3: Continue in sc. Fasten off.
Bordering the Strap: Attach Yellow yarn to the edge of the green strap. Work sc all the way around the long rectangle. This adds width and prevents the green center from curling.
Attachment: Sew one end of the strap firmly to the left side of the bag body. The other end will be sewn to the right side after checking for your desired length.
Part 5: Lining and Zipper Insertion
Crochet is full of holes, so a lining is essential to keep small items like keys or coins from falling out.
Step 1: Preparing the Fabric
Lay your finished crochet bag onto your lining fabric.
Trace around the bag, leaving an extra half-inch for seam allowance. Cut two pieces (front and back).
Pin the pieces right-sides together and sew around the sides and bottom. Leave the top open.
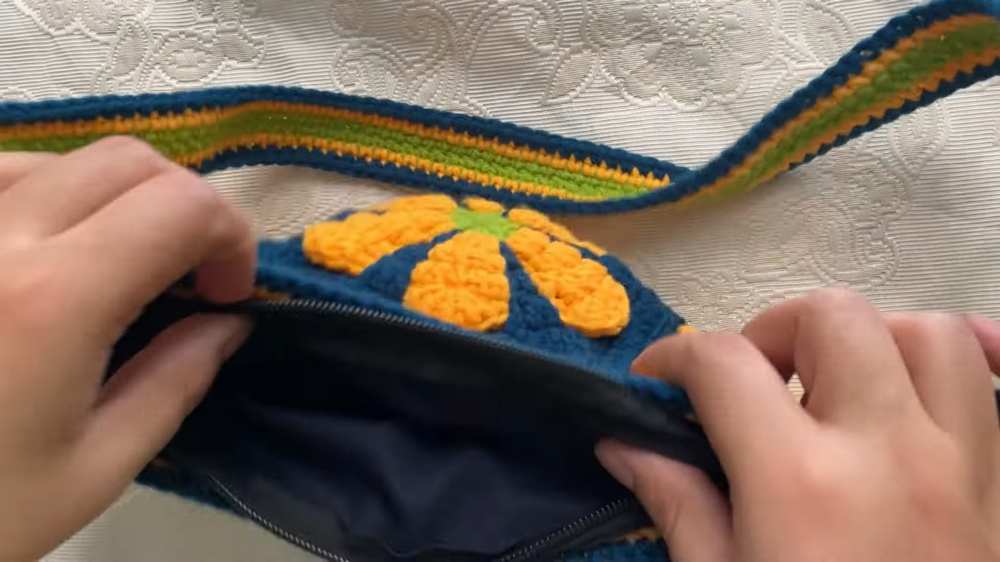
Step 2: Installing the Zipper
Take your zipper and pin it to the top edges of the fabric lining.
Using a needle and strong sewing thread, sew the zipper to the fabric.
Pro Tip: Open the zipper halfway while sewing to make it easier to navigate around the slider.
Step 3: Joining Lining to Crochet
Insert the fabric pouch into the crochet bag.
Align the zipper edges with the final Yellow rows of your crochet work.
Using a needle and thread (matching the yarn color), use a Running Stitch or Backstitch to sew the top of the crochet bag to the zipper tape. Ensure your stitches go through the crochet yarn and the zipper tape, but stay hidden from the outside.
Part 6: Finishing Touches
Weave in Ends: Use your yarn needle to weave in every single loose tail. Multi-color projects like this have many ends; secure them well so the bag doesn’t unravel with use.
Blocking: If your squares look a bit “wavy,” lightly steam the bag with an iron (do not touch the iron to the acrylic yarn, just use the steam) to flatten the motifs.
Hardware (Optional): If you prefer an adjustable strap, you can add a plastic or metal buckle to the strap instead of sewing both ends directly to the bag.
Your Daisy Motif Fanny Pack is now complete! This project combines the intricate beauty of floral granny squares with the practical construction of a modern accessory. The contrast between the deep Navy background and the bright Orange and Yellow flowers creates a beautiful bag that works for summer festivals, casual walks, or as a unique handmade gift.
Share on Social Media!
See More:
Tester Pattern: How to Crochet Spooky Cow with Pumpkin Bag Plushie
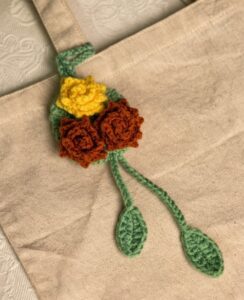
How to Crochet Autmun-Colored Rose Bag Charm for Gifting
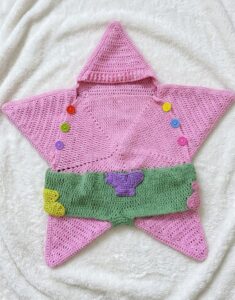
How to Crochet NEW Patrick Star Sleeping Bag for Moms

How to Crochet A Funny Minion Bag Charm Amigurumi for Kids
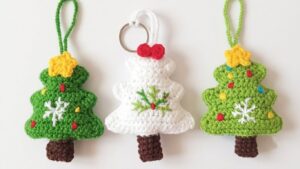
How to Crochet A Christmas Tree Bag Charm with Snowflake Embroidery
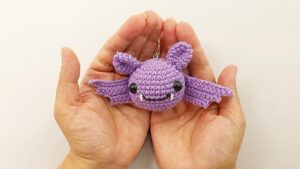
How to Crochet An Absolutely CUTE Crochet Bat Amigurumi Bag Charm
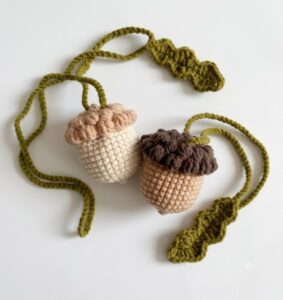
Featuring: How to Crochet 2-in-1 Acorn Bag Charm Pouch + Oak Leaf Tutorial
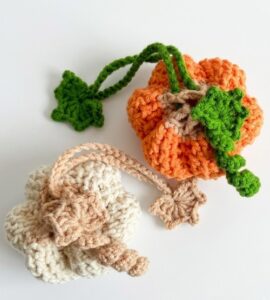
Featuring: How to Crochet 2-in-1 Pumpkin Treat Bag & Charm for Fall & Hallowen