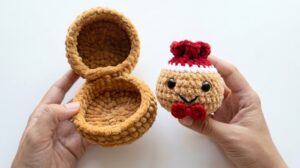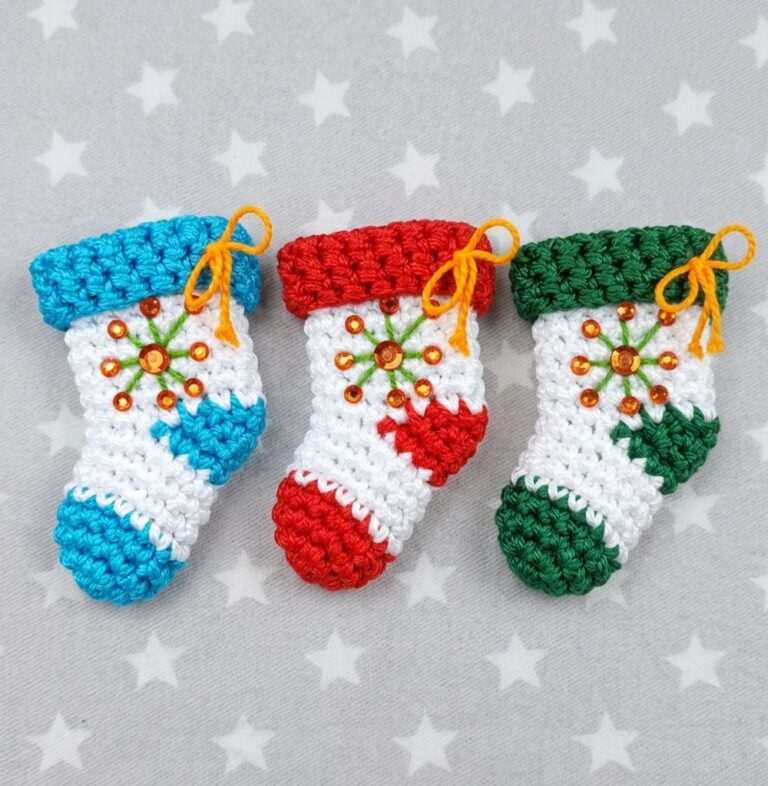
Learn to crochet another SUPER cute variation of the Christmas tree in today’s tutorial! Introducing the crochet last-minute, no-sew Christmas tree holiday decoration that does not need any stuffing and is designed especially for beginners. This small crochet tree bag charm is also part of the “beginners can prepare for Christmas tree with crochet” series.
The idea is to crochet small ruffles using surface stitching after crocheting the Christmas tree base.
It is so small that you can also crochet your Christmas tree as a hair clip charm. You can also crochet your Christmas tree using the skinny push yarn. Anyway, continue reading for learning more about this simple and easy crochet Christmas tree pattern!
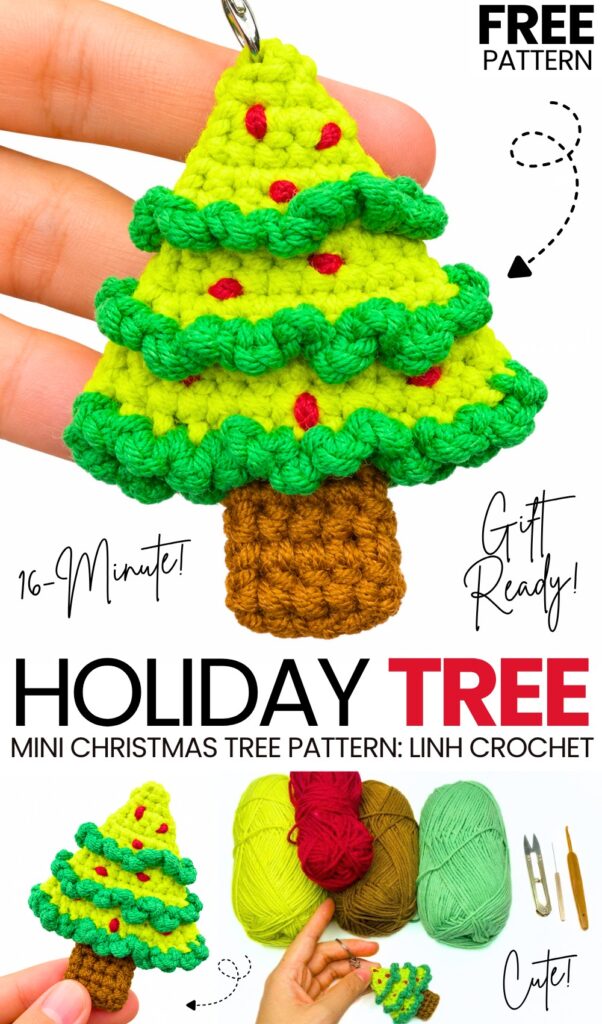
Pattern to Crochet the Mini No-Sew Christmas Tree
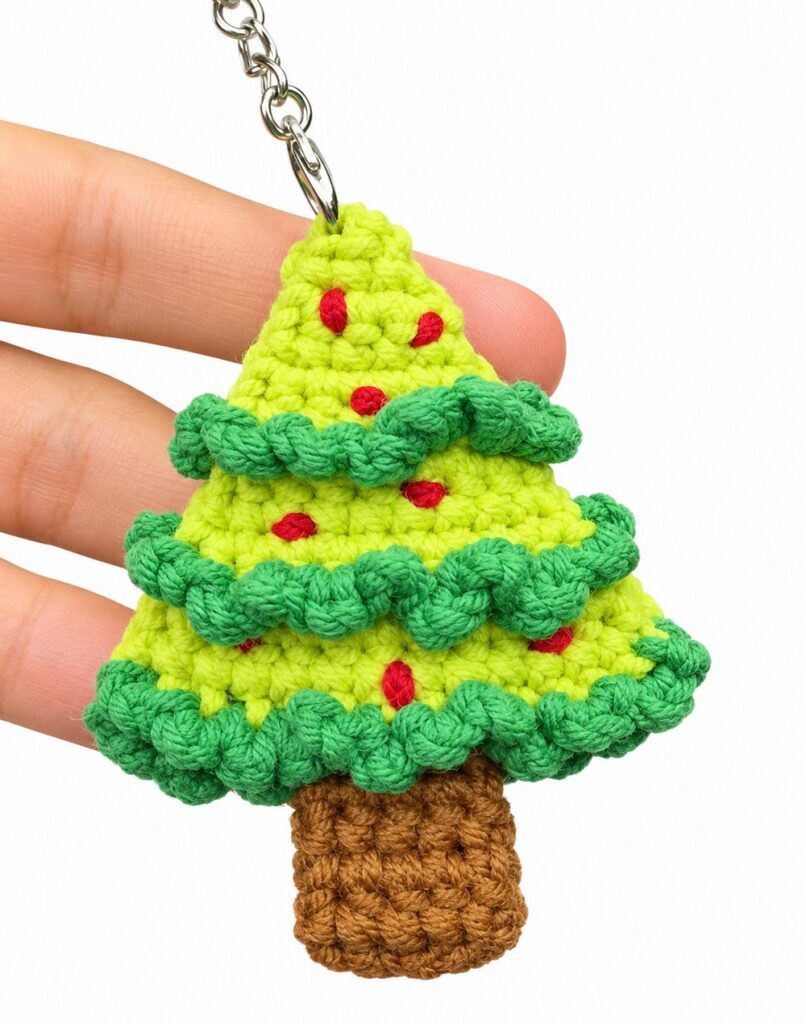
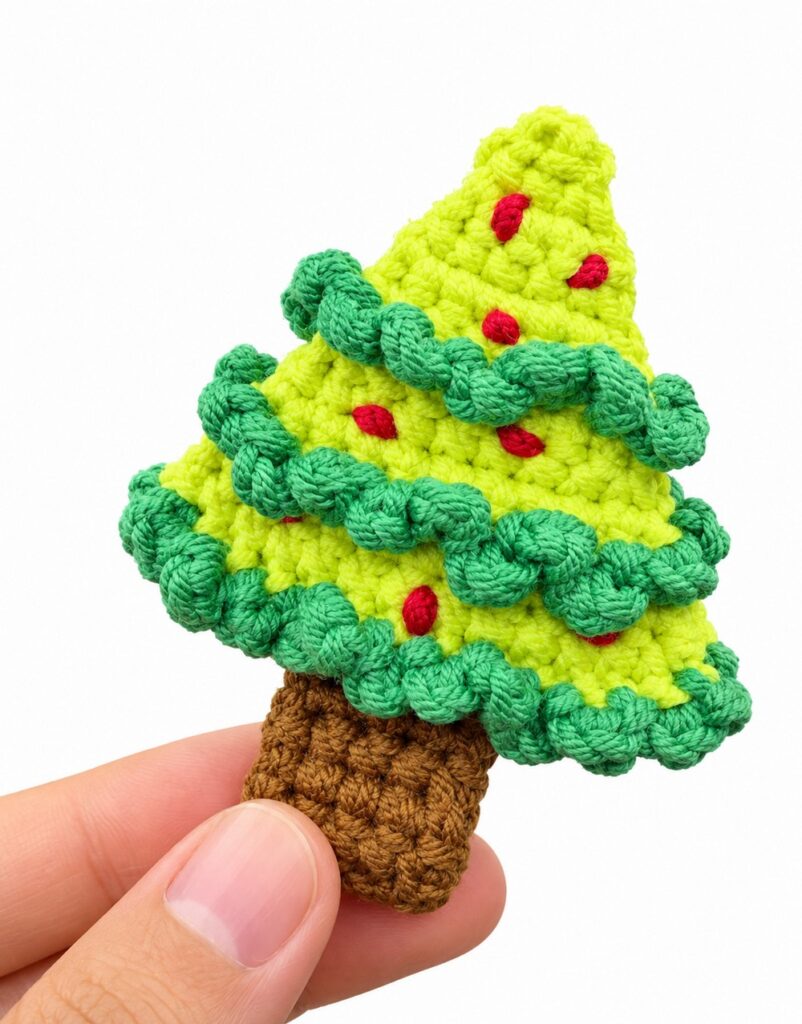
This project is a small flat Christmas tree that you can use as a hanging ornament or key chain. You make two flat green tree parts using single crochet stitches and chain stitches for the tree edges. Then, you make one brown tree trunk part.
You tie small red yarn knots on the front green tree part to look like Christmas tree balls. Last, you glue or sew the two green tree parts together with the brown trunk in the middle and add a hanging loop on top.
Materials Needed
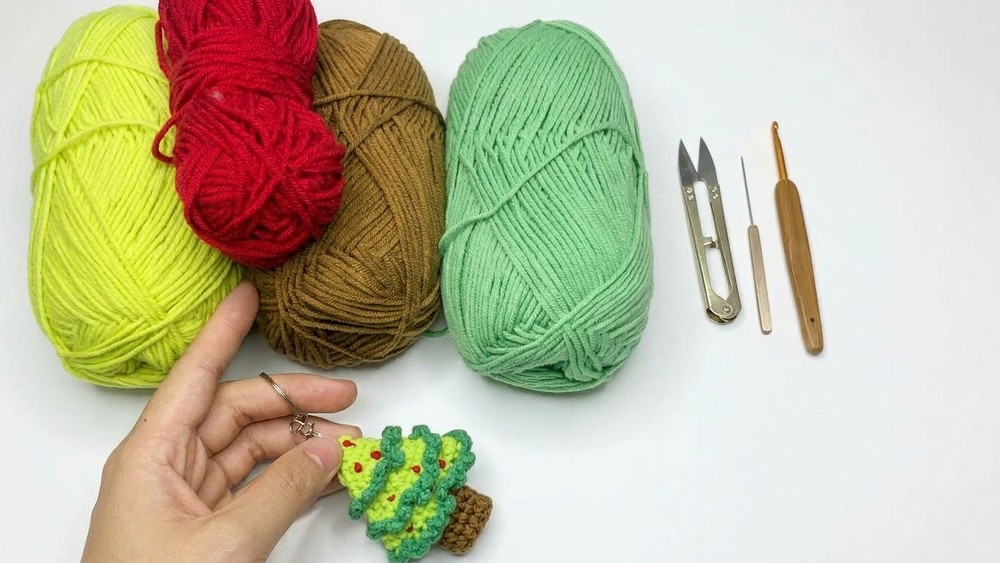
Yarn: 5-ply yarn (about 2 mm thick) in Light Green, Dark Green, Brown, and Red
Crochet Hook: 2.5 mm hook
Tapestry Needle / Yarn Needle
Scissors
Craft Glue (or hot glue)
Keychain Ring or Hanging Cord
Abbreviations & Terms
Magic Ring: Adjustable loop to start
ch: Chain
sc: Single Crochet
inc: Single Crochet Increase (2 single crochet stitches in the same stitch)
sl st: Slip Stitch
FLO: Front Loop Only
BLO: Back Loop Only
Are you a Beginner? Learn Crocheting Easily!
You can learn to crochet better with this miniature flat-stem Christmas tree tutorial or continue with the pattern below:
Crochet Pattern Instructions
Part 1: Main Tree Body (Make 2 Parts)
Use Light Green Yarn.
Magic Ring: Start with a magic ring. Chain 1, make 2 sc into the ring. Pull the ring tight. (2 stitches)
Row 1: Chain 1, turn. Work 1 sc in the first stitch, then work 1 inc in the next stitch. (3 stitches)
Row 2: Chain 1, turn. Work 1 sc in each of the first 2 stitches, then work 1 inc in the last stitch. (4 stitches)
Row 3: Chain 1, turn. Work 1 sc in each of the first 3 stitches, then work 1 inc in the last stitch. (5 stitches)
Row 4: Chain 1, turn. Work 1 sc in each of the first 4 stitches, then work 1 inc in the last stitch. (6 stitches)
Row 5: Chain 1, turn. Work 1 sc in each of the first 5 stitches, then work 1 inc in the last stitch. (7 stitches)
Row 6: Chain 1, turn. Work in FLO only: Work 1 sc in each of the first 6 stitches, then work 1 inc in the last stitch. (8 stitches)
Note: This leaves the back loops open for making the dark green leaf edges later.
Row 7: Chain 1, turn. Work in both loops as normal: Work 1 sc in each of the first 7 stitches, then work 1 inc in the last stitch. (9 stitches)
Row 8: Chain 1, turn. Work 1 sc in each of the first 8 stitches, then work 1 inc in the last stitch. (10 stitches)
Row 9: Chain 1, turn. Work in BLO only: Work 1 sc in each of the first 9 stitches, then work 1 inc in the last stitch. (11 stitches)
Note: This leaves the front loops open for making the dark green leaf edges later.
Row 10: Chain 1, turn. Work in both loops as normal: Work 1 sc in each of the first 10 stitches, then work 1 inc in the last stitch. (12 stitches)
Row 11: Chain 1, turn. Work 1 sc in each of the first 11 stitches, then work 1 inc in the last stitch. (13 stitches)
Fasten off and pull the yarn tight to finish.
Part 2: Dark Green Leaf Edges
Use Dark Green Yarn.
Attach the dark green yarn to the open loops left from Row 6 and Row 9, as well as the outer front loops along the bottom edge of the tree:
For Row 6 & Row 9 Loops: Join dark green yarn in the first loop.
[Chain 3, slip stitch into the next loop]— repeat this sequence across the entire row of loops. Fasten off.For Bottom Edge: Join dark green yarn to the outer loops along the bottom edge.
[Chain 3, slip stitch into the next loop]— repeat this sequence across the bottom edge. Fasten off.
Part 3: Tree Trunk
Use Brown Yarn.
Row 1: Make a slip knot and chain 4.
Row 2: Chain 1, turn. Work 1 sc into each of the 4 chain stitches. (4 stitches)
Rows 3–17: Chain 1, turn. Work 1 sc into each of the 4 stitches. (4 stitches per row)
Fasten off after completing 17 rows, leaving a short tail.
Assembly & Decoration
Add Red Ornaments: Take a short piece of thin red yarn. Thread it through the front green tree piece and tie small French knots or simple tight knots to make red Christmas tree ornament balls.
Attach Trunk: Place the brown tree trunk piece between the bottom middle of the front green tree piece and the back green tree piece.
Join Pieces: Use glue or yarn to attach the front green tree piece, the brown trunk, and the back green tree piece together.
Hanging Loop: Attach a metal keychain ring or tie a loop of green yarn at the top point of the tree.
Share on Social Media!
See More:

Featuring: How to Crochet Snow Buddy in A Beanie Treat Bag for Christmas

How to Crochet Christmas Gift Smiling Santa Mobile Phone Pouch and Gift Bag
How to Crochet White & Blue Bead Decorated Mini Boot Ornament for Christmas
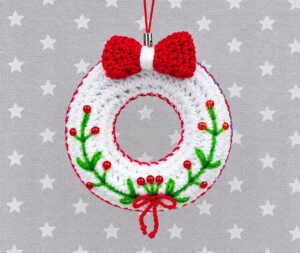
How to Bow and Bead Decorated Christmas Wreath Rings for Beautiful Garlands
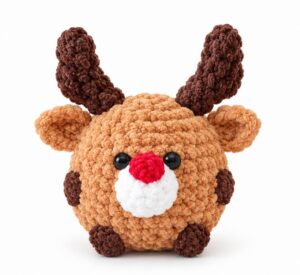
Featuring: How to Crochet A Red-Nosed Animal Buddy Christmas Plushie
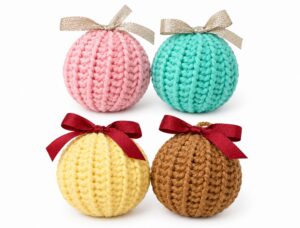
How to Crochet 4 Set Ribbed Decoration Christmas Festive Ball Ornaments
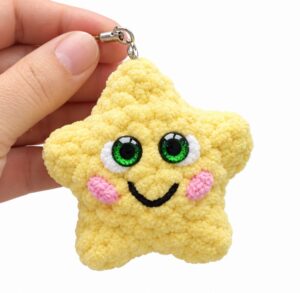
How to Crocet Holdiday Mr. Smiling Star Plushie for Christmas Gifting
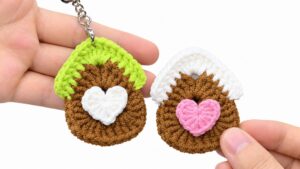
How to Crochet the CUTEST Mini Christmas Applique Keychain (Christams House)

How to Crochet Mr. Patrik Celebrating Christmas Miniature Plushie for Holidays