Show support for heyannieahmed!
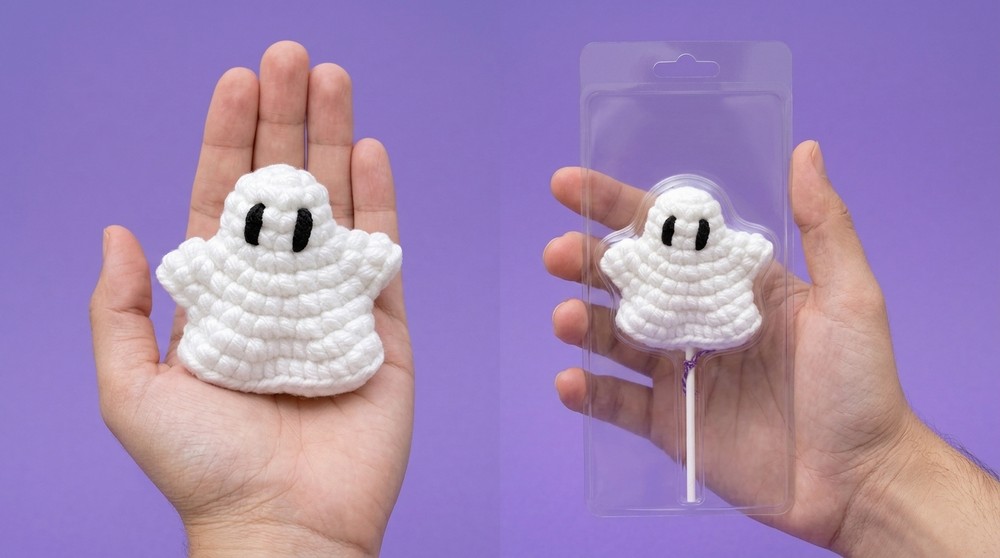
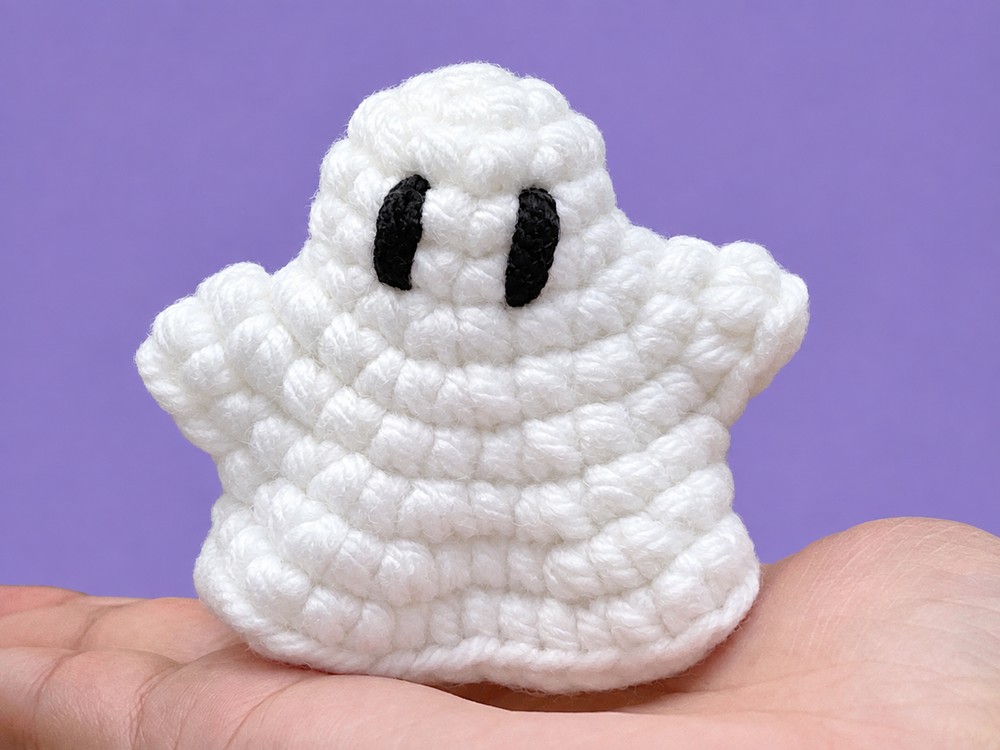
Today, let’s learn how to crochet the CUTEST and SMALLEST BOO ghost palm buddy with a step-by-step tutorial + a written pattern as well. This is designed as a curtain ghost mini, no-stuffing buddy that you can crochet in less than 20 minutes.
My favorite part of this crochet amigurumi little ghost palm buddy is the simple yet SUPER CUTE embroidery BOO eyes.
You can also make this buddy ghost as a candy holder and lollipop or treat case. Can be crocheted using just the basic crochet stitches without any sewing. Now, continue reading to learn more about this crochet SMALL boo palm buddy and the FULL PATTERN!

Pattern to Crochet the Amigurumi Little Ghost Palm Buddy
Skill Level: Beginner – Level 4
Materials
Yarn:
Off-white / Cream 4-ply acrylic yarn (for body)
Black 3-ply acrylic yarn (for eyes)
Crochet Hook: 3.0 mm
Tools:
Stitch marker
Yarn/tapestry needle
Scissors
Abbreviations (US Terms)
MR: Magic ring
R: Round
sc: Single crochet
inc: Increase (2 sc worked into the same stitch)
st(s): Stitch(es)
[#]: Total stitch count at the end of the round
Are you a Beginner? Learn Crocheting Easily!
You can learn to crochet better with this amigurumi BOO tutorial or continue with the pattern:
Ghost Body Pattern
Work continuously in spiral rounds. Use a stitch marker to mark the first stitch of every round.
R1: Work 6 sc into MR. Pull ring closed. [6]
R2: inc in each of the 6 sts (inc * 6). [12]
R3 – R5: sc in each st around (12 sc per round for 3 rounds). [12]
R6: (1 sc, inc) repeat 6 times. [18]
R7: (1 sc, 2 inc) repeat 6 times (each repeat = 1 sc, inc in next st, inc in next st). [30]
R8: sc in each of the 30 sts around. [30]
R9 (Creating Arms & Body):
R9: (2 sc, 2 inc, 1 sc, 2 inc, 2 sc, skip 6 sts) repeat 2 times total. [26]
Note: Skipping 6 stitches on each side pops the hands/arms outward and joins the front and back together.
Lower Body & Skirt:
R10: (3 sc, 2 inc, 3 sc, 2 inc, 3 sc) repeat 2 times. [34]
R11: sc in each of the 34 sts around. [34]
Finishing the Bottom Edge
Cut the off-white working yarn leaving a 4–5 inch tail.
Pull the yarn tail through the final loop.
Thread the tail onto your yarn needle and perform an invisible fasten off:
Insert needle under both loops of the second stitch ahead from the front to the back.
Bring needle back down through the center of the last crochet stitch made.
Pull gently to mimic the look of a crochet stitch.
Weave the yarn tail inside along the inner wall and trim any excess.
Embroidering the Eyes
Thread a length of 3-ply black acrylic yarn onto the needle.
Insert needle from inside the hollow base up through the head between R4 and R5.
Sew vertical satin stitches across 2 rounds (vertically between Rounds 4 and 6), stitching through the same spot 4–5 times until a thick, neat oval eye forms.
Repeat for the second eye, leaving approximately 2 stitches of space between them.
Bring both black yarn ends to the inside of the ghost, tie them securely in a knot, and trim the excess tails.
Gently shape the arms and base with your fingers—your mini ghost is complete!
Share on Social Media!
See More:

Crochet CUTEST Guest-Welcoming BOO Ghost with Bow, Hat and Pumpkin Accessories

Featuring: How to Crochet A Plush Blushing Flying Mr. Soul Ghost Plushie for Halloween
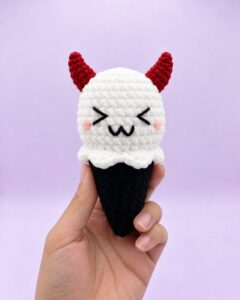
Pattern Tester: To Crochet Red-Horned Meow Ghost Treat Cone Plushie for Gifting
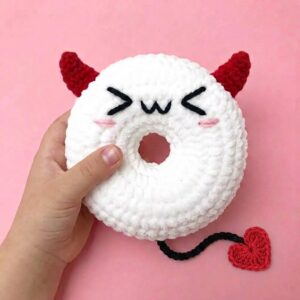
Pattern Tester: How to Crochet Red Horn Ghost Ring Donut Pluhsie for Gifting
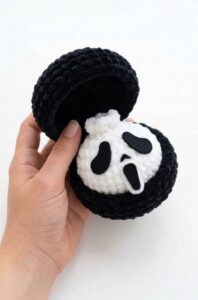
Tester Pattern: How to Crochet Mask Ghost Spooky Food Ball in Box Plush
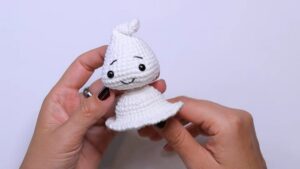
Free Crochet Flying Ghost Wind Spinner Plushie for Kids
Featuring: Crochet SPOOKY-CUTE Black & White Ghost Plushie for Halloween
Tester Pattern: How to Crochet Miniature UNIQUE Ghost with Ears and a Carrot Plush