Show support for Heather.
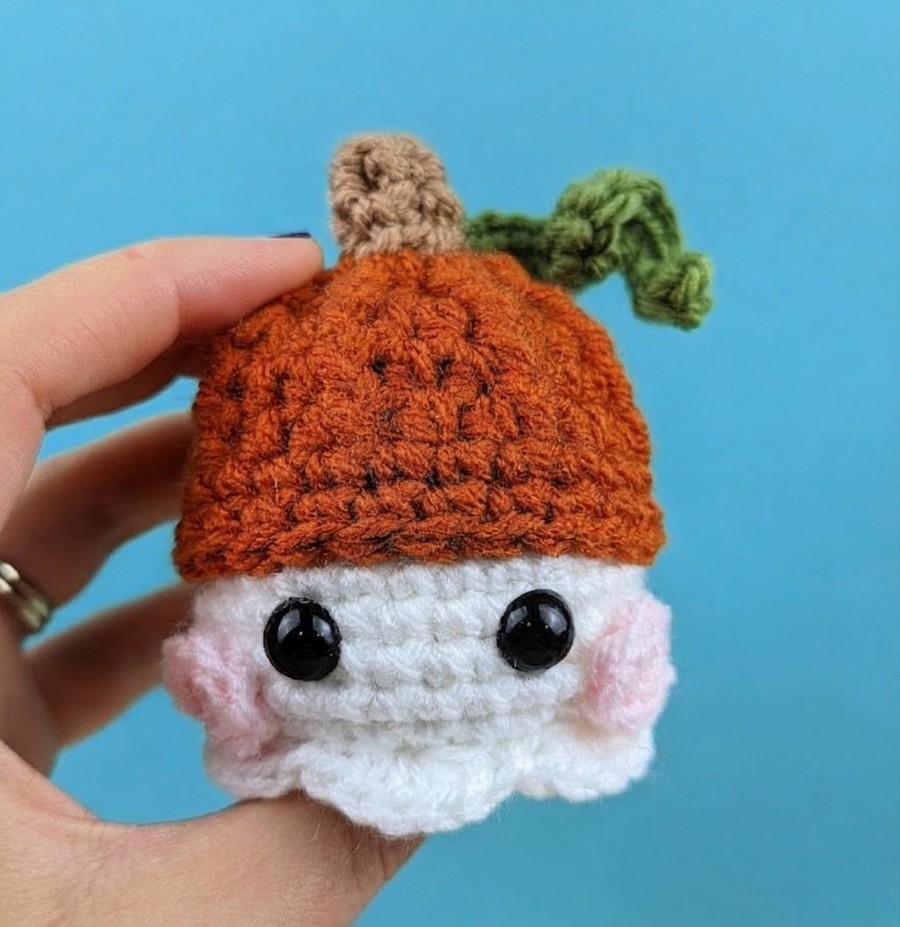
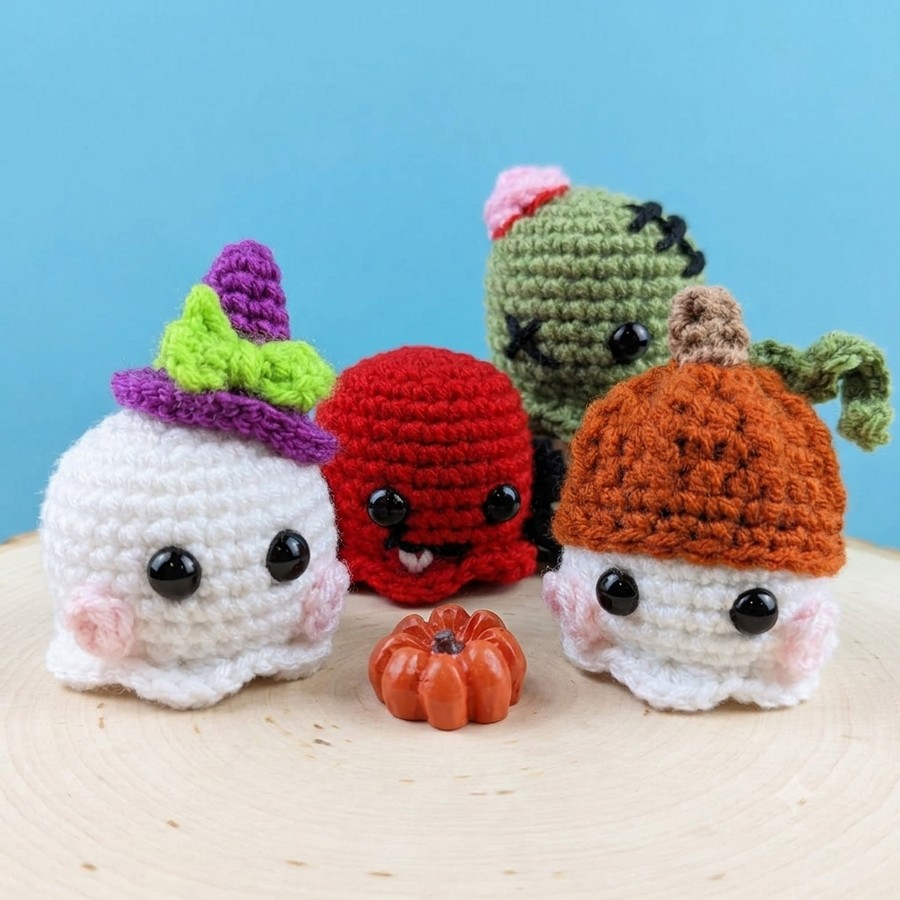
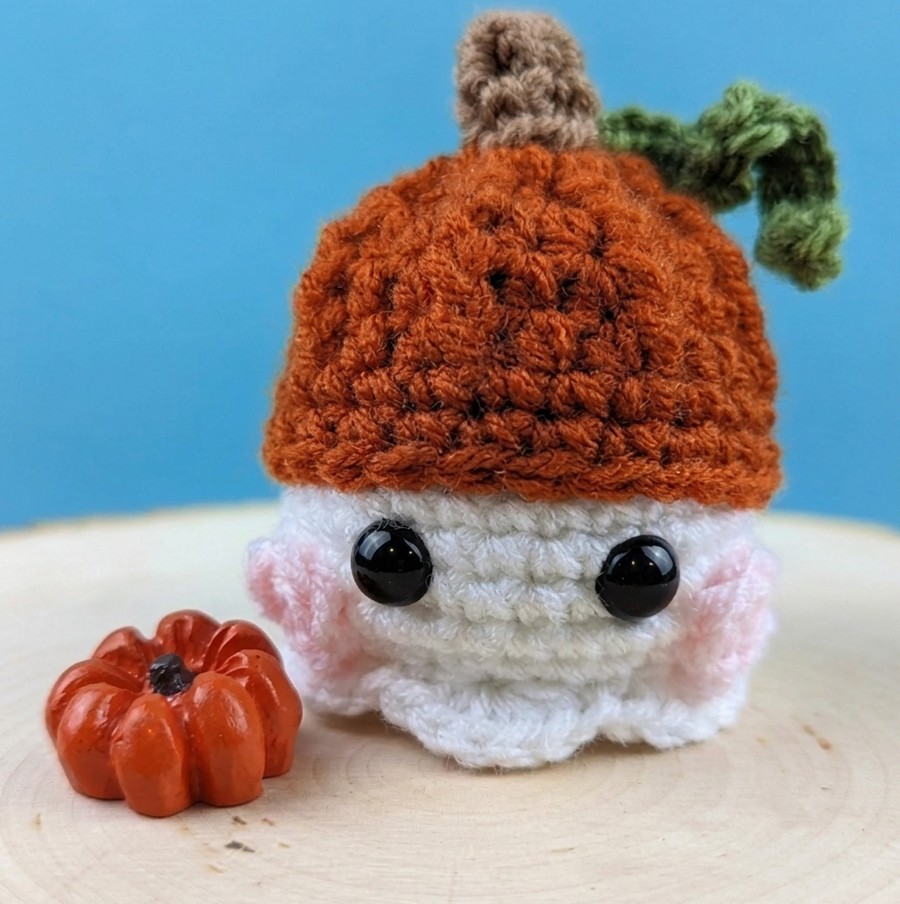
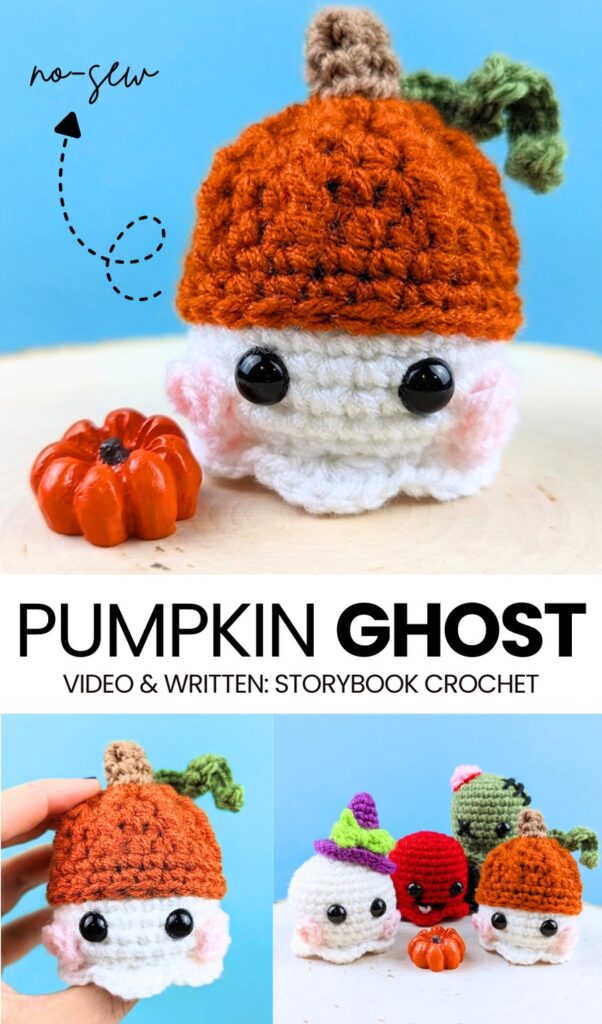
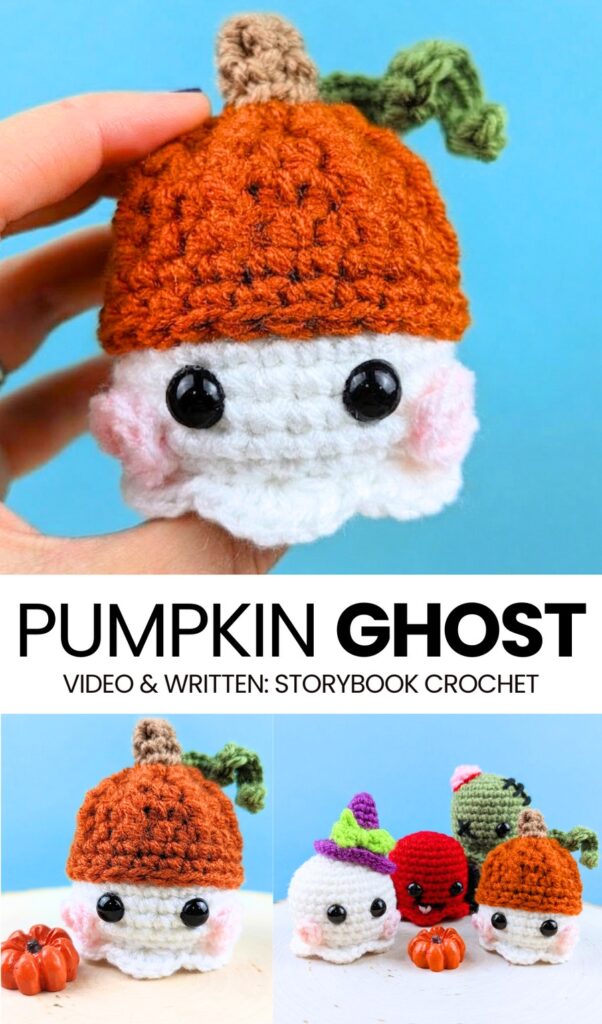
This miniature & cute crochet baby ghost amigurumi wears a pumpkin beanie and has crochet blush on the cheeks! Follow a step-by-step tutorial to crochet this kawaii ghost as a present for Halloween or to welcome guests. The boo ghost body requires the classic wavy skirt ghost pattern. The most special part is its ribbed pumpkin beanie with a leaf on the top!
It is a low-sew amigurumi baby ghost that is equally lovable as a fall festival present & Halloween party buddy. You can also crochet it as a pumpkin ghost plush using super bulky yarn.
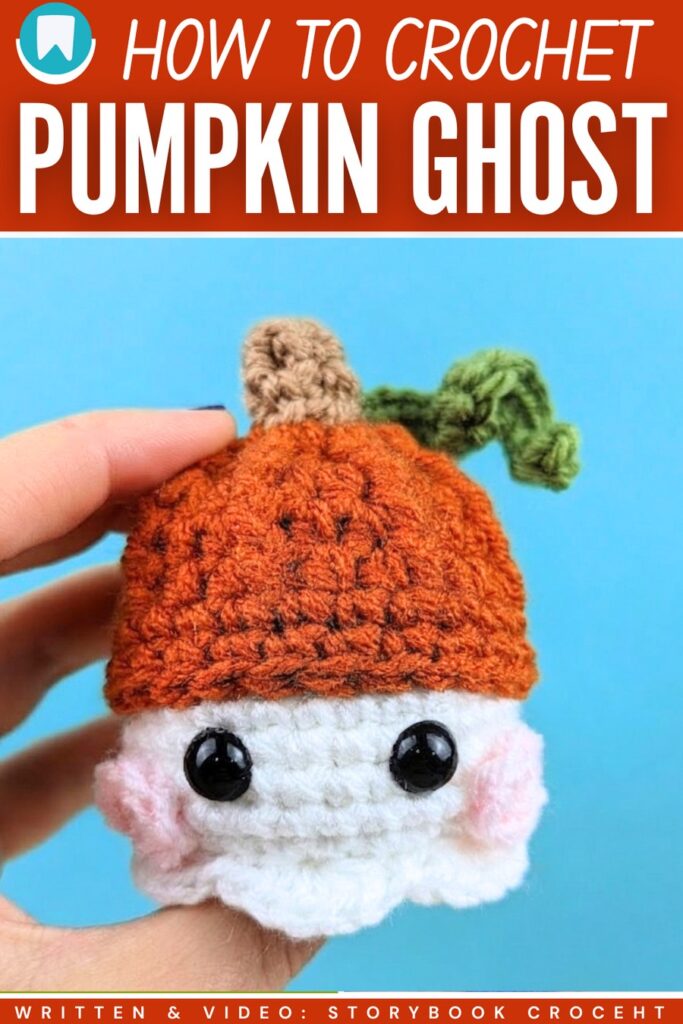
You can also modify the pumpkin hat pattern to crochet for newborns from small to L. I especially like the choice of size for the safety eyes, as they are larger than usual and make this ghost look cuter than if you use the smaller eyes. It also has no embroidered mouth, making it an irresistible mood lifter. Now, continue reading to learn more about this crochet pumpkin ghost project!
[ez-toc]
Crochet Pumpkin Beanie Ghost Plush Tutorial
Learn how to crochet a tiny pumpkin ghost amigurumi. First, you crochet the white ghost body using a magic ring and basic increases, followed by regular rounds and a shell-stitch frill at the bottom. A flat white base is crocheted separately to seal the bottom.
Next, you make a removable orange pumpkin hat featuring front post stitches to create ridges. Then, a tiny brown stem and green curled vine are made and sewn onto the hat. Finally, safety eyes and cheeks are added, the body is stuffed, and the base is sewn shut.
Difficulty Level
Intermediate
While the basic body is simple, the project requires multiple small parts, changing techniques (like working in front loop or back loop only), and the use of the front post half double crochet stitch (FPhdc) to create the pumpkin ridges on the hat.
These textural stitches and the assembly required make it more suited for an intermediate or an adventurous beginner.
Pattern Abbreviations Used
- MR: Magic Ring
- sc: Single Crochet
- inc: Increase
- dec: Decrease
- sl st: Slip Stitch
- hdc: Half Double Crochet
- FPhdc: Front Post Half Double Crochet (implied by “around the front post”)
- BLO: Back Loop Only
- FLO: Front Loop Only
- ch: Chain
Materials
- Worsted weight yarn in white, light pink, orange, green, and brown
- 4.0 mm crochet hook
- Scissors
- Yarn needle
- Stitch counter/marker
- 7 mm safety eyes
- Fiberfill stuffing
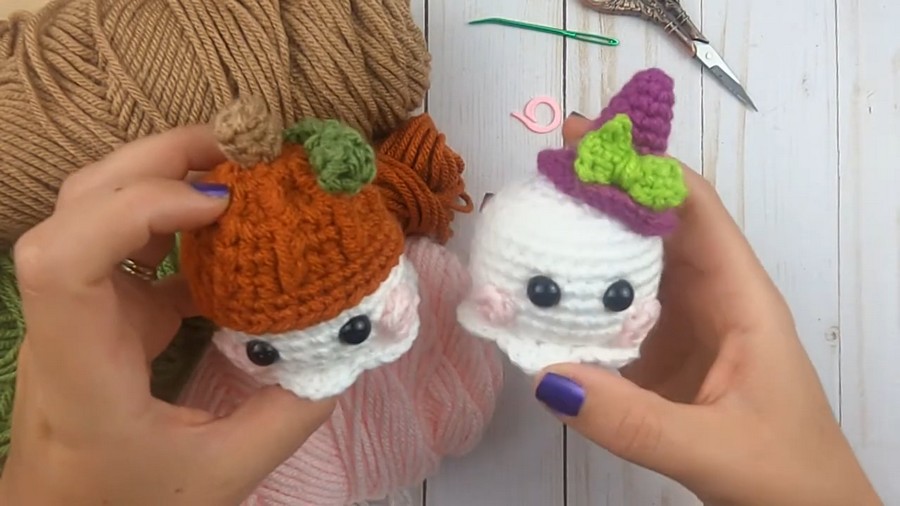
How to Make the Difficult Stitch (Front Post Half Double Crochet)
The tutorial uses a front post half double crochet to create the ridges on the pumpkin hat. Here is how to make it:
Yarn over your hook.
Insert your hook from the front to the back in the space between the stitch you just made and the next stitch.
Bring the hook back out to the front on the other side of the post (the vertical part of the stitch). Your hook should now be sitting horizontally behind the post of the stitch.
Grab your yarn and pull it through (underneath the post). You will now have three loops on your hook.
Yarn over and pull through all three loops.
Learn Crocheting Now!
Better learn the whole method of crocheting this fall + Halloween combo ghost amigurumi with the following tutorial:
Written Pattern?
You can buy an ad-free PDF pattern or use the “ask” feature of the tutorial to retrieve the quick pattern. Both these methods are designer-compliant!
Share on Social Media!
See More:

Featuring: How to Crochet A Plush Blushing Flying Mr. Soul Ghost Plushie for Halloween

How to Crochet Bunny Bat White Foldable Wings Amigurumi with Bow for Halloween
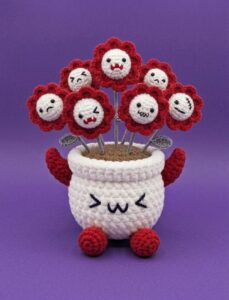
Tester Call: How to Crochet A Spooky Flowers Red Horns Potted Buddy Plushie for Halloween
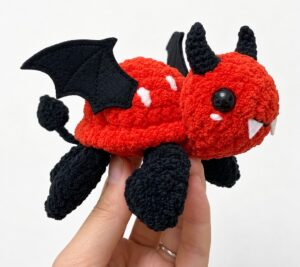
Tester Call: How to Crochet A Red & Black Spooky Turtle Plushie for Halloween
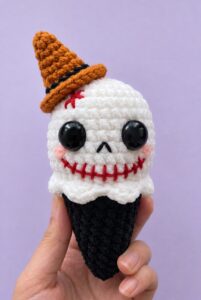
Tester Call: How to Crochet REALLY Spooky Witch Halloween Treat Plushie
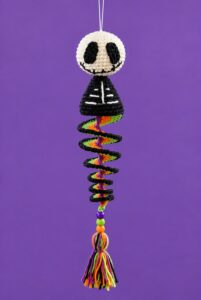
Featuring: How to Crochet the Skeleton Wind Spinner With Stripes of Halloween Colors
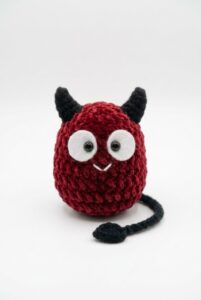
Tester Pattern: How to Crochet A Cape-Wearing Red Buddy Plushie for Halloween
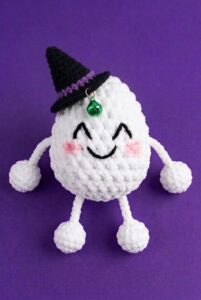
Tester Pattern: How to Crochet An Tug & Pull Witch Egg Halloween Plushie Toy
Featuring: Crochet SPOOKY-CUTE Black & White Ghost Plushie for Halloween