Pattern Type: Video Tutorial & ad-free PDF
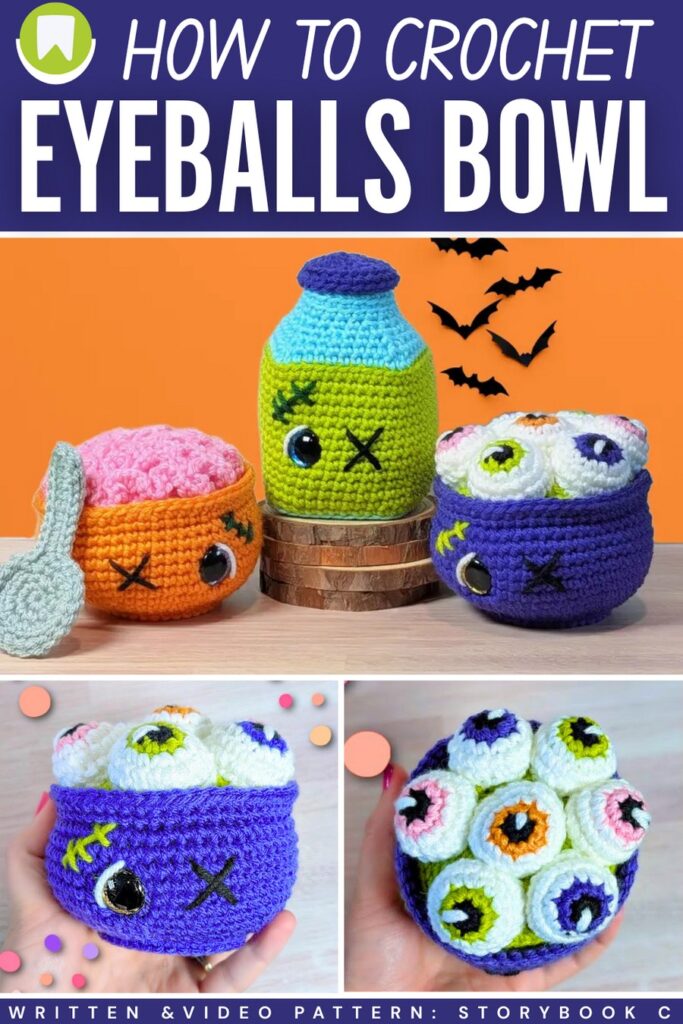
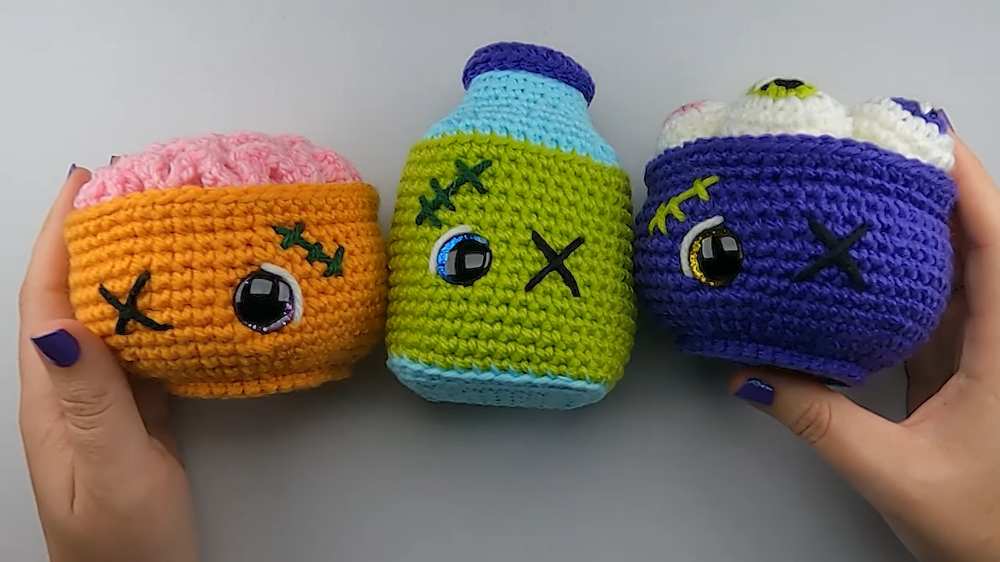
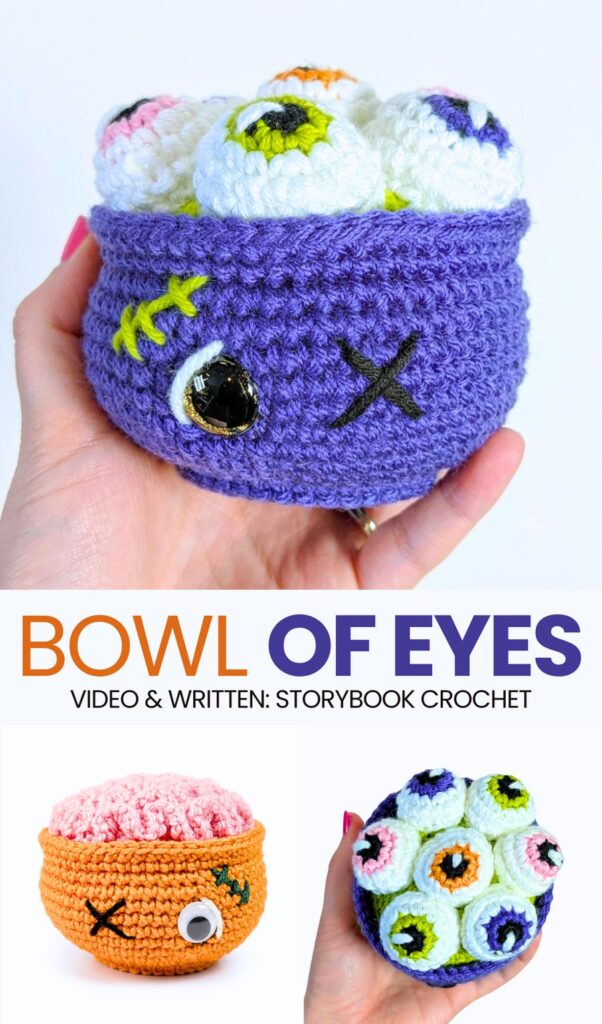
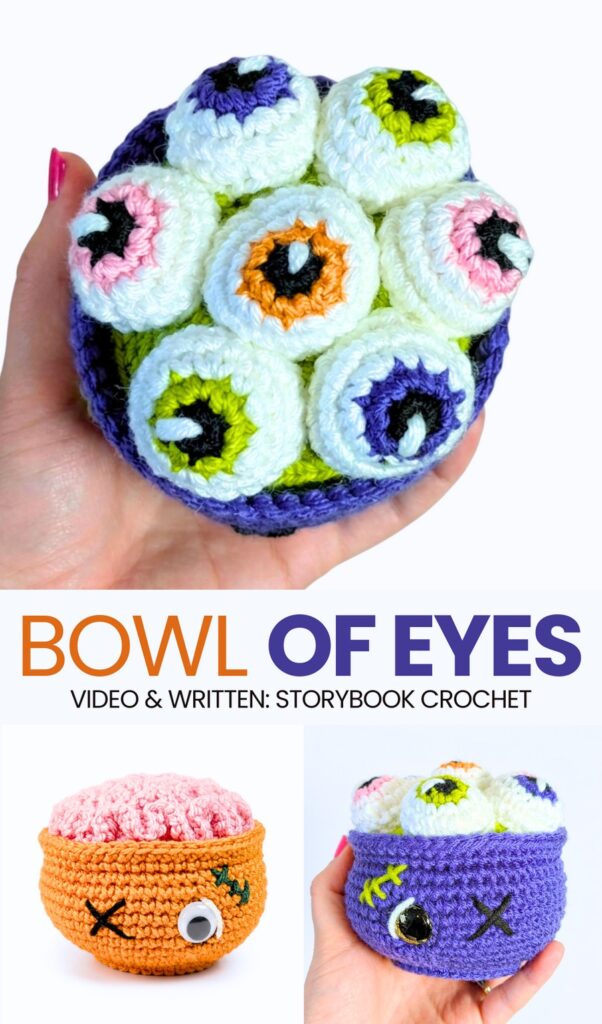
This Halloween, learn how to crochet this oh-so cute & little bit spooky “bowl of evil eyeballs amigurumi” to decorate a kids’ room, following a step-by-step tutorial. It is designed as a kawaii witch pot character filled with the traditional evil eye amigurumi. You can also use this bowl of eyes amigurumi as a pincushion, table centerpiece for Halloween, or as a desk buddy.
This witch pot is given a CUTE zombie character with one cross-embroidery eye, wound-stitch eyebrow, and a glitter eye with eyelash embroidery.
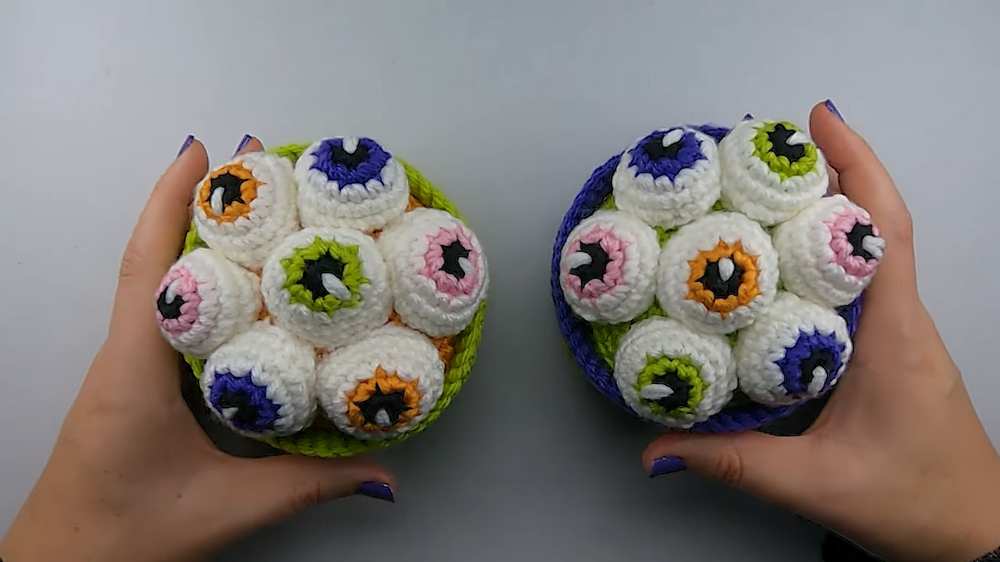
You can easily crochet this creepy-cute bowl of stuffed eyes within 1 hour. For the eyeball’s color, you can choose from orange, purple, green, and pink. Crocheting this amigurumi witch pot is fun, and I definitely recommend watching the tutorial to crochet it in detail.
[ez-toc]
Crochet Eyeballs-Filled Witch Pot Amigurumi Tutorial
Let’s crochet a creepy-cute bowl of eyeballs for Halloween. You begin by crocheting the main bowl from the bottom up, leaving unworked loops to create a defined rim. Next, you stitch on the facial details, including a safety eye, an embroidered X-eye, a white eyeliner detail, and a scar.
You then create a flat circular base insert, stuff the bowl with fiberfill, and sew the insert into the inner rim. Finally, you crochet seven small eyeballs with custom colored irises and white highlights, stuff them lightly, and attach them inside the bowl.
Difficulty Level: Easy / Advanced Beginner
Explanation: The project is easy because it uses basic stitches and works in continuous rounds. The shaping relies entirely on standard increases. The most demanding parts are managing color changes for the irises and neatly sewing the final parts together, which requires only basic assembly skills rather than complex stitch patterns.
Materials
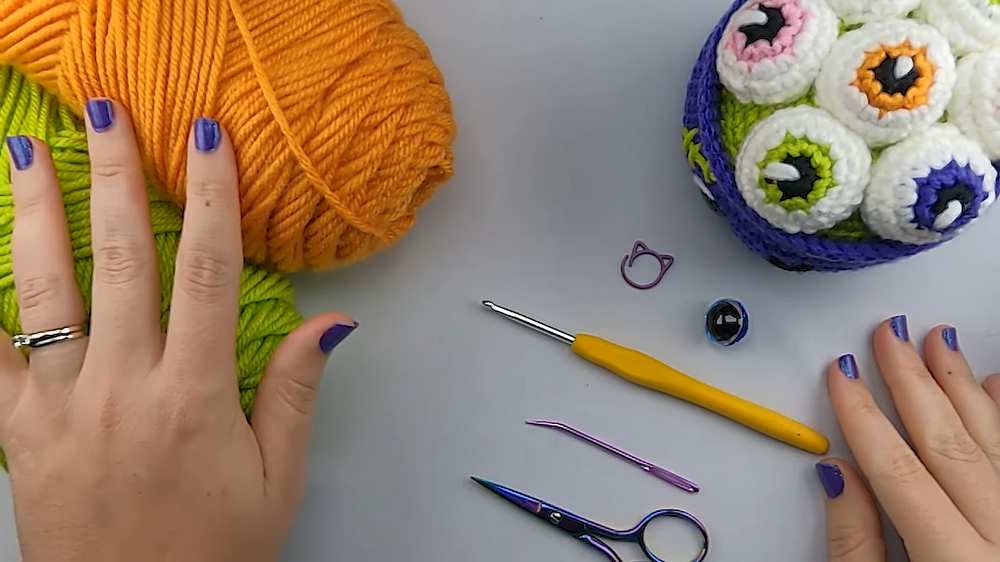
- Weight 4 worsted yarn (Colors: green/bowl color, white, black, iris colors, scar color)
- 3.5 mm (US E-4) crochet hook
- Scissors
- Yarn needle
- 1 safety eye with backing
- Stitch marker
- Fiberfill stuffing
- Craft glue (optional, for securing yarn details)
Pattern Abbreviations
- MR: Magic Ring
- ch: Chain
- sc: Single Crochet
- inc: Increase (two single crochets in the same stitch)
- FLO: Front Loop Only
- sl st: Slip Stitch
Stitch Tutorial: Front Loop Only (FLO)
To make a Single Crochet in the Front Loop Only:
Normally, when inserting your crochet hook into a stitch, you slide it underneath both top loops (which look like a “V”). For FLO, you insert your hook only under the strand closest to you (the front loop), coming up through the center of the “V” instead of going all the way underneath. Wrap the yarn over your hook, pull up a loop, yarn over again, and pull through both loops on your hook to complete the single crochet as normal.
Learn Crocheting Now!
Better learn the whole method of crocheting this bowl of eyeballs amigurumi with the following tutorial:
Written Pattern?
You can buy an ad-free PDF pattern or use the “ask” feature of the tutorial to retrieve the quick pattern. Both these methods are designer-compliant!
Share on Social Media!
See More:
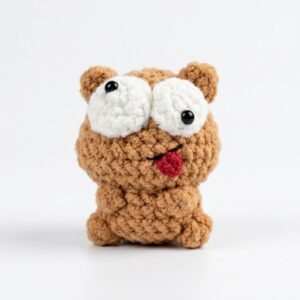
Crochet the Mini Wobbly Eye No-Sew Bear Cutie Plushie

Featuring: How to Crochet A Plush Blushing Flying Mr. Soul Ghost Plushie for Halloween

How to Crochet Bunny Bat White Foldable Wings Amigurumi with Bow for Halloween
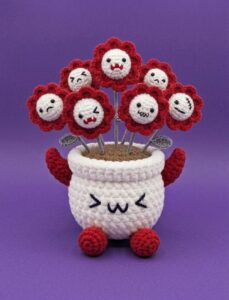
Tester Call: How to Crochet A Spooky Flowers Red Horns Potted Buddy Plushie for Halloween
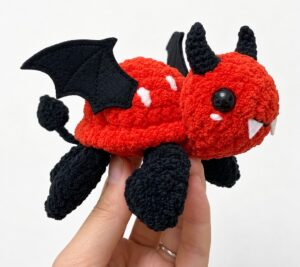
Tester Call: How to Crochet A Red & Black Spooky Turtle Plushie for Halloween
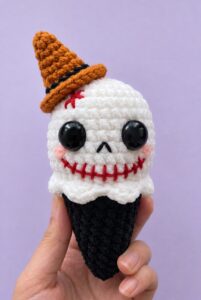
Tester Call: How to Crochet REALLY Spooky Witch Halloween Treat Plushie
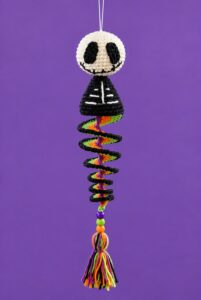
Featuring: How to Crochet the Skeleton Wind Spinner With Stripes of Halloween Colors
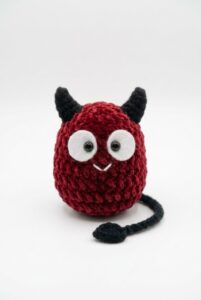
Tester Pattern: How to Crochet A Cape-Wearing Red Buddy Plushie for Halloween