Pattern Type: Video Tutorial, Free WRITTEN & ad-free PDF, all by the passionate crafter.
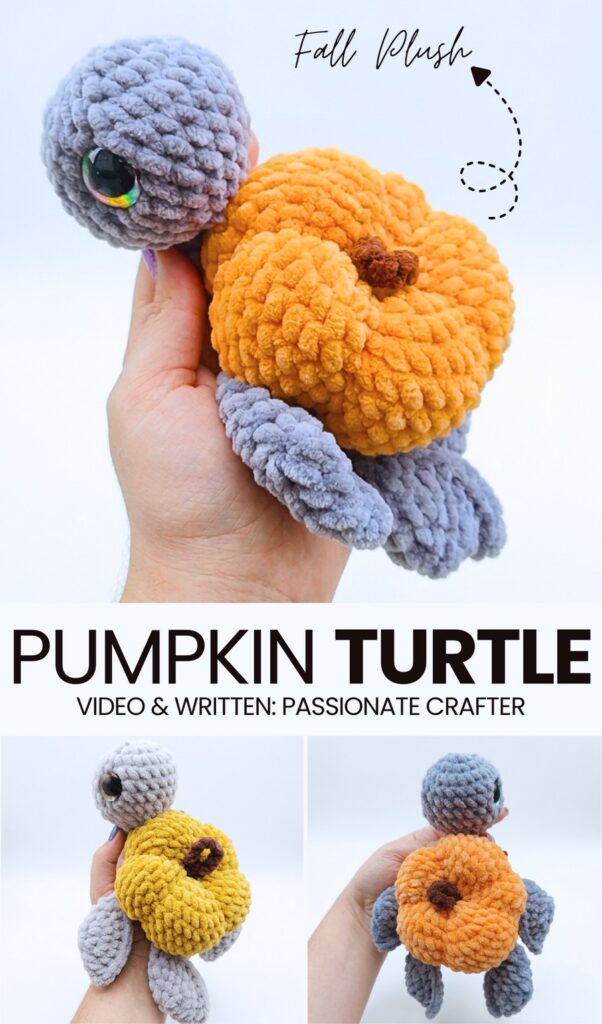
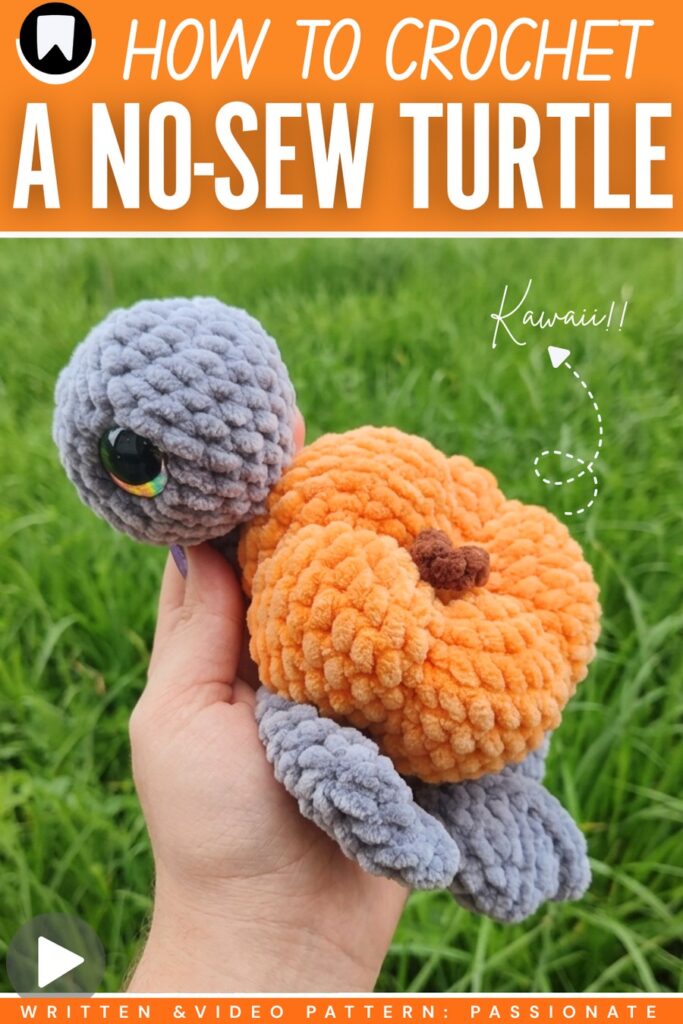
Here is another IRRESISTIBLY cute “fall-animal combo” plushie project! Learn how to crochet this the cutest variation of the turtle pumpkin plushie with a step-by-step tutorial for beginners. From the color choice (grey & orange) to the adorability (rainbow eyes & shaping) of this pumpkin shell turtle plushie, it is the #1 design.
The variation you are looking at is specifically designed for Halloween gifting & decoration. With the super bulky yarn, you will end up with a 7-inch-long crochet turtle pumpkin plush that kids won’t resist but to snuggle up.
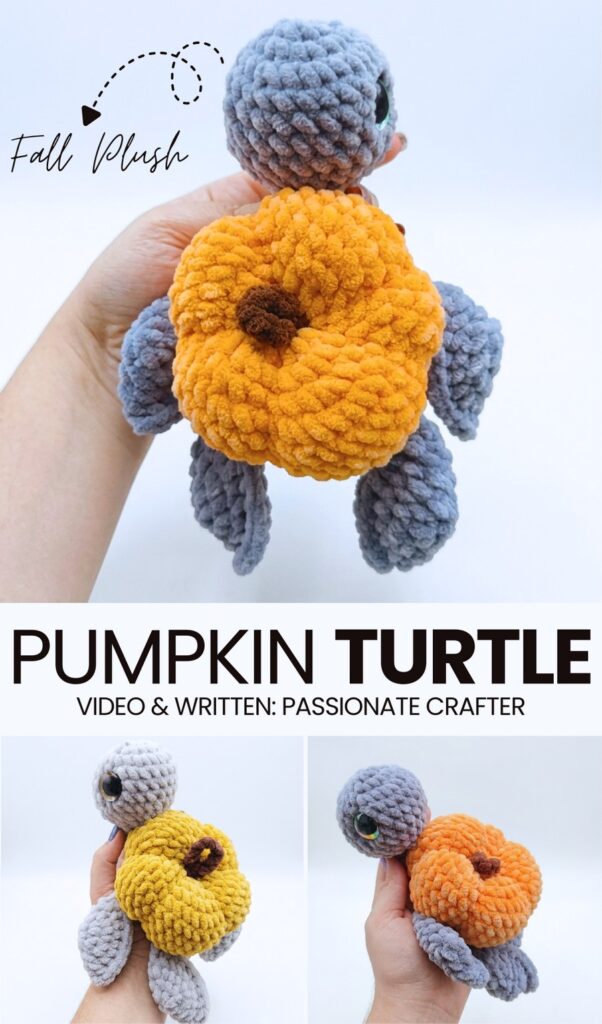
Crocheting this pumpkin turtle will feel familiar and easy, as we shall use the crochet sea turtle plushie parts such as the face and the flippers. Crocheting the pumpkin plush will also be easier than ever thanks to the video instructions available, too. Now, since I am hoping you won’t resist but to crochet one turtle plush, let’s learn more about the project.
Crochet Fall Turtle Plushie Tutorial
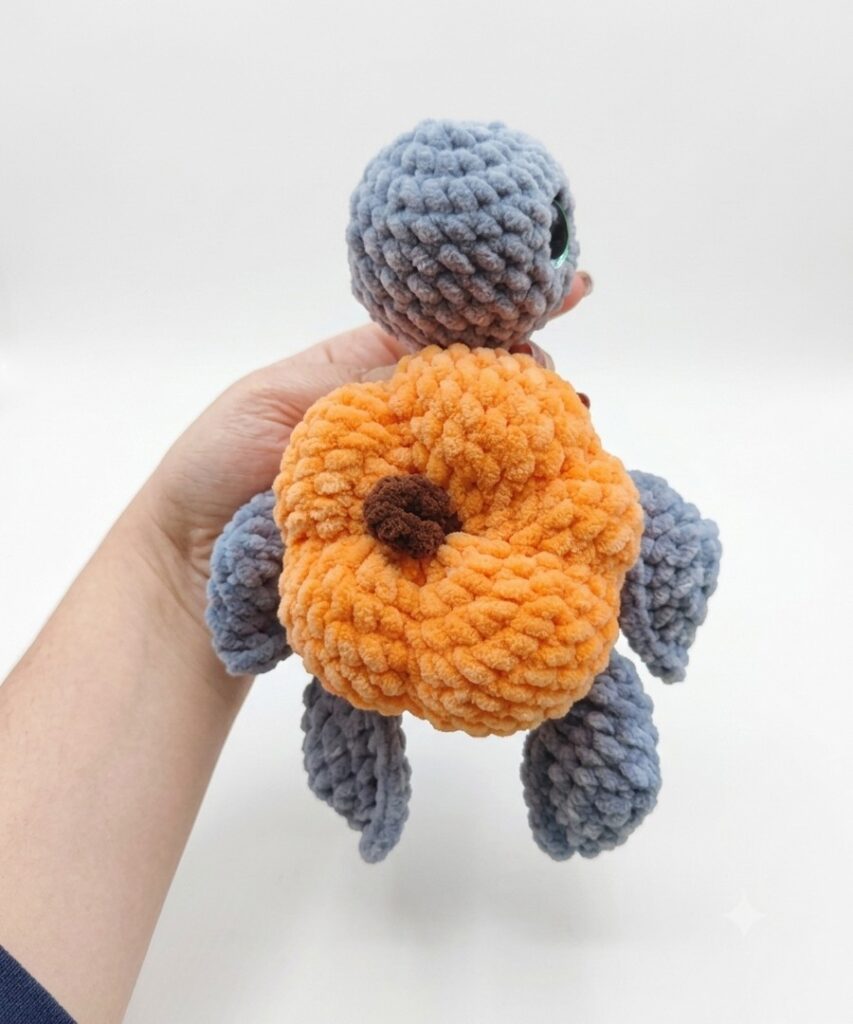
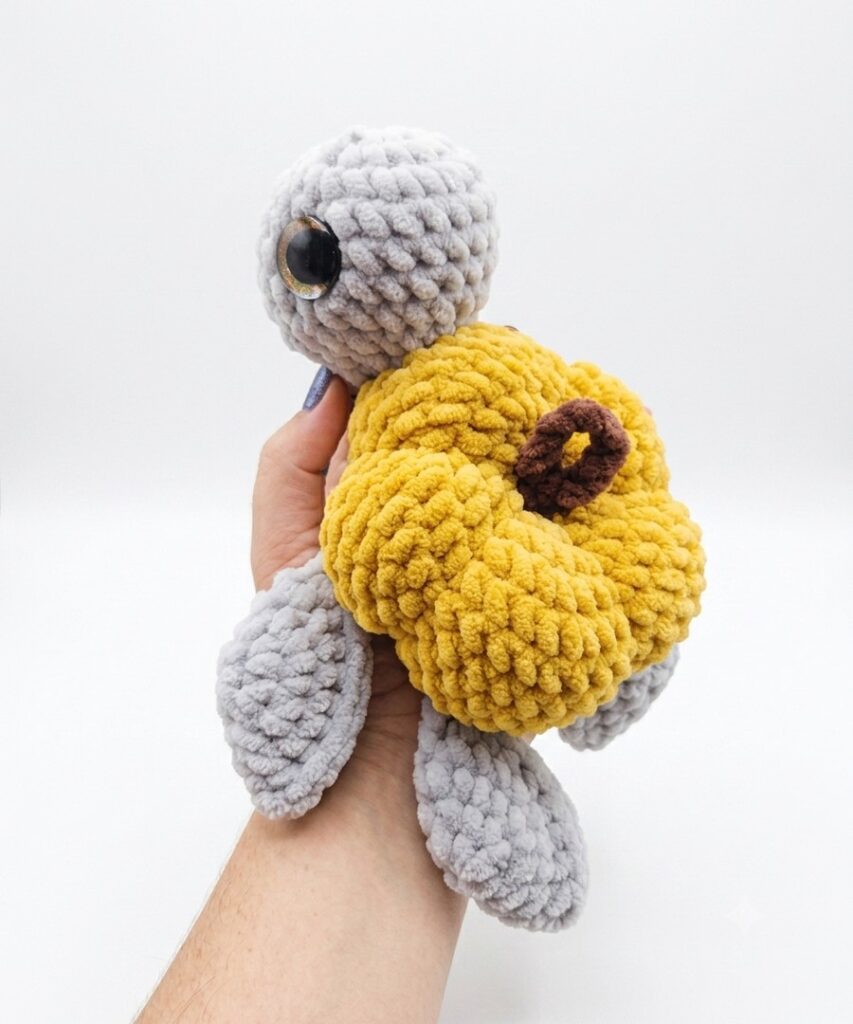
Let’s crochet a low-sew pumpkin turtle for Halloween & other fall occasions. First, you crochet the head starting with a magic ring, increasing stitches, placing safety eyes, and closing it.
Next, you make four identical semicircular fins. Then, you crochet the shell, joining the head and fins directly into the rounds, making it no-sew.
You stuff the body with fiberfill before closing the shell completely. A yarn needle is used to sculpt the shell into a pumpkin shape by pulling yarn tightly around the sections to create dents. Finally, you crochet a small brown stem and attach it to the very top.
Difficulty Level:
Easy / Beginner.
This pattern is easy because it uses basic, repetitive stitches and completely avoids complicated sewing. The “no-sew” technique involves attaching the head and flappers directly by crocheting them into the body rounds, making assembly straightforward for beginners.
Pattern Abbreviations
- MR: Magic Ring
- sc: Single Crochet
- inc: Increase (2 sc in one stitch)
- dec: Invisible Decrease
- ch: Chain
- sl st: Slip Stitch
Materials Needed:
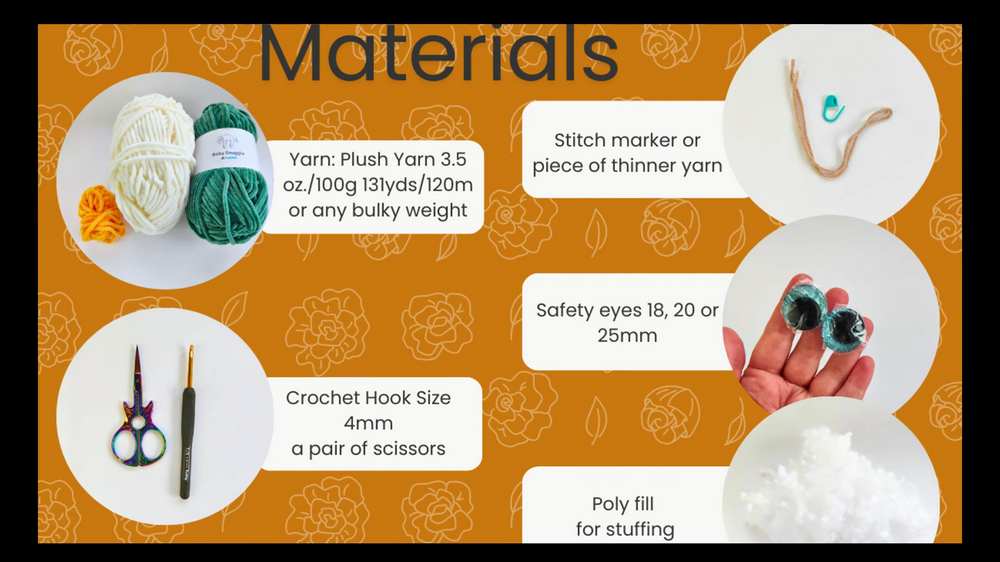
- Plush yarn (for the head, fins, and shell). You can use the Bernat Blanket or Hymalyan yarn.
- Brown yarn (for the stem)
- Acrylic yarn (for sculpting the pumpkin shape)
- Contrasting piece of yarn (used as a stitch marker)
- 4.5 – 5mm Crochet hook
- Safety eyes – You can use 16,18,20,25 or 30mm (a pair) as she uses the variation you are looking at uses the larger-than-usual eyes.
- Fiberfill stuffing
- Tapestry needle with a large eye
- Scissors
Making the Difficult Stitches
Yarn Under Single Crochet (used for tighter stitches):
Insert your hook through the stitch. Instead of placing the yarn over the hook, keep the hook over the yarn so you grab the yarn from underneath. Pull it through the loop, then yarn over and pull through both loops to finish the stitch.
Learn Crocheting Now!
Better learn the whole method of crocheting this plushie turtle with a loop at the top with the following tutorial:
Written Pattern?
You can buy an ad-free PDF pattern or use the “ask” feature of the tutorial to retrieve the quick pattern. Both these methods are designer-compliant!
Share on Social Media!
See More:
Featuring: The MOST Well-Detailed Yet Easy Crochet Rooster Fall Plushie (2-in-1 Tutorial)

Featuring: How to Crochet the Smallest Pumpkin Fall Turtle Plushie with Orange & Parrot

Pattern Tester: How to Crochet Pumpkin Ridges Face Donut Ring Plushie for Fall
![[PDF Pattern] Crochet A Plush Autumn Acorn-Lover Plushie for Fall](https://criazalblog.com/wp-content/uploads/2026/09/crochet-squirrel-2-225x300.jpg)
[PDF Pattern] Crochet A Plush Autumn Acorn-Lover Plushie for Fall
Featuring: How to Crochet Pumpkin Lover Puppy Plushie for Fall Decorations
Tester Pattern: How to Crochet A Face Pumpkin Fall Wind Spinner for Playing With
Featuring: How to Crochet Interlocking 3D Pumpkin Bookmark for Fall
Tester Call: The Easiest Pumpkin-Octopus Hybrid Variation with UNIQUE Fall Pallete
Featuring: How to Crochet A Back-to-School Pumpkin Bookmark for Fall