Pattern Type: Video Tutorial by the Papari. So, be sure to support the Lady!
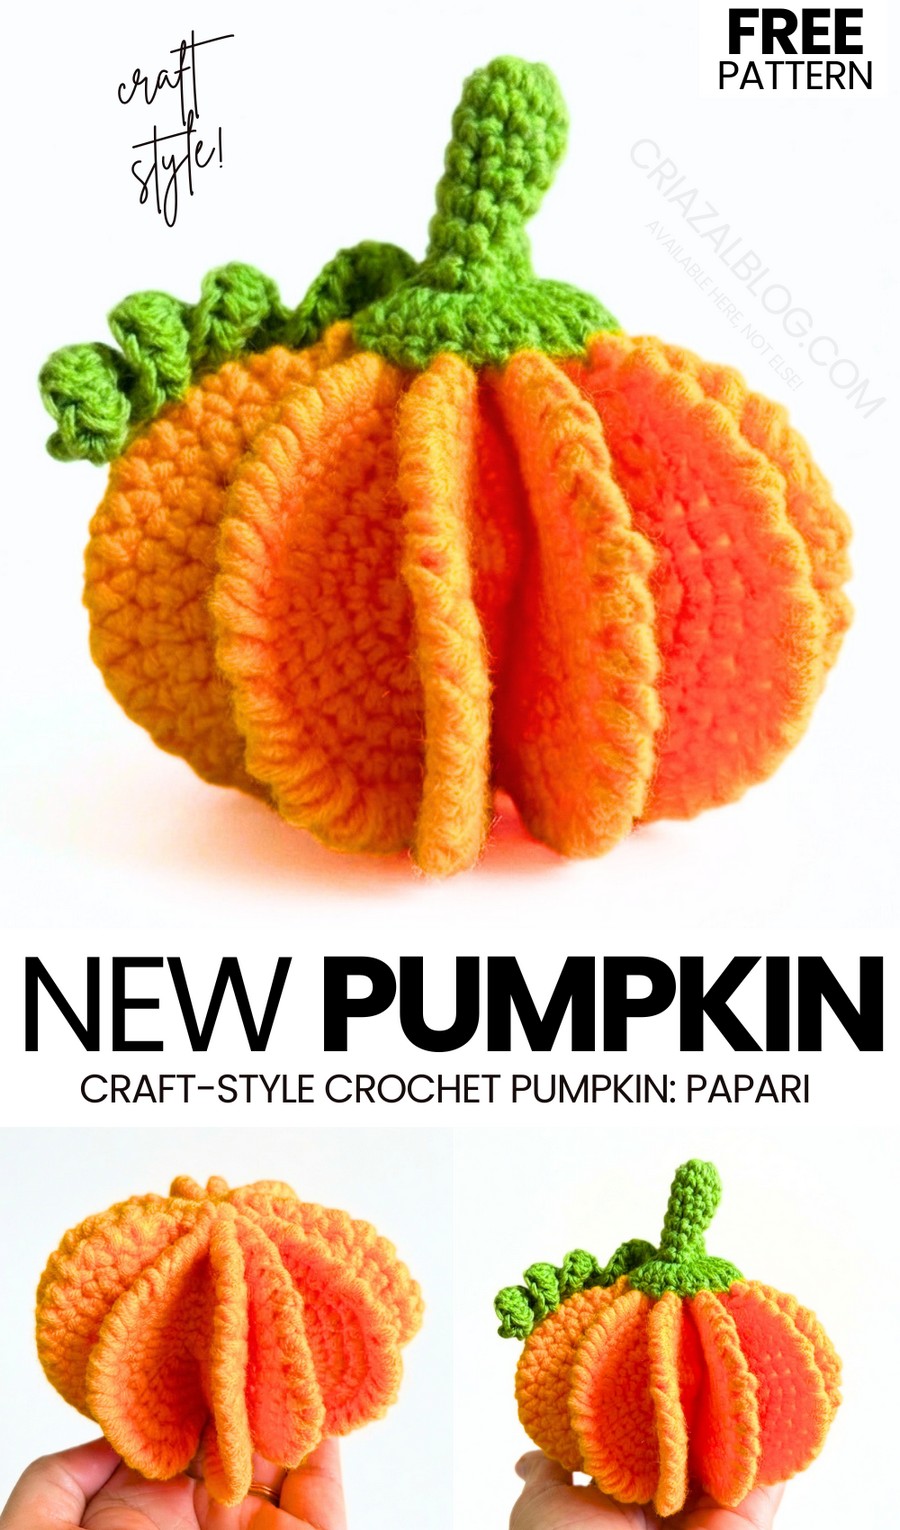
On my craft blog, last week I shared a free tutorial on how to make a 3D pumpkin paper craft made by cutting flat pumpkin cutouts. Today, I am excited to FEATURE the crochet version of this elegant and clever pumpkin craft that will be easy to crochet for even beginners. Introducing the crochet 3D pumpkin hanging decoration that you can also add to a Halloween garland, and learn how to crochet with a step-by-step tutorial. I am calling it a beginner-friendly crochet pumpkin because all you have to do to crochet the pumpkin body is to make flat circle pieces, fold them in half (just like the paper craft), and then assemble them using glue.
You will also learn how to crochet a life-like green pumpkin stalk as well as a coiled pumpkin vine. The crochet pumpkin slices also have the lovely crab stitch edging that makes each slice look even more elegant.
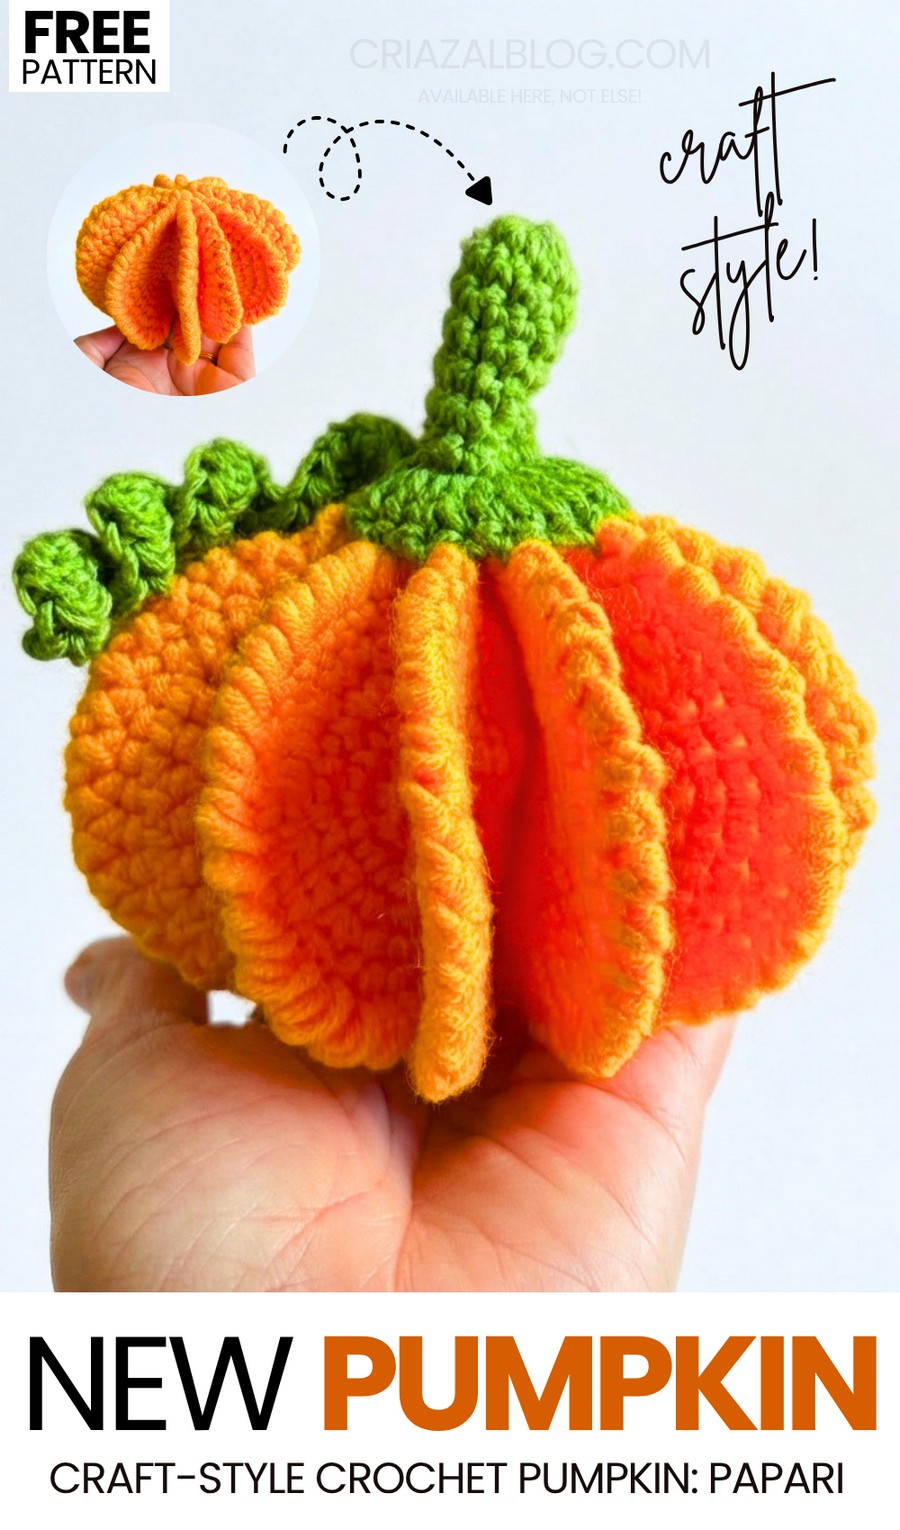
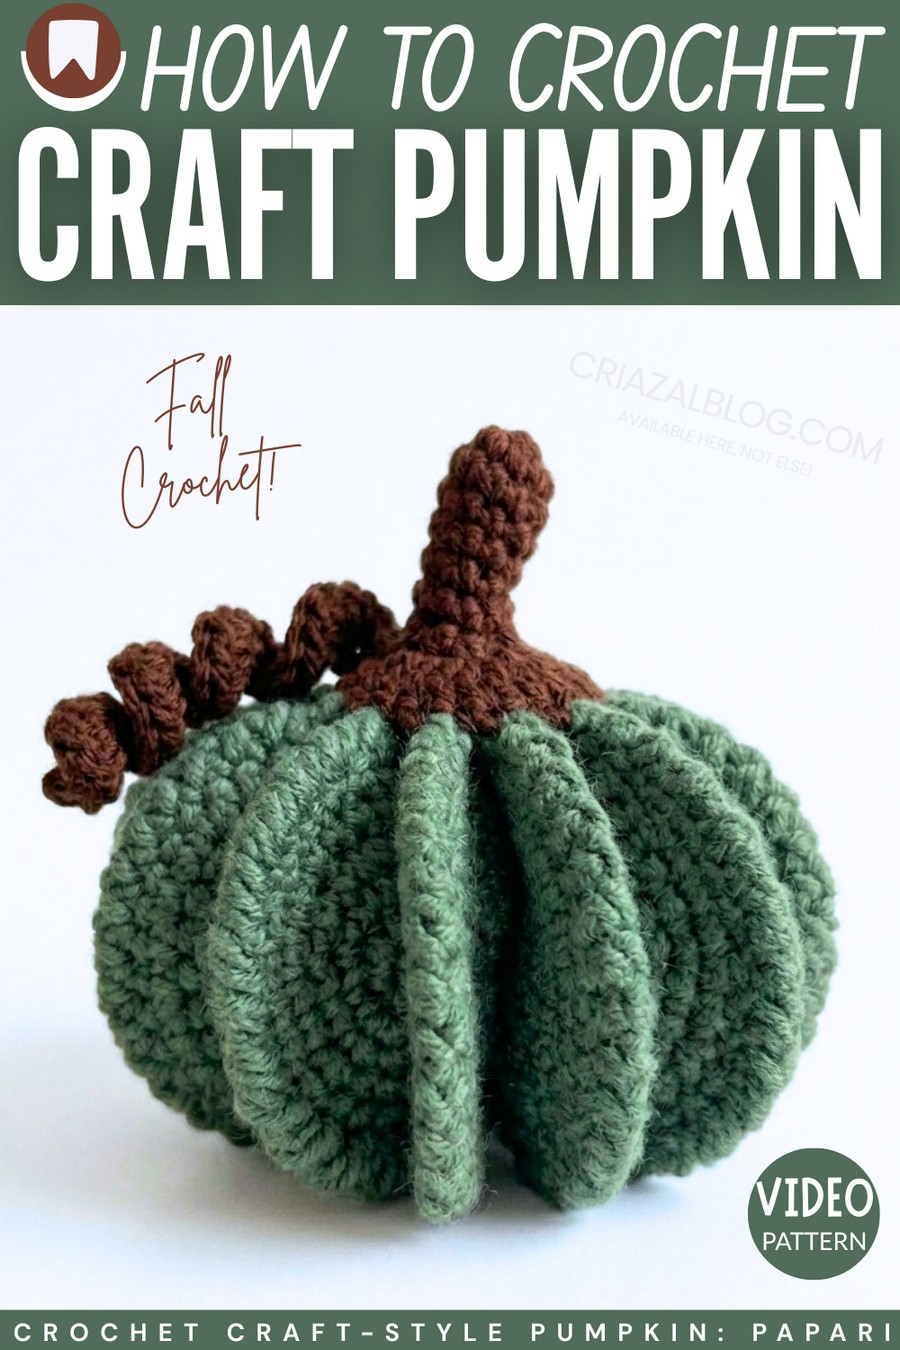
When you hang these crochet pumpkin crafts in your Halloween or autumn garland, this DIY pumpkin will also spin like a crochet wind spinner. You can also crochet your pumpkin plush using aqua, pink (with a brown stem), and even slate green with the brown stem. Anyway, you can definitely decide how you should customize your DIY crochet pumpkin after you learn how to crochet one. So, continue reading to learn more about this Halloween & autumn pumpkin slice project.
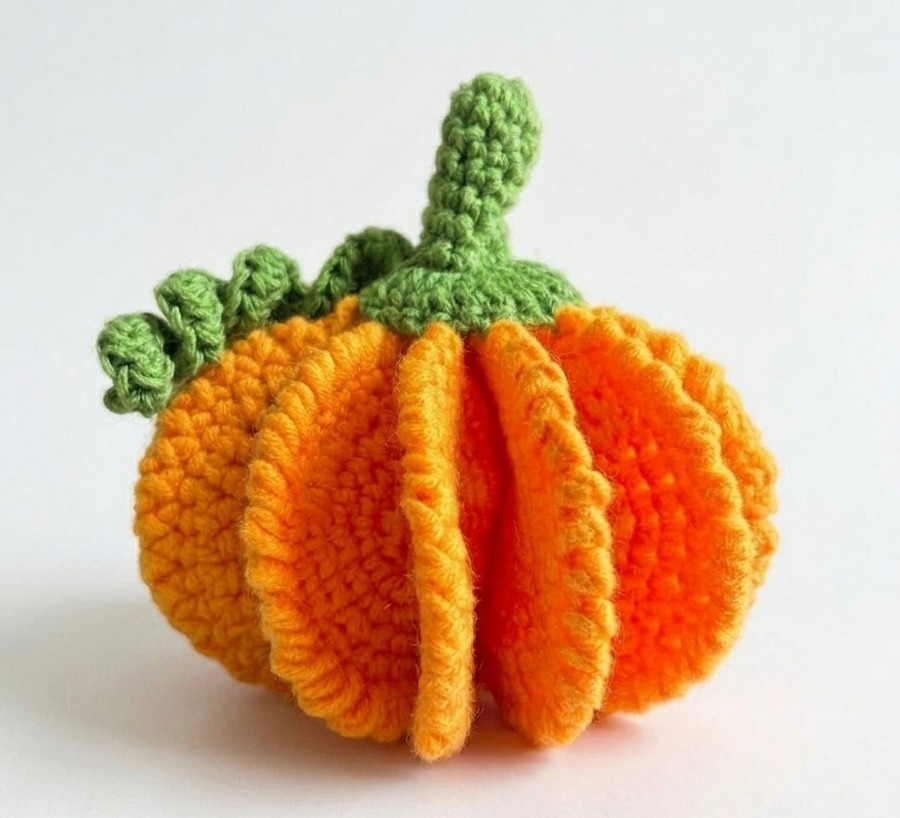
Pattern to Crochet the 3D Pumpkin Amigurumi
This tutorial teaches how to make a 3D oval-shaped pumpkin by crocheting six separate oval pieces. You start each oval with a magic ring and make single crochets, increasing the stitch count in each round to create the oval shape. The final round uses a reverse single crochet.
After making six ovals, you stack them and stitch the tops and bottoms together to form the pumpkin body. Next, you crochet a green stem with a spiral by making half double crochets in a chain. Finally, you attach the stem base to the pumpkin using a needle or fabric glue.
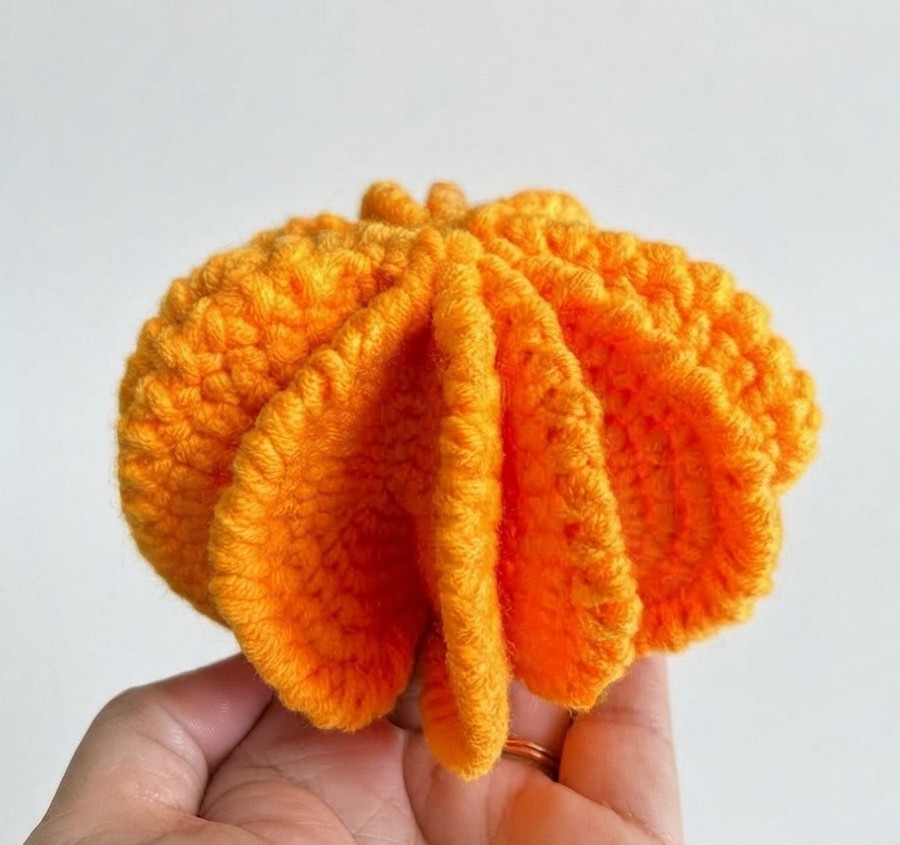
Difficulty Level
Intermediate. The difficulty is intermediate because while it uses basic stitches, it requires making multiple uniform pieces, assembling them correctly to form a 3D shape, working in front loops only, and executing the reverse single crochet stitch, which requires careful tension.
Pattern Abbreviations
- sc – single crochet
- inc – increase
- sl st – slip stitch
- ch – chain
- hdc – half double crochet
- dc – double crochet
- flo – front loop only
Materials
- Orange yarn
- Green yarn
- 4.0 mm crochet hook
- 3.5 mm crochet hook
- Stitch marker
- Yarn needle
- Scissors
Difficult Stitch Details
Reverse Single Crochet: Keep your active loop a little bit loose. Insert your hook into the previous stitch to the right instead of the next stitch to the left. Pull up a loop so you have two loops on your hook. Yarn over and pull a loop through both of them to complete the stitch.
Learn Crocheting Now!
Better learn the whole method of crocheting these easy pumpkin crafts with the following tutorial:
Written Pattern?
You can also use the “ask” feature of the tutorial to retrieve the quick pattern. This pattern-getting method is designer-compliant!
Share on Social Media!
See More:

Crochet CUTEST Guest-Welcoming BOO Ghost with Bow, Hat and Pumpkin Accessories

Tester Call: How to Crochet A Candy Corn, Pumpkin & Kawii Buddy Potted Plant Plushie

Featuring: How to Crochet the Smallest Pumpkin Fall Turtle Plushie with Orange & Parrot

Pattern Tester: How to Crochet Pumpkin Ridges Face Donut Ring Plushie for Fall

How to Crochet An Amigurumi Long-Legged Kawaii Pumpkin in Shoes Buddy

How to Granny Square with Pumpkin Applique in the Middle

Tester Pattern: To Crochet Pumpkin Hello Kitty Plushie with Big Paws Buddy

Featuring: How to Crochet Tiered Unusual Texture Pumpkin Decoration (3 Sizes)