


Today, let’s crochet this beautifully textured maple leaf pillow in 2 sizes for fall decorations with this crochet pattern. Normally, you would crochet a maple leaf as an appliqué for adding to fall decorations, garlands, table decorations, and stuff like that. However, this UNIQUE crochet amigurumi maple leaf is perfect for using as a pincushion, ornament, and as a softie.
You can crochet your stuffed maple leaf in earthy red, green, dull orange, and even golden yellow by crocheting just 2 flat pieces and stuffing them. This leaf pattern has an elegant leaf vein texture that I recommend not missing.
Crochet Maple Leaf Amigurumi Pillow Pattern
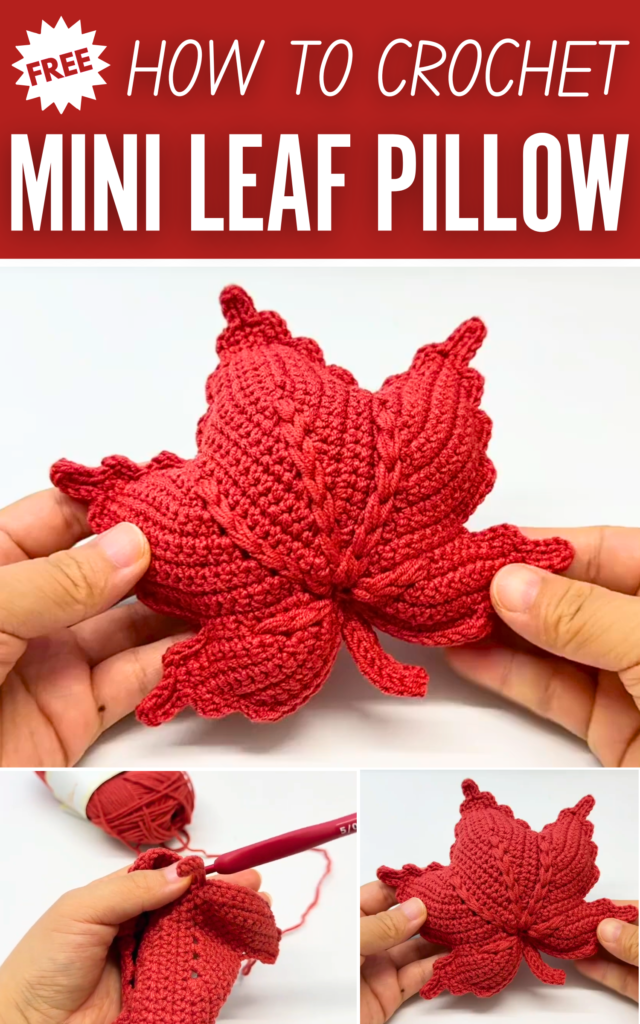
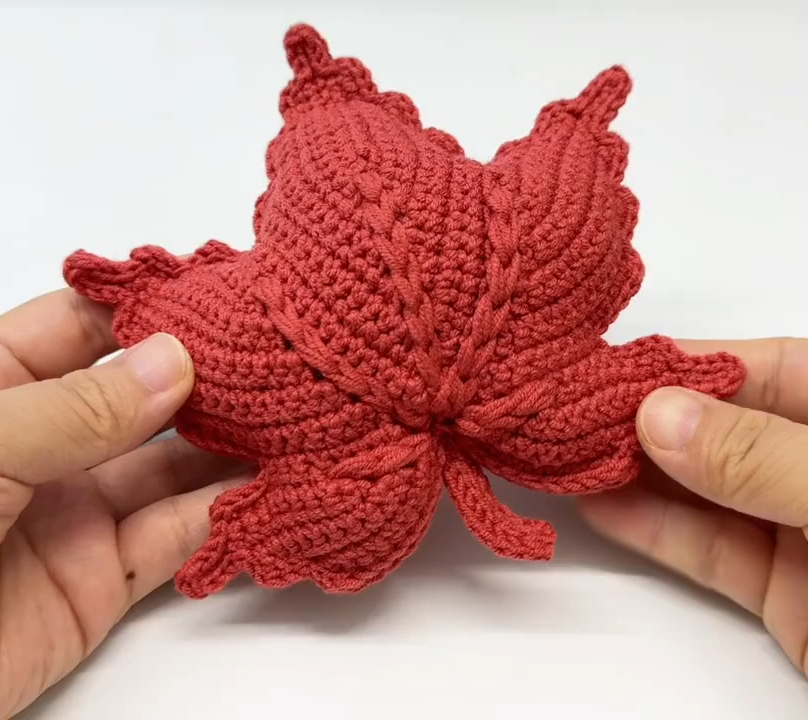
Both sides of this maple leaf cushion are the same, so it can make your fall festival decor simply irresistible to the eyes. You can also crochet your maple pillow using the plush yarn. However, the macrame cord, like I always suggest, will let you crochet a shiny maple pillow. Looking for a pattern? That’s below!
Crochet Stuffed Maple Leaf Pattern for Fall Room Decor
This crochet maple leaf is a perfect project to make your home feel cozy for fall. It is a very fun and easy design to make. You can use thin yarn to make small leaf amigurumi for keychains or bag charms, or use thick, soft yarn to make a large, fluffy pillow for your bed or sofa.
Both sides of the leaf look exactly the same, making it very neat. You just need to crochet two flat leaves, sew them together along the edges, and fill the inside with soft stuffing. It is a beautiful way to bring autumn into your room!
Materials You Will Need
- Yarn: Any soft yarn you like (thin yarn for a small leaf, or thick plush yarn for a pillow)
- Crochet Hook: 3.0 mm size
- Scissors
- Yarn Needle: To hide your extra yarn ends
- Stuffing: Soft cotton or toy stuffing to make it puffy
Abbreviations
- ch: chain
- sc: single crochet
- sl st: slip stitch
- sk: skip
- st / sts: stitch/stitches
The Pattern
The leaf is made by crocheting back and forth. You do not need to make a starting chain when you turn your work.
Part 1: The Middle Leaf
- Row 1: Chain 16. Start in the 2nd chain from your hook. Make 15 sc. Chain 4.
- Row 2: Turn your work. Make 12 sc down the side. Leave the last 3 sts empty (do not work in them).
- Row 3: Turn. Make 12 sc. In the chain-4 hole at the top, make: (2 sc, chain 4, 2 sc). Make 12 sc down the other side.
Wanna make it even easier to learn?
Here is the tutorial below you can watch instead Or continue below the written pattern:
- Row 4: Turn. Make 14 sc. In the hole: (2 sc, chain 4, 2 sc). Make 11 sc down the side.
- Row 5: Turn. Make 13 sc. In the hole: (2 sc, chain 4, 2 sc). Make 13 sc down.
- Row 6: Turn. Make 15 sc. In the hole: (2 sc, chain 4, 2 sc). Make 12 sc down. (Leave the last 3 sts empty).
- Row 7: Turn. Make 14 sc. In the hole: (2 sc, chain 4, 2 sc). Make 14 sc down. (Leave the last 3 sts empty).
- Row 8: Turn. Make 16 sc. In the hole: (2 sc, chain 4, 2 sc). Make 13 sc down. (Leave the last 3 sts empty).
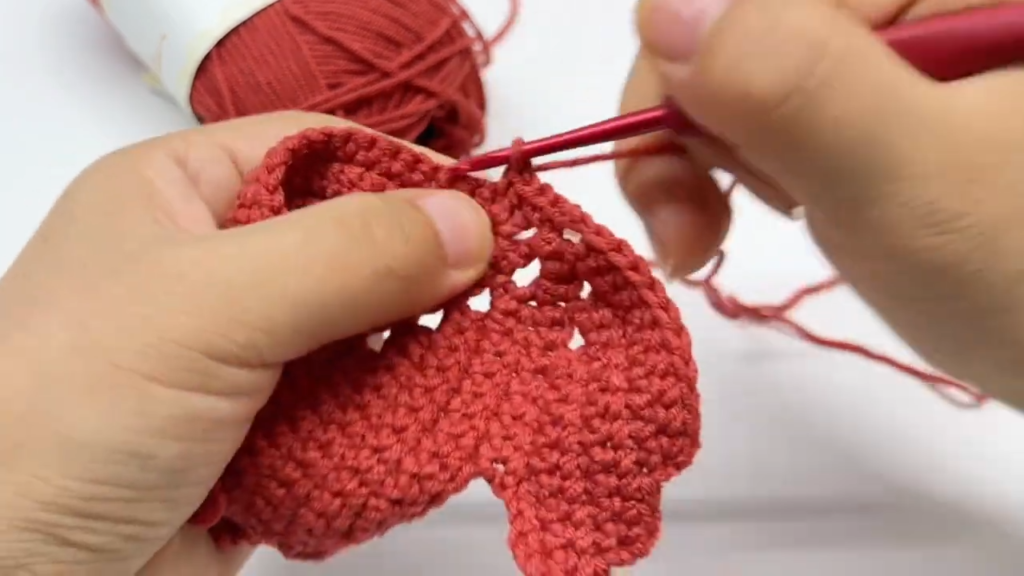
Part 2: The Side Leaf
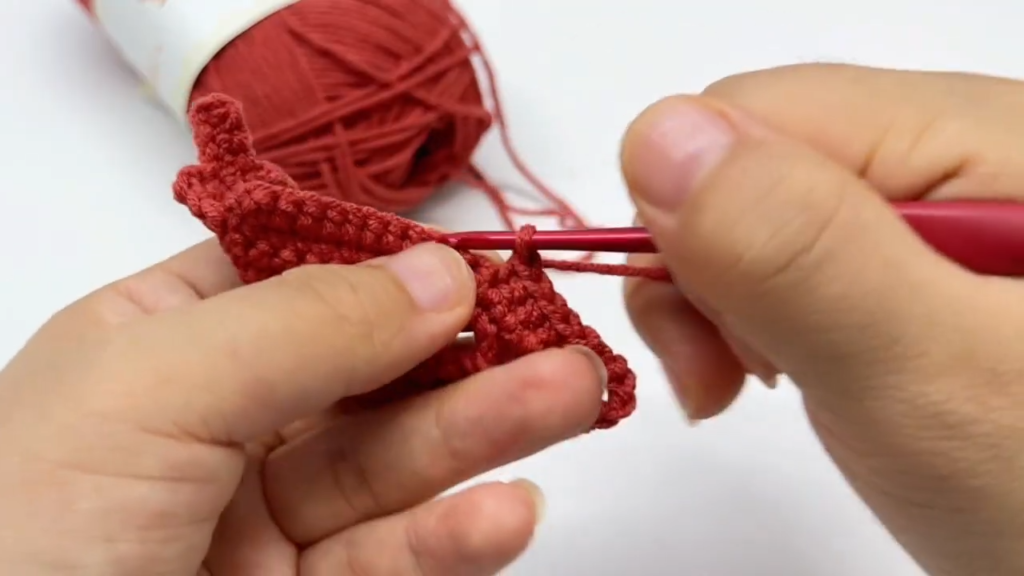
- Step 1: Chain 4. Start in the 2nd chain from hook, make 3 sc. Make 4 sc on the main leaf body. Chain 2, sk 1 st, make 1 sl st.
- Step 2: Turn. In the chain-2 hole, make 2 sc. Make 7 sc. Chain 4, start in 2nd chain, make 3 sc. Make 9 sc down. Chain 2, sk 1 st, make 1 sl st.
- Step 3: Turn. In the chain-2 hole, make 2 sc. Make 12 sc. Chain 4, start in 2nd chain, make 3 sc. Make 14 sc. Chain 2, sk 1 st, make 1 sl st.
- Step 4: Turn. In the chain-2 hole, make 2 sc. Make 13 sc. (Leave 4 sts empty).
- Step 5: Turn. Make 15 sc. Chain 2, sk 1 st, make 1 sl st.
- Step 6: Turn. In the chain-2 hole, make 2 sc. Make 12 sc. (Leave 3 sts empty).
- Step 7: Turn. Make 14 sc. Chain 2, sk 1 st, make 1 sl st.
- Step 8: Turn. In the chain-2 hole, make 2 sc. Make 11 sc. (Leave 3 sts empty).
- Step 9: Turn. Make 13 sc. Chain 2. Make 1 sc in the big center hole of the whole leaf.
- Step 10: Turn. In the chain-2 hole, make 2 sc. Make 8 sc. (Leave 5 sts empty).
Part 3: The Small Bottom Leaf
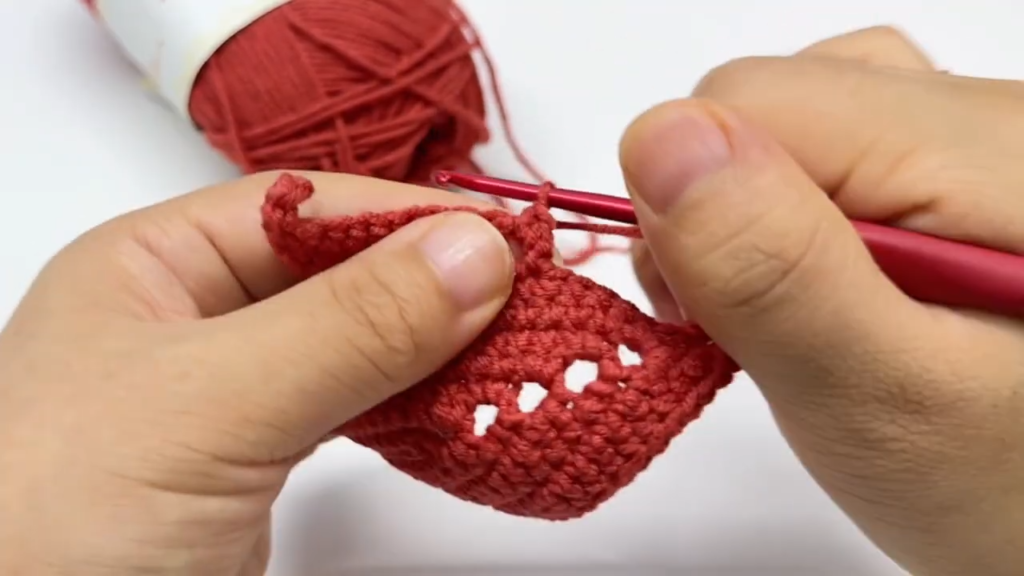
- Step 1: Chain 5, start in 2nd chain, make 4 sc. Make 4 sc on the body. Chain 2, sk 1 st, make 1 sl st.
- Step 2: Turn. In the chain-2 hole, make 2 sc. Make 8 sc. Chain 4, start in 2nd chain, make 3 sc. Make 10 sc down. Chain 2, sk 1 st, make 1 sl st.
- Step 3: Turn. In the chain-2 hole, make 2 sc. Make 9 sc. (Leave 4 sts empty).
- Step 4: Turn. Make 11 sc. Chain 2, sk 1 st, make 1 sl st.
- Step 5: Turn. In the chain-2 hole, make 2 sc. Make 8 sc. (Leave 3 sts empty).
- Step 6: Turn. Make 10 sc. Chain 2, make 1 sc in the big center hole.
The Other Side
Now you have finished the right side of the leaf.
- Make 1 sc in the center hole, then make 15 sc up the left side of the middle leaf. Leave 3 sts empty.
- Now, repeat all the steps from Part 2 and Part 3 exactly the same way to make the leaves on the left side.
The Stem
- After the last leaf part is done, make 1 sc in the big center hole.
- Chain 10. Start in the 2nd chain from your hook, make 9 sc down the chain to make the stem.
- Cut your yarn and pull it through to finish.
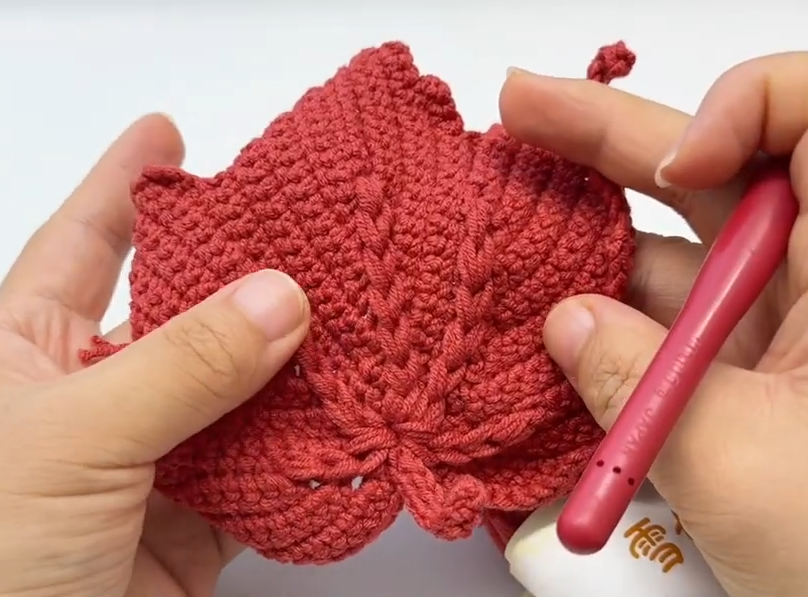
Leaf Lines (Veins)
Use your yarn needle or hook to make lines radiating from the center hole into each leaf part. You do this by making slip stitches flat on top of the leaf (this is called surface slip stitching).
How to Finish Your Pillow
- Make a second leaf exactly like the first one.
- Put the two leaves back-to-back.
- Use slip stitches around the outside edges to join them together. Match each stitch to the one behind it.
- Stop before you close it all the way. Stuff the inside with your soft stuffing so it is puffy.
- Finish joining the edge with slip stitches, tie a knot, and hide your yarn tails inside the pillow.
See More:
How to Crochet Snowflake Buddy Amigurumi with Holy Leaf
How to Crochet A Mushroom & Maple Leaf Keychain for Fall
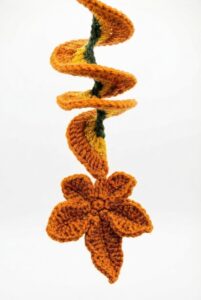
How to Crochet Autumn’s Ultimate Wind Spinner with Maple Leaf
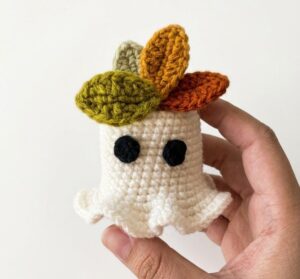
How to Crochet UNIQUE Baby Ghost in a Fall Leaf Crown for Halloween
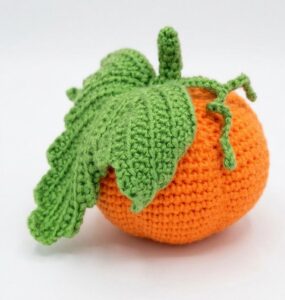
Free Crochet Pumpkin Amigurumi with a Life-Like Leaf Pattern for Fall
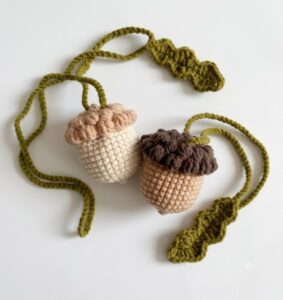
Featuring: How to Crochet 2-in-1 Acorn Bag Charm Pouch + Oak Leaf Tutorial
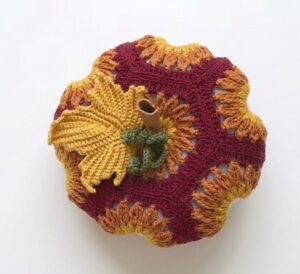
How to Crochet A Fall Pumpkin Out of Fallburst Motifs with a Maple Leaf
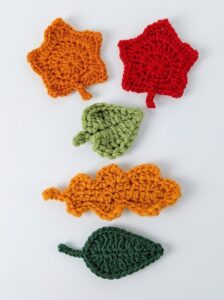
Featuring: How to Crochet 3 Easy Fall Leaf for Decoration Tutorial FINISHED
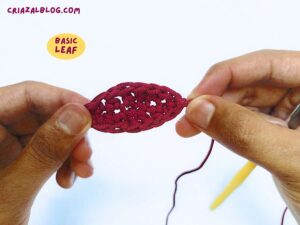
How to Crochet Easy Leaf for Charms (Pattern for Beginners)
