Show support for Mari!
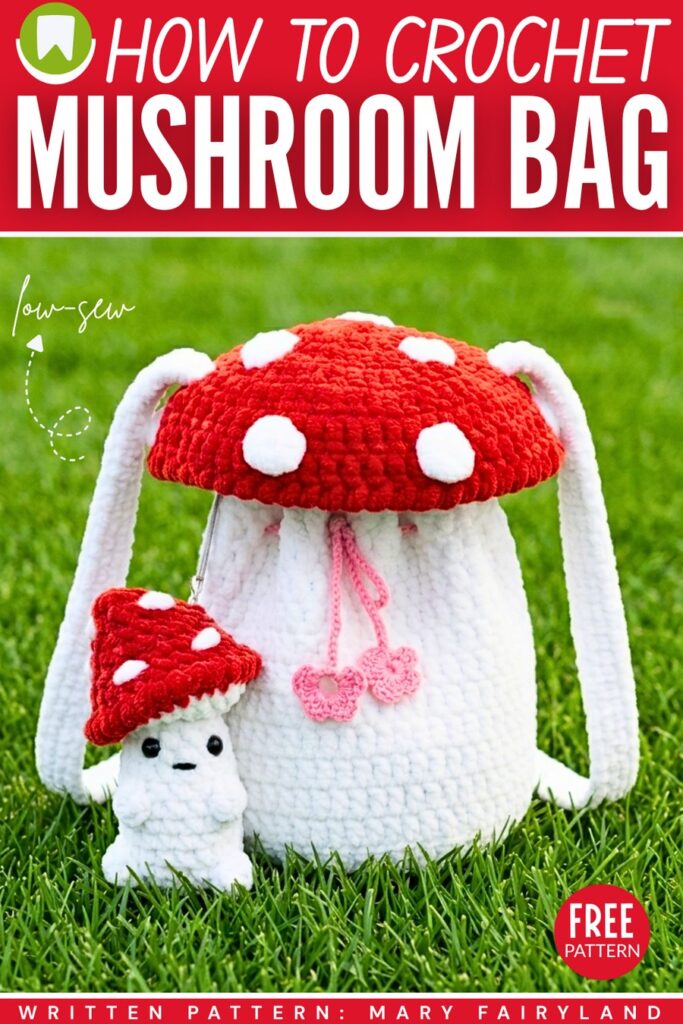
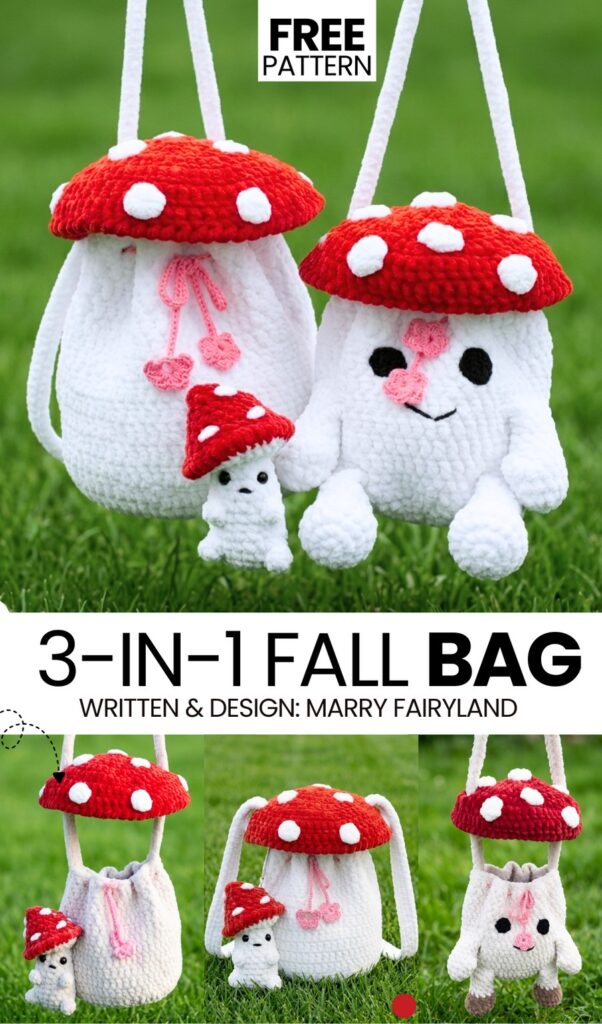
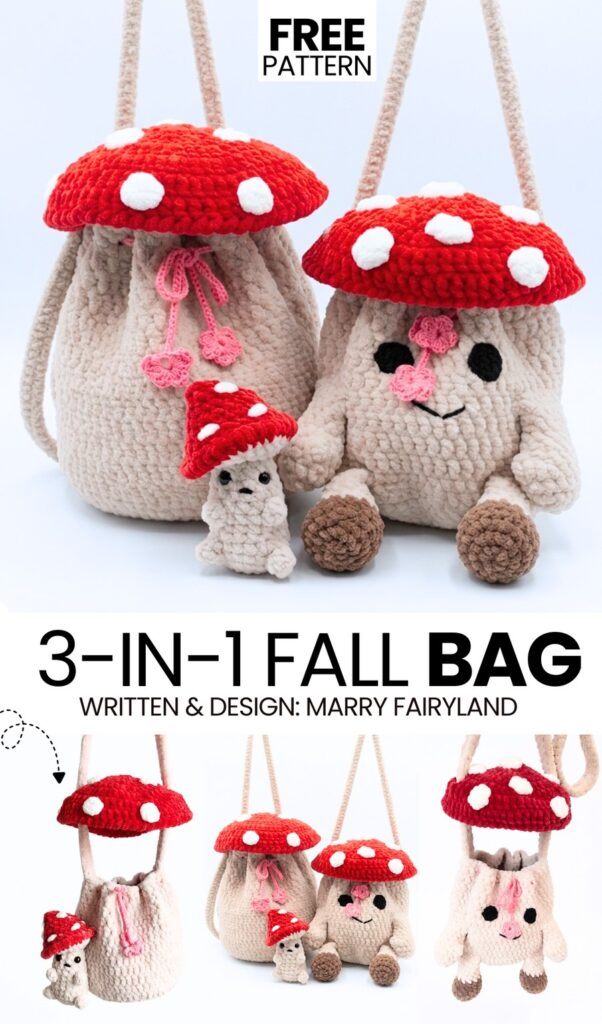
With this 2-in-1 mushroom plush pattern, learn how to crochet this mushroom buddy plush drawstring pouch! This completes the set of 3 mushroom plushies and accessories, including the previously shared tilted-cap sitting mushroom bag charm and two variations of the mushroom pouch. The first one, which is for kids, is a crochet mushroom bag with legs and arms and a kawaii face.
The 2nd one is a mushroom bag without a face or legs and arms, mainly for adults. It is based on the mushroom lip balm holder mechanism, but this mushroom bag is larger and perfect for holding your yarn & hooks, mobile phone, and even makeup.
The crochet drawstrings of this soft & velvety mushroom shoulder bag also have heart and flower applique charms. It is also an irresistible back-to-school backpack for kids once you attach the handles on the back side of the buddy mushroom variation. Finish it by attaching the sitting mushroom bag charm to the bag. Now, continue reading to learn more about this plush bag project and get the mushroom bag pattern.
[ez-toc]
Pattern to Crochet the Mushroom Buddy Drawstring Pouch
Let’s learn how to crochet a cute and spacious little bag shaped like a fly agaric (red and white) mushroom! The bag features a round bottom, an adjustable drawstring to close it, and a bright red mushroom cap that stays safely attached to the bag’s shoulder strap so you never lose it.
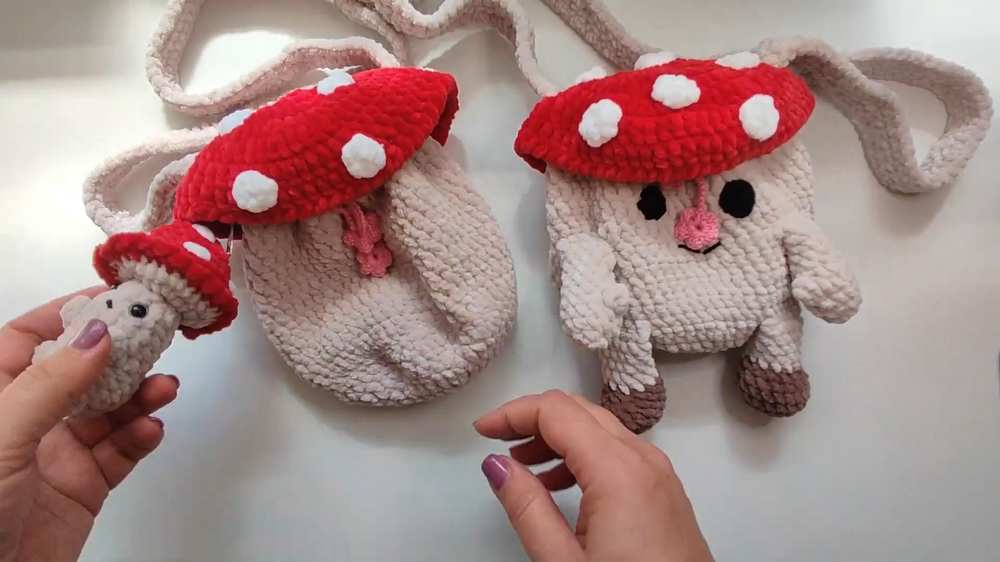
It is perfectly sized to hold items like your keys, phone, or a small wallet, making it great for walks.
You will learn how to make a playful version with tiny arms and legs, but you can also choose to make a simple version without the limbs. It uses soft, chunky plush yarn, making it a fast, cozy, and charming project to complete.
Full Crochet Pattern
Materials Needed:
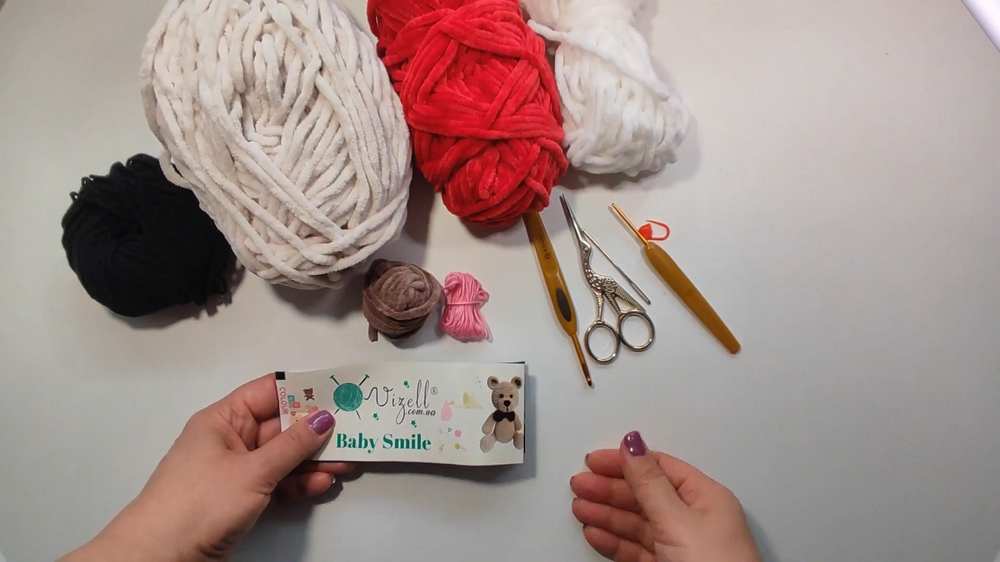
Thick Plush/Chenille Yarn (100g/120m): Beige (for body/arms/strap), Red (for cap), Brown/Coffee (for shoes).
Thinner Cotton/Acrylic Yarn (like YarnArt Jeans): White (for spots), Black (for eyes/mouth), Pink (for the drawstring string).
Crochet Hooks: 4.0 mm (main hook) and 2.5 mm (for the eyes).
Extras: Stitch markers, scissors, regular sewing needle and thread, yarn needle, stuffing.
1. Legs (Make 2)
Use Brown yarn and 4.0 mm hook.
Round 1: Ch 4. Starting in the 2nd ch from the hook: inc, 1 sc, 4 sc in the last chain. Working down the other side of the chain: 1 sc, inc. (10)
Round 2: 2 inc, 1 sc, 4 inc, 1 sc, 2 inc. (18)
Rounds 3-4: 18 sc. (2 rounds)
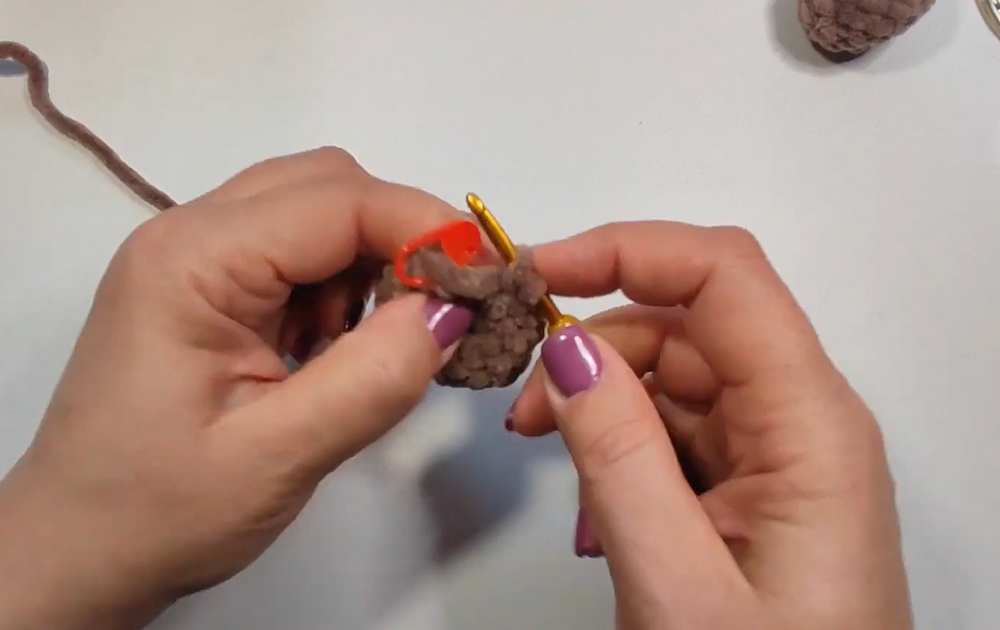
Round 5: 5 sc, 4 dec (front loops only), 5 sc. (14)
Are you a Beginner? Learn Crocheting Easily!
You can also learn to crochet this toadstool mushroom drawstring as a beginner by following this tutorial:
Round 6: 5 sc, 2 dec, 5 sc. (12) Stuff the brown foot medium-tight.
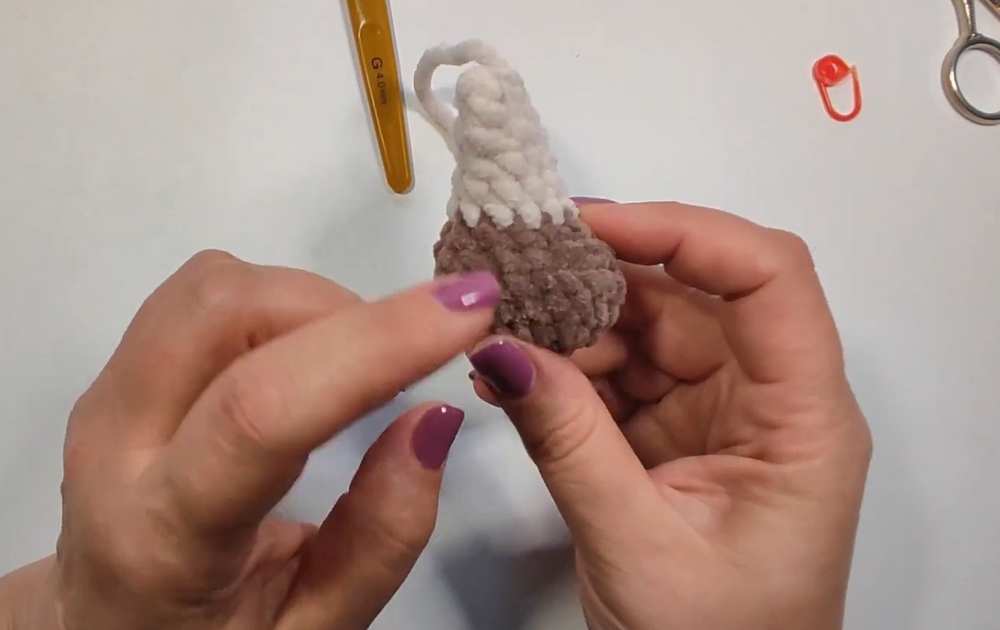
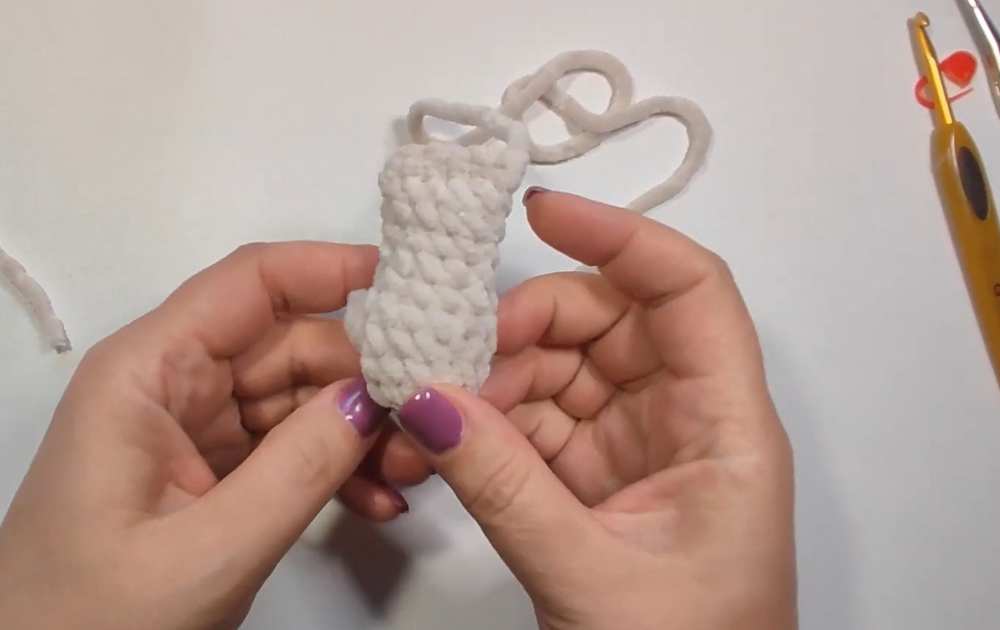
Rounds 7-11: Change to Beige yarn. 12 sc. (5 rounds). Do not stuff the top beige part. Fold the top flat, and crochet 6 sc across both layers to close the hole. Fasten off.
2. Arms (Make 2)
Use Beige yarn.
Round 1: 6 sc in a Magic Ring. (6)
Round 2: 6 inc. (12)
Rounds 3-4: 12 sc. (2 rounds)
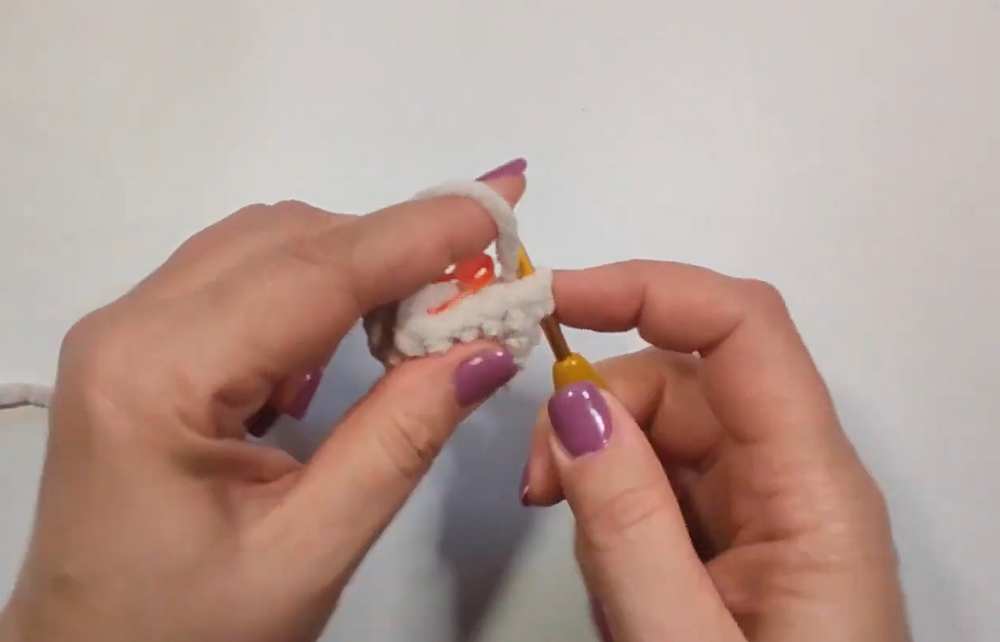
Round 5: In the first stitch, make a 3-dc bobble stitch (this is the thumb), then 11 sc. (12)
Round 6: 4 sc, 1 dec, 4 sc, 1 dec. (10)
Rounds 7-10: 10 sc. (4 rounds) Stuff the hand gently. Flatten the top so the thumb sits exactly on the folded edge (you may need to crochet 1-2 extra sc to align it properly). Crochet 5 sc across both layers to close. Leave a long tail for sewing.
3. Main Bag Body (Mushroom Stem)
Use Beige yarn. Worked in joined rounds. The “Ch 2” at the start of rounds does not count as a stitch.
Round 1: 12 dc in a Magic Ring. Sl st to join, ch 2. (12)
Round 2: 12 dc inc. Sl st, ch 2. (24)
Round 3: (1 dc, inc) 12 times. Sl st, ch 2. (36)
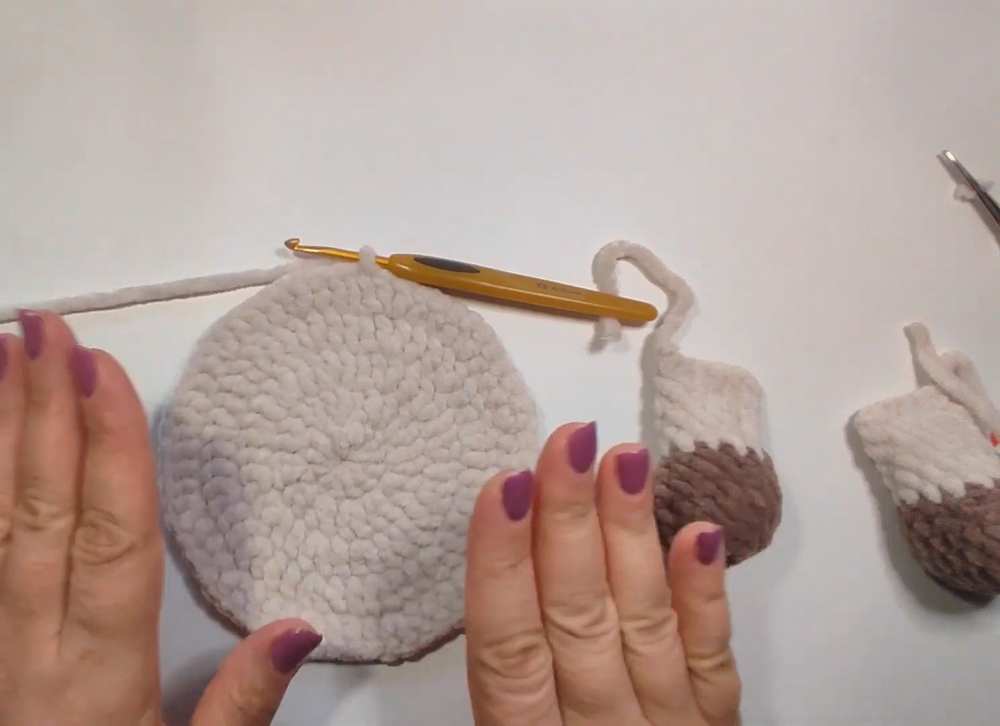
Round 4: (2 dc, inc) 12 times. Sl st, ch 2. (48)
Round 5: (3 dc, inc) 12 times. Sl st. (60)
Round 6 (Attaching the legs): Ch 1. 19 sc. Hold the first leg against the edge, crochet 6 sc through both the leg and the bag. 10 sc on the bag. Hold the second leg, 6 sc through the leg and the bag. 19 sc. Sl st. (60)
Rounds 7-16: Ch 2, 60 dc. Sl st to join. (10 rounds)
Round 17: Ch 1, 60 sc. Sl st to join. Fasten off and weave in the end.
4. Shoulder Strap
Use Beige yarn.
Row 1: Ch 3. Starting in the 2nd ch from hook, 2 sc. Ch 1, turn.
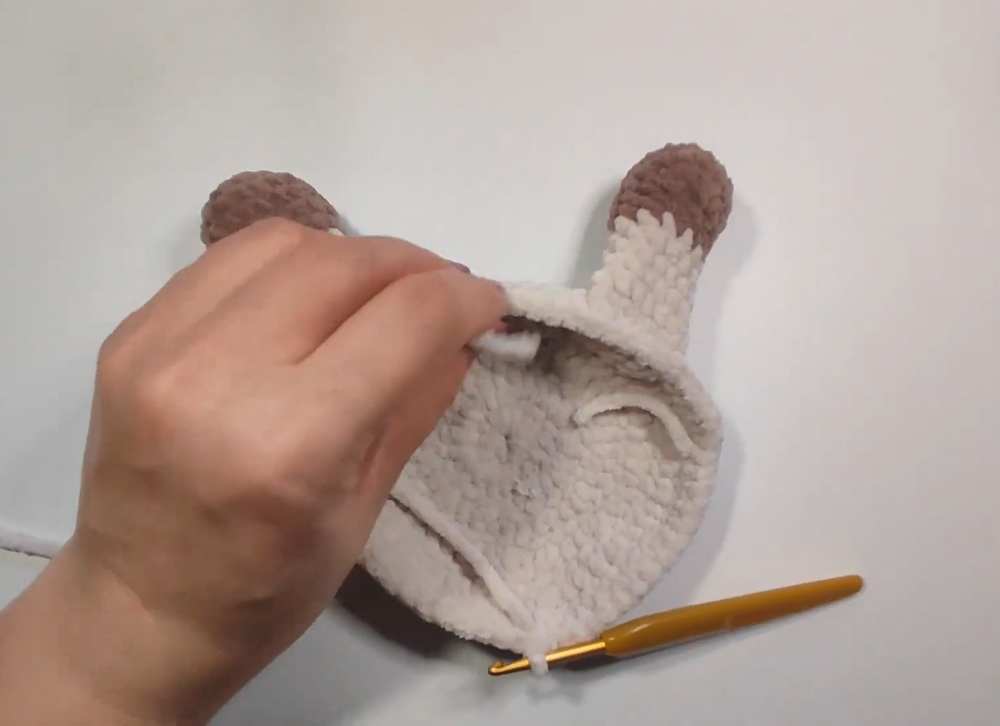
Row 2: 2 sc. Ch 1, turn. Repeat Row 2 back and forth until the strap is about 90 cm long. Crochet a border of sc all the way around the edges of the strap to make it neat. Fasten off, leaving a tail for sewing.
5. Mushroom Cap
Use Red yarn.
Round 1: 12 dc in a Magic Ring. Sl st, ch 2. (12)
Round 2: 12 dc inc. Sl st, ch 2. (24)
Round 3: (1 dc, inc) 12 times. Sl st, ch 2. (36)
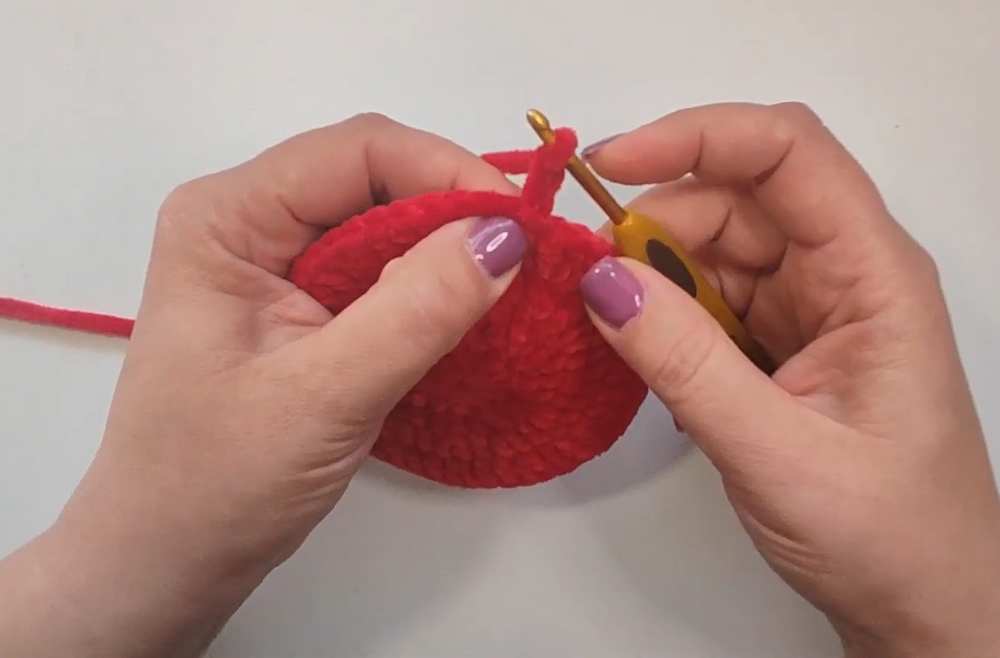
Round 4: (2 dc, inc) 12 times. Sl st, ch 2. (48)
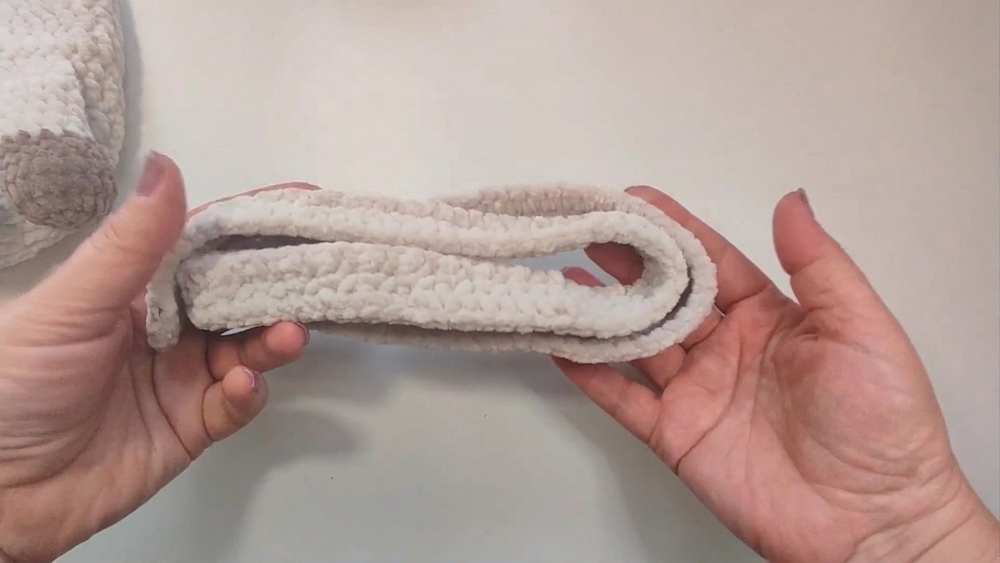
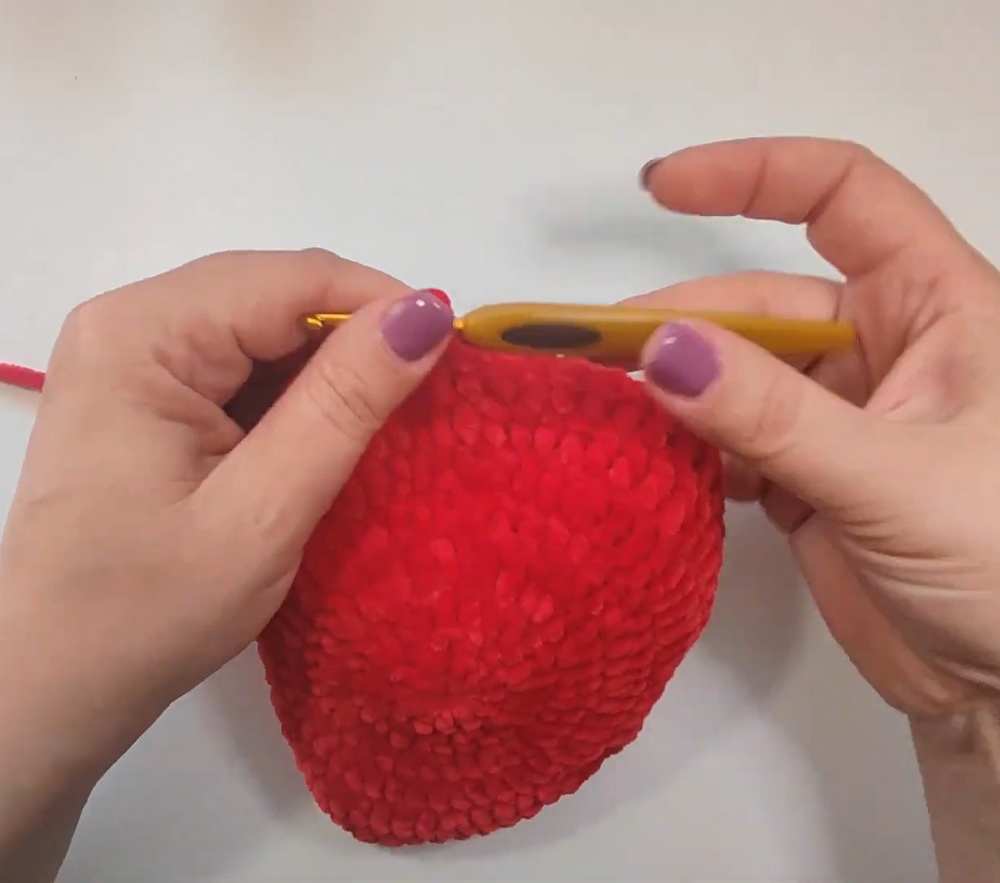
Round 5 (Creating strap holes): (3 dc, inc) 1 time. Ch 4, skip 3 sts, 1 dc in the 4th st. (3 dc, inc) 5 times. Ch 4, skip 3 sts, 1 dc in the 4th st. (3 dc, inc) 4 times. Sl st, ch 2. (60)
Rounds 6-7: 1 dc in every stitch around. When you reach the Ch-4 gaps, crochet 4 dc into the gap space. (60) (Note: If you want a wider hat, increase evenly to 72 sts in round 6).
Round 8: Crab stitch (Reverse Single Crochet) around the entire edge. Fasten off.
6. White Spots
Use White yarn.
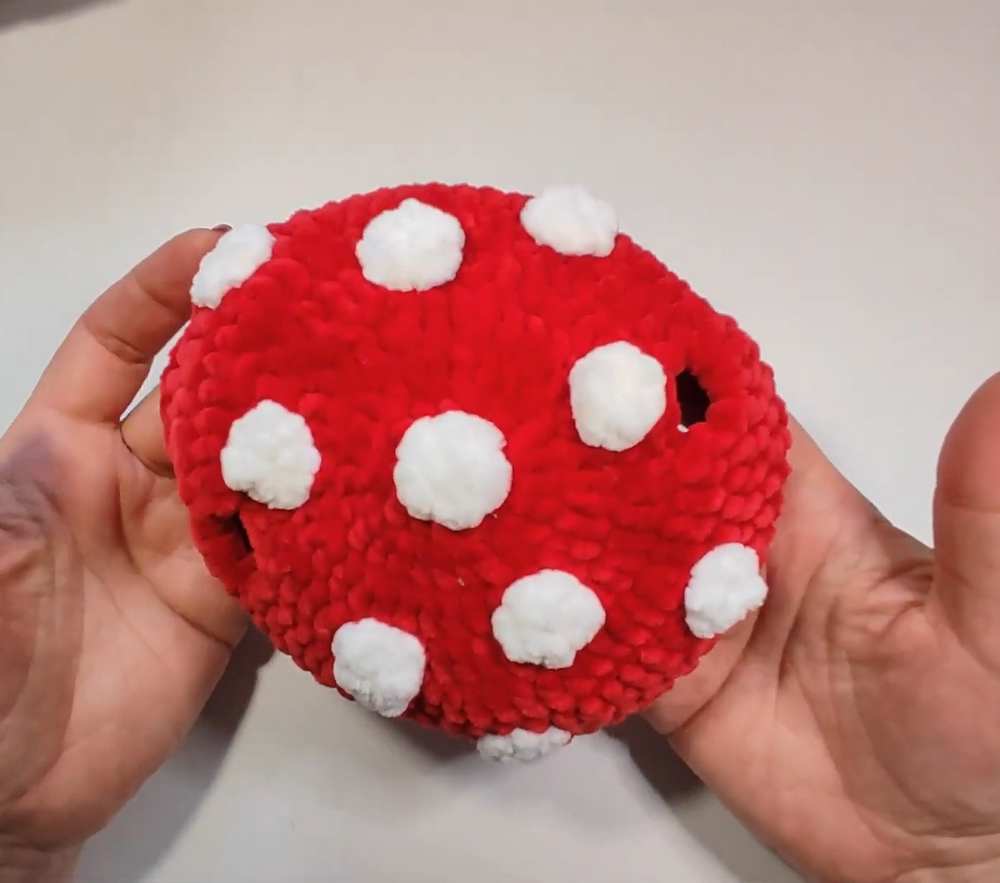
Make several: 6 sc in a Magic Ring. Sl st and fasten off. Use regular white sewing thread and a sewing needle to sew the spots randomly all over the red cap.
7. Eyes and Face
Use Black yarn (thinner weight) and a 2.5 mm hook.
Eyes (Make 2): 12 dc in a Magic Ring. Sl st, fasten off. Sew the eyes to the bag between Rounds 11 and 13. Leave 5 stitches of space between them. Using a needle and black yarn, embroider a small “V” shaped mouth on Round 10 centered between the eyes.
8. Drawstring with Flowers
Use Pink yarn (or any color of choice).
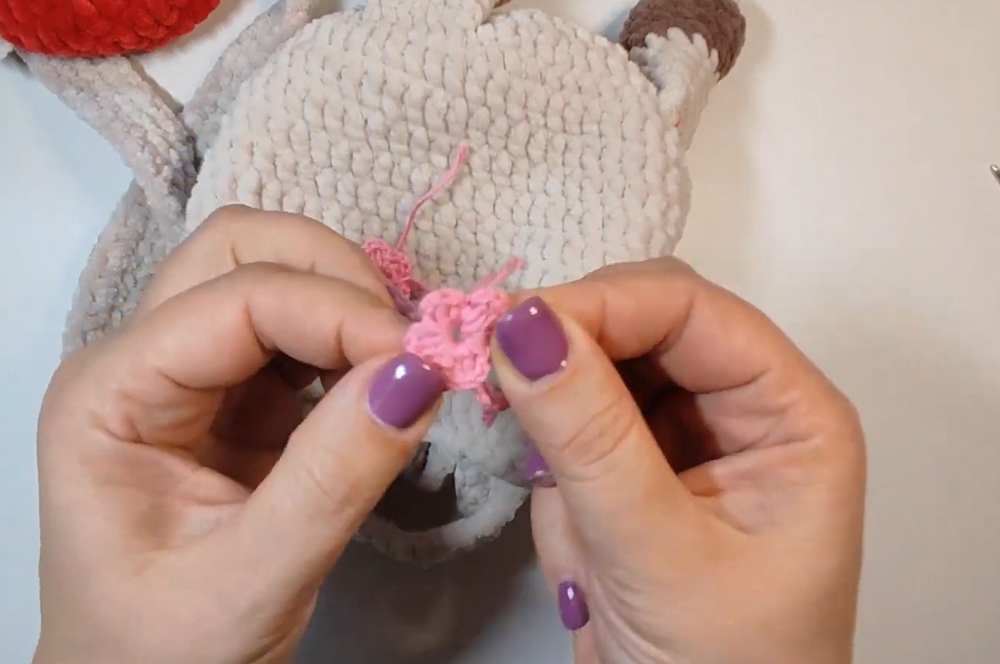
First Flower: Ch 6, sl st into the 1st ch to make a ring. (Ch 2, 2 dc in ring, ch 2, sl st in ring) — repeat this 5 times to make 5 petals.
String: Do not cut the yarn. Chain a long string (about 45 cm long).
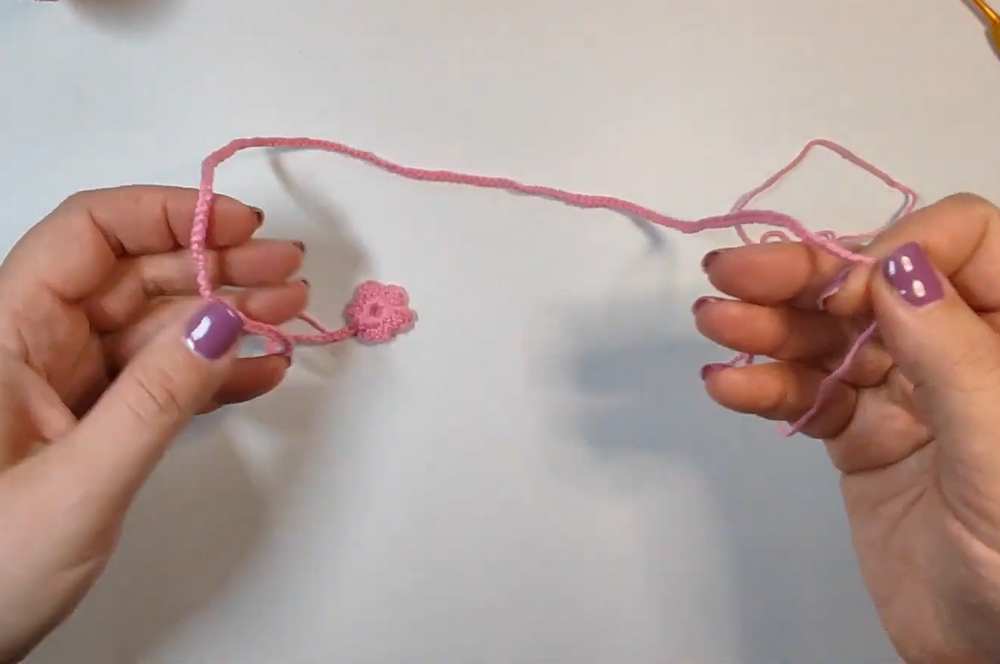
Cut the yarn, but leave a very long tail (about 1 meter).
Weave this chain in and out through Round 16 of the bag (weave it skipping every 3 or 4 stitches).
Once woven through the bag, use the remaining 1-meter tail and your hook to create the second flower right at the end of the chain, repeating the flower pattern above. Fasten off.
9. Final Assembly
Attach the Strap: Sew one end of the beige shoulder strap securely to the inside rim of the bag.
Add the Cap: Take the loose end of the strap and feed it up through one of the holes in the red cap, and down through the other hole.
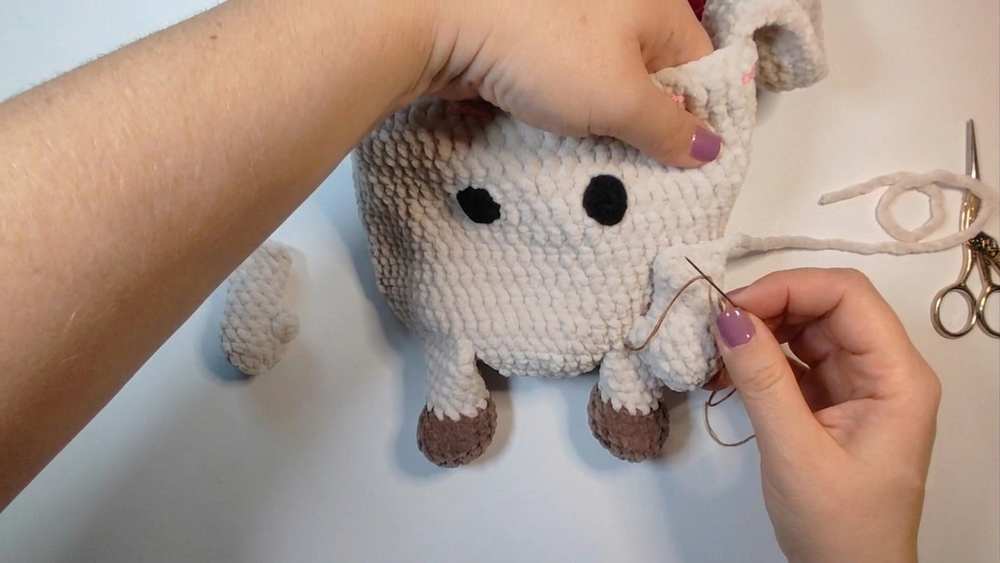
Finish the Strap: Sew the remaining loose end of the strap to the opposite inside rim of the bag. (The cap can now slide up and down the strap like a lid!)
Attach the Arms: Sew the arms flat onto Round 10 of the bag sides, making sure the thumbs point inward.
Share on Social Media!
See More:
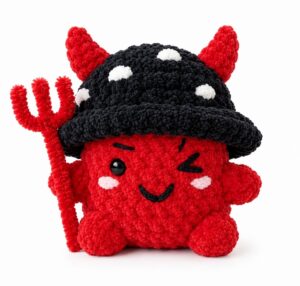
Tester Pattern: How to Crochet Amigurumi Spooky Red & Black Mushroom Plushie
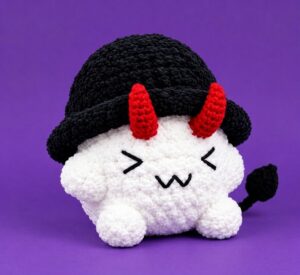
Tester Pattern: How to Crochet A No-Sew Mr. Red Horns Mushroom Plushie
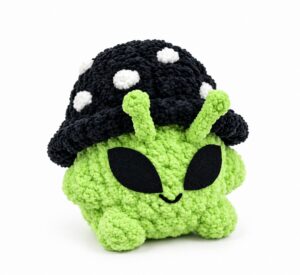
Tester Call: How to Crochet Green Alien Mushroom Plushie Buddy for Gifting
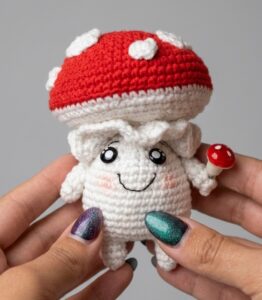
How to Crochet A Plastic Kawaii-Eyed Mushroom with Legs and Arms Plushie
Free Crochet Mushroom Plushies Pattern Series
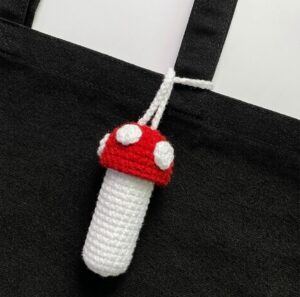
How to Crochet Mushroom Chapstick Holder & Charm for Fall
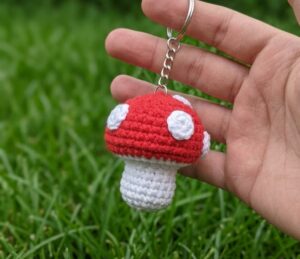
How to Crochet A Mushroom & Maple Leaf Keychain for Fall
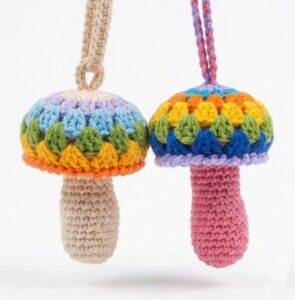
Let’s Crochet the Only Colorful 2-in-1 Mushroom for this Fall
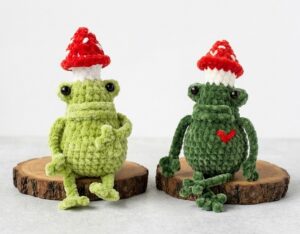
How to Crochet 20cm Variation of Mushroom Frog Plushie for Fall