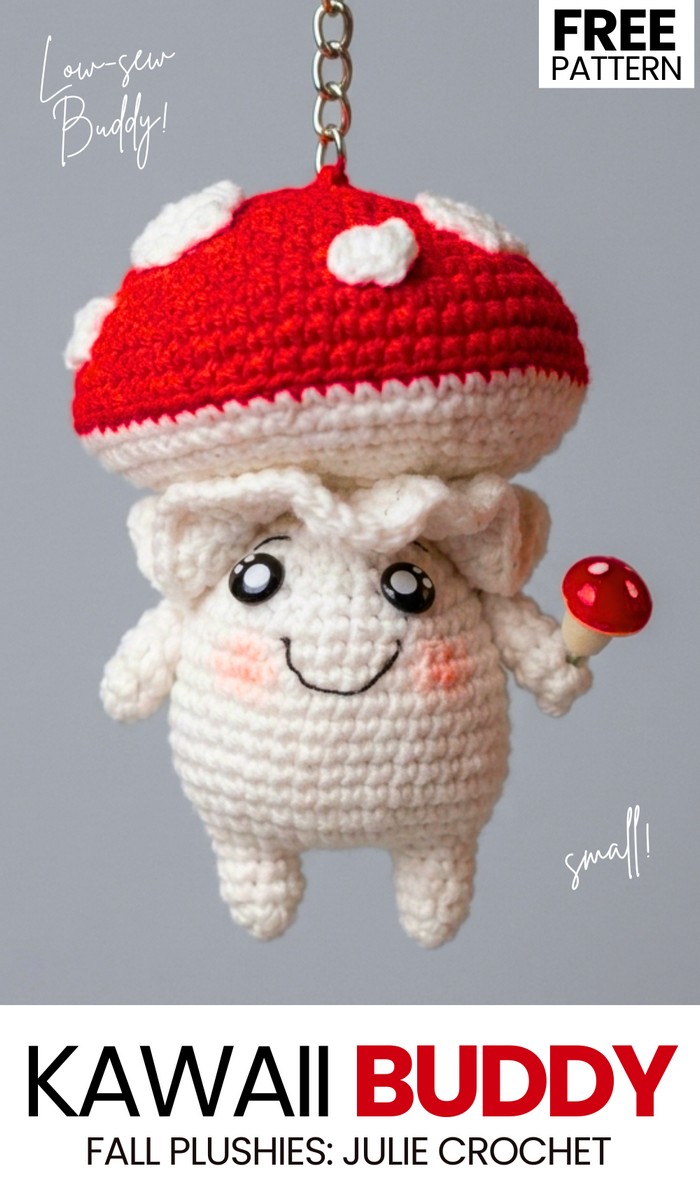
After a long break, here is another crochet PLUSHIE pattern from the “crochet character mushroom” series! Today, learn how to crochet this cute medium-sized mushroom buddy plushie using amigurumi yarn or velvet with a step-by-step tutorial + a written pattern as well. UNIQUE features of this crochet mushroom buddy doll include the plastic kawaii eyes, the ruffled frill below the mushroom cap, and the unique low-sew mushroom doll pattern. The cap also has white crochet spots in different sizes that add a bit of a lifelike element to this character amigurumi. You can also crochet one for Christmas.
With the recommended yarn, you will end up with a much smaller amigurumi mushroom buddy. This is the perfect size to make a back-to-school backpack charm. But if you are looking for a crochet mushroom that can make a snuggle-up crochet buddy, be sure to use the super bulky yarn.
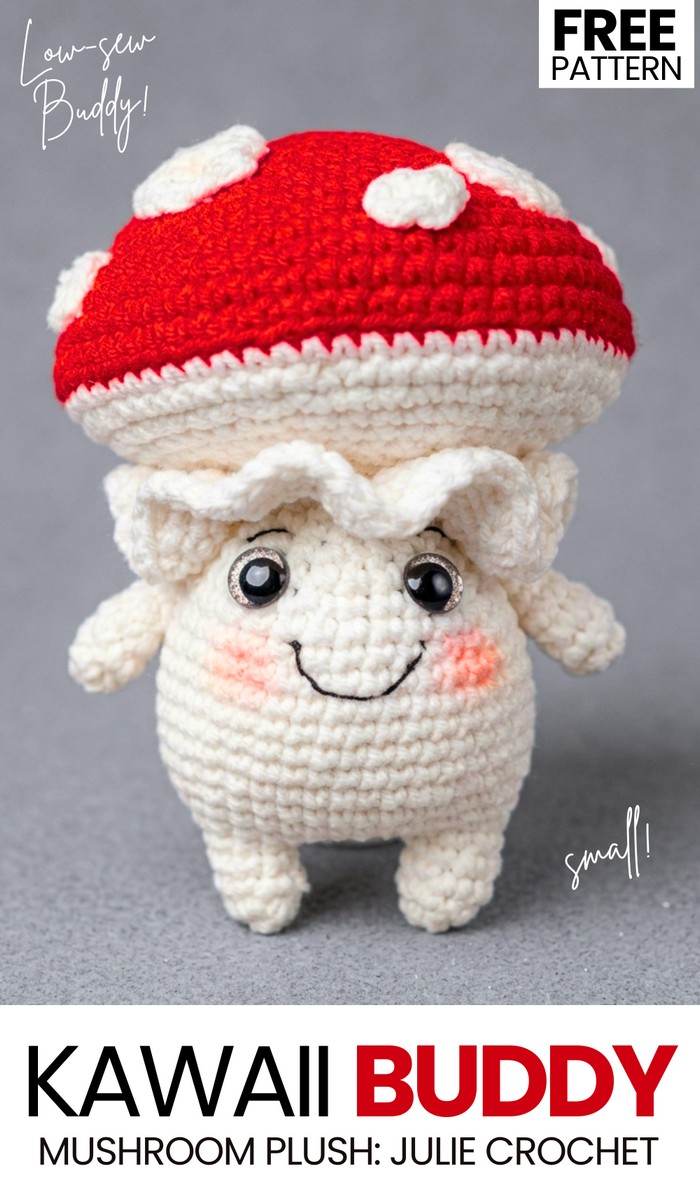
Note that I have already shared a crochet backpack character mushroom plush bag. This is a part of a set of 3 mushroom variations with a dedicated mushroom charm design. You can also crochet that plushie if you are really looking for a red and white back-to-school set for a little one. Anyway, continue reading to learn more about this crochet fall and Christmas plush project that makes a quick and low-sew present.
[ez-toc]
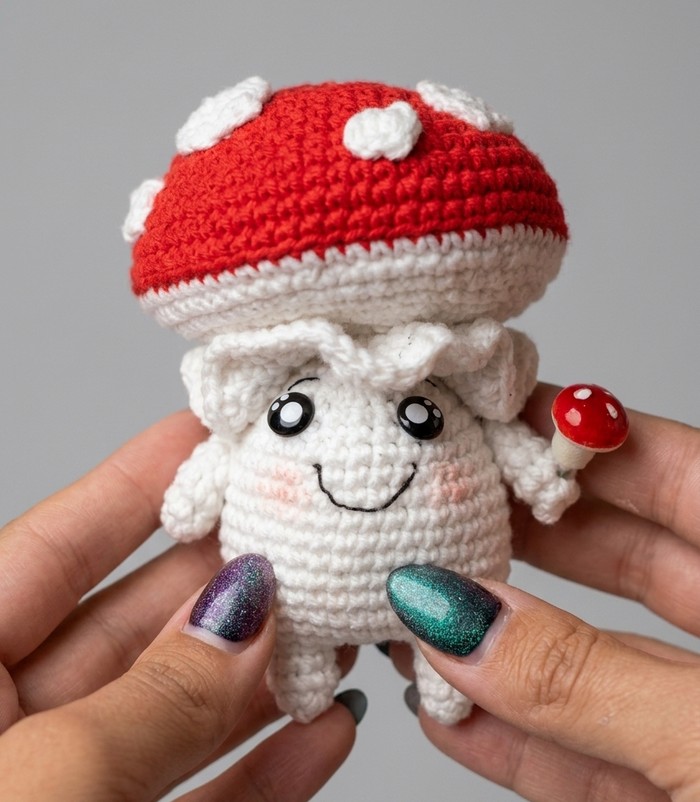
Pattern to Crochet the Mushroom Man Plushie
This is a fun and small project to make a little mushroom toy. The toy is called a fly agaric. It has a white body, small arms, and tiny legs. It has a big red hat on its head. The hat has small white spots. You will make the arms first, then the legs, and join the legs to make the body. You will fill the body with soft stuff. You will make the red hat separate. You will make white dots and put them on the red hat.
Then, you will put the hat on the body. You will give the mushroom eyes and a little smile. In the end, you will make a small white ruffle and tie it under the head. It is a very cute little toy for the fall time.
Materials Needed
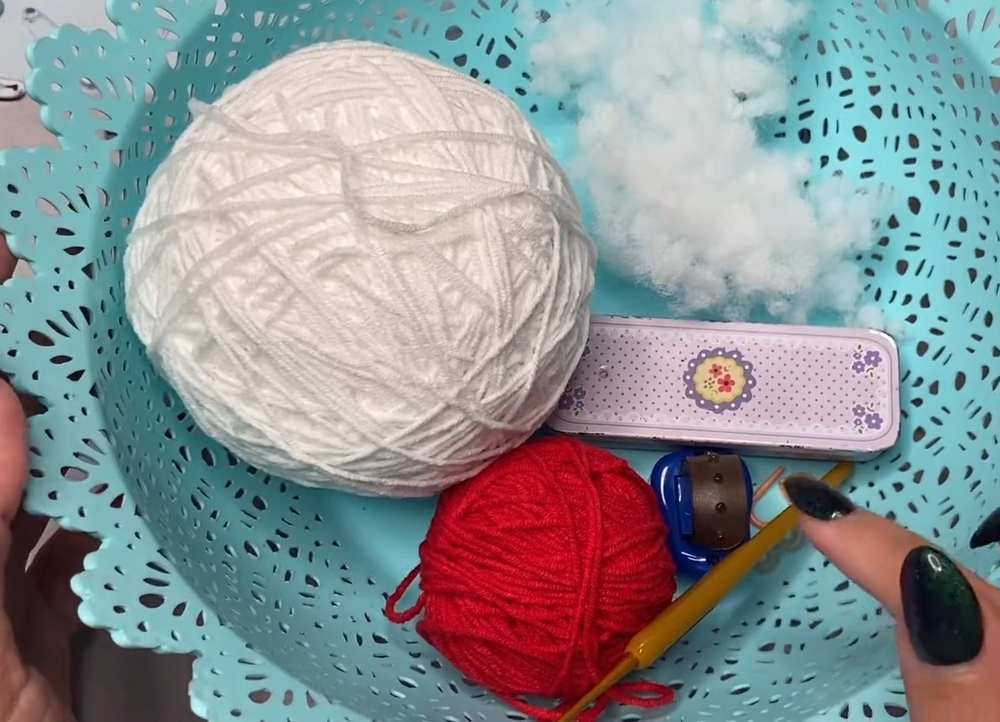
Yarn: Cotton-blend or acrylic yarn in White and Red (the creator uses YarnArt Jeans).
Crochet Hook: 2.0 mm hook.
Safety Eyes: Small plastic safety eyes with backings (oval or round shape, around 6mm – 8mm).
Stuffing: Holofiber or regular toy stuffing.
Tools: Stitch marker, scissors, and a yarn needle for sewing.
Extra (Optional): Black sewing thread to make the mouth and eyebrows, and a little bit of pink blush for the cheeks.
Detailed Pattern Instructions
Abbreviations:
sc: single crochet
inc: increase (2 single crochets in the same stitch)
dec: decrease (crochet 2 stitches together)
ch: chain
BLO: back loops only
Are you a Beginner? Learn Crocheting Easily!
You can learn to crochet better with the crochet mushroom buddy plushie with the following tutorial: Or continue to the written pattern:
Arms (Make 2) Round 1: Make 4 sc in a magic ring. (4)
Round 2: (1 inc, 1 sc) repeat 2 times. (6)
Rounds 3-4: 1 sc in each stitch around. (6) [2 rounds total] Add a tiny bit of stuffing to the bottom of the arm.
Round 5: (1 dec, 1 sc) repeat 2 times. (4) Fasten off and leave a tail for sewing. Make the second arm the same way.
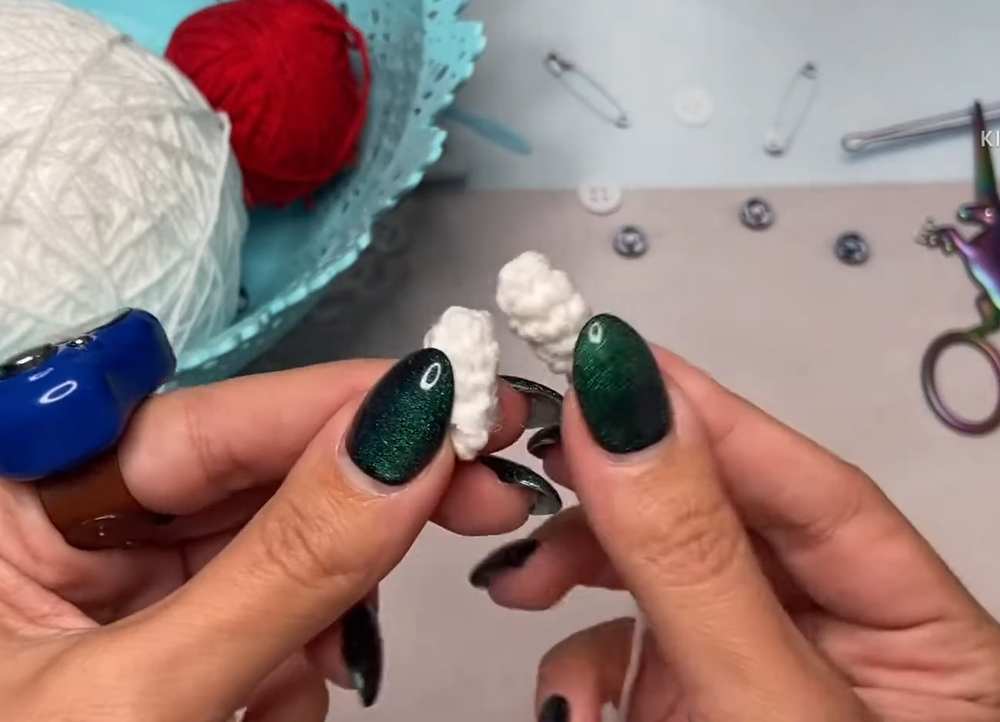
Legs (Make 2) Round 1: Make 5 sc in a magic ring. (5)
Round 2: (1 inc, 2 sc) repeat ending with incomplete repeat? Wait, pattern says: 1 inc, 2 sc, 1 inc. But the creator says: “(inc, 2 sc, inc) to get 7 sc”. Let’s correct it based on the 7st count: 1 inc, 2 sc, 1 inc, 1 sc. (7)
Rounds 3-4: 1 sc in each stitch around. (7) [2 rounds total] Add a tiny bit of stuffing to the leg. On the first leg, fasten off and cut the yarn. Make the second leg the same way, but do NOT cut the yarn. We will now join them.
Body Round 5: From the second leg, chain 5. Join to the first leg with a sc. This counts as the first sc. Make 6 more sc around the first leg (7 sc total on the first leg). Make 5 sc along one side of the chain. Make 7 sc around the second leg. Make 5 sc along the other side of the chain. (24)
Round 6: (3 sc, 1 inc) repeat 6 times. (30)
Round 7: (9 sc, 1 inc) repeat 3 times. (33)
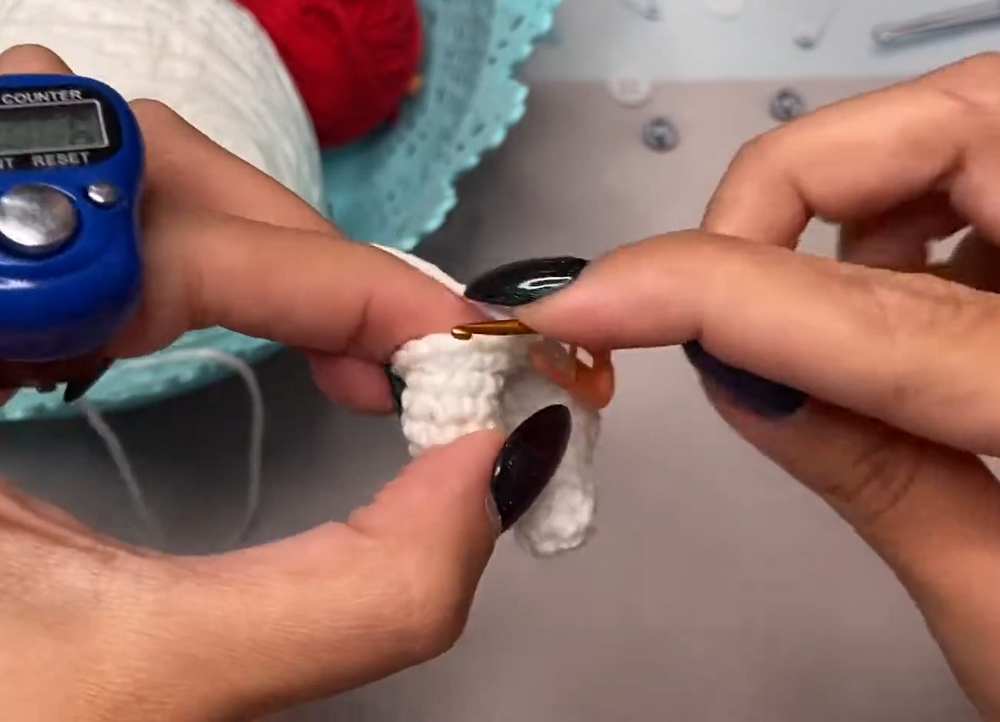
Round 8: (10 sc, 1 inc) repeat 3 times. (36)
Rounds 9-14: 1 sc in each stitch around. (36) [6 rounds total]
Round 15: (4 sc, 1 dec) repeat 6 times. (30)
Round 16: 1 sc in each stitch around. (30)
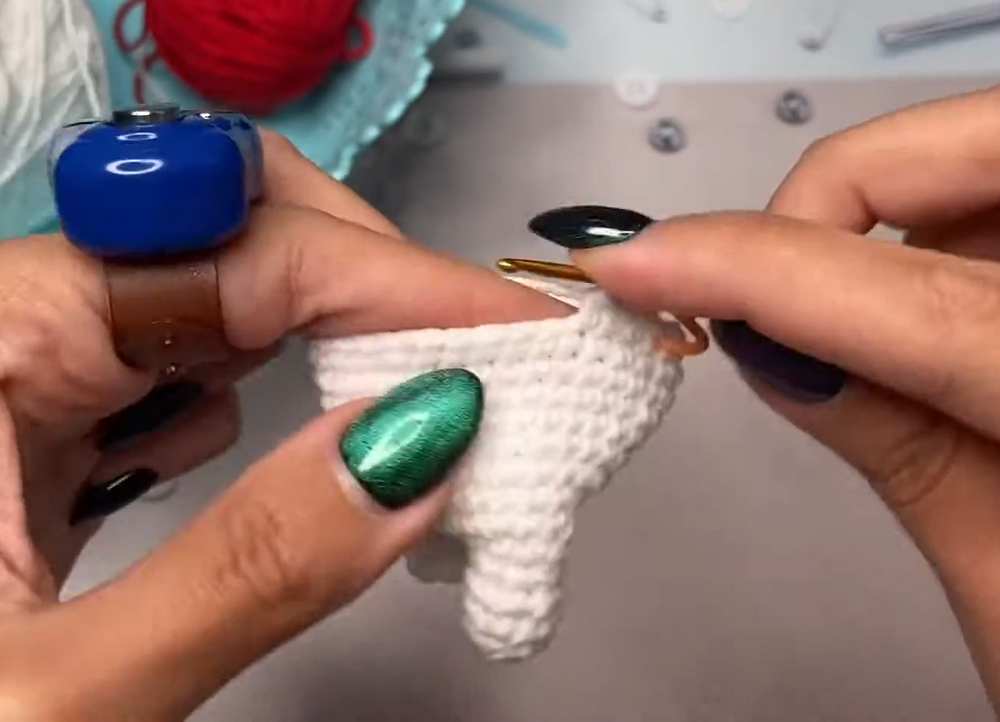
Round 17: (3 sc, 1 dec) repeat 6 times. (24)
Round 18: 1 sc in each stitch around. (24)
Round 19: (2 sc, 1 dec) repeat 6 times. (18)
Rounds 20-21: 1 sc in each stitch around. (18) [2 rounds total] If using safety eyes, insert them now between rounds 4 and 5 counting from the top open edge. Stuff the body firmly. Fasten off.
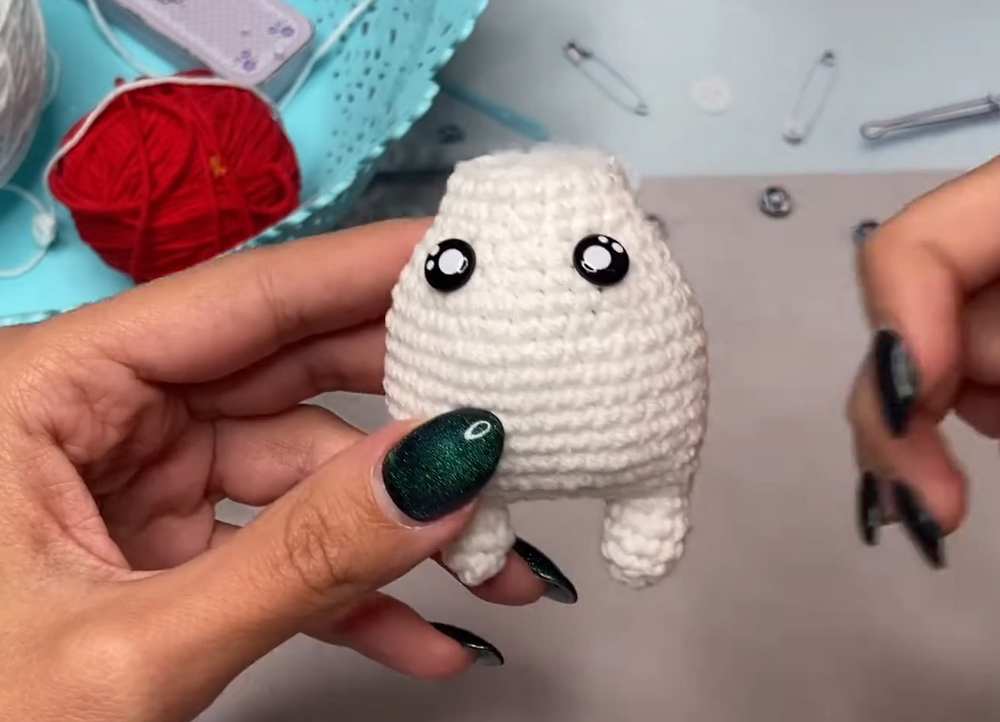
Mushroom Hat (Red)
Round 1: Make 6 sc in a magic ring. (6)
Round 2: 6 inc. (12)
Round 3: (1 sc, 1 inc) repeat 6 times. (18)
Round 4: (2 sc, 1 inc) repeat 6 times. (24)
Round 5: (3 sc, 1 inc) repeat 6 times. (30)
Round 6: (4 sc, 1 inc) repeat 6 times. (36)
Round 7: 1 sc in each stitch around. (36)
Round 8: (5 sc, 1 inc) repeat 6 times. (42)
Round 9: (6 sc, 1 inc) repeat 6 times. (48) (Tip: to keep the circle round, start with 3 sc, 1 inc, then repeat 6 sc, 1 inc, ending with 3 sc).
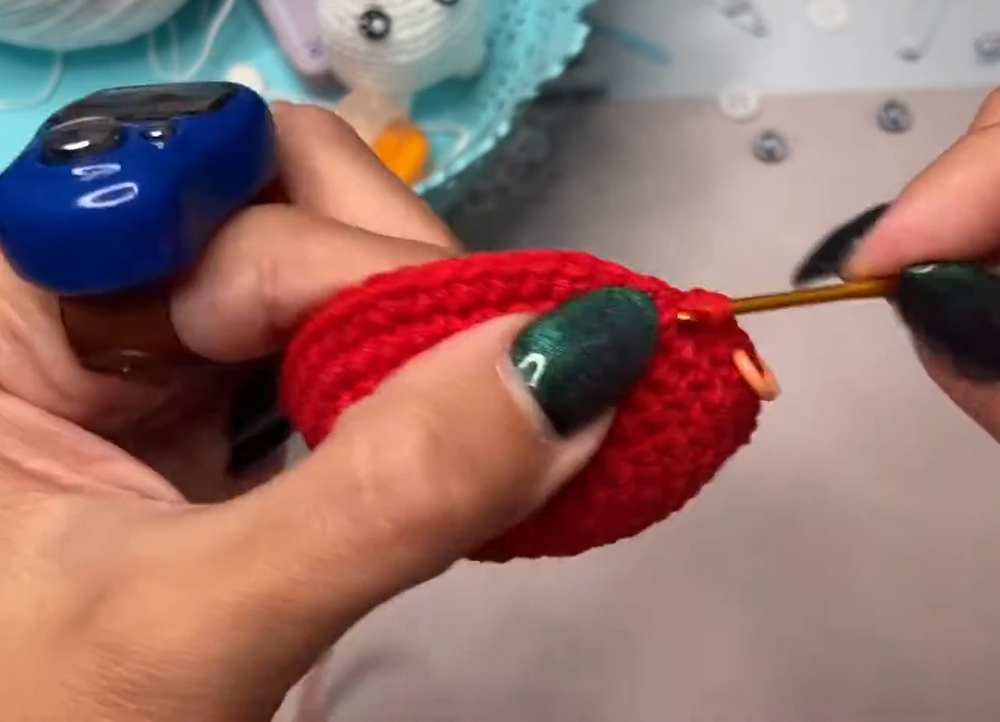
Round 10: (7 sc, 1 inc) repeat 6 times. (54)
Round 11: (8 sc, 1 inc) repeat 6 times. (60)
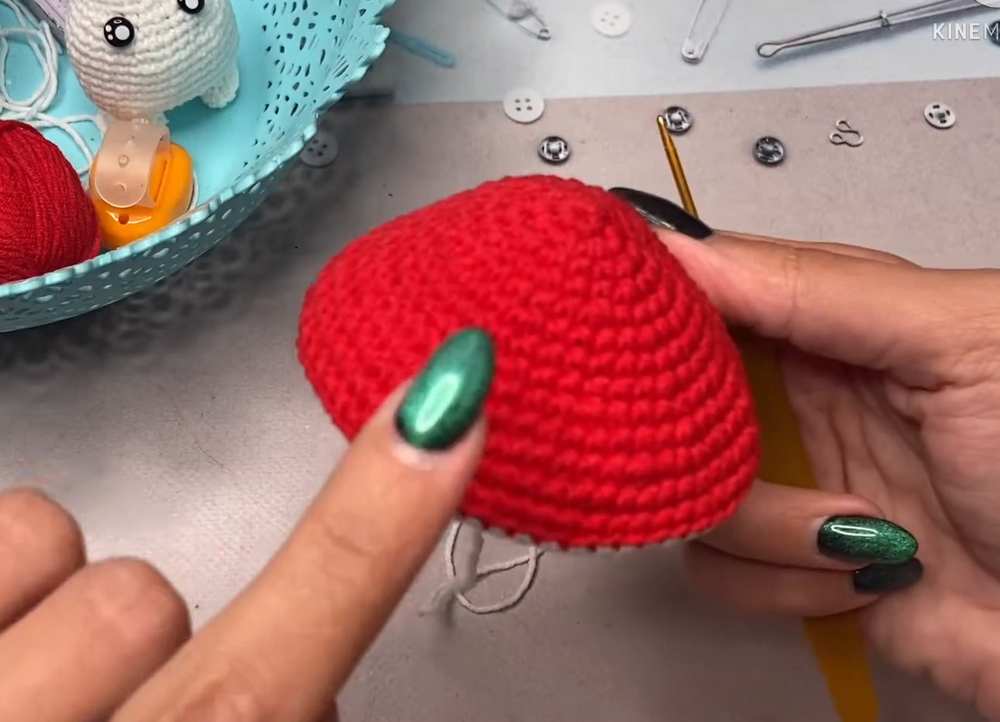
Rounds 12-13: 1 sc in each stitch around. (60) [2 rounds total] Change color to White. Do not cut the red until white is secured.
Round 14: In BLO, make 1 sc in each stitch around with white yarn. (60) (This makes the hat fold inward).
Round 15: (8 sc, 1 dec) repeat 6 times. (54)
Round 16: (7 sc, 1 dec) repeat 6 times. (48)
Round 17: (6 sc, 1 dec) repeat 6 times. (42)
Round 18: (5 sc, 1 dec) repeat 6 times. (36)
Round 19: (4 sc, 1 dec) repeat 6 times. (30)
Round 20: (3 sc, 1 dec) repeat 6 times. (24)
Round 21: (2 sc, 1 dec) repeat 6 times. (18) Fasten off, leaving a very long tail to sew the hat to the body.
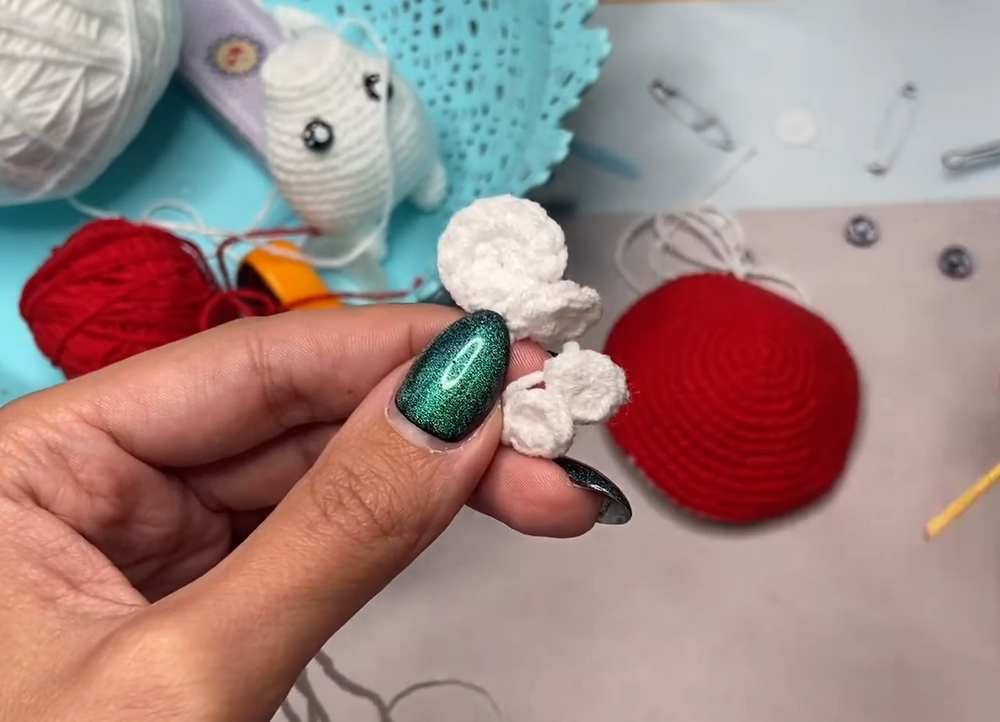
White Spots (Make multiple sizes) Make 5 to 7 spots total, depending on what you like. Small Spots: Make 5 or 6 sc in a magic ring, pull tight and slip stitch. Fasten off and leave a tail for sewing. Large Spots: Make 5 sc in a magic ring. In round 2, make 5 inc (10 sts). Fasten off and leave a tail for sewing. (Sew these spots all over the top of the red hat before stuffing the hat. You can also embroider tiny white dots using French knots).
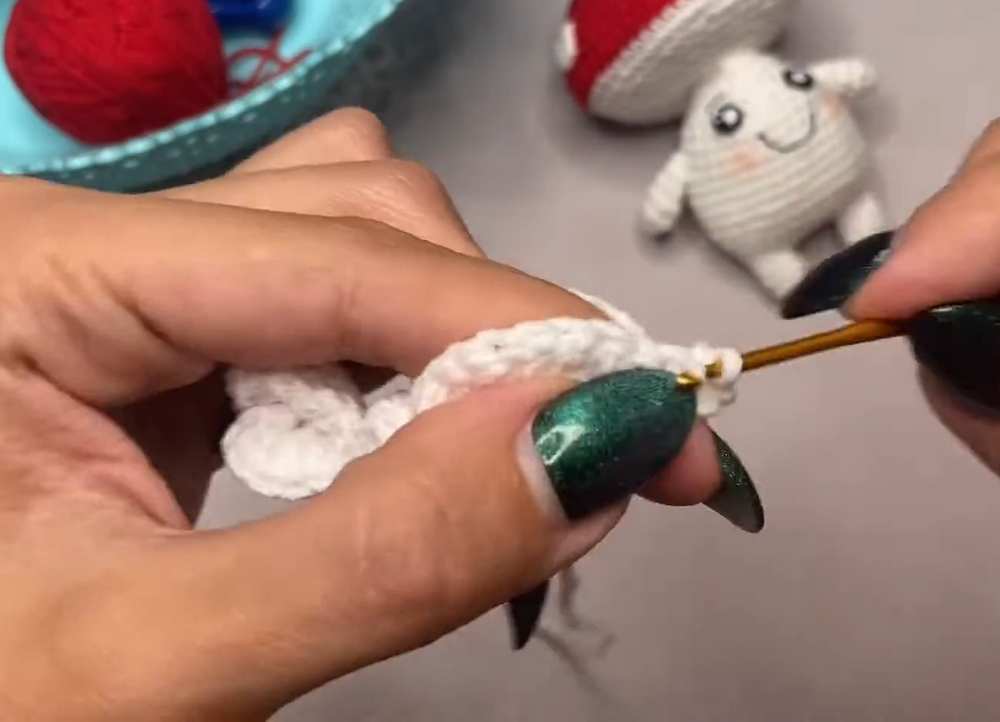
Ruffle Collar (White) Leave a long starting tail (for tying later).
Row 1: Chain 23 (or enough chains to wrap nicely around the neck). Chain 1 more to turn.
Row 2: Starting in the second chain from the hook, make 3 sc in every single chain stitch across. (This makes it curly).
Row 3: Chain 1, turn. Make 1 sc in every stitch across. Fasten off, leaving a tail the exact same length as your starting tail so you can tie it in a bow.
Assembly
Sew the white spots onto the red hat.
Stuff the red hat with holofiber.
Sew the hat onto the open top of the white body. Match stitch for stitch (both have 18 stitches). Pull tight as you go.
Sew the tiny arms to the sides of the body, a couple of rounds below the eyes.
Use black thread to sew a tiny line for the mouth, and tiny little eyebrows pointing down softly.
Use a small brush to put a tiny amount of pink blush under the eyes.
- Take the ruffle collar, wrap it around the neck right under the face, and tie the two tail strings in a knot or bow at the back of the neck. Arrange the ruffles so they look nice in the front.
Share on Social Media!
See More:

Featuring: How to Crochet the Smallest Pumpkin Fall Turtle Plushie with Orange & Parrot

Pattern Tester: How to Crochet Pumpkin Ridges Face Donut Ring Plushie for Fall
![[PDF Pattern] Crochet A Plush Autumn Acorn-Lover Plushie for Fall](https://criazalblog.com/wp-content/uploads/2026/09/crochet-squirrel-2-225x300.jpg)
[PDF Pattern] Crochet A Plush Autumn Acorn-Lover Plushie for Fall
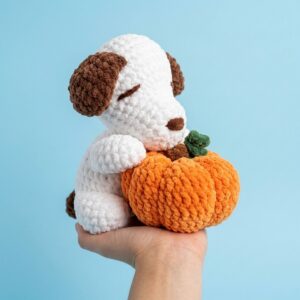
Featuring: How to Crochet Pumpkin Lover Puppy Plushie for Fall Decorations
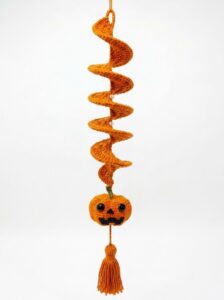
Tester Pattern: How to Crochet A Face Pumpkin Fall Wind Spinner for Playing With
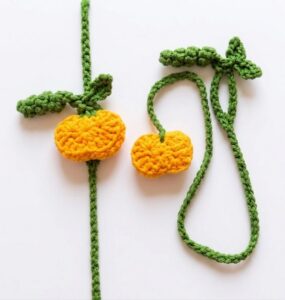
Featuring: How to Crochet Interlocking 3D Pumpkin Bookmark for Fall
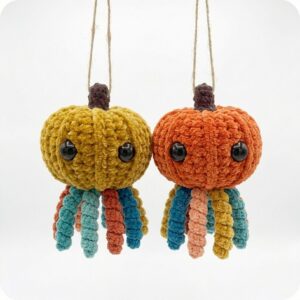
Tester Call: The Easiest Pumpkin-Octopus Hybrid Variation with UNIQUE Fall Pallete
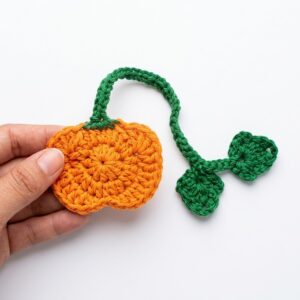
Featuring: How to Crochet A Back-to-School Pumpkin Bookmark for Fall
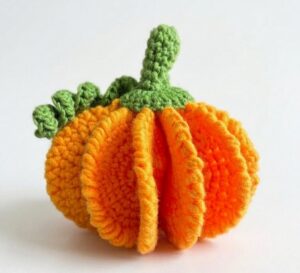
How to Crochet UNIQUE Craft-Style 3D Pumpkin Fall Decoration