Show support for Nazanin!
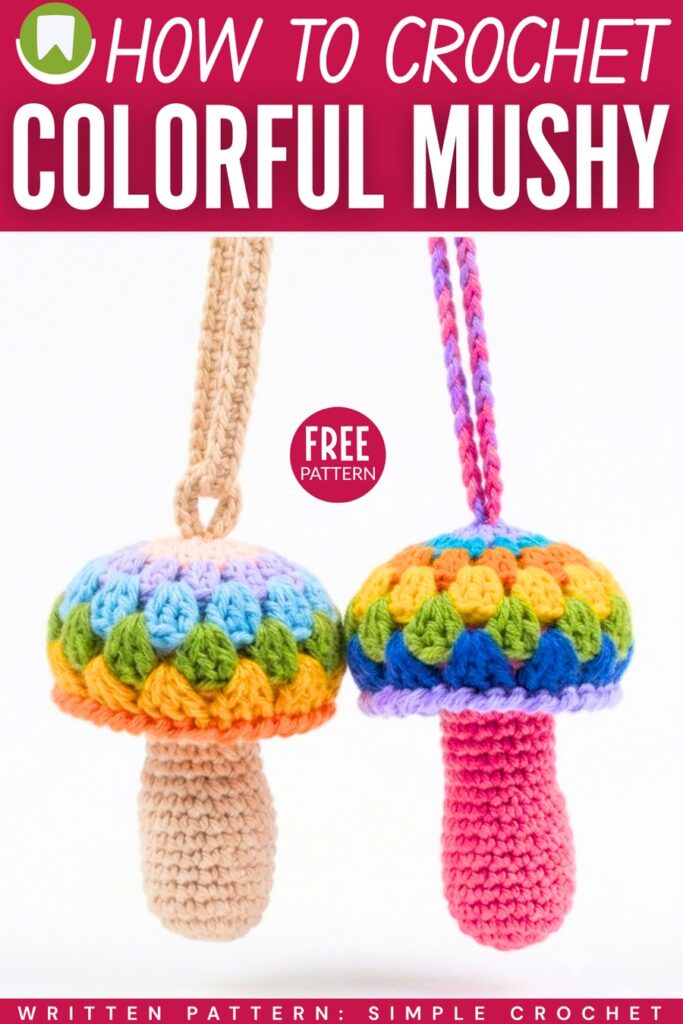
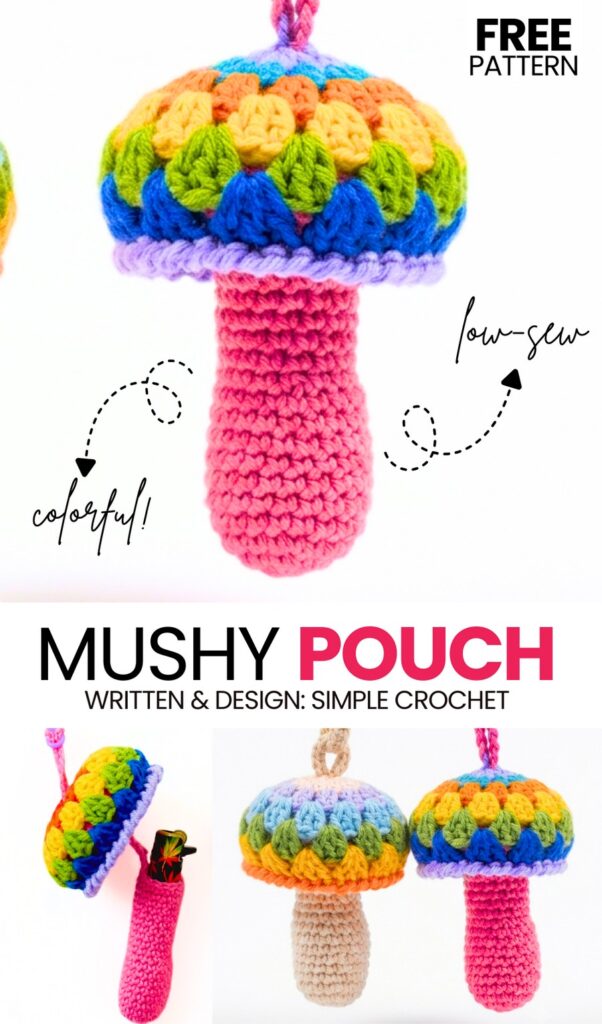
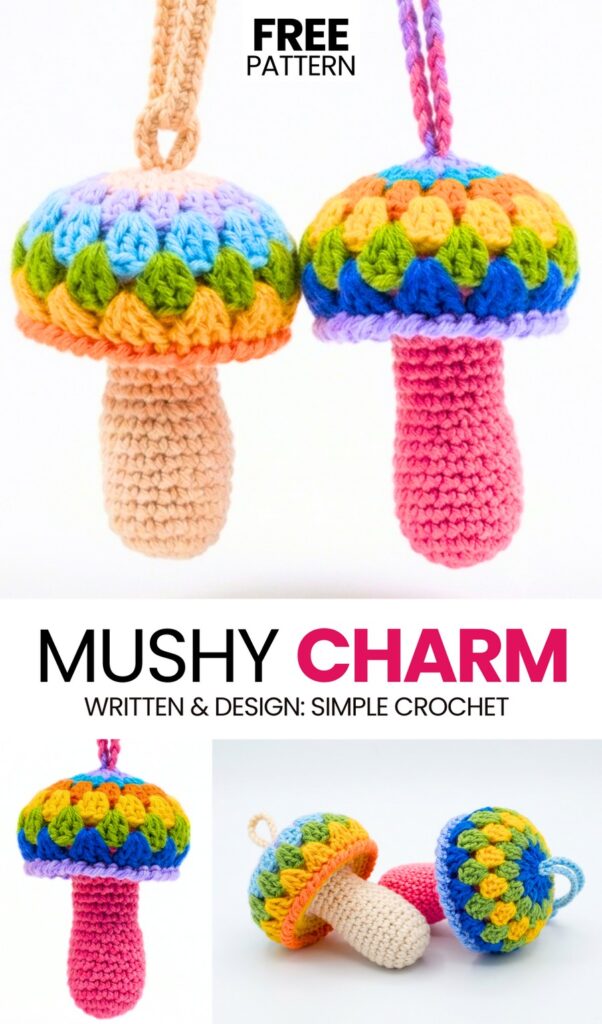
Continuing the “Innovative Ways to Crochet for Fall” series, today we are gonna crochet this 2-in-1 mushroom! Its UNIQUENESS comes from two features: unlike the toadstool mushroom, it has rainbow colorwork, and the mushroom cap is crocheted using granny stitch. And one more thing! This is also a mushroom lip balm or lipstick holder with the usual “slide & open” mechanism. Crochet it as a COLORFUL bag charm for your fall tote bag.
You can also choose odd colors such as pink or light purple for the stem of this colorful granny stitch mushroom. You can either crochet the sling straps to use it as a shoulder lip balm holder or attach a plastic lobster clasp to use it as a bag charm.
Until now, I have covered many toadstool and wild mushroom variations, but this one is the MOST FUN, practical, and UNIQUE. If you want to give something handmade as a gift this fall, I highly recommend crocheting this mushroom bag charm and lip balm pouch, as this is an unseen design which definitely surprises the receiver. You can also customize it in a number of ways. Anyway, below is the free pattern to crochet the rainbow version of this mushroom!
[ez-toc]
Pattern to Crochet Colorful Mushroom Keychain
This project is a cute and colorful crochet keychain holder shaped like a small mushroom. It is not just an adorable charm to hang on your bag or keys, but it is also very useful. The mushroom has a hollow center that lets you hide small items like a lighter or a lipstick inside, allowing you to carry them with you in a fun and practical way.
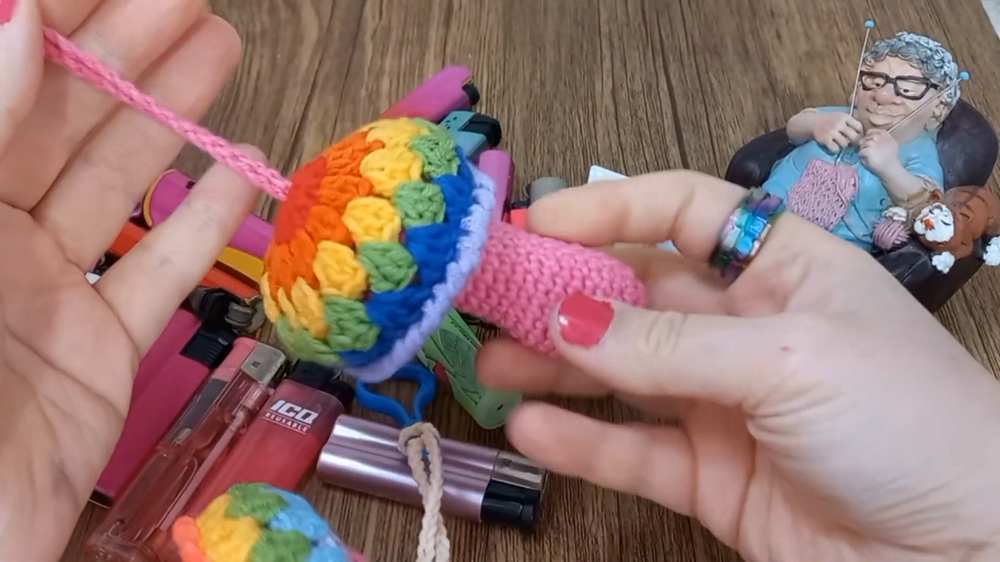
It uses simple stitches and can be made using one color, two colors, or multiple bright colors to give it a cheerful, rainbow look. It makes a wonderful gift and is a great way to practice basic crochet stitches.
Supplies Used
- Cotton yarn in blue and orange, purple, green, and off-white.
- 2.5mm crochet hook
- Sewing needle
Abbreviations
MR: Magic Ring
ch: Chain
sl st: Slip stitch
sc: Single crochet
dc: Double crochet
dec: Single crochet decrease (using front loops)
FL / BL: Front loop / Back loop
Part 1: The Mushroom Cap
The cap is worked in rounds. You can change colors every round for a rainbow effect, or stick to one color.
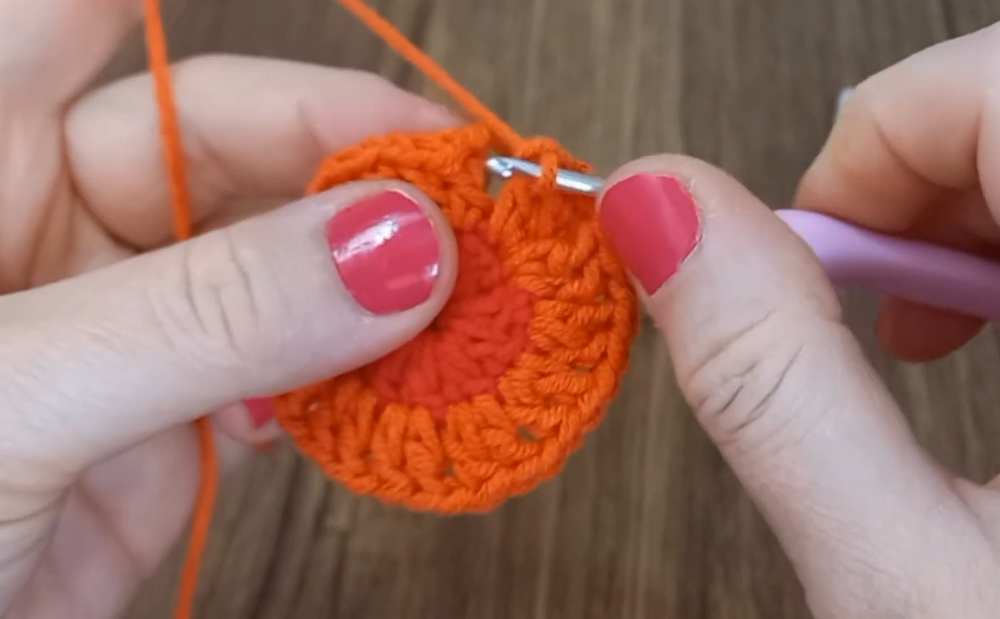
Round 1: Start with a MR (or ch 5, join with sl st to form a ring). Ch 2 (does not count as a stitch), work 12 dc into the ring. Join with a sl st to the first dc. Fasten off and hide the tail. (12 sts)
Are you a Beginner? Learn Crocheting Easily!
You can learn to crochet this UNIQUE way to crochet a mushroom as a beginner by following this tutorial, too:
Round 2: Attach next color. Work 2 dc into the same stitch, ch 1. *Work 2 dc into the next stitch, ch 1.* Repeat from * to * in every stitch around. Join with a sl st to the first dc. Fasten off.
Round 3: Attach next color in any ch-1 space. Work 3 dc into that space. Without making any chains, work 3 dc into each subsequent ch-1 space around. Join with a sl st to the first dc. Fasten off.
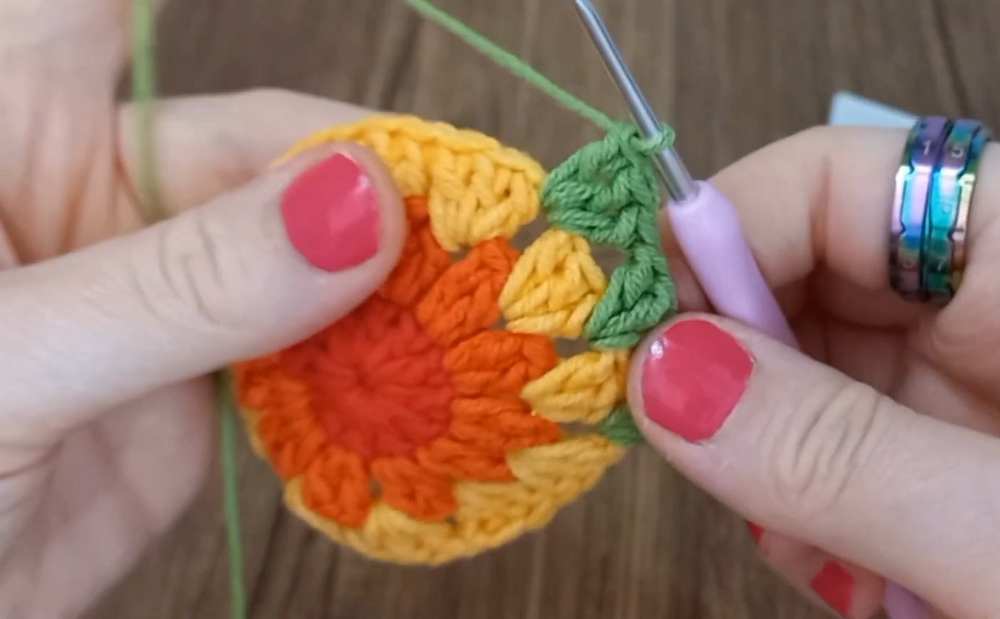
Round 4: Attach next color in any space between the 3-dc clusters. Work 3 dc into each space between the clusters all the way around. Join with a sl st to the first dc. Fasten off.
Round 5: Repeat Round 4 to add another row of clusters.
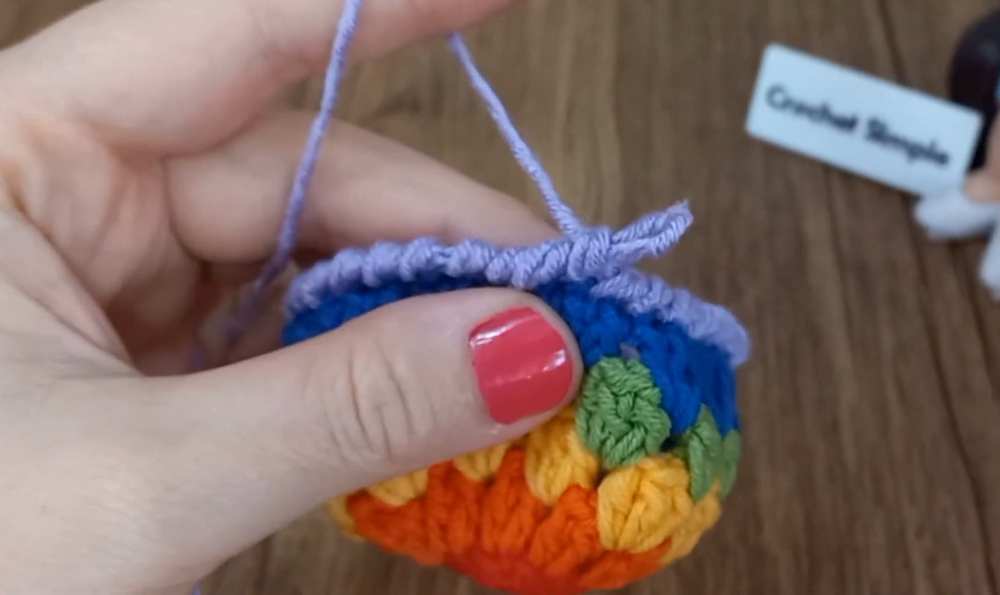
Round 6 (Border): Attach yarn to the front loop of any stitch. Ch 1. Work a reverse single crochet (crab stitch) backward into the front loops of each stitch all the way around to create a textured edge. Fasten off and weave in ends.
Part 2: The Gills (Under the Cap)
Round 1: In a MR, ch 3 (counts as 1 dc), work 11 dc into the ring. Pull the ring closed, but leave a small hole in the middle (do not pull completely tight). Join with a sl st to the 3rd ch. (12 sts)
Round 2: Ch 3, work 1 dc into the same stitch. Work 2 dc into every stitch around. Join with a sl st to the 3rd ch. (24 sts)
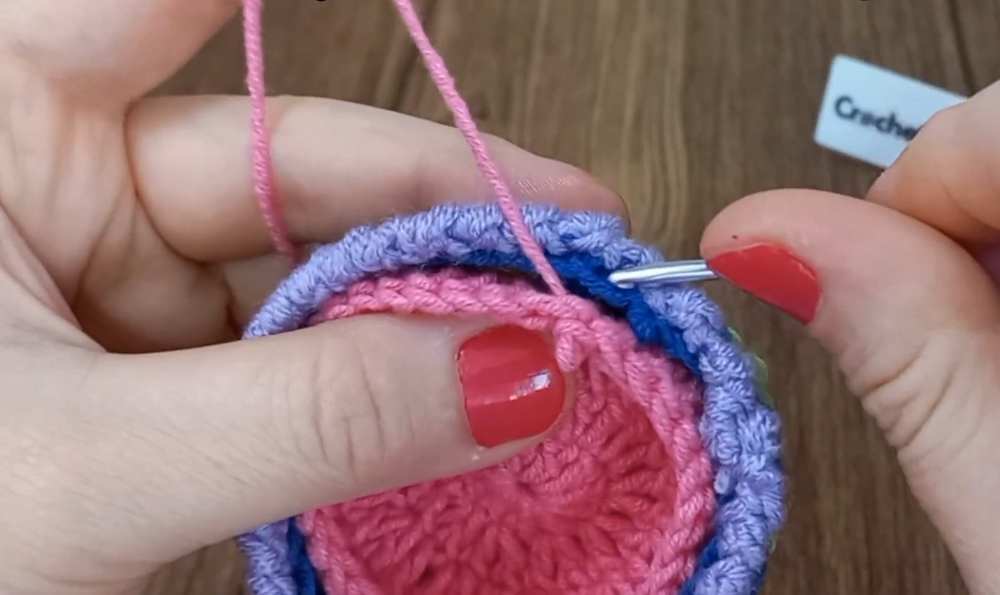
Round 3: Ch 3, work 1 dc into the same stitch. Work 1 dc in the next stitch. *2 dc in the next stitch, 1 dc in the following stitch.* Repeat from * to * around. Join with a sl st to the 3rd ch.
Round 4: Ch 3, work 1 dc into each stitch around. Join with a sl st.
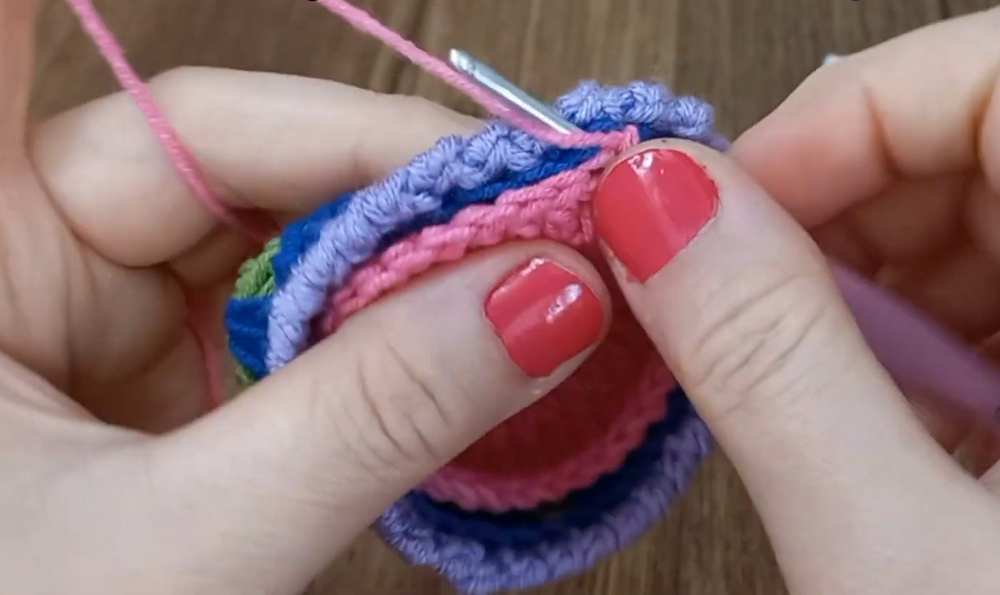
Joining Gills to Cap: Place the Gills piece inside the Cap. Insert your hook through the back loops of both the Cap layer and the Gills layer. Slip stitch the two pieces together all the way around, then fasten off.
Part 3: The Stem (Holder Body)
Round 1: In a MR (or a small ring of 5 chains), ch 2, work 6 sc into the ring. Join with a sl st. (6 sts)
Round 2: Ch 1, work 2 sc into each stitch around. Join with a sl st. (12 sts)
Round 3: Ch 1, *1 sc in the next stitch, 2 sc in the following stitch.* Repeat from * to * around. Join with a sl st. (18 sts)
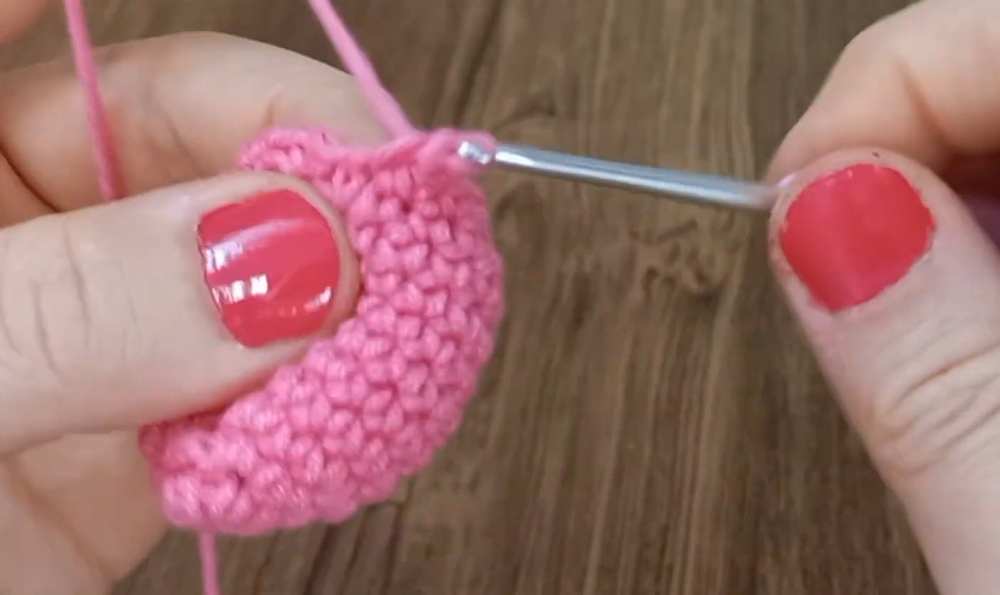
Rounds 4–10: Work 1 sc into each stitch around without increasing.
Round 11 (Decrease round): *Work 1 sc in each of the next two stitches, then execute 1 decrease (dec) using the front loops of the next two stitches.* Repeat from * to * around. Join with a sl st.
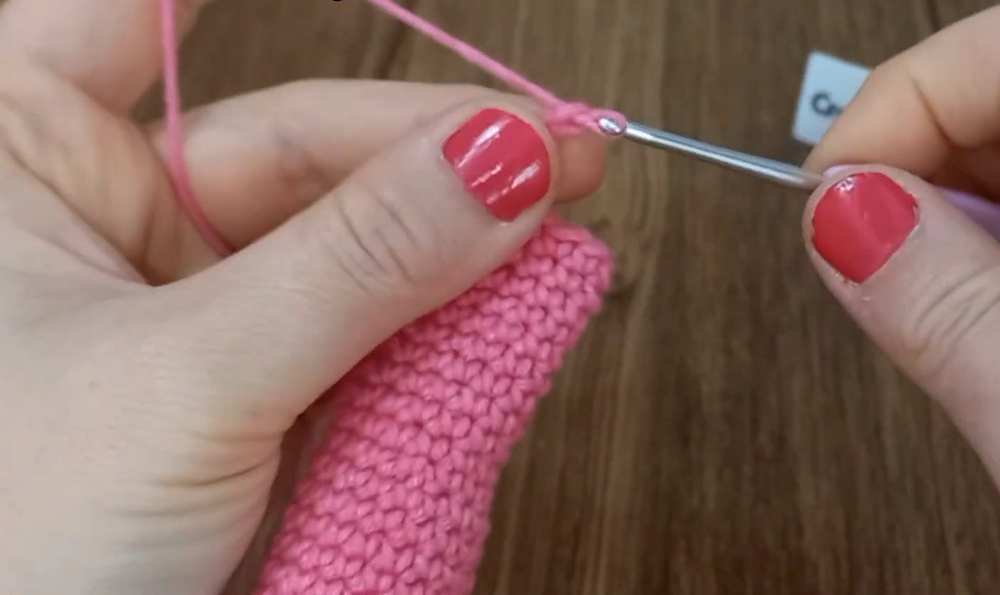
Rounds 12–20: Work 1 sc into each stitch around. At the end of round 20, make a long chain (around 15 stitches) to act as the keychain loop, make a slip stitch to secure it to the opposite side of the stem, fasten off, and weave in ends.
Assembly
Feed the long chain loop from the stem up through the small opening in the center of the gills and the top of the cap. Pull it through so the stem tucks underneath the cap. You can attach a metal key ring to this top loop to hold your keys. Your secret lipstick/lighter holder is ready!
Share on Social Media!
See More:
Tester Pattern: How to Crochet Amigurumi Spooky Red & Black Mushroom Plushie
Tester Pattern: How to Crochet A No-Sew Mr. Red Horns Mushroom Plushie
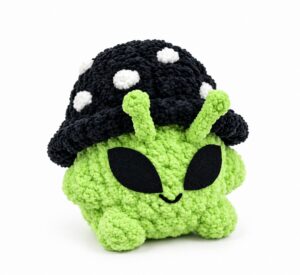
Tester Call: How to Crochet Green Alien Mushroom Plushie Buddy for Gifting
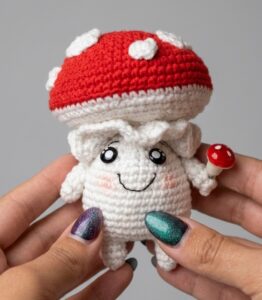
How to Crochet A Plastic Kawaii-Eyed Mushroom with Legs and Arms Plushie
Free Crochet Mushroom Plushies Pattern Series
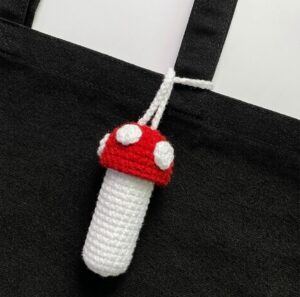
How to Crochet Mushroom Chapstick Holder & Charm for Fall
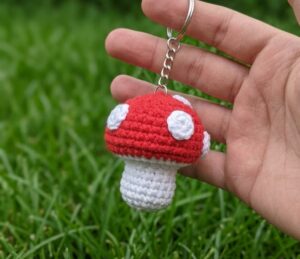
How to Crochet A Mushroom & Maple Leaf Keychain for Fall
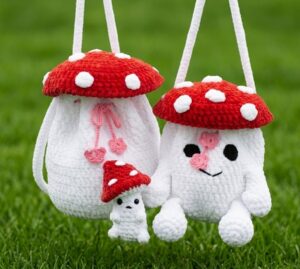
How to Crochet Back-to-School Mushroom Buddy Shoulder Bag for Kids & Adults
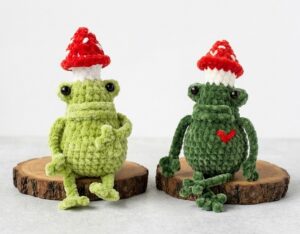
How to Crochet 20cm Variation of Mushroom Frog Plushie for Fall