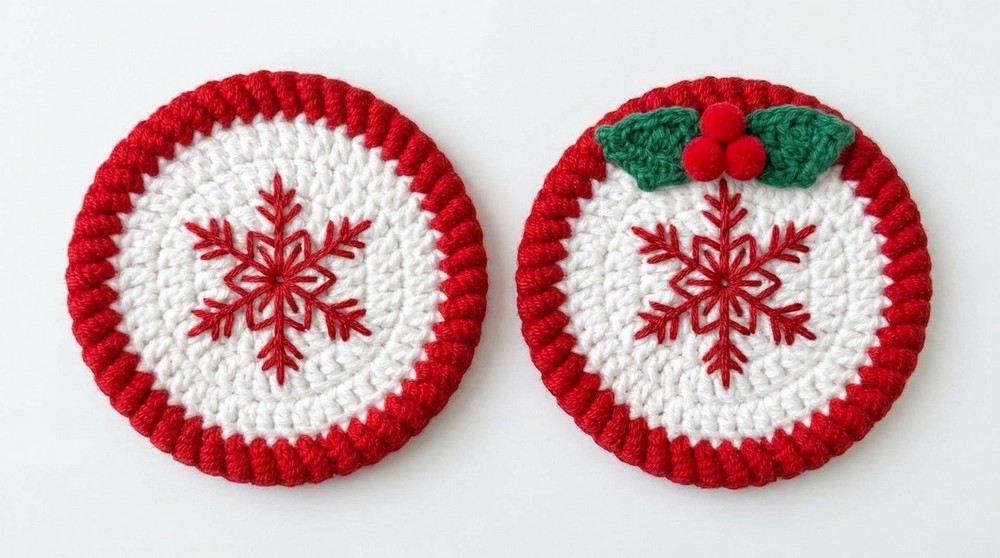
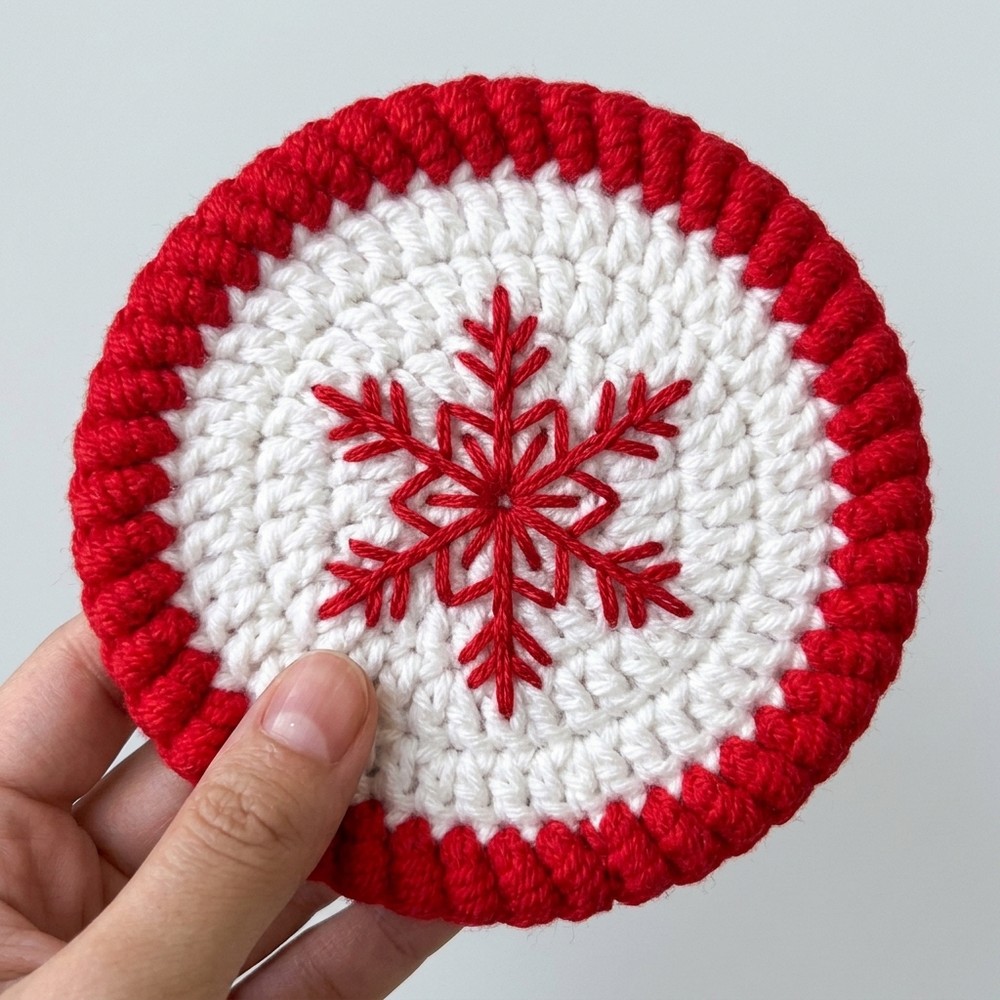
Are you looking for the MOST FESTIVE crochet Christmas coaster yet- easy and quick? Learn how to crochet this UNIQUE Holly leaf and snowflake crochet red-and-white coaster that is finished with an elegant, puffy crochet stack-stitch edging. Both the step-by-step tutorial and a free written pattern are available for making this two-color crochet coaster with elegant snowflake embroidery.
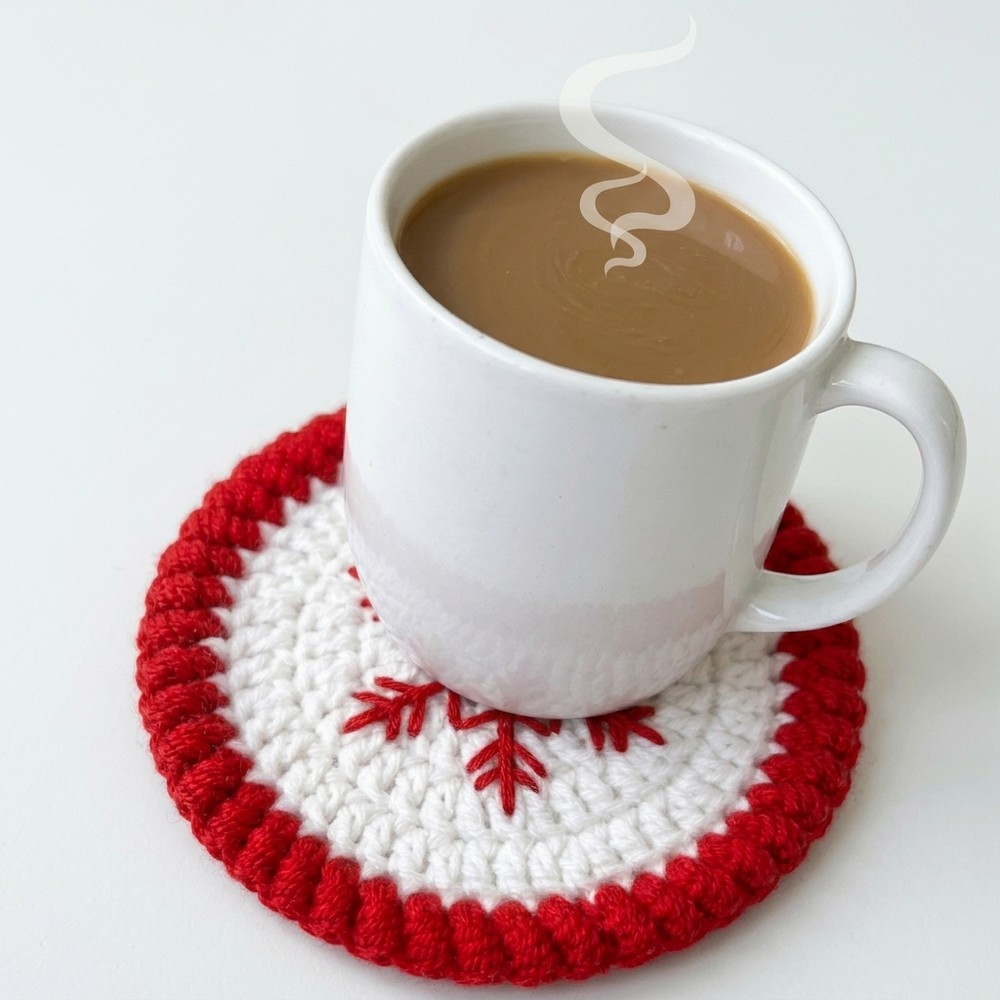
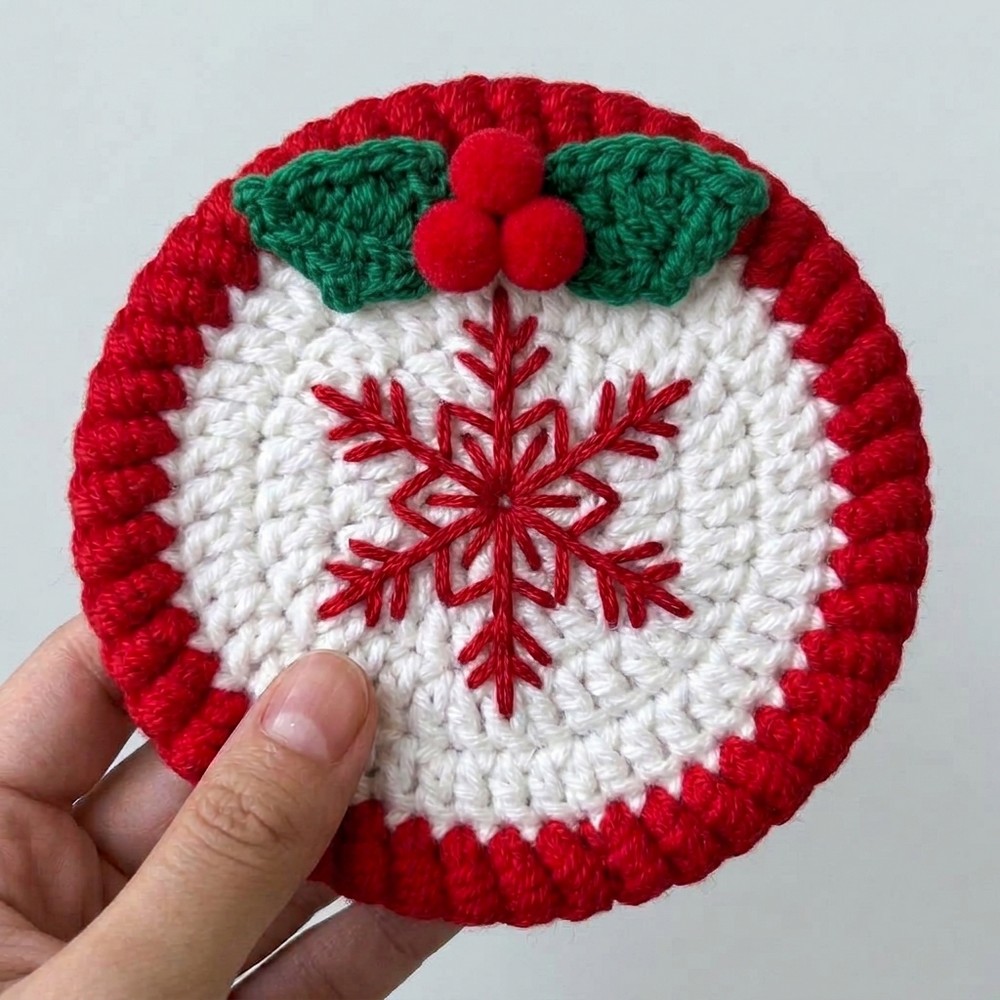
The crochet Holly leaf pair also has a trio of pom-pom berries. This crochet coaster looks especially cool with a cup of hot coffee on it. It takes only a few minutes to finish, and you can also try a green-and-white version. Now, continue reading for learning more about this perfect crochet Christmas coaster project!
Unlike traditional crochet circles that leave noticeable seams or gaps where chains start and end, this crochet holiday coaster pattern uses a stacked starting stitch and a back-loop pull technique to make the seam vanish entirely.
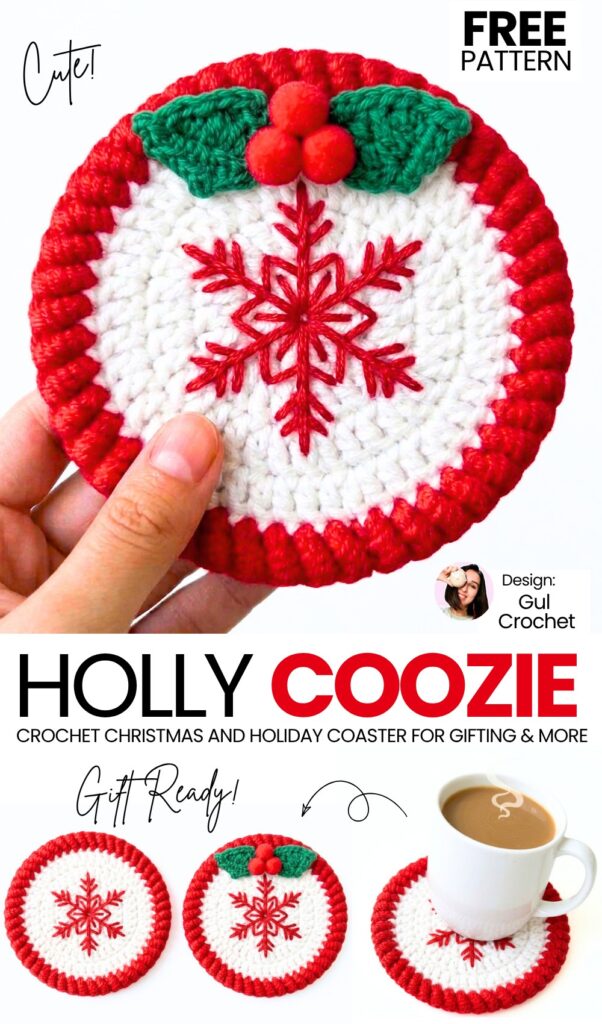
The border is finished in a contrasting color using a unique wrapped stitch that creates a thick, twisted cord-like trim resembling a pie crust. Use this durable crochet holiday coaster to protect wooden tables, desks, and countertops from hot coffee mugs, iced glasses, and water condensation.
Pattern to Crochet Holiday Berry, Leaf and Snowflake Coasters
The project is relaxing, beginner-friendly, and takes only about 30 minutes to complete, making it ideal for craft fairs, housewarming gifts, or using up leftover worsted yarn scraps.
Materials and Tools
Yarn: Worsted weight yarn (Category 4 / 10-ply), 250 meters per 100 grams. You will need:
Color A (Base & Center): Cream or off-white (approximately 15 to 20 grams)
Color B (Border): Red (approximately 10 grams)
Embroidery / Accent: Matching red yarn or embroidery floss for the snowflake.
Holly Leaves Yarn: Dark green size 5 cotton yarn (2 strands held together).
Crochet Hook: 3.0 mm (US size C-2 or D-3).
Embellishments: 3 small red craft pom-poms.
Notions: Yarn needle (tapestry needle), scissors, hot glue gun.
Pattern Specifications
Finished Diameter: Approximately 4 inches (10 cm) across.
Skill Level: Advanced Beginner / Intermediate (due to embroidery details).
Abbreviations (US Crochet Terms)
MR: Magic Ring
ch: Chain stitch
sc: Single crochet
hdc: Half double crochet
dc: Double crochet
st / sts: Stitch / Stitches
sl st: Slip stitch
inc: Increase (work 2 double crochets into the same stitch)
Are you a Beginner? Learn Crocheting Easily!
You can learn to crochet better with this easy coffee coaster tutorial as a beginner. Or continue with the FREE written pattern below:
Special Techniques
The Starting Stitch (Alternative to Chain 3): Instead of chaining 3 to begin a round, work 1 single crochet directly into the stitch, then chain 1. This matches the exact height and thickness of a regular double crochet post.
The Invisible Round Join: Skip the initial starting stitch, slip stitch into the first true double crochet, remove hook, insert from back to front through that same first double crochet, and pull the working loop to the back.
Special Edge Stitch (Round 5): Yarn over hook 4 times, insert hook into next stitch, yarn over and pull up a loop, yarn over and draw through all 4 wraps on the hook at once (2 loops remain), yarn over and pull through both remaining loops.
Step-by-Step Coaster Pattern
Center Base (Worked in Color A / Cream)
Round 1: Foundation Ring
Create a Magic Ring.
Work the Starting Stitch into the ring: 1 single crochet, chain 1 (counts as the first dc).
Work 11 double crochets directly into the magic ring.
Gently pull the yarn tail to close the magic ring tightly.
Work the Invisible Join and pull the working loop to the back.
Total Stitch Count: 12 stitches.
Round 2: First Increase Round
In the same stitch, work the Starting Stitch: 1 single crochet, chain 1.
Work 1 double crochet into that exact same stitch (first increase complete).
Work 2 double crochets into every stitch around the circle (11 more increases).
Work the Invisible Join.
Total Stitch Count: 24 stitches.
Round 3: Second Increase Round
In the same stitch, work the Starting Stitch: 1 single crochet, chain 1.
Work 1 double crochet into that exact same stitch (first increase complete).
Work 1 double crochet into the next stitch.
Repeat the sequence
[2 dc in next st, 1 dc in next st]all the way around (11 more times).Work the Invisible Join.
Total Stitch Count: 36 stitches.
Round 4: Third Increase Round and Color Change
In the same stitch, work the Starting Stitch: 1 single crochet, chain 1.
Work 1 double crochet into that exact same stitch (first increase complete).
Work 1 double crochet into each of the next 2 stitches.
Repeat the sequence
[2 dc in next st, 1 dc in each of next 2 sts]all the way around (11 more times).Complete Round 4 with the Color Change Invisible Join: Drop Color A, grab Color B (Red), yarn over with Color B and pull through to complete the slip stitch, cut Color A leaving a 4-inch tail, remove hook, insert hook from back to front through that same first double crochet, and pull the Color B loop to the back.
Total Stitch Count: 48 stitches.
Chunky Textured Border (Worked in Color B / Red)
Round 5: Spiral Textured Edge
In the same stitch where the loop was pulled through, work: 1 single crochet, chain 1 (anchors the edge).
Work the Special Edge Stitch into the next stitch (yarn over 4 times, insert hook, pull up loop, yarn over and draw through all 4 wrapped loops at once, yarn over and pull through remaining 2 loops).
Repeat this Special Edge Stitch in every stitch around the entire circumference.
Complete the final invisible join into the top of the first special edge stitch.
Total Stitch Count: 48 special edge stitches.
Fasten off, thread tail onto tapestry needle, weave in securely on the wrong side, and trim excess.
Step-by-Step Holly Leaves Pattern (Make 2)
Leaf Foundation & Construction: Hold 2 strands of dark green size 5 cotton yarn together, make a slip knot with a 10 cm tail, and work foundation ch 6.
Side 1 (Working Down the Chain Toward the Tip): Starting in 2nd chain from hook, work 1 sc, work 1 sc in next chain. First side spike: in next chain, work a triple increase (
1 hdc, 1 hdc + 1-chain picot, 1 hdcall in the same chain). Indentation: work 1 sc in next chain.The Leaf Tip: Into the last chain, work 1 sc, work
1 sc + 1-chain picot, and work 1 hdc (or 1 sc) into the same chain to turn the corner.Side 2 (Working Back Along Opposite Side): Indentation: work 1 sc in the loop opposite the indentation. Second side spike: in next loop, work
(1 hdc, 1 hdc + 1-chain picot, 1 hdc)in the same chain space. Stem section: work 1 sc in each of the remaining 2 loops. Join with 1 sl st into the very first sc made. Fasten off with a 15–20 cm tail.Finishing Base: Thread tail onto tapestry needle, catch edge loops from Side 1 and Side 2 at the bottom, take a firm securing stitch to close the gap and create a pointed base.
Embroidery: The Snowflake Center
Before assembling the leaves and berries, embroider the red snowflake onto the cream center base (Rounds 1–4) as seen in the reference image:
Central Starburst: Using a length of matching red yarn and a tapestry needle, stitch 6 straight vertical/diagonal lines radiating outward from the center magic ring like spokes on a wheel, evenly spaced across the circular rows.
Snowflake Branches: Add small diagonal stitches (“V” shapes or short horizontal dashes) branching off near the outer tips of each main spoke to form the classic crystalline snowflake shape.
Secure Backing: Knot and weave in all embroidery tails cleanly on the wrong side of the coaster.
Assembly & Final Finishing
Arrange the Leaves: Place your two crocheted holly leaves with their bases overlapping at a slight V-angle just above the top edge of the embroidered snowflake.
Secure the Leaves: Sew or hot-glue the leaf bases together onto the top edge of the red border/cream transition.
Attach the Berries: Place a small dot of hot glue at the center base where the two leaves join. Press 3 small red craft pom-poms into the glue in a compact triangle cluster (two on the bottom, one resting on top).
Final Check: Ensure all yarn ends are securely woven into the back of the coaster for a clean, professional finish.

See More:

Tester Call: How to Crochet Green Holiday Buddy in Red Scarf Coaster for Christmas Decoration
Crochet Red, White & Green Pincone Tree Granny Square for Christmas Bags & Coaster

Featuring: How to Crochet Funny Santa Flip-Over Coaster with Amigurumi Santa Cupcake
How to Crochet 15-Minute Gift-Shaped Festive Coaster (Ultimate Holiday Coaster)

Featuring: How to Crochet Yellow Daisy Garden Flipping-Over Coaster for Gifting
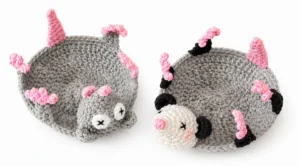
Featuring: How to Crochet Anti-Stress Rat and Oppossum Pop-Up Coaster Variation

Featuring: How to Crochet Sakura Daisy Pop-Up Coaster for Decoration
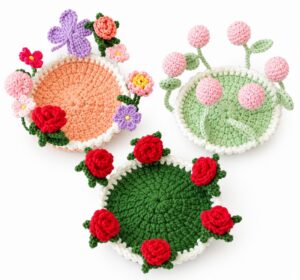
Featuring: 3-in-1 Crochet Pop-Up Flower Garden Pop-Up Coaster for Decoration

Featuring: How to Crochet Star & Moon Pop-Up Festive Coaster for Gifting