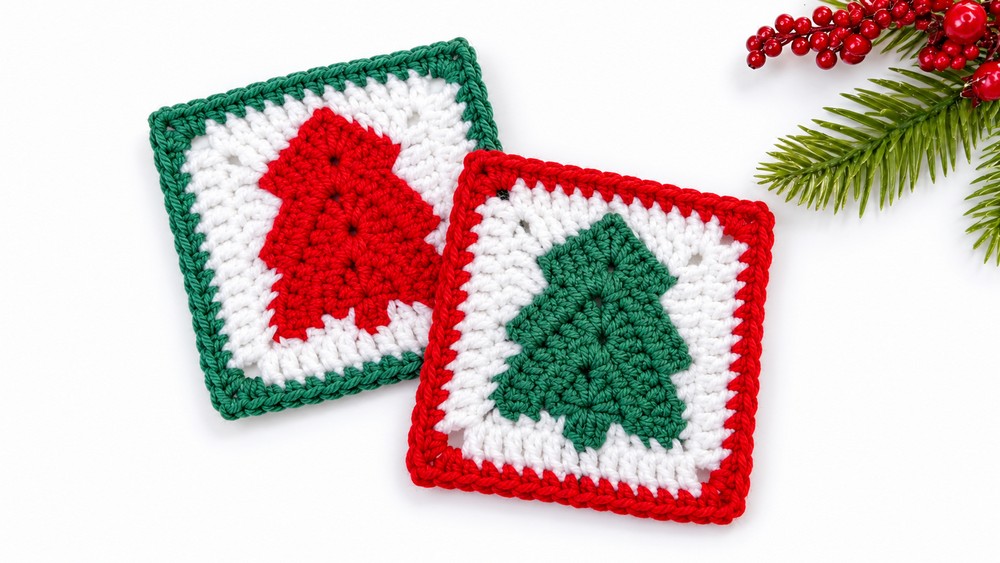
The most versatile crochet holiday pattern I will share this year is, for sure, today’s crochet Christmas granny square pattern! Introducing the REALLY elegant crochet Christmas tree granny square that you can learn to crochet with a FREE written pattern and a tutorial as well. Choose from the red, green, and white pinecone Christmas tree, as well as the UNIQUE ones, such as the space Christmas tree granny square that includes shades of blue and even purple and white.
It is worked around a crochet pinecone applique that you can also turn into a bunting. You first crochet the tree in tiered layers using half double crochet stitches, starting from the trunk and working upward to the peak.
Then, you turn the tree into a solid square by working varying stitch heights – from slip stitches to trebles – around its stepped edges before finishing with a contrasting holiday border. These squares make wonderful holiday coasters, blanket motifs, pouch accents, or festive bunting. Continue reading to learn more about this crochet Christmas tree!
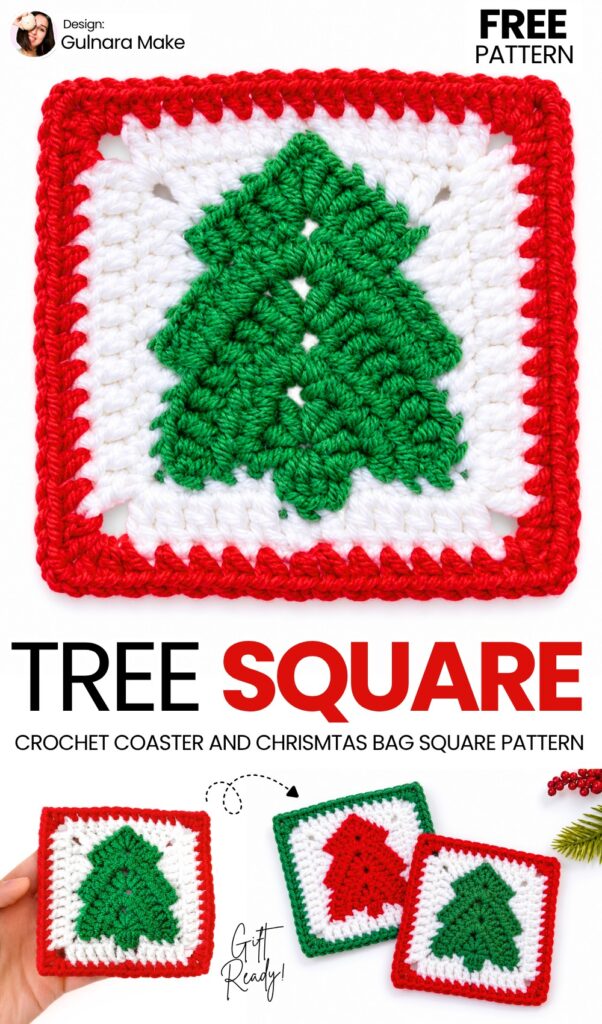
Pattern to Crochet: The Tiered Christmas Tree Square
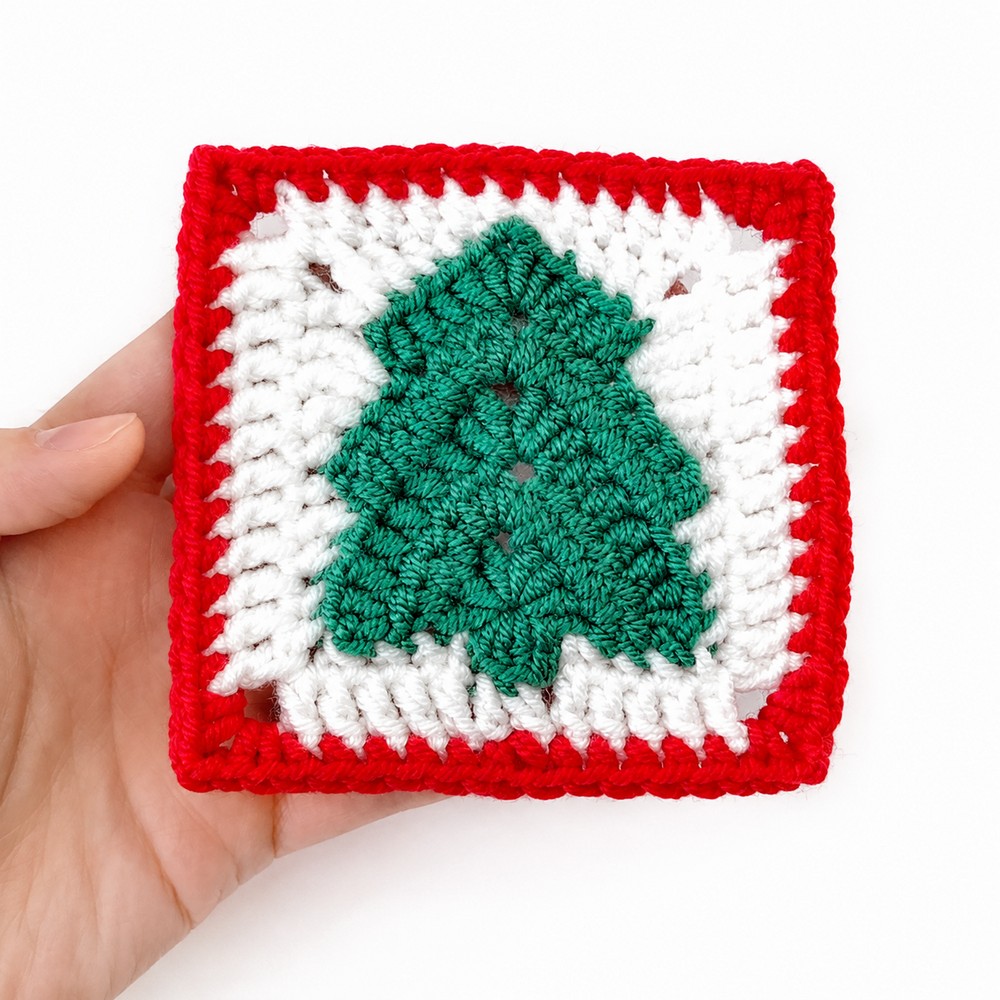
Approximately 3.7 inches by 3.7 inches (9.5 cm by 9.5 cm) when made with the specified yarn weight and hook size.
Materials & Tools
Yarn: DK / Light worsted (Category 3) yarn in 3 colors:
Green (for the Christmas tree)
Cream / Off-white (for the background)
Red (for the outer border)
Crochet Hook: 2.5 mm (or 3.25 mm depending on your tension/yarn preference)
Yarn Needle (tapestry needle)
- Scissors
Stitch Abbreviations (US Terms)
ch: chain
sc: single crochet
hdc: half double crochet
dc: double crochet
tr: treble (triple) crochet
sl st: slip stitch
sp: space
st(s): stitch(es)
BLO: back loop only
MR: magic ring
Are you a Beginner? Learn Crocheting Easily!
You can learn to crochet better with this crochet tree square tutorial. Or continue to the written pattern below!
Part 1: The Christmas Tree
The tree is crocheted from the bottom up in rows, starting with the trunk and base tier inside a magic ring.
Row 1 (Trunk & First Tier)
Make a magic ring.
Crochet the trunk: ch 1, make 2 hdc into the ring, ch 1, sl st into the ring.
Crochet the tree base: ch 1, make 3 hdc into the ring, ch 1, make 3 hdc into the ring.
Pull the yarn tail firmly to close the magic ring tightly.
Row 2
ch 1, turn your work.
Work 2 hdc into the very first stitch.
Work 1 hdc into each of the next 2 stitches.
In the center ch-1 space at the peak, work: (2 hdc, ch 1, 2 hdc).
Work 1 hdc into each of the next 2 stitches.
Work 2 hdc into the last stitch of the tree (do not work into the trunk).
Stitch count: 12 hdc total (plus the center ch-1 space).
Row 3
ch 1, turn your work.
Work 2 hdc into the first stitch.
Work 1 hdc into each of the next 5 stitches.
In the center ch-1 space, work: (2 hdc, ch 1, 2 hdc).
Work 1 hdc into each of the next 5 stitches.
Work 2 hdc into the last stitch.
Stitch count: 18 hdc total (plus the center ch-1 space).Fasten off green yarn and pull the loop through.
Row 4 (Second Tier)
Turn your work.
Starting from the right edge, skip the first 4 stitches.
Join green yarn in the 5th stitch.
ch 1, work 1 hdc in the same stitch, then 1 hdc in each of the next 4 stitches (5 hdc made on this side).
In the center ch-1 space, work: (2 hdc, ch 1, 2 hdc).
Work 1 hdc in each of the next 5 stitches.
Leave the remaining 4 stitches at the end unworked to create the stepped branch effect.
Stitch count: 14 hdc total (plus the center ch-1 space).Fasten off green yarn.
Row 5 (Top Tier & Peak)
Turn your work.
Skip the first 4 stitches from the right edge.
Join green yarn in the 5th stitch.
ch 1, work 1 hdc in the same stitch, then 1 hdc in each of the next 2 stitches (3 hdc made on this side).
In the center ch-1 space, work: (2 hdc, ch 2, 2 hdc) — note the ch 2 here to create a sharp top peak.
Work 1 hdc in each of the next 3 stitches.
Leave the remaining 4 stitches unworked.
Stitch count: 10 hdc total (plus the center ch-2 space).Fasten off green yarn. Weave in all loose green ends using your yarn needle.
Part 2: Squaring the Tree
Turn the tree upside down so the trunk is pointing upward and the bottom of the tree is facing you.
Round 1 (Cream Yarn)
Join Yarn: Attach cream yarn to the bottom edge of the tree, directly to the left of the trunk.
ch 1, work 3 sc along the bottom edge toward the corner.
Corner 1 (Bottom-Right): In the corner stitch, working in BLO, work: (1 sc, ch 2, 1 sc).
Right Side (Working Upward in BLO):
Tier 1 edge: 1 sc, 1 hdc, 1 dc.
Tier 2 step: 1 sc, 1 hdc, 1 dc.
Tier 3 step: work 2 tr in the same stitch.
Corner 2 (Top-Right): In the next stitch in BLO, work: (1 dc, ch 2, 1 dc).
Top Edge (Across Tree Peak in BLO):
Working down toward the tip: 1 dc, 1 hdc, 1 sc, 1 sl st.
Skip the ch-2 space at the tip of the tree completely.
Working up the other side: 1 sl st, 1 sc, 1 hdc, 1 dc.
Corner 3 (Top-Left): In the next stitch in BLO, work: (1 dc, ch 2, 1 dc).
Left Side (Working Downward in BLO):
Tier 3 step: work 2 tr in the same stitch.
Tier 2 step: 1 dc, 1 hdc, 1 sc.
Tier 1 edge: 1 dc, 1 hdc, 1 sc.
Corner 4 (Bottom-Left): In the corner stitch in BLO, work: (1 sc, ch 2, 1 sc).
Bottom Edge: Working through both loops normally, work 3 sc along the edge up to the trunk.
Finish Round 1: Do not crochet into the 2 trunk stitches. Pull up the working loop, remove your hook, insert the hook from back to front through the back loop of the first trunk stitch, catch the loop, and pull it to the back to form an invisible join.
Round 2 (Cream Yarn)
Do not make a turning chain at the beginning of this round.
Start of Bottom Edge:
In the stitch of the invisible join (first trunk stitch), in BLO: work (1 sc, ch 1) — this counts as the first dc.
In the next trunk stitch, in BLO: work 1 dc.
Working through both loops as normal: work 1 dc in each of the next 4 stitches (6 dc total on this half of the bottom edge).
Corner 1: In the ch-2 corner space, work: (1 dc, ch 2, 1 dc).
Right Side: Work 1 dc in each of the next 10 stitches.
Corner 2 (Top-Right): In the ch-2 corner space, work: (1 dc, ch 2, 1 hdc).
Top Edge: Work 1 hdc in each of the next 10 stitches across the top.
Corner 3 (Top-Left): In the ch-2 corner space, work: (1 hdc, ch 2, 1 dc).
Left Side: Work 1 dc in each of the next 10 stitches.
Corner 4 (Bottom-Left): In the ch-2 corner space, work: (1 dc, ch 2, 1 dc).
End of Bottom Edge: Work 1 dc in each of the remaining 4 stitches.
In the 4th dc, stop when 2 loops remain on your hook. Drop cream yarn and pull red yarn through to finish the stitch and change color.
Finish Round 2: Pull up the red loop slightly and remove your hook. Skip the initial (sc + ch 1) and insert your hook from back to front under both loops of the second dc. Pull the red loop through to the back to form an invisible join.
Round 3 (Red Border)
Do not make a chain 1 at the beginning.
Bottom Edge: Work 1 sc in each of the first 6 stitches.
Corner 1: In the ch-2 corner space, work: (2 sc, ch 2, 2 sc).
Right Side: Work 1 sc in each of the next 12 stitches.
Corner 2: In the ch-2 corner space, work: (2 sc, ch 2, 2 sc).
Top Edge: Work 1 sc in each of the next 12 stitches.
Corner 3: In the ch-2 corner space, work: (2 sc, ch 2, 2 sc).
Left Side: Work 1 sc in each of the next 12 stitches.
Corner 4: In the ch-2 corner space, work: (2 sc, ch 2, 2 sc).
Bottom Edge Finish: Work 1 sc in each of the remaining 6 stitches.
Finishing
Cut the red yarn leaving a tail of about 4 to 5 inches.
Pull the working loop all the way out.
Thread the yarn needle with the red tail.
Skip the first single crochet of the round, and insert the needle under both loops of the second stitch from front to back.
Insert the needle back down into the center of the top of the very last single crochet you made.
Pull gently to replicate the size of a regular stitch, creating a seamless, invisible edge.
Weave all yarn ends securely into the back of your work and trim any excess.

See More:
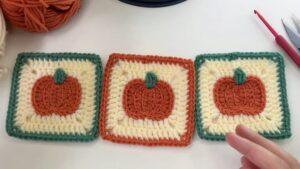
How to Granny Square with Pumpkin Applique in the Middle
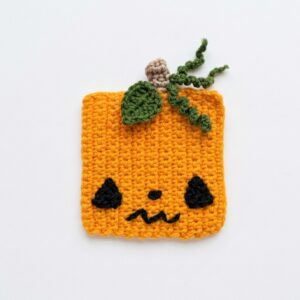
How to Crochet Kawaii-Spooky Square-Shaped Pumpkin & Vines Coaster
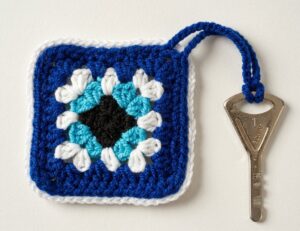
How to Crochet Granny Square Halloween Eye Pouch & Keychain

How to Crochet Fall Retro Granny Square Bag for Back-to-School
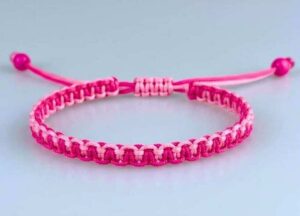
How to Make Macramé Square Knot Bracelet for Friendship Day
How to Make Watermelon Macramé Bracelet from Easy Square Knot Bracelet
How to Crochet Classical Granny Square for Beginners
How to Crochet Heart Granny Square in 4 Rounds
How to Crochet Christmas Tree Yellow Treat Pouch with Colorful Poms & Red Strings