Today, I am sharing the MOST ELEGANT and colorful crochet Christmas tree table decoration pattern so far! Introducing the crochet pink, purple, yellow, green, aqua, and blue tiered crochet Christmas tree table decoration that you can learn to crochet with a step-by-step tutorial and a written pattern as well. This is a ruffled-tiers crochet pastel rainbow Christmas tree that you can crochet in any size, depending on how prominently you want to display it!
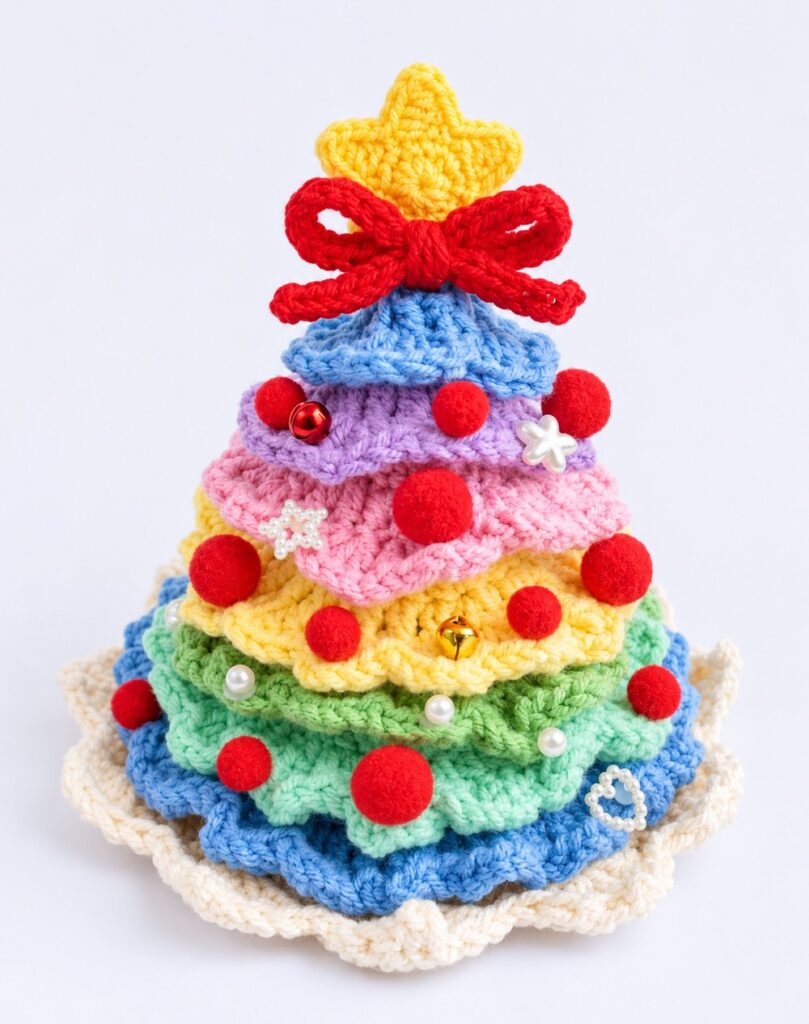
It features seven layered, ruffled branch tiers stacked over each other. The tree is topped with a double-sided golden star, a red bow, and embellished with pastel pom-poms, miniature bells, and snowflake charms.
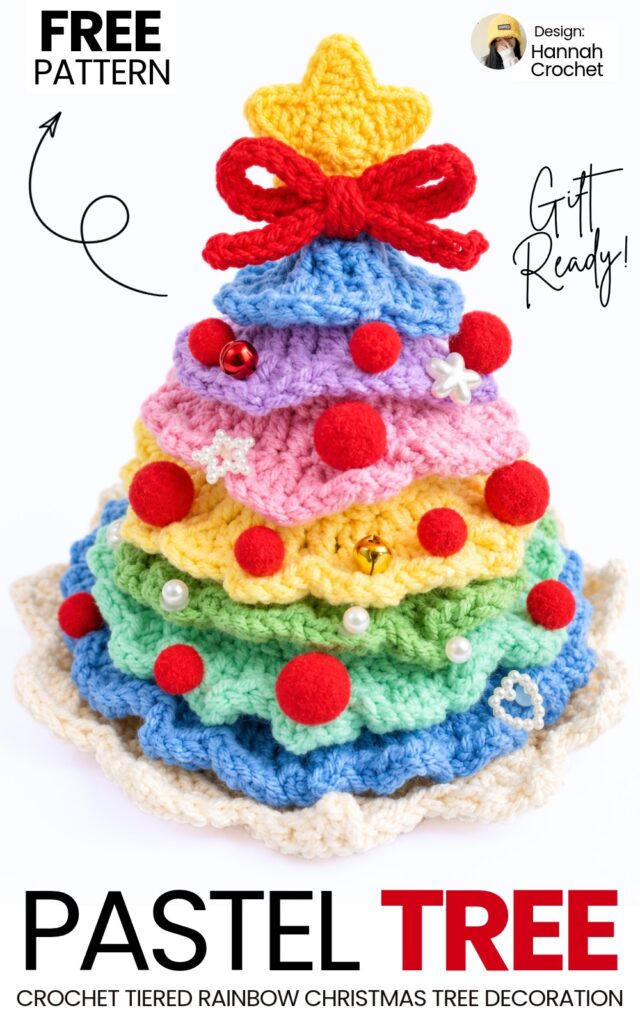
Standing approximately 15 cm (6 inches) tall, this project serves as a centerpiece for your holiday table, mantel display, festive office desk decor, or a handmade Christmas gift. Crochet this easy Christmas tree today by following these tutorials as a beginner. Now, continue reading to learn more about this colorful crochet cotton yarn Christmas tree buddy!
Pattern to Crochet Tiered Elegant Christams Tree for Table Decoration
Skill Level: Intermediate
Materials & Tools
Yarn: 5-ply Milk Cotton Yarn (or equivalent DK/light worsted yarn) in:
Forest Green (Color 28)
Teal Green (Color 41)
Camel / Light Brown (Color 23 – for the base)
Cream / Off-White (Color 19 – for the base trim)
Yellow (Color 09 – for the star)
Festive Red (for the bow)
Crochet Hook: 2.5 mm
Notions & Hardware:
Stitch marker
Yarn needle & sharp scissors
Hot glue gun and glue sticks
Measuring tape
Plastic canvas mesh (or stiff plastic/cardboard disc)
Felt sheet (dark brown or black, for base lining)
Embellishments:
Assorted pastel pom-poms (10 mm and 15 mm)
Mini jingle bells (8 mm)
Snowflake charms, beads, or optional fairy lights
Abbreviations & Stitch Guide (US Terms)
MR: Magic Ring
ch: Chain stitch
sl st: Slip stitch
sc: Single crochet
hdc: Half double crochet
dc: Double crochet
sc inc: Single crochet increase (2 sc in the same stitch)
dc inc: Double crochet increase (2 dc in the same stitch)
st(s): Stitch(es)
[ ]: Stitch count at the end of the round
* to * or ( ) x times: Repeat instructions between brackets the specified number of times
Are you a Beginner? Learn Crocheting Easily!
You can learn to crochet better with this crochet tiered Christmas tree tutorial for beginners:
Part 1: Tier 1 (Top Tier)
Color: Forest Green (Color 28)
Row 1: In a MR, ch 2 (does not count as a stitch), work 6 dc into the ring. Pull ring tight. Sl st to the first dc to join, ch 2. [6 sts]
Row 2: Work 2 dc in each stitch around (6 dc inc). Sl st to the first dc to join, ch 1. Push the center gently outward so the right side faces outward. [12 sts]
Row 3 (Branch Ruffle): *1 sc in next st, (2 dc, ch 2, 2 dc) in next st* repeat 6 times around. Sl st into the first sc to join. [6 ruffled petal branches]
Fasten off, cut yarn leaving a short tail, and weave in ends at the back.
Part 2: Tier 2
Color: Teal Green (Color 41)
Row 1: In a MR, ch 2, work 6 dc into the ring. Pull tight, sl st to first dc, ch 2. [6 sts]
Row 2: 6 dc inc. Sl st to first dc, ch 2. Turn right side out. [12 sts]
Row 3: *(1 dc in next st, 1 dc inc in next st)* repeat 6 times. Sl st to first dc, ch 1. [18 sts]
Row 4 (Branch Ruffle): *1 sc in next st, (2 dc, ch 2, 2 dc) in next st* repeat 9 times around. Sl st into the first sc to join. [9 ruffled petal branches]
Fasten off and weave in ends.
Part 3: Tier 3
Color: Forest Green (Color 28)
Rows 1 to 3: Repeat Rows 1 through 3 of Tier 2. [18 sts] Sl st to first dc, ch 2.
Row 4: *(1 dc, 1 dc inc, 1 dc)* repeat 6 times (staggered increase). Sl st to first dc, ch 1. [24 sts]
Row 5 (Branch Ruffle): *1 sc in next st, (2 dc, ch 2, 2 dc) in next st* repeat 12 times around. Sl st into first sc to join. [12 ruffled petal branches]
Fasten off and weave in ends.
Part 4: Tier 4
Color: Teal Green (Color 41)
Rows 1 to 4: Repeat Rows 1 through 4 of Tier 3. [24 sts] Sl st to first dc, ch 2.
Row 5: *(3 dc, 1 dc inc)* repeat 6 times. Sl st to first dc, ch 1. [30 sts]
Row 6 (Branch Ruffle): *1 sc in next st, (2 dc, ch 2, 2 dc) in next st* repeat 15 times around. Sl st into first sc to join. [15 ruffled petal branches]
Fasten off and weave in ends.
Part 5: Tier 5
Color: Forest Green (Color 28)
Rows 1 to 5: Repeat Rows 1 through 5 of Tier 4. [30 sts] Sl st to first dc, ch 2.
Row 6: *(2 dc, 1 dc inc, 2 dc)* repeat 6 times (staggered increase to keep the circle rounded). Sl st to first dc, ch 1. [36 sts]
Row 7 (Branch Ruffle): *1 sc in next st, (2 dc, ch 2, 2 dc) in next st* repeat 18 times around. Sl st into first sc to join. [18 ruffled petal branches]
Fasten off and weave in ends.
Part 6: Tier 6
Color: Teal Green (Color 41)
Rows 1 to 6: Repeat Rows 1 through 6 of Tier 5. [36 sts] Sl st to first dc, ch 2.
Row 7: *(5 dc, 1 dc inc)* repeat 6 times. Sl st to first dc, ch 1. [42 sts]
Row 8 (Branch Ruffle): *1 sc in next st, (2 dc, ch 2, 2 dc) in next st* repeat 21 times around. Sl st into first sc to join. [21 ruffled petal branches]
Fasten off and weave in ends.
Part 7: Tier 7 (Bottom Tier)
Color: Forest Green (Color 28)
Rows 1 to 7: Repeat Rows 1 through 7 of Tier 6. [42 sts] Sl st to first dc, ch 2.
Row 8: *(3 dc, 1 dc inc, 3 dc)* repeat 6 times (staggered increase). Sl st to first dc, ch 1. [48 sts]
Row 9 (Branch Ruffle): *1 sc in next st, (2 dc, ch 2, 2 dc) in next st* repeat 24 times around. Sl st into first sc to join. [24 ruffled petal branches]
Fasten off and weave in ends.
Part 8: Tree Stand / Base
Inner Disc
Color: Camel / Light Brown (Color 23)
Row 1: In a MR, ch 1, work 6 sc into the ring. Pull tight, sl st to first sc, ch 1. [6 sts]
Row 2: 6 sc inc. Sl st to first sc, ch 1. [12 sts]
Row 3: *(1 sc, 1 sc inc)* repeat 6 times. Sl st to first sc, ch 1. [18 sts]
Row 4: *(1 sc, 1 sc inc, 1 sc)* repeat 6 times. Sl st to first sc, ch 1. [24 sts]
Row 5: *(3 sc, 1 sc inc)* repeat 6 times. Sl st to first sc, ch 1. [30 sts]
Row 6: *(2 sc, 1 sc inc, 2 sc)* repeat 6 times. Sl st to first sc, ch 1. [36 sts]
Row 7: *(5 sc, 1 sc inc)* repeat 6 times. Sl st to first sc, ch 1. [42 sts]
Row 8: *(3 sc, 1 sc inc, 3 sc)* repeat 6 times. Sl st to first sc, ch 1. [48 sts]
Row 9: *(7 sc, 1 sc inc)* repeat 6 times. Sl st to first sc, ch 1. [54 sts]
Row 10: *(4 sc, 1 sc inc, 4 sc)* repeat 6 times. Sl st to first sc, ch 1. [60 sts]
Row 11: *(9 sc, 1 sc inc)* repeat 6 times. Sl st to first sc, ch 2. [66 sts] (Measures approx. 11 cm across).
Row 12 (Double Crochet Transition): *(5 dc, 1 dc inc, 5 dc)* repeat 6 times. Sl st to first dc. [72 sts] (Measures approx. 12 cm across).
Fasten off brown yarn and cut.
Decorative Skirt Edge
Color: Cream / Off-White (Color 19)
Row 13: Join cream yarn to any stitch with a sl st, ch 1.
Skip 3 sts, work [3 dc, ch 3, 1 sl st into the first ch of the ch-3 picot, 3 dc] all into the fourth stitch.
Skip 2 sts, 1 sl st into the next stitch.
*Skip 2 sts, work [3 dc, ch 3, 1 sl st into first ch, 3 dc] into the next st, skip 2 sts, 1 sl st into the next st* repeat around to the end.
Sl st into the first joining stitch. Fasten off and weave in all yarn ends.
Stiffening the Base
Cut a piece of plastic canvas mesh (or stiff plastic/cardboard) slightly smaller than the 11 cm flat center of the brown disc.
Cut a circular piece of dark felt to cover the underside cleanly.
Apply hot glue across the bottom of the crocheted brown disc and press the plastic mesh firmly in place.
Apply hot glue over the mesh and adhere the felt circle cleanly on top for a flat, weighted, professional base.
Part 9: Accessories
1. Star Topper (Make 2)
Color: Yellow (Color 09)
Round 1: In a MR, ch 1, work 10 sc into the ring. Pull tight, sl st to first sc. [10 sts]
Round 2 (5 Star Points):
*Ch 3, skip the first ch from hook, work 1 sc into the second ch, work 1 hdc into the third ch. Skip 1 stitch on the ring, sl st into the next stitch on the ring.*
Repeat between asterisks 5 times total to create the 5 star points.
Sl st to join, cut yarn, and weave in tails.
Assembly: Place the two stars wrong sides together and sandwich them with a drop of hot glue so both sides are neat and sturdy.
2. Red Bow
Color: Festive Red
Ch 47.
Skip the first ch from hook, work 1 sl st into the back ridge/bump of each of the remaining 46 chain stitches across.
Fasten off and cut yarn.
Fold the cord into a bow shape with two loops and two tails. Tie the center tightly with a scrap of red yarn or secure it with a drop of hot glue. Trim excess tail strands.
Glue the red bow directly to the base of the yellow star topper.
Part 10: Assembly & Decoration
Stack the Tree Cones:
Place Tier 7 (the largest bottom cone) on your work surface.
Apply hot glue around the inner cone peak of Tier 7, then seat Tier 6 over it.
Continue stacking in ascending order: Tier 5, Tier 4, Tier 3, Tier 2, and Tier 1 on top, securing each center tip with hot glue.
Mount onto Base:
Center the assembled tree cone on top of the brown base stand.
Apply a generous ring of hot glue along the underside perimeter of Tier 7 where it contacts the brown base, pressing firmly until set.
Attach Toppers:
Apply hot glue to the bottom of the star/bow assembly and secure it firmly onto the top point of Tier 1.
Decorate the Branches:
Using hot glue, attach 10 mm and 15 mm pastel pom-poms onto the scalloped branch tips across the tiers.
Intersperse 8 mm mini bells, snowflake charms, and pearl beads between the pom-poms on the front (or all sides).
Optional: Wrap miniature micro-LED fairy lights around the tiers, tucking the battery pack underneath the base.

See More:
How to Crochet Christmas Tree Yellow Treat Pouch with Colorful Poms & Red Strings
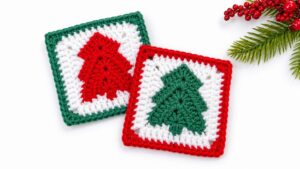
Crochet Red, White & Green Pincone Tree Granny Square for Christmas Bags & Coaster
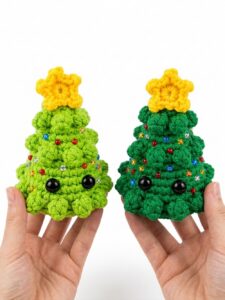
Featuring: Crochet Table Decoration Christmas Tree Buddies with Eyes & Popcorn Texture

How to Crochet Smiling Small Christmas Tree Cutie with a Yellow Bow on the Top
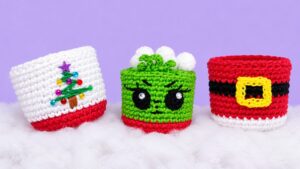
3-in-1 Crochet Tree Embroidery, Grinch and Santa Miniature Treat Baskets
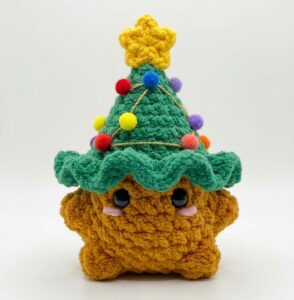
Tester Call: How to Crochet Well-Decorated Tree Hat Baby Mushroom Plushie (Pom Pom Lightings)
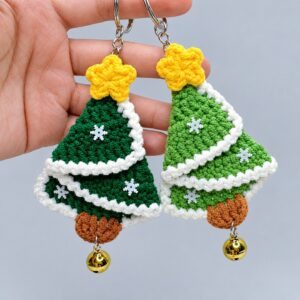
Featuring: How to Crochet Layered UNIQUE Star and Snowflake on the Top Christmas Tree Keychain
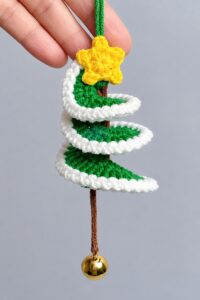
Featuring: Tutoral to Crochet White Edging & Bell Hanging Mini Tree Spinner
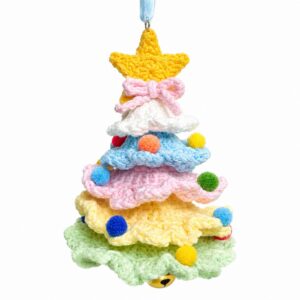
Featuring: How to Crochet Rainbow Pop Holiday Tree Hanging & Table Decoration