Show support for Smileb!
Today, we are about to learn how to crochet another one of my favorite crochet decorative tiered Christmas trees! Introducing a pair of tiered Christmas decorations that are embellished with small metal bells in different colors. So, celebrate the festive season with this elegant crochet Christmas tree!
Featuring layered ruffles, a cute padded star topper, and jingle bells, this miniature tree can be used as a holiday bag charm, keychain, desk decoration, or Christmas tree ornament.
I would recommend crocheting it more as a table decoration. You can also choose this year’s viral crochet rainbow Christmas tree color scheme. It is worked from the top down into a cone shape, textured with surface lace shells, and finished with a stitched star. Now, continue reading for learning more about this easy Christmas tree project for all skill levels!
Pattern to Crochet Amigurumi Bell-Decorated Tree Decor
Skill Level: Intermediate
Materials & Tools
Yarn: 4-ply yarn in tree color (pastel mint green or soft pink) and star color (yellow)
Crochet Hook: 2.5 mm (US size B/1–C/2 or metric No. 4/0)
Stuffing: Polyester fiberfill / synthetic cotton
Decorations: Small colorful jingle bells / mini beads with jump rings, ball chain keychain
Notions: Tapestry/yarn needle, stitch marker, scissors
Abbreviations (US Terms)
MR: Magic Ring
Ch: Chain
St / Sts: Stitch / Stitches
Sc: Single crochet
Hdc: Half double crochet
Inc: Increase (2 stitches into the same stitch)
Dec hdc: Half double crochet decrease (hdc 2 together)
Sl st: Slip stitch
BLO: Back loop only
FLO: Front loop only (used for the ruffled lace branches)
SK: Skip
[ ]: Stitch count at the end of the round
Are you a Beginner? Learn Crocheting Easily!
You can learn to crochet better with this crochet Christmas tree tutorial for beginners:
Pattern Instructions
Part 1: Tree Body (Top to Bottom)
Use tree color yarn (mint green or pink).
R1: In a MR, Ch 2 (does not count as a st throughout), work 6 Hdc into ring. Sl st to first Hdc to join. [6]
R2: Ch 2, (1 Hdc, 2 Hdc in next st) × 3, Sl st to join. [9]
R3: Ch 2, 1 Hdc, 2 Hdc in next st, (2 Hdc, 2 Hdc in next st) × 2, 1 Hdc, Sl st to join. [12]
R4: Ch 2, in BLO: (3 Hdc, 2 Hdc in next st) × 3, Sl st to join. [15]
R5: Ch 2, 2 Hdc, 2 Hdc in next st, (4 Hdc, 2 Hdc in next st) × 2, 2 Hdc, Sl st to join. [18]
R6: Ch 2, in BLO: (5 Hdc, 2 Hdc in next st) × 3, Sl st to join. [21]
R7: Ch 2, 3 Hdc, 2 Hdc in next st, (6 Hdc, 2 Hdc in next st) × 2, 3 Hdc, Sl st to join. [24]
R8: Ch 2, in BLO: (7 Hdc, 2 Hdc in next st) × 3, Sl st to join. [27]
R9: Ch 2, 4 Hdc, 2 Hdc in next st, (8 Hdc, 2 Hdc in next st) × 2, 4 Hdc, Sl st to join. [30]
R10: Ch 2, in BLO: (9 Hdc, 2 Hdc in next st) × 3, Sl st to join. [33]
R11: Ch 2, 5 Hdc, 2 Hdc in next st, (10 Hdc, 2 Hdc in next st) × 2, 5 Hdc, Sl st to join. [36]
R12: Ch 2, in BLO: (11 Hdc, 2 Hdc in next st) × 3, Sl st to join. [39]
R13: Ch 2, 6 Hdc, 2 Hdc in next st, (12 Hdc, 2 Hdc in next st) × 2, 6 Hdc, Sl st to join. [42]
Bottom Closing / Tapering:
R14: Ch 2, in BLO: 6 Hdc, 1 Dec hdc, (12 Hdc, 1 Dec hdc) × 2, 6 Hdc, Sl st to join. [39]
R15: Ch 2, (11 Hdc, 1 Dec hdc) × 3, Sl st to join. [36]
R16: Ch 2, 18 Dec hdc, Sl st to join. [18]
Pause here and stuff the tree firmly with fiberfill.
R17: Ch 2, 9 Dec hdc, Sl st to join. [9]
Fasten off leaving a long tail. Thread the tail onto a yarn needle, weave through the front loops of the remaining 9 stitches, pull tightly to cinch shut, and weave the end inside the base.
Part 2: Branch Ruffles / Lace Layers
Work into the exposed front loops (FLO ridges) left behind from rounds R4, R6, R8, R10, R12, and R14.
Hold the tree with the tip pointing away/upward and join yarn into any exposed front loop ridge.
Lace Pattern:
Ch 2, [(2 Hdc, Ch 2, 2 Hdc) in the same front loop, skip 1 st] around the tier.
Sl st into the starting chain-2 space and fasten off.
Repeat this process around every FLO round tier to create all the layered boughs of the tree.
Part 3: Mini Star Topper
Use yellow yarn. Make 2 pieces.
R1: In a MR, work 5 Sc, Sl st to join. [5]
R2: Ch 1, 2 Sc in each st around (5 Inc), Sl st to join. [10]
R3: (3 Sc in next st, Sl st in next st) × 5. [Creates 5 star points]
R4: (1 Sc in next st, 3 Sc in the peak st, 1 Sc in next st, Sl st in valley) × 5.
Fasten off the first piece. Leave a long sewing tail on the second piece.
Assembly of Star:
Place the two star pieces together with wrong sides facing each other.
Using the long tail and needle, whip stitch around the edges.
Before closing completely, insert a small pinch of fiberfill to give the star a puffy, 3D shape.
Finish stitching closed and secure.
Part 4: Final Assembly & Finishing Touches
Attach the Star: Sew the bottom point of the star firmly to the top tip of the tree using the remaining yellow tail.
Add Bells/Beads: Hang tiny colorful jingle bells evenly spaced along the ruffle tips of each tier.
Add Keychain: Attach a ball chain or keychain loop through the top point of the star.
See More:

Tester Call: How to Crochet Mr. Santa Anti-Stress Donut Ring Plushie for Christmas

Crochet Bell Christmas Ornament Ring Plushie for Decoration & Playing with

Featuring: How to Crochet Snow Buddy in A Beanie Treat Bag for Christmas

How to Crochet Christmas Gift Smiling Santa Mobile Phone Pouch and Gift Bag

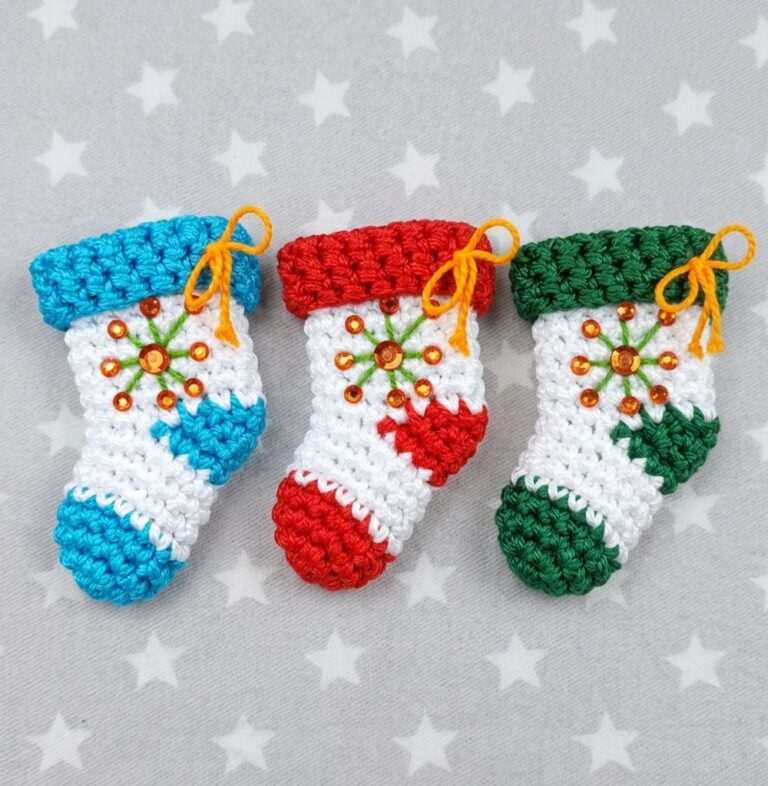
How to Crochet White & Blue Bead Decorated Mini Boot Ornament for Christmas

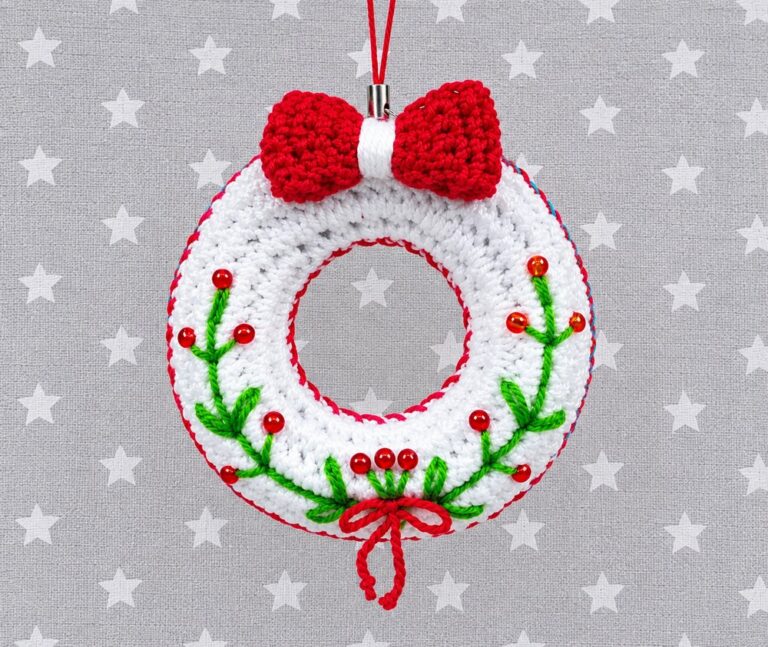
How to Bow and Bead Decorated Christmas Wreath Rings for Beautiful Garlands
Featuring: How to Crochet A Red-Nosed Animal Buddy Christmas Plushie

How to Crochet 4 Set Ribbed Decoration Christmas Festive Ball Ornaments

How to Crocet Holdiday Mr. Smiling Star Plushie for Christmas Gifting