Author: Talha
I am a crochet designer, macramé maker and a crafter who also loves doing MATH.
Featuring: TJ & NJ of Passionate Crafter
They are the twin sister crochet & craft designers and through mycraftybasket became our friends.
Pattern Type: Video Tutorial & Pattern by the passionate crafter. So, be sure to support the TWINS!
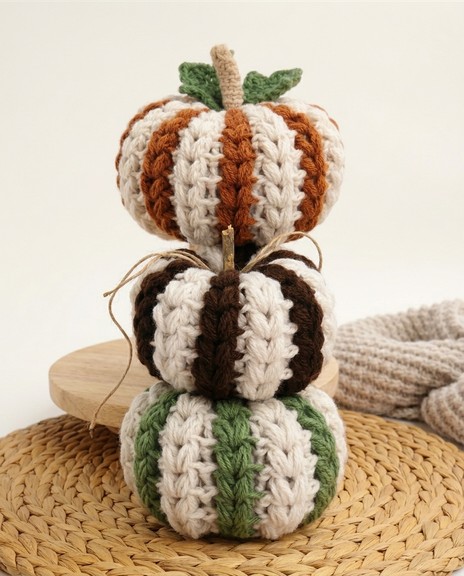
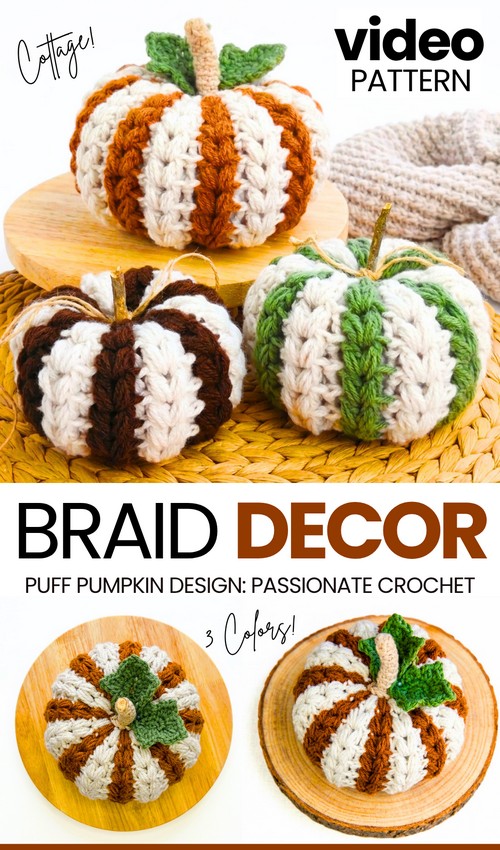
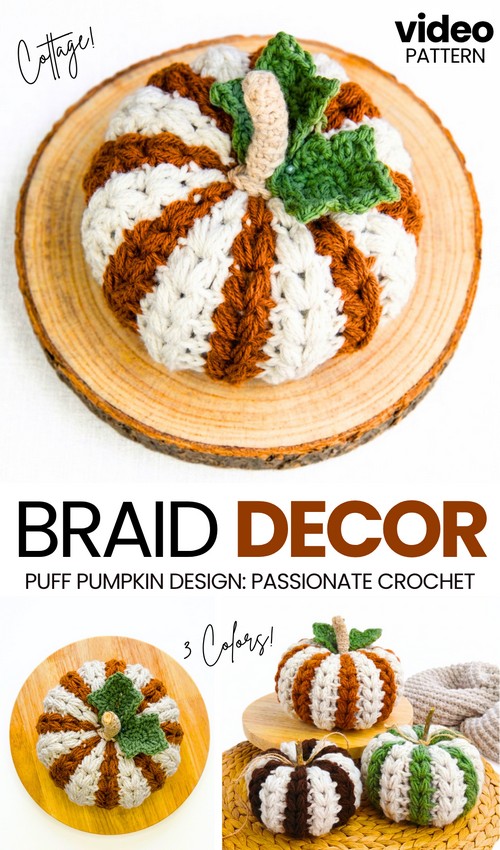
Today’s crochet harvest decoration is an ELEGANT variation of the puff V-stitch fall decoration that you learned in yesterday’s featured tutorial. And this one is even more beautiful than the first. Introducing the crochet striped and braided pumpkin table decoration, with a step-by-step tutorial for absolute beginners. You can choose from some interesting color variations this time, too, including green-white, brown-white, and even caramel-white textured pumpkin color designs. Again, you can make a tiered decoration with these crochet stuffed decoration amigurumi.
Again, our crochet stuffed pumpkin will be finished with a cinnamon stick stem and a jute twine knotted bow for a cottage touch. It is best suited for farmhouse decoration, but the color makes it a modern autumn decoration as well.
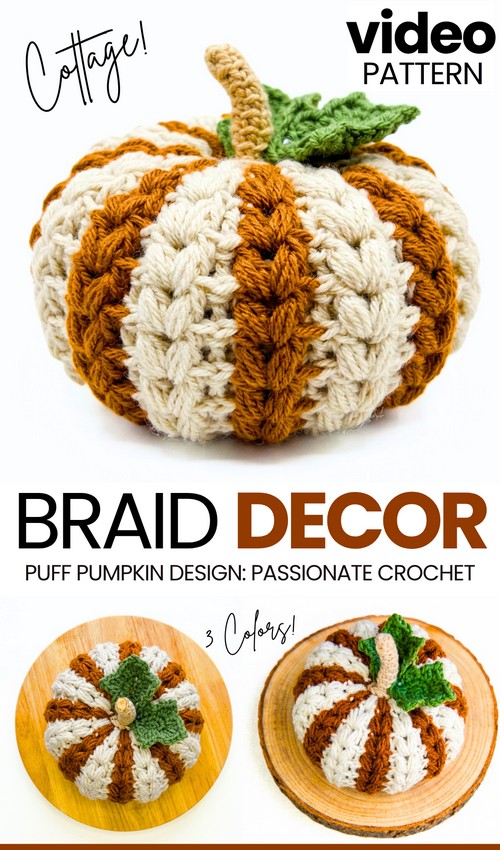
The previous variation in this “textured pumpkin” series had more spaced stripes of crochet puff V-stitches. But this one has more closely packed puff V-stitches worked in the rounds along with the double crochet. Yes, this is worked in the back-and-forth rows, so the sewing part is trivial and less time-consuming. Thanks to the raised texture of the V-stitches, you also won’t have to make the pumpkin ridges using the thread. So, continue reading to learn more about this one of my favorite crochet harvest decoration projects!
Similar Project(s)

Tutorial to Crochet A Braided Puff V-stitch Crochet Pumpkin
This tutorial shows how to crochet a farmhouse braided pumpkin in two sizes. You will crochet the pumpkin body in the round using two yarn colors. The pattern uses half double crochet stitches worked into the third loop and V-puff stitches worked into chain spaces to create a braided texture.
You will change yarn colors during the last step of specific puff stitches to cleanly alternate the colors. The video also shows how to stuff the pumpkin using old tights to prevent the fiberfill from showing. Finally, the tutorial explains how to crochet a stem and a green leaf.
Materials:
Worsted weight acrylic yarn (Mary Maxim Starlet) in two colors
5.5 mm crochet hook
Darning needle / Tapestry needle
Scissors
Polyester fiberfill
Old tights or nylon stockings (optional, for holding fiberfill)
Stitch marker or scrap yarn
Wooden stick, cinnamon stick, twine, or ribbon (optional stem alternatives)
- Hot glue gun (optional)
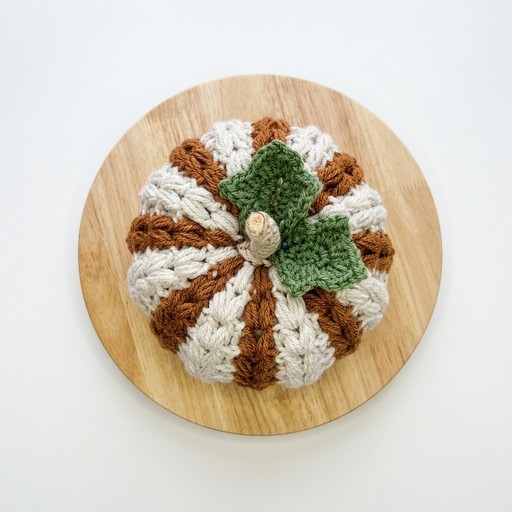
Detailed Difficult Stitch (V-Puff Stitch): The V-Puff stitch creates the braided texture.
Yarn over, insert the hook into the stitch, and pull up a loop (3 loops on hook).
Yarn over, insert into the same stitch, and pull up a loop (5 loops on hook).
Yarn over, insert into the same stitch, and pull up a loop (7 loops on hook).
Yarn over and pull through the first 6 loops on the hook.
Yarn over and pull through the remaining 2 loops to finish the first puff.
Chain 1.
Make a second puff stitch identically (repeat Steps 1-5) into the exact same stitch or chain space.
Learn Crocheting Now!
Better learn the whole method of crocheting this beautiful pumpkin amigurumi in this tutorial:
Written Pattern?
Here is the full ad-free written pattern! You can also use the “ask” feature of the tutorial to retrieve the quick pattern. This pattern-getting method is designer-compliant!
Share on Social Media!
See More:

How to Granny Square with Pumpkin Applique in the Middle

Tester Pattern: To Crochet Pumpkin Hello Kitty Plushie with Big Paws Buddy

Featuring: How to Crochet Tiered Unusual Texture Pumpkin Decoration (3 Sizes)

Tester Pattern: To Crochet A Grizzly Bear Presenting You A Pumpkin Plushie

Tester Pattern: To Crochet A Witch Cat Plush Gifting You A Pumpkin Softie
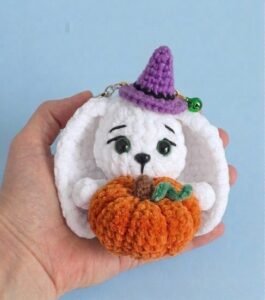
Tester Pattern: Free Crochet Pumpkin-Holding Witch Bunny Plushie Pattern
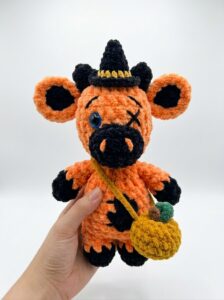
Tester Pattern: How to Crochet Spooky Cow with Pumpkin Bag Plushie
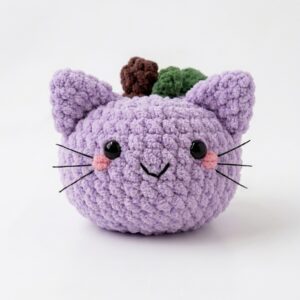
Tester Pattern: How to Crochet Smiling Pumpkin Kitty Cat Plushie
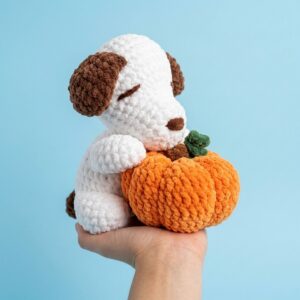
Featuring: How to Crochet Pumpkin Lover Puppy Plushie for Fall Decorations