Pattern Type: Video Tutorial & Written, all by the passionate crafter.
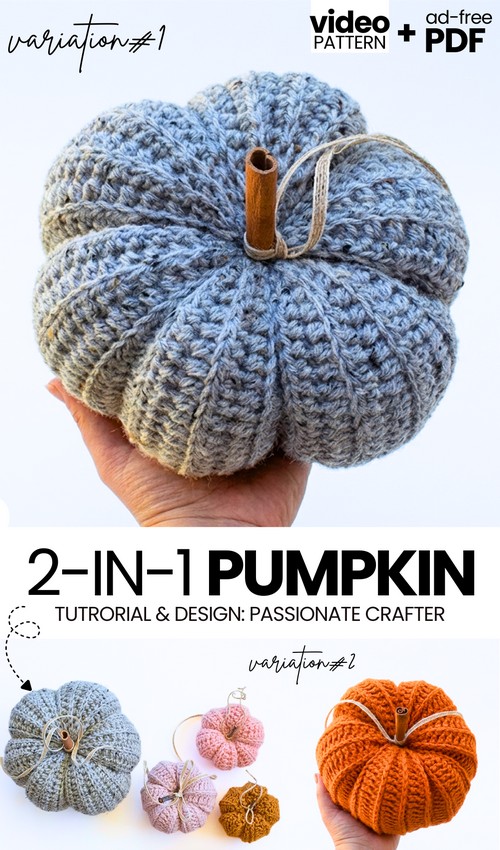
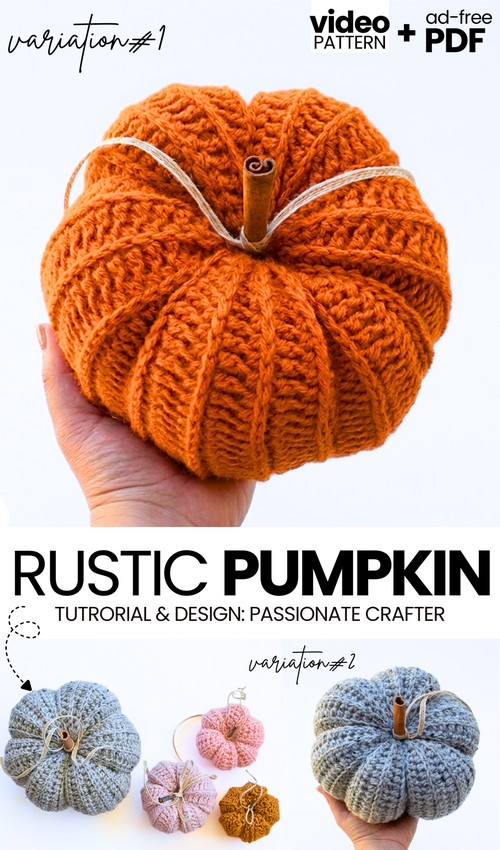
Today’s 2-in-1 tutorial will show you how to crochet a textured ribbed pumpkin in 6 sizes! I am mainly FEATURING this tutorial (even though it requires the traditional method) because of the crafter’s UNIQUE color options, a non-traditional variation along with the classical one, and the use of cinnamon as a stem for the pumpkin. So, as you know, it is crocheted from a ribbed rectangle, which is sewn and stuffed later on.
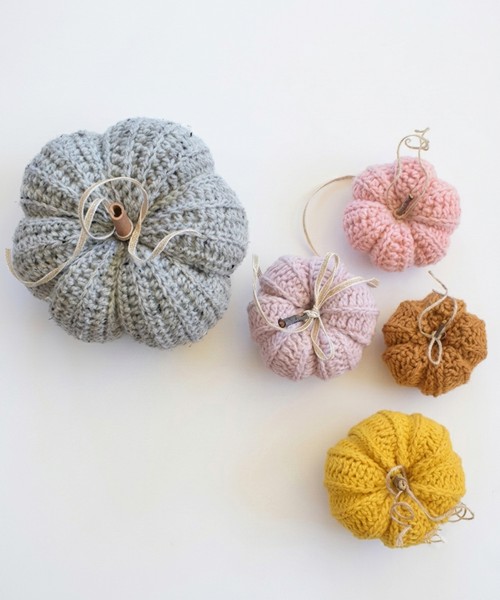
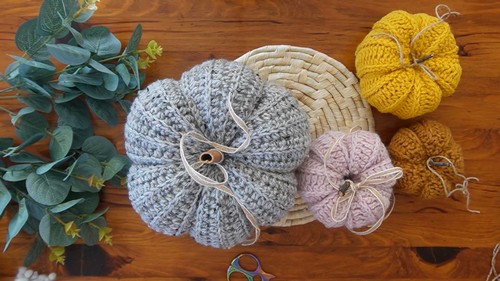
Choose from navy blue, orange, golden yellow, baby pink, and dull orange pumpkin variations. To decorate, you can stack all your pumpkins in 3 sizes and present them on your coffee table.
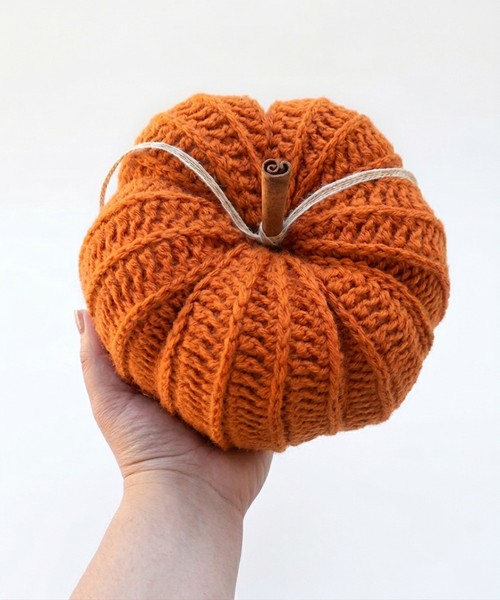
The pumpkin crochet method requires working the 3rd loop of half double crochet that is UNIQUE to this pattern but makes a more prominent ribbing. 2-in-1? Yes, the 2nd variation has more prominent ridges because of working in the 3rd loop of half double crochet, which makes it a MUCH better pumpkin variation. Now, continue reading to learn more about this quick pumpkin amigurumi project.
[ez-toc]
Tutorial to Crochet Cinnamon & Twine Half Double Crochet Fall Pumpkin
This tutorial will show you how to crochet two simple crochet pumpkins using the half double crochet stitch. First, you chain sixteen to start. Then, you crochet rows, working in either the third loop or the back loop to create different edges. After making a flat rectangle of twenty rows, you sew the short ends together to form a tube.
Next, you single crochet around the bottom edge and use a needle to pull it tight. You stuff the center, close the top edge, and wrap the yarn around the outside to make the pumpkin indents. Finally, add a stick stem.
Difficulty Level
Beginner. This tutorial is meant for beginners because it uses only basic stitches (chains, single crochet, and half double crochet) and straight rows. The shape is created by sewing a flat rectangle into a simple tube, eliminating the need to learn complex “in the round” increases or decreases.
Materials & Abbreviations
Materials Needed:
Yarn: Worsted weight (medium/size 4) acrylic yarn (The creator uses Lion Brand “Bonus Choice”)
Hook: 5.0 mm crochet hook
Stuffing: Polyfiber fill
Notions: Tapestry needle (with a large eye), scissors
Stem/Decoration (Optional): Cinnamon sticks, small wooden sticks, twine, or ribbon
Pattern Abbreviations:
ch: Chain
sc: Single Crochet
hdc: Half Double Crochet
sl st: Slip Stitch
BLO: Back Loop Only
Difficult Stitches Explained
1. Half Double Crochet in the Third Loop
This stitch pushes the normal front and back loops forward to create a braided texture.
Yarn over your hook.
Look at the top “V” of your stitches. The loop closest to you is the front loop, the one furthest is the back loop. When working in rows, if you tilt the work slightly toward you, you will see a horizontal bar sitting just below the front loop on the side facing you. This is the third loop.
Insert your hook into this third loop only.
Yarn over and pull up a loop (you now have 3 loops on the hook).
Yarn over and pull through all 3 loops.

Learn Crocheting Now!
Better learn the whole method of crocheting this fall pumpkin with the following tutorial:
Full Written Pattern?
Follow the free pattern with the pictures or use the “ask” feature of the tutorial to retrieve the quick pattern. Both of these methods are designer-compliant!
Share on Social Media!
See More:

Crochet CUTEST Guest-Welcoming BOO Ghost with Bow, Hat and Pumpkin Accessories

Tester Call: How to Crochet A Candy Corn, Pumpkin & Kawii Buddy Potted Plant Plushie

Featuring: How to Crochet the Smallest Pumpkin Fall Turtle Plushie with Orange & Parrot

Pattern Tester: How to Crochet Pumpkin Ridges Face Donut Ring Plushie for Fall

How to Crochet An Amigurumi Long-Legged Kawaii Pumpkin in Shoes Buddy

How to Granny Square with Pumpkin Applique in the Middle

Tester Pattern: To Crochet Pumpkin Hello Kitty Plushie with Big Paws Buddy

Featuring: How to Crochet Tiered Unusual Texture Pumpkin Decoration (3 Sizes)

Tester Pattern: To Crochet A Grizzly Bear Presenting You A Pumpkin Plushie
![[PDF Pattern] Crochet A Plush Autumn Acorn-Lover Plushie for Fall](https://criazalblog.com/wp-content/uploads/2026/09/crochet-squirrel-2-225x300.jpg)