Show support for Mari!
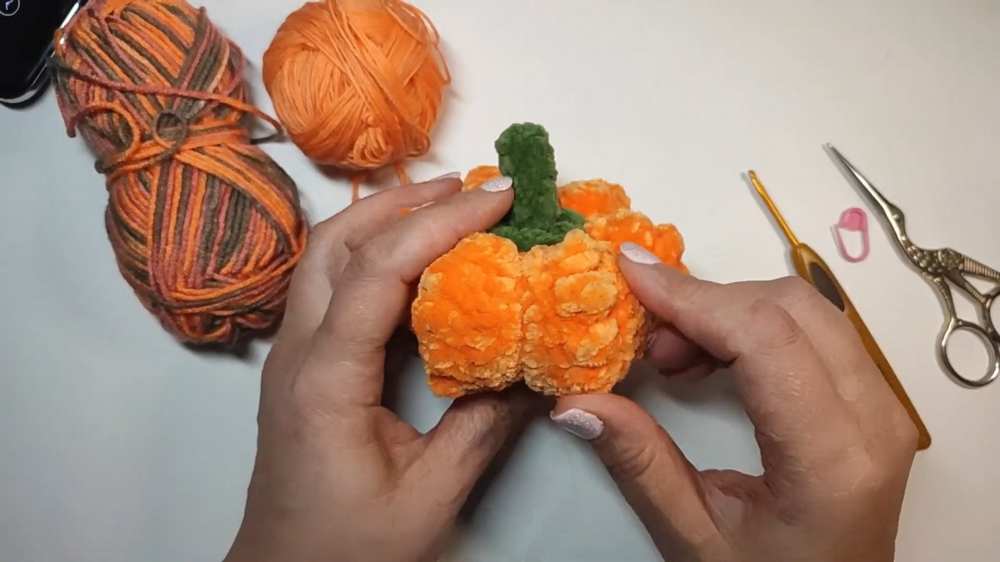
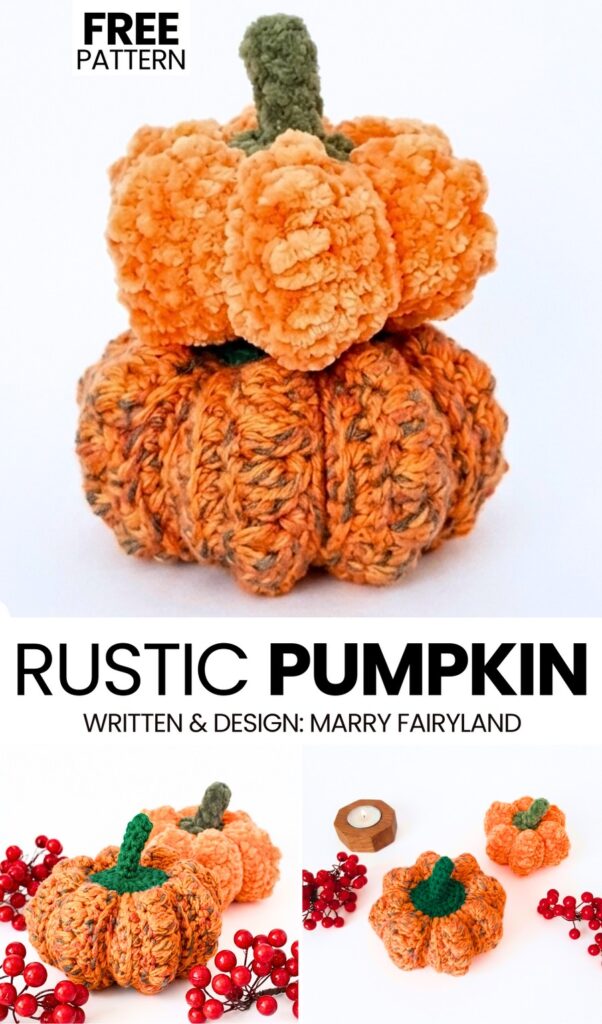
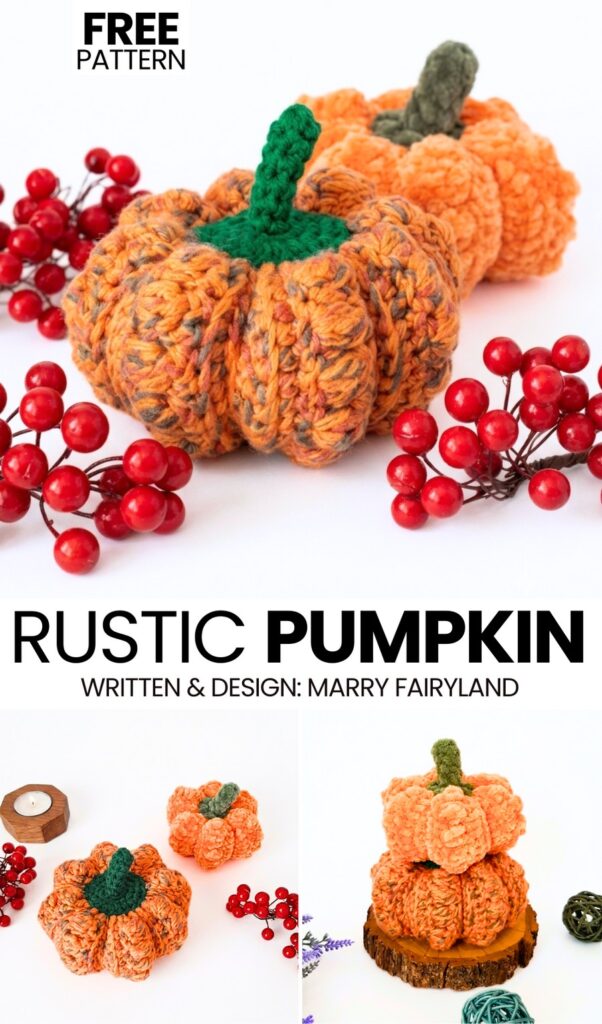
Here is another pattern to crochet an irresistible FALL DECOR pumpkin amigurumi! Today, you will learn how to crochet this popcorn-textured and ribbed pumpkin amigurumi following a free written pattern + a tutorial as well. This year, crochet two variations of this stuffed pumpkin: the spotted yarn amigurumi version or the velvety plush pumpkin version. Both of these will complement your fall & Halloween decorations.
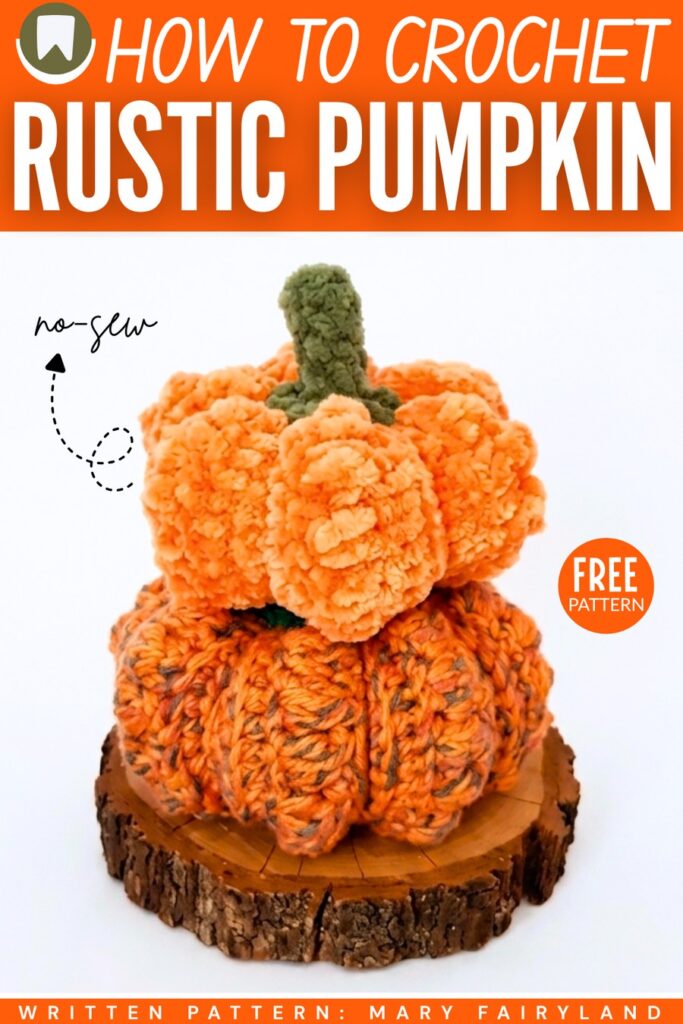
The same variation (velvety pumpkin plush) was used in the spider, cobweb, and the pumpkin plush table centerpiece. This crochet pumpkin variation has deep ridges and the vertical popcorns all across each ridge.
The spotted yarn pumpkin variation, in particular, is an irresistible addition to farmhouse, rustic, or cottage home decor. You can also crochet your pumpkin amigurumi plush as a pincushion, pouf, sofa pillow, or customize to crochet a jack pumpkin for Halloween. Now, continue reading to learn more about this fall pumpkin project and how to crochet it in detail.
[ez-toc]
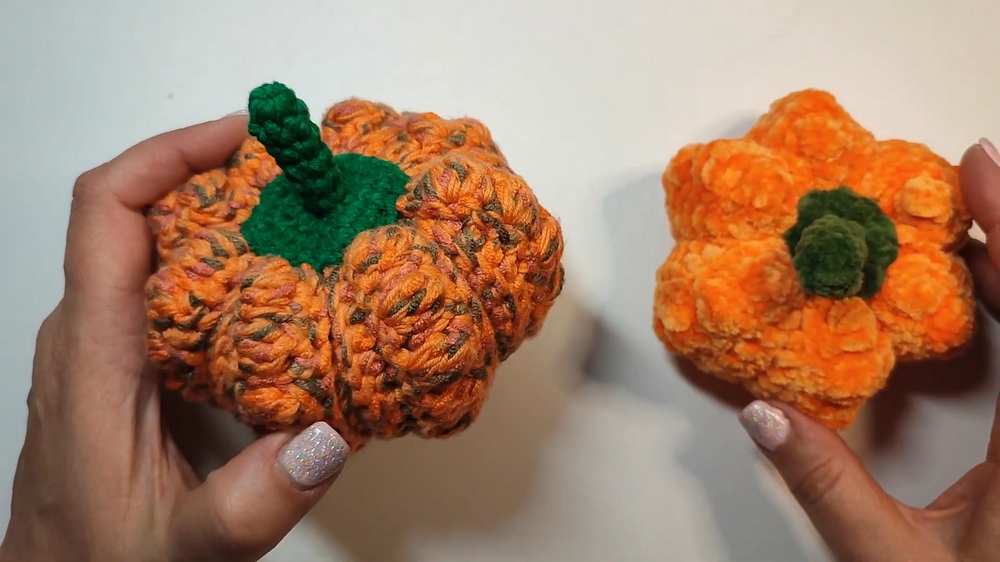
Pattern to Crochet Deep Ridges Pumpkin Amigurumi Plush
This rustic crochet pumpkin is the perfect squishy make for fall! Whether you’re decorating your mantle, bringing autumn vibes to your table centerpiece, or just working through your yarn stash, this ribbed pumpkin with adorable bobble stitches is a must-try.
Made with cozy medium-weight yarn held double for extra squish, the pattern uses simple ribbing techniques and works up beautifully in continuous sections.
It features a unique, bumpy texture that adds rustic charm to any display. The cute little amigurumi stem ties it all together into an autumn favorite you’ll want to make in every color!
Materials Needed
- Medium-weight yarn (like YarnArt Jeans or similar cotton/acrylic blend) in Pumpkin/Orange. (Note: Use thin yarn held double to achieve a chunky, sturdy look. You can also use a single strand of bulky/plush yarn!)
- Medium-weight yarn in Green or Brown for the stem (held double).
- 4.0 mm crochet hook.
- Polyester fiberfill (stuffing).
- Yarn needle with a large eye.
- Scissors.
Special Stitches & Abbreviations (US Terms)
- ch: chain
- sl st: slip stitch
- sc: single crochet
- BLO: back loop only. Insert your hook only into the loop furthest away from you.
- inc: increase (2 sc in the same stitch)
- Bobble Stitch: Yarn over (YO), insert hook into the stitch, YO, pull up a loop, YO, pull through 2 loops (2 loops on hook). Repeat this 2 more times in the same stitch (4 loops on hook). YO and pull through all 4 loops on the hook. Chain 1 tightly to lock the bobble.
Part 1: The Pumpkin Body
The pumpkin is worked flat in a long rectangle made up of “sections” or “wedges”, which are then joined together and cinched shut.
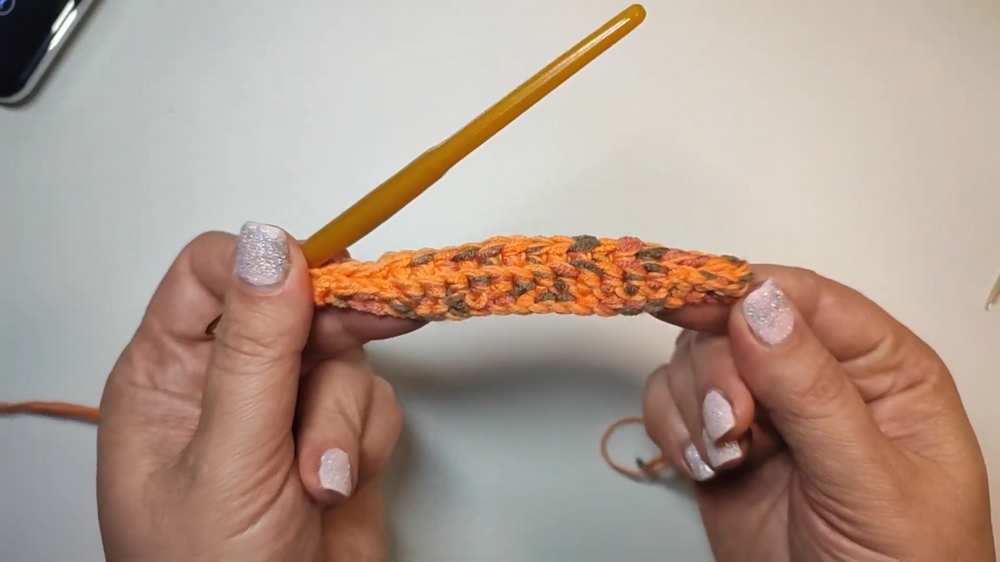
Row 1 (Foundation):
- Leave a long tail, and ch 21.
- Starting in the 2nd ch from the hook, make 1 sl st in each of the first 4 chains.
- Make 1 sc in each of the next 12 chains.
- Make 1 sl st in each of the last 4 chains. (You should have 20 stitches total: 4 sl sts, 12 sc, 4 sl sts).
Are you a Beginner? Learn Crocheting Easily!
You can learn to crochet this rustic pumpkin amigurumi for fall decor as a beginner following this tutorial, too:
Rows 2 – 3 (Ribbing):
- Ch 1, turn.
- Working in the BLO (Back Loop Only) for the entire row:
- Make 1 sl st in the next 4 sts.
- Make 1 sc in the next 12 sts.
- Make 1 sl st in the last 4 sts.
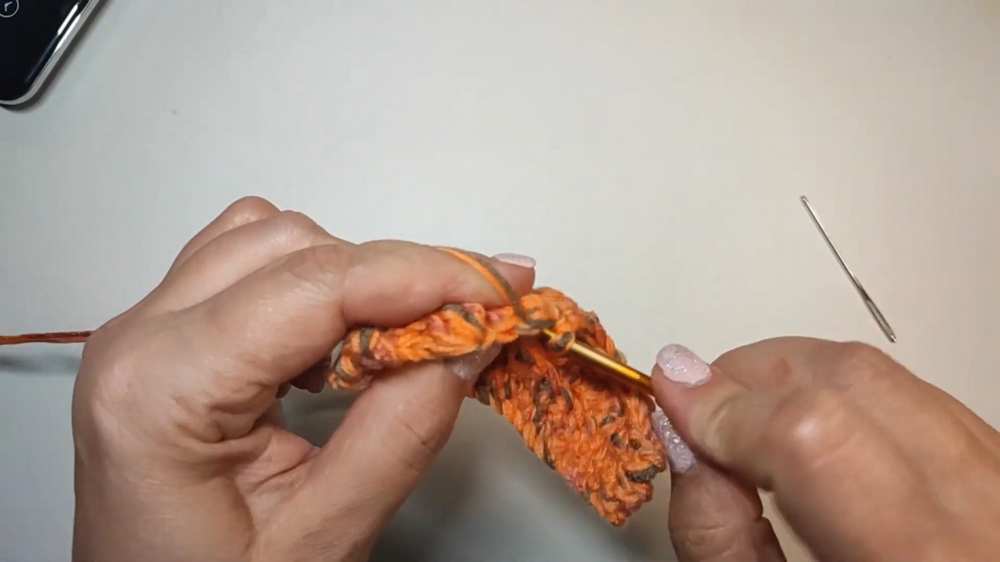
Row 4 (The Bobble Row):
- Ch 1, turn.
- Working in the BLO: Make 1 sl st in the first 4 sts.
- Now switch to working through BOTH loops for the middle section.
- In the next stitch, make a Bobble Stitch (as defined above, remembering to ch 1 to lock it).
- In the next stitch, make 1 sc.
- Repeat steps 4 & 5 a total of 6 times. (You will have 6 bobbles across the middle).
- Working back in the BLO: Make 1 sl st in the last 4 sts.
Row 5:
- Ch 1, turn.
- Working in the BLO: Make 1 sl st in the first 4 sts.
- Working through BOTH loops for the middle section: Make 12 sc across the middle. (Place your sc stitches into the tops of the bobbles and the sc stitches from the previous row).
- Working in the BLO: Make 1 sl st in the last 4 sts.
Rows 6 – 9: Repeat Row 2 (The standard BLO ribbing row).
Continuing the Pattern: You have now completed one “wedge” (5 rows of standard ribbing, 1 bobble row). To create the whole pumpkin, you need to repeat the wedge pattern until you have 8 bobble rows in total.
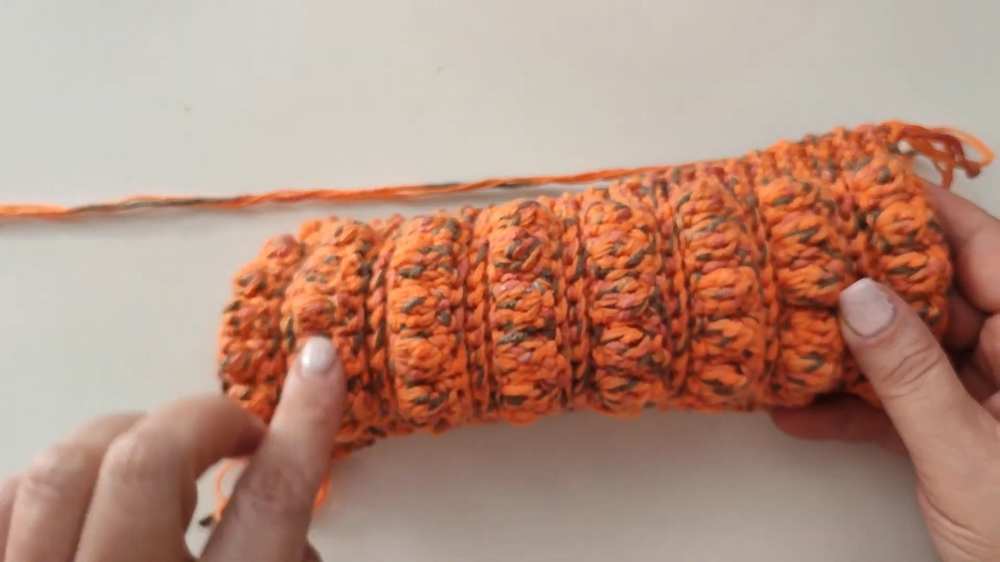
- Note: After your 8th bobble row, only crochet 2 standard ribbing rows instead of 5 so the math works out when you join the ends.
Joining the Pumpkin:
- Do not fasten off. Fold the rectangle in half so the short ends meet (Row 1 and your final row).
- Ch 1, and sl st the two edges together by going through the back loops of the final row and the remaining front loops of the foundation chain.
- Fasten off, leaving a very long yarn tail (about 24-30 inches).
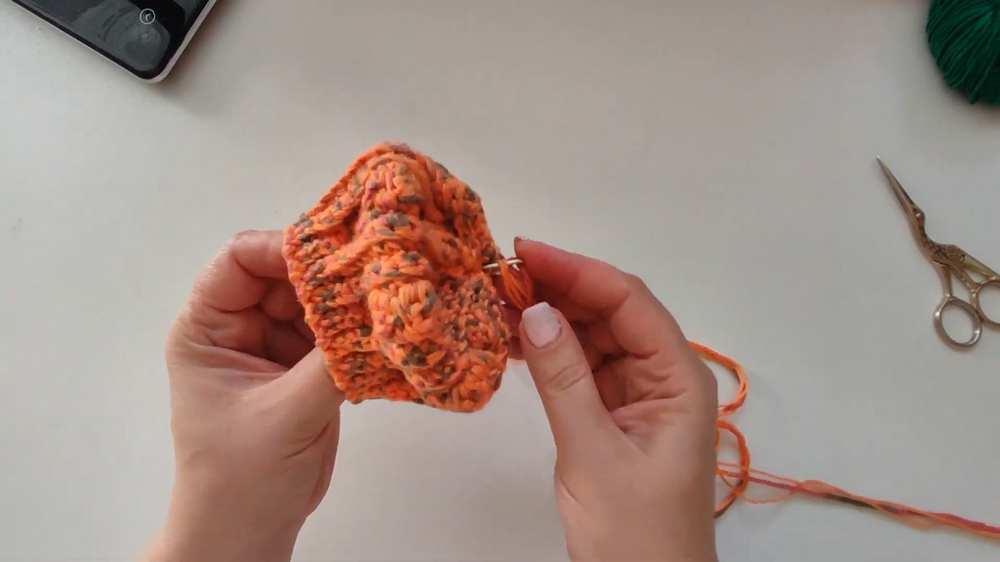
Part 2: Cinching and Shaping
- Cinch the Bottom: Thread the long yarn tail onto your yarn needle. Weave the needle in and out of the edges of the rows along one side of the tube. Pull the yarn tight to cinch the bottom completely closed. Sew a few stitches across the hole to secure it and tie a knot.
- Stuff: Push the needle up through the center to the open top. Flip the pumpkin right-side out. Stuff the pumpkin firmly with fiberfill.
- Cinch the Top: Using another long piece of yarn, weave in and out around the top opening. Pull tightly to close, just like the bottom. Secure with a knot.
- Sculpting the Wedges (Optional but recommended): Take your long yarn tail on your needle and wrap it around the outside of the pumpkin, following the natural indented lines between the bobble wedges. Insert the needle up through the bottom center and out the top center. Pull tightly to create the classic, deep pumpkin indentations. Repeat this around all 8 sections. Fasten off and hide the yarn tail.
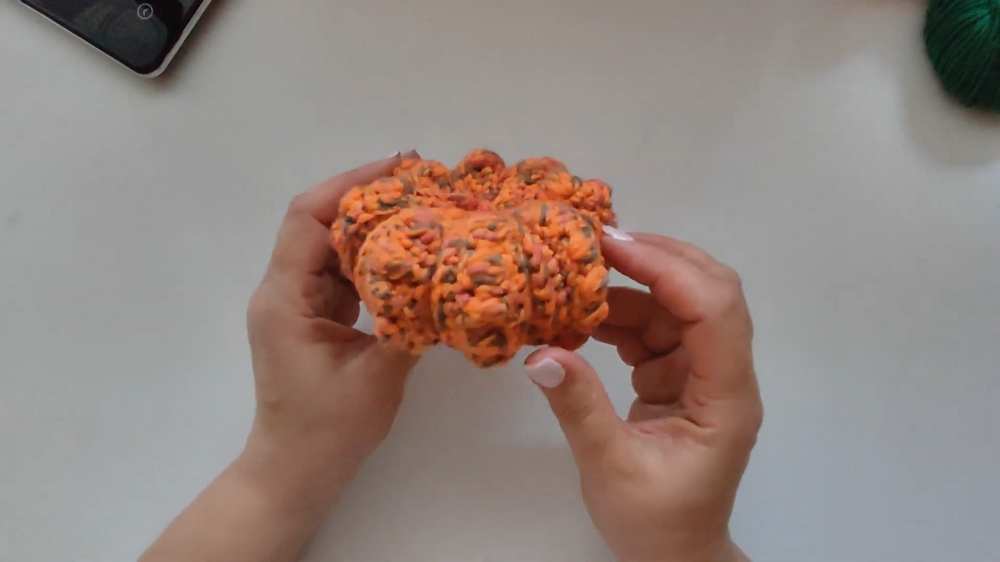
Part 3: The Bottom Patch (Green Yarn)
Use green yarn held double, or a single strand of chunky yarn. Round 1: Make a Magic Ring. 6 sc into the ring. (6) Round 2: Inc in each st around. (12) Round 3: 1 sc, inc – repeat 6 times. (18) Fasten off, leaving a long tail for sewing.
Part 4: The Stem (Green Yarn)
Round 1: Make a Magic Ring. 6 sc into the ring. (6) Rounds 2 – 7 (6 rounds): 1 sc in each st around. (6) Round 8: Inc in each st around. (12) Round 9: 1 sc, inc – repeat 6 times. (18) Round 10: 2 sc, inc – repeat 6 times. (24) Fasten off, leaving a long tail for sewing.
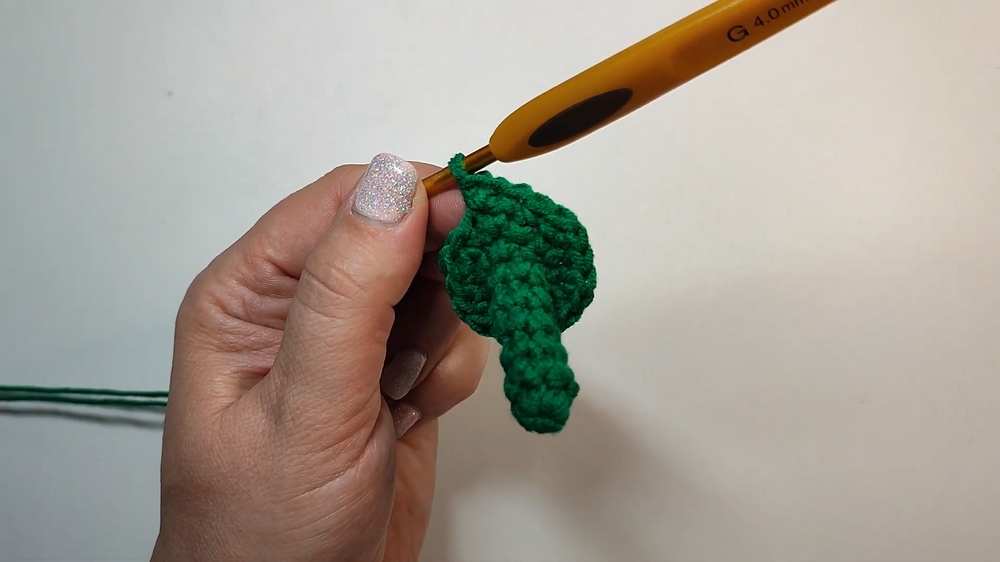
Part 5: Final Assembly
- Take the flat bottom patch and sew it securely to the bottom center of the pumpkin to hide the cinched hole.
- Take the green stem, stuff it very lightly (or leave it hollow), and sew it securely to the top center of the pumpkin, covering the top cinched hole.
- Weave in all loose ends.
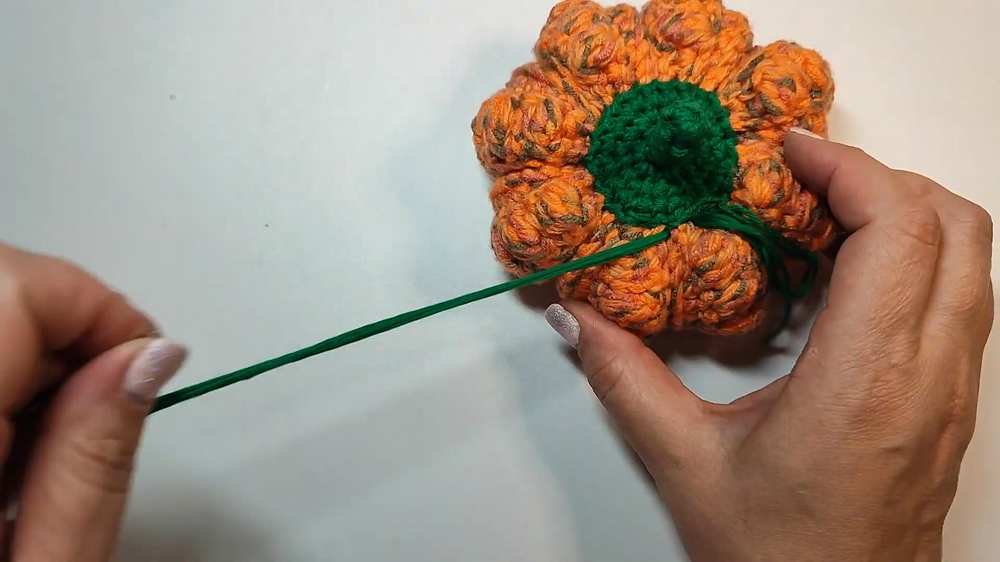
Enjoy your cozy new fall decor!
Share on Social Media!
See More:

Crochet CUTEST Guest-Welcoming BOO Ghost with Bow, Hat and Pumpkin Accessories

Tester Call: How to Crochet A Candy Corn, Pumpkin & Kawii Buddy Potted Plant Plushie

Featuring: How to Crochet the Smallest Pumpkin Fall Turtle Plushie with Orange & Parrot

Pattern Tester: How to Crochet Pumpkin Ridges Face Donut Ring Plushie for Fall

How to Crochet An Amigurumi Long-Legged Kawaii Pumpkin in Shoes Buddy

How to Granny Square with Pumpkin Applique in the Middle

Tester Pattern: To Crochet Pumpkin Hello Kitty Plushie with Big Paws Buddy

Featuring: How to Crochet Tiered Unusual Texture Pumpkin Decoration (3 Sizes)

Tester Pattern: To Crochet A Grizzly Bear Presenting You A Pumpkin Plushie