Show support for her!
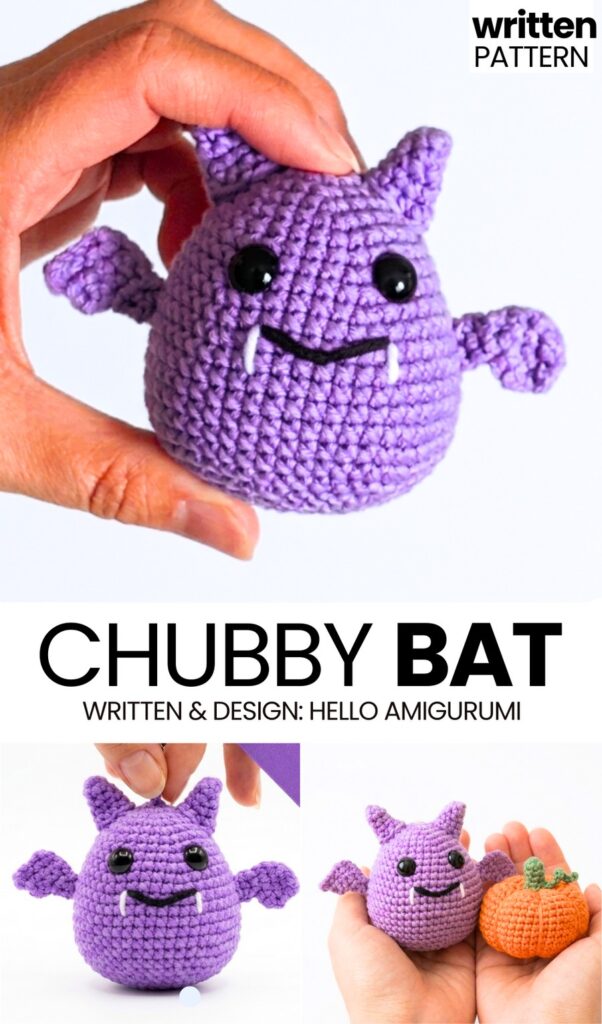
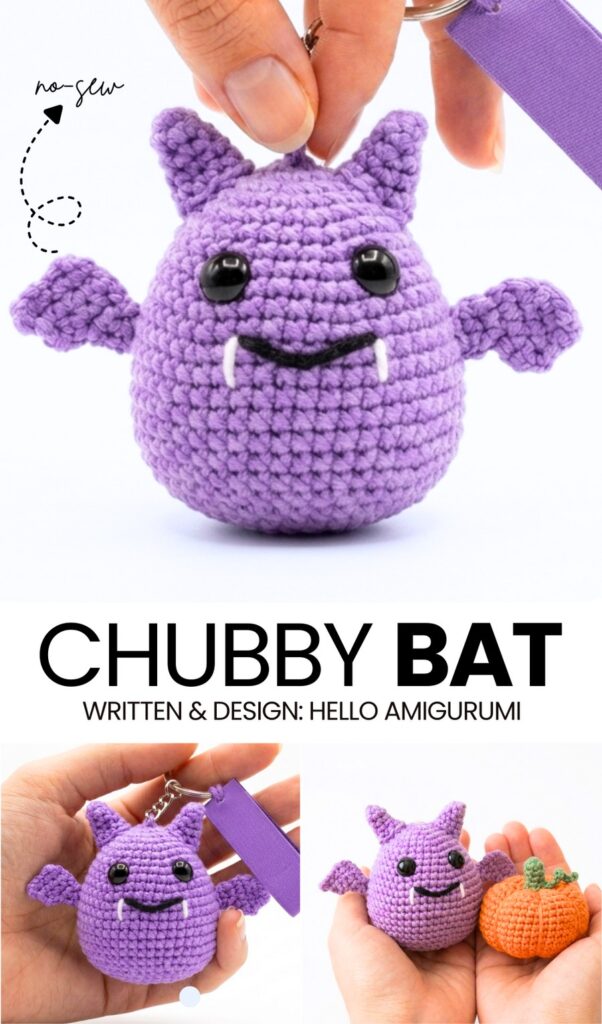
This Halloween, if you are looking for the CUTEST present for kids, learn how to crochet this chubby & kawaii bat amigurumi! This is a zero-spooky & low-sew crochet bat amigurumi you can also crochet as a plushie. The embroidered fangs look cute instead of fearsome, making this crochet bat an irresistible Halloween gift for young ones. You can crochet this amigurumi bat in both purple and black.
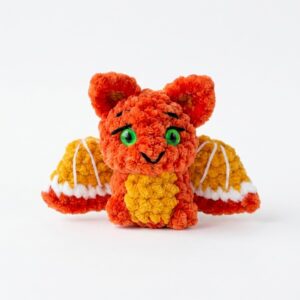
Or maybe, like the bat appliques, you can also crochet your bat amigurumi with yellow yarn. The wings of this are so small, so I call this Halloween amigurumi bat the “baby bat amigurumi.”
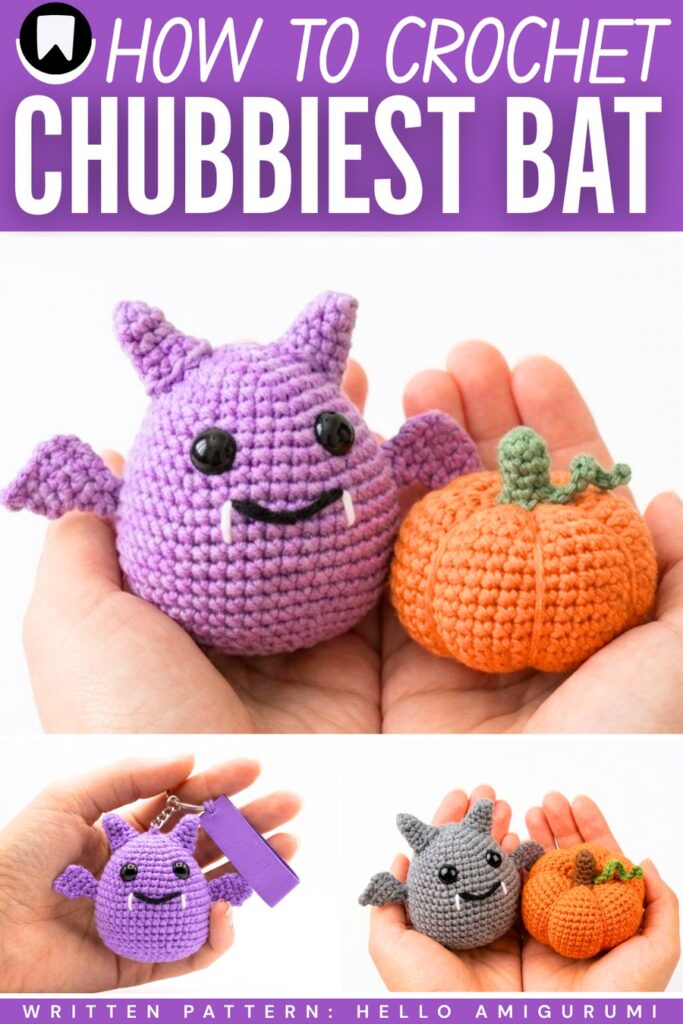
The body of this crochet bat is worked from the bottom up as a single piece. You only have to sew the wings and the ears. Both these crochet bat parts are also quick and simple. With the 10mm eyes used for this small bat amigurumi, it looks even cuter. Now, continue reading to learn more about this bat project and how to crochet the amigurumi, with a free written pattern and a tutorial as well.
[ez-toc]
How to Crochet the Chubby Bat Amigurumi: Full Pattern
We shall start this crochet chubby bat amigurumi by crocheting the body and head as one piece from the bottom up. Add the safety eyes and embroider the face before the opening becomes too small, then stuff and close the body.
Crochet two ears in the round and two wings flat in rows.
Sew the ears evenly to the top of the head and attach the wings to each side of the body, roughly level with the eyes. Weave in all yarn tails securely to finish your bat.
Note: This pattern is written in US terms!
Materials Needed
The following are the recommended materials to crochet this lovely bat plushie:
- DK or 1.5mm thick Purple yarn (for the body, ears, and wings)
- Small amount of black yarn (for the mouth)
- Small amount of white yarn (for the fangs)
- 2.5 mm Crochet hook
- Polyester stuffing
- 10 mm Safety eyes
- Tapestry needle
- Scissors
- Stitch marker
Pattern Instructions
1. Body and Head
Worked in continuous rounds.
- Rnd 1: 6 sc in a magic ring (6)
- Rnd 2: 6 inc (12)
- Rnd 3: (1 sc, inc) x 6 (18)
- Rnd 4: (2 sc, inc) x 6 (24)
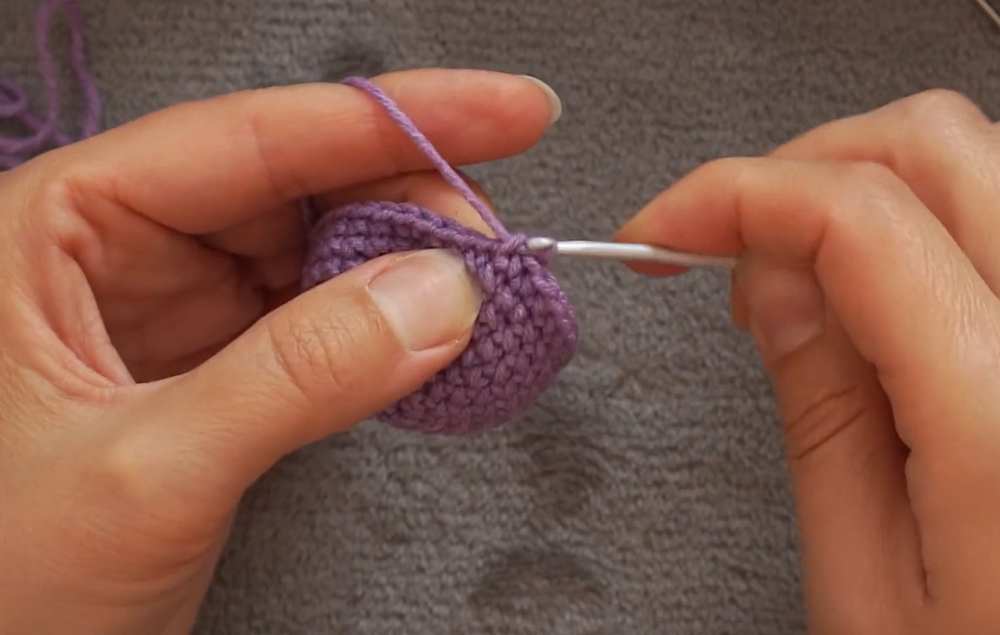
- Rnd 5: (3 sc, inc) x 6 (30)
- Rnd 6–7: 30 sc (2 rounds)
Are you a Beginner? Learn Crocheting Easily!
You can learn to crochet better with this miniature kawaii bat amigurumi tutorial as a beginner:
- Rnd 8: (4 sc, inc) x 6 (36)
- Rnd 9: 36 sc
- Rnd 10: (5 sc, inc) x 6 (42)
- Rnd 11: 42 sc
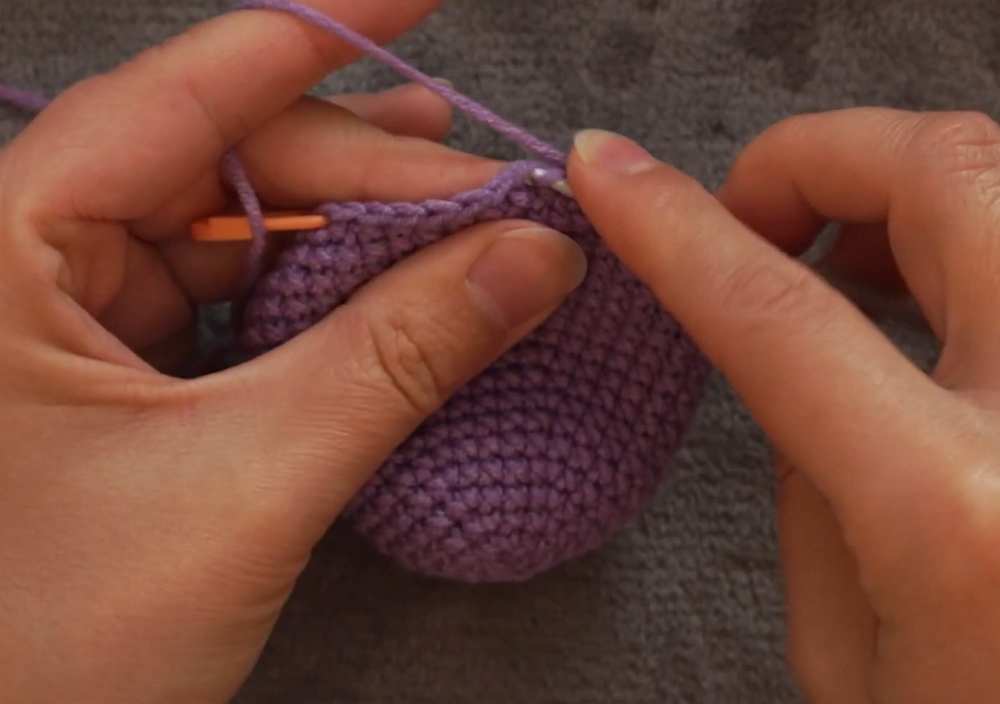
- Rnd 12: (6 sc, inc) x 6 (48)
- Rnd 13–18: 48 sc (6 rounds)
- Rnd 19: (6 sc, dec) x 6 (42)
Before continuing, insert safety eyes between rounds 8 and 9, with 6 stitches between them.
Embroider a smiling mouth using black yarn and two small fangs using white yarn below the eyes.
- Rnd 20: (4 sc, dec) x 7 (35)
- Rnd 21: (3 sc, dec) x 7 (28)
- Rnd 22: (2 sc, dec) x 7 (21)
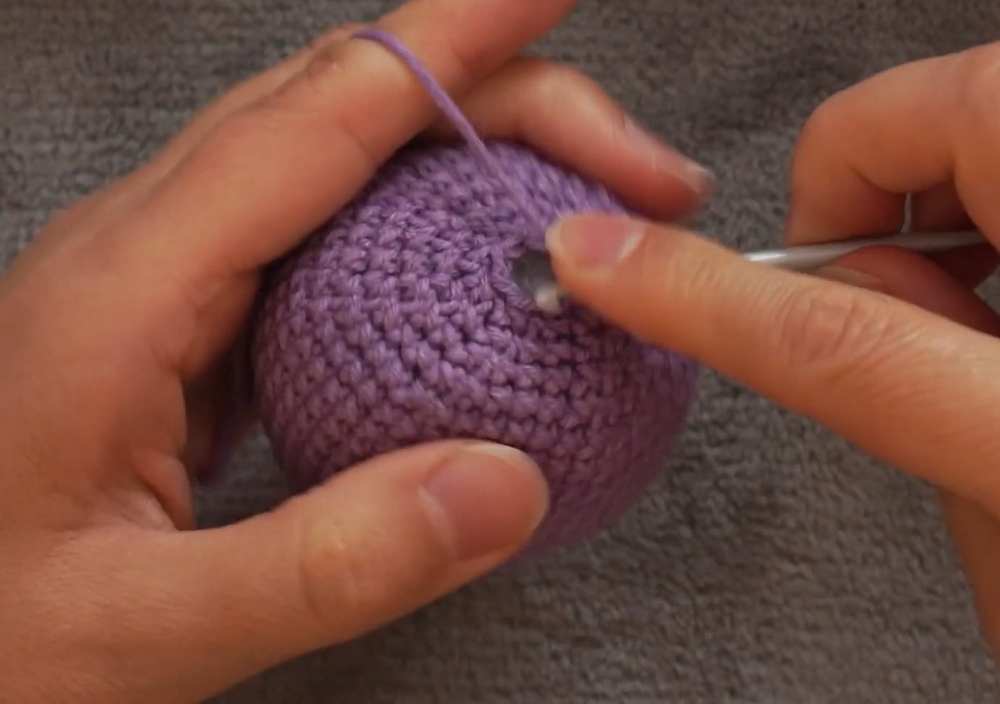
- Rnd 23: (1 sc, dec) x 7 (14)
- Stuff the body firmly with polyester fiberfill.
- Rnd 24: 7 dec (7)
- Fasten off and hide the thread inside the body.
2. Ears (Make 2)
- Rnd 1: 6 sc in a magic ring (6)
- Rnd 2–3: 6 sc (2 rounds)
- Rnd 4: (1 sc, inc) x 3 (9)
- Rnd 5: 9 sc, sl st (slip stitch)
- Fasten off, leaving a long tail for sewing.
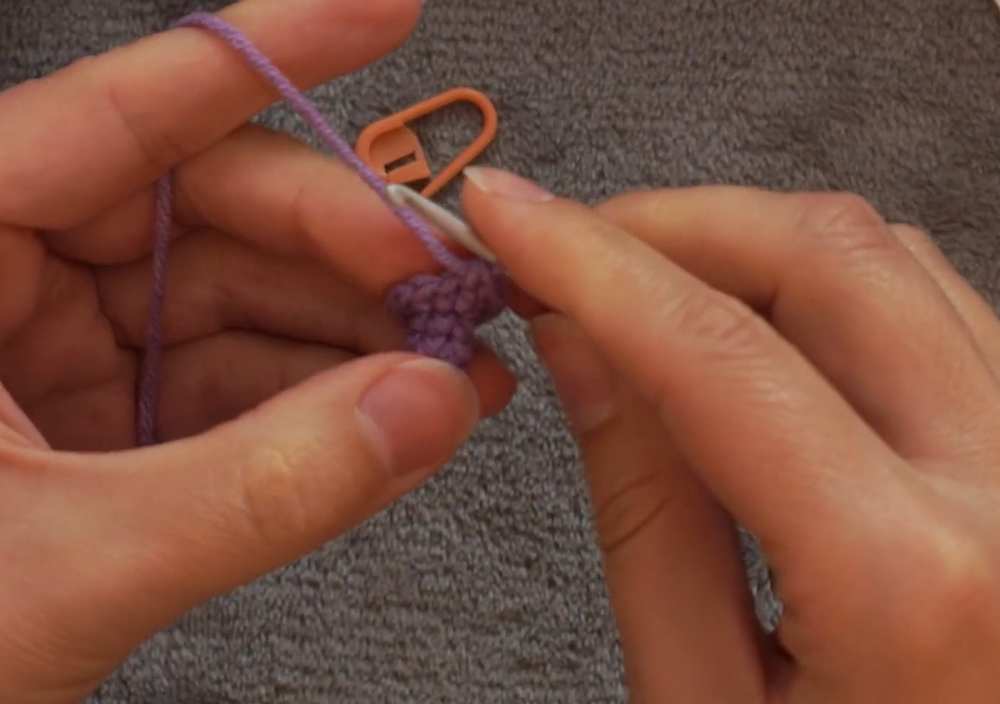
3. Wings (Make 2)
Worked in rows.
- Row 1: 6 ch. Starting from the 2nd chain from the hook, 5 sc (5)
- Row 2: 1 ch, turn, 4 sc (4)
- Row 3: 1 ch, turn, skip 1st st, 3 sc (3)
- Row 4: 1 ch, turn, skip 1st st, 2 sc (2)
- Row 5: 1 ch, turn, skip 1st st, 1 sc (1)
- Fasten off, leaving a long tail for sewing.
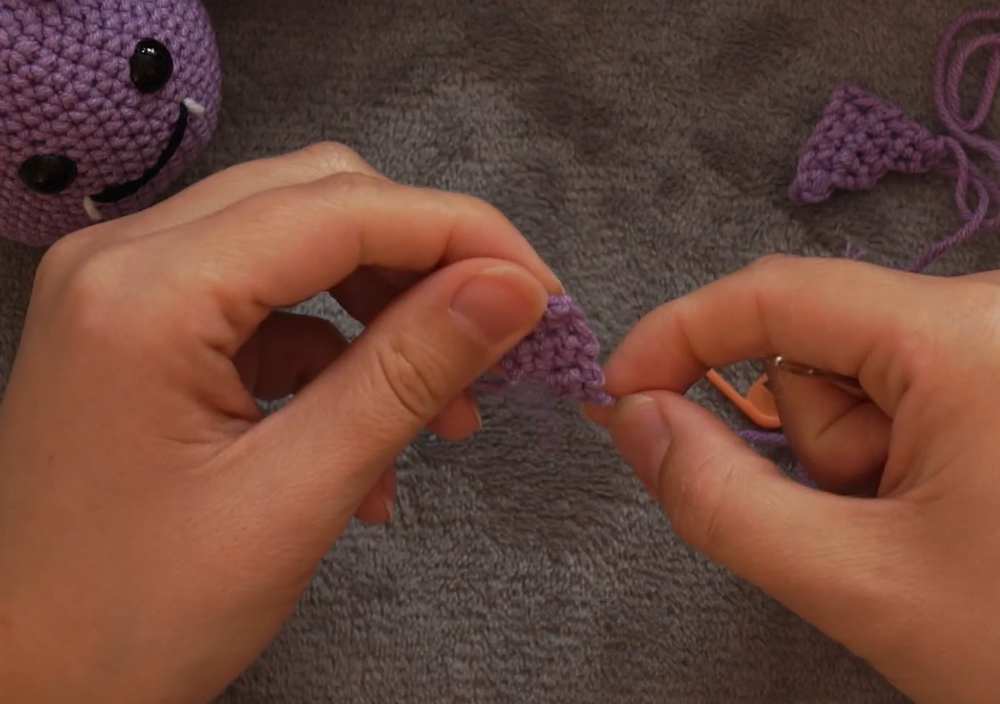
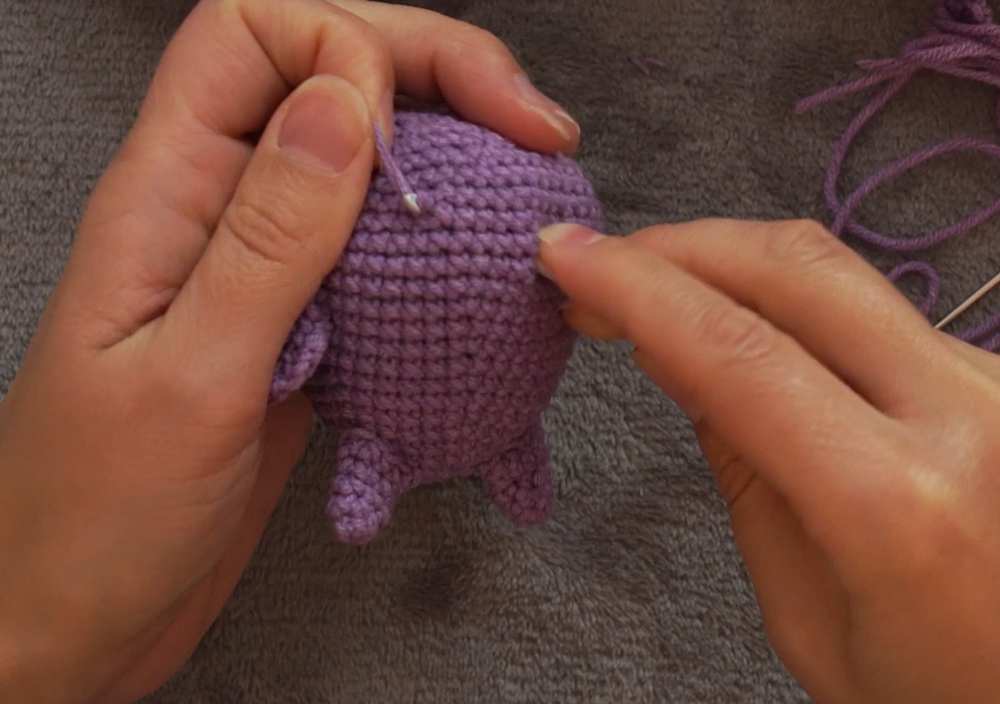
Assembly
- Ears: Sew the ears to the top of the head/body.
- Wings: Sew the wings to the sides of the body, roughly aligned with the eyes.
- Ensure all threads are securely fastened and hidden inside the toy.
Bat Pattern in UK terms
If you are from the UK, here is the crochet bat pattern you need to follow along:
1. Body and Head
Worked in continuous rounds.
- Rnd 1: 6 dc in a magic ring (6)
- Rnd 2: 6 inc (12)
- Rnd 3: (1 dc, inc) x 6 (18)
- Rnd 4: (2 dc, inc) x 6 (24)
- Rnd 5: (3 dc, inc) x 6 (30)
- Rnd 6–7: 30 dc (2 rounds)
- Rnd 8: (4 dc, inc) x 6 (36)
- Rnd 9: 36 dc
- Rnd 10: (5 dc, inc) x 6 (42)
- Rnd 11: 42 dc
- Rnd 12: (6 dc, inc) x 6 (48)
- Rnd 13–18: 48 dc (6 rounds)
- Rnd 19: (6 dc, dec) x 6 (42)
Before continuing, insert safety eyes between rounds 8 and 9, with 6 stitches between them.
Embroider a smiling mouth using black yarn and two small fangs using white yarn below the eyes.
- Rnd 20: (4 dc, dec) x 7 (35)
- Rnd 21: (3 dc, dec) x 7 (28)
- Rnd 22: (2 dc, dec) x 7 (21)
- Rnd 23: (1 dc, dec) x 7 (14)
- Stuff the body firmly with polyester fibrefill.
- Rnd 24: 7 dec (7)
- Fasten off and hide the yarn tail inside the body.
2. Ears (Make 2)
- Rnd 1: 6 dc in a magic ring (6)
- Rnd 2–3: 6 dc (2 rounds)
- Rnd 4: (1 dc, inc) x 3 (9)
- Rnd 5: 9 dc, ss
- Fasten off, leaving a long tail for sewing.
3. Wings (Make 2)
Worked in rows.
- Row 1: Ch 6. Starting in the 2nd chain from the hook, 5 dc (5)
- Row 2: Ch 1, turn, 4 dc (4)
- Row 3: Ch 1, turn, skip first stitch, 3 dc (3)
- Row 4: Ch 1, turn, skip first stitch, 2 dc (2)
- Row 5: Ch 1, turn, skip first stitch, 1 dc (1)
- Fasten off, leaving a long tail for sewing.
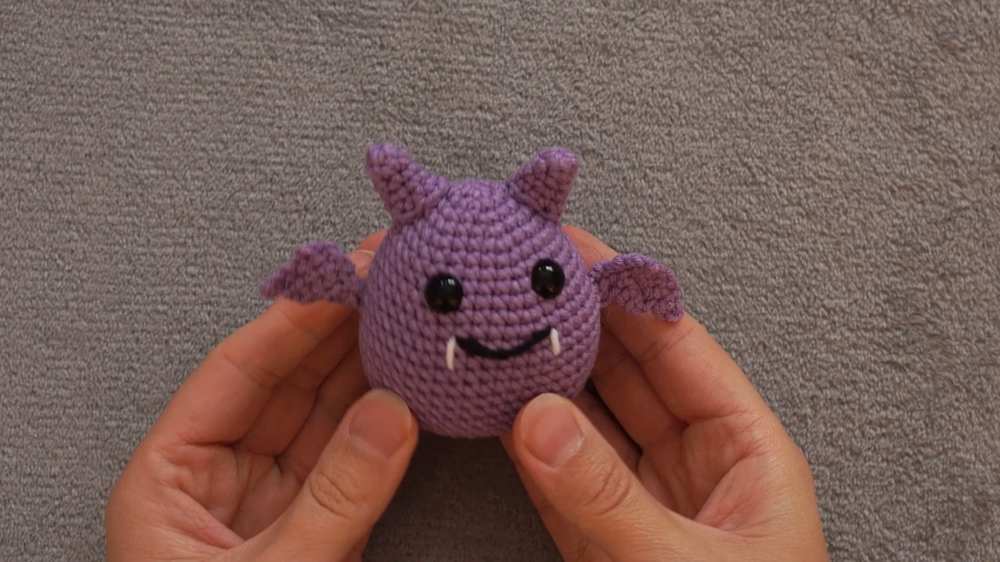
Assembly
- Ears: Sew the ears to the top of the head/body.
- Wings: Sew the wings to the sides of the body, roughly level with the eyes.
- Ensure all yarn tails are securely fastened and woven into the toy.
Share on Social Media!
See More:

How to Crochet Bunny Bat White Foldable Wings Amigurumi with Bow for Halloween
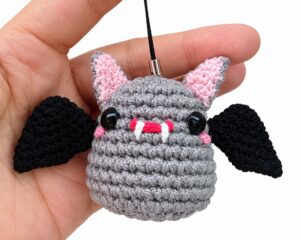
How to Crochet Red Mouth Spooky-Cute Grey and Black Bat Amigurumi
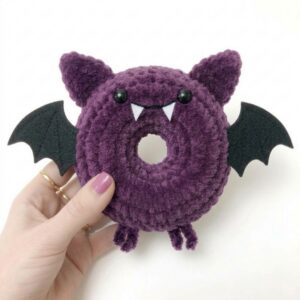
Pattern Tester: How to Crochet A Spooky-Cute Bat Food Ring Plush for Gifting
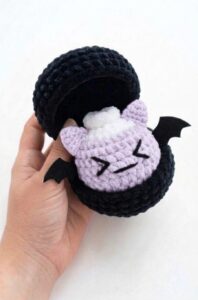
Tester Pattern: To Crochet A Plush Spooky Bat Bao Bun Plushie
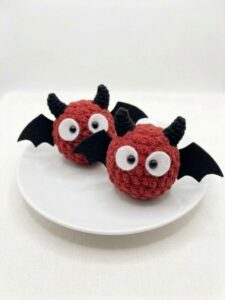
Tester Pattern: To Crochet A Red Soot Bat Amigurumi Plushie Pattern
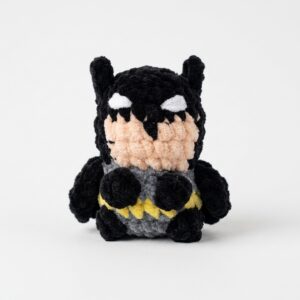
How to Crochet Low-Sew Mr. Bat Superhero Plushie for Kids
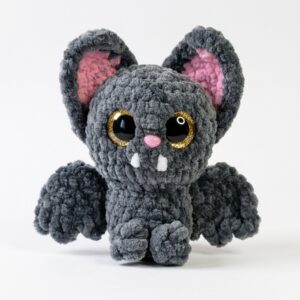
How to Crochet Glitter-Eyed Kawaiiest Bat Softie for Halloween
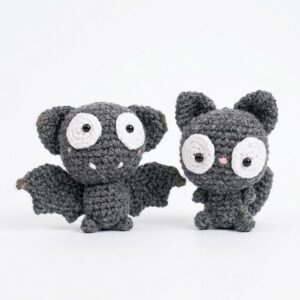
Featuring: Crochet Black Kitty Amigurumi But it is A Bat for Halloween (2-in-1 Tutorial)
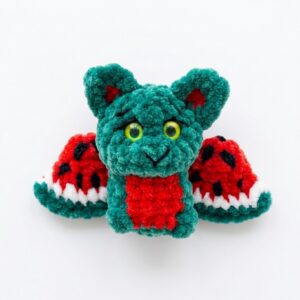
How to Crochet the Watermelon Bat No-Sew Plushie Pattern