Nunu crochet, here!
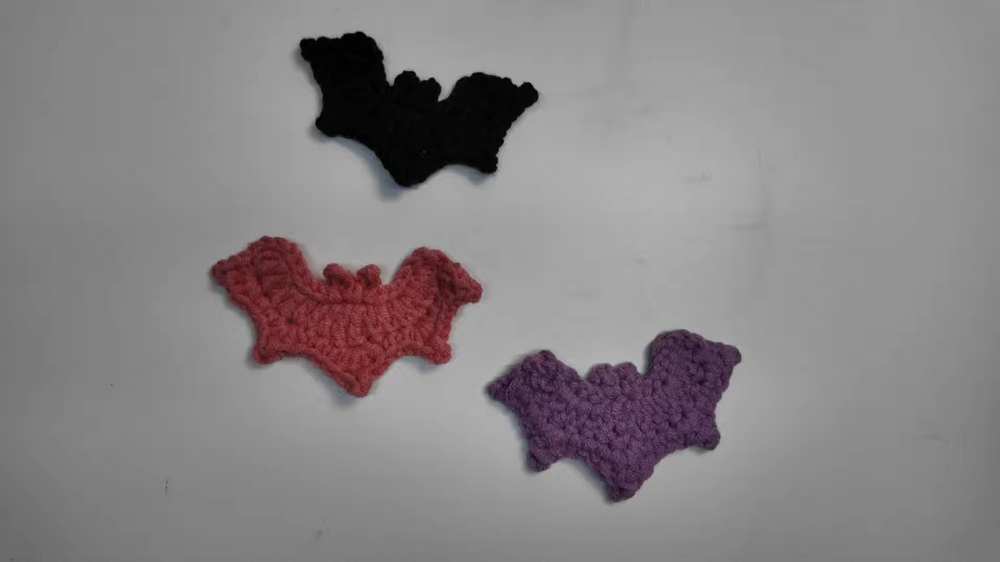
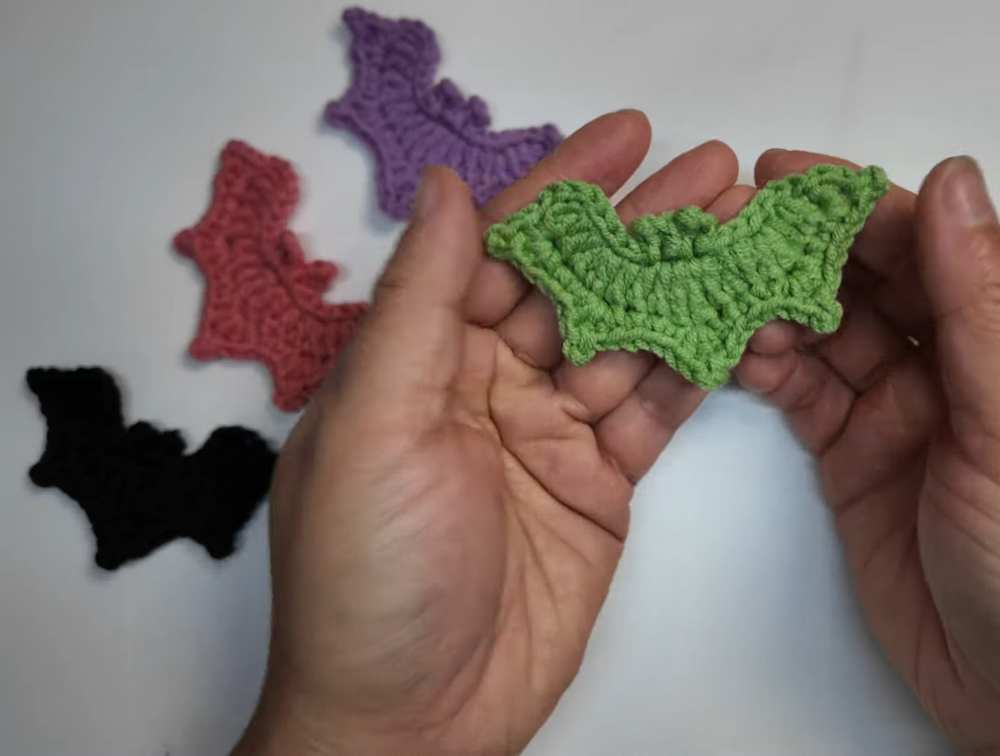
This Halloween, crochet these 10-minute crochet bat applique decorations to charm up kids’ costumes, trick-or-treating bags, or add to a crochet Halloween garland. You can crochet a set of 4 bats with appliqués in the recommended black, green, purple, and red or orange. You can also turn these spooky bat appliqués into a brooch, hair clip, or bag charm by adding a keyring, metal clip, or pin, respectively.
Crochet CUTE Little Bat Applique Decoration
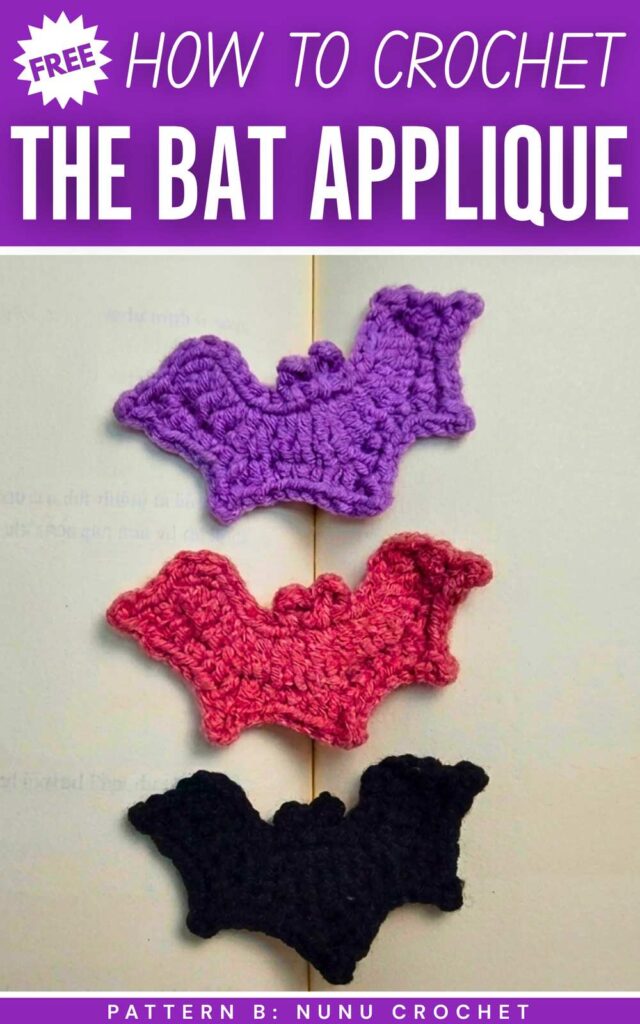
To crochet these flat bat appliqués, you only need to work in back-and-forth rows using basic stitches and your favorite Halloween colors. A similar bat pattern was loved by most of you last year, and I hope you will like this one, too. Now, continue reading for the full bat plush pattern.
[ez-toc]
How to Crochet No-Sew Bat Appliqué
This quick, one-piece crochet bat applique is the perfect bite-sized project for Halloween. You’ll start by making a simple foundation chain, and then work along both sides of it using a variety of stitches (from single crochets to treble crochets) to build the bat’s arched wings and distinct pointy features.
The ears and wing tips are created using picot stitches, which give the bat its recognizable shape. This versatile decoration can be attached to hats, bags, clothing, or even used as a keychain.
Materials
- Yarn: Size 5 (Bulky/Chunky) Yarn
- Hook: 3.0mm Crochet Hook
- Notions: Yarn needle, scissors
Abbreviations (US Terms)
- ch: chain
- sc: single crochet
- hdc: half double crochet
- dc: double crochet
- tr: treble crochet (yarn over twice)
- sl st: slip stitch
- picot: chain 2, slip stitch into the back bump of the stitch below (or top of the sc/hdc/dc just made)
- inc: increase (2 stitches in the same space)
Are you a Beginner?
In case you can’t follow the written pattern, continue with the following tutorial or the written pattern below!
Pattern Instructions
Foundation: Ch 15.
Row 1 (Top of the Bat/Wings):
- Skip the first 3 chains from the hook.
- In the 4th ch, make 1 dc.
- In the next ch, make 1 dc.
- In the next ch, make a dc inc (2 dc in the same stitch).
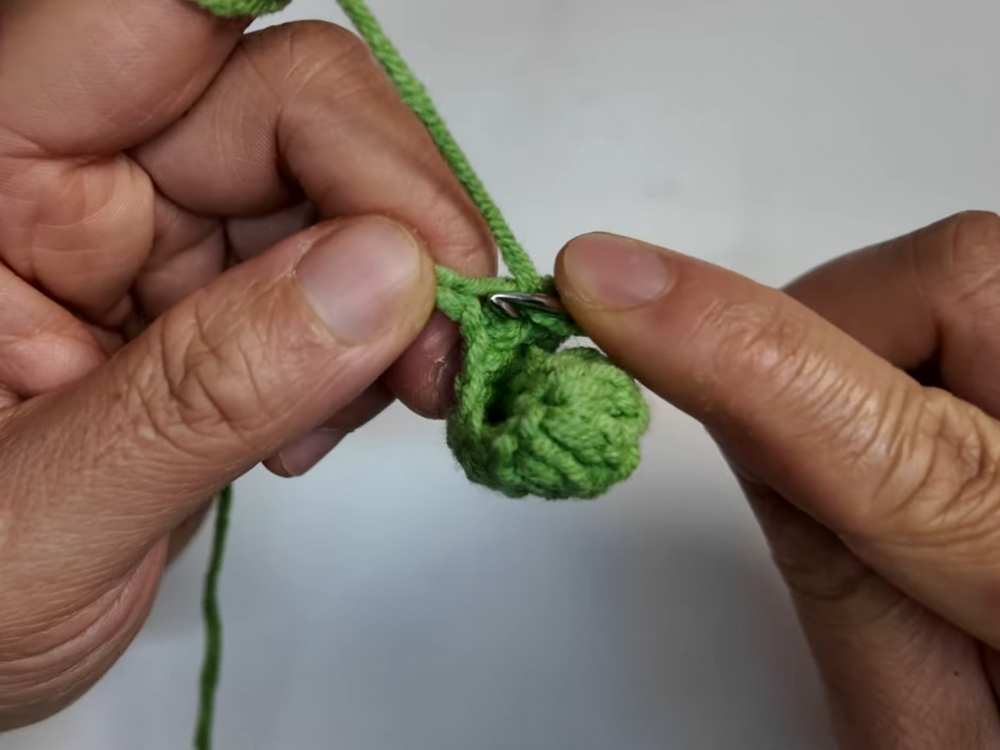
- In the next ch, make 1 dc.
- In the next ch, make 1 dc.
- Center (Head): In the next ch, make (1 dc, 1 tr) in the same stitch. In the very next ch, make (1 tr, 1 dc) in the same stitch.
- In the next ch, make 1 dc.
- In the next ch, make 1 dc.
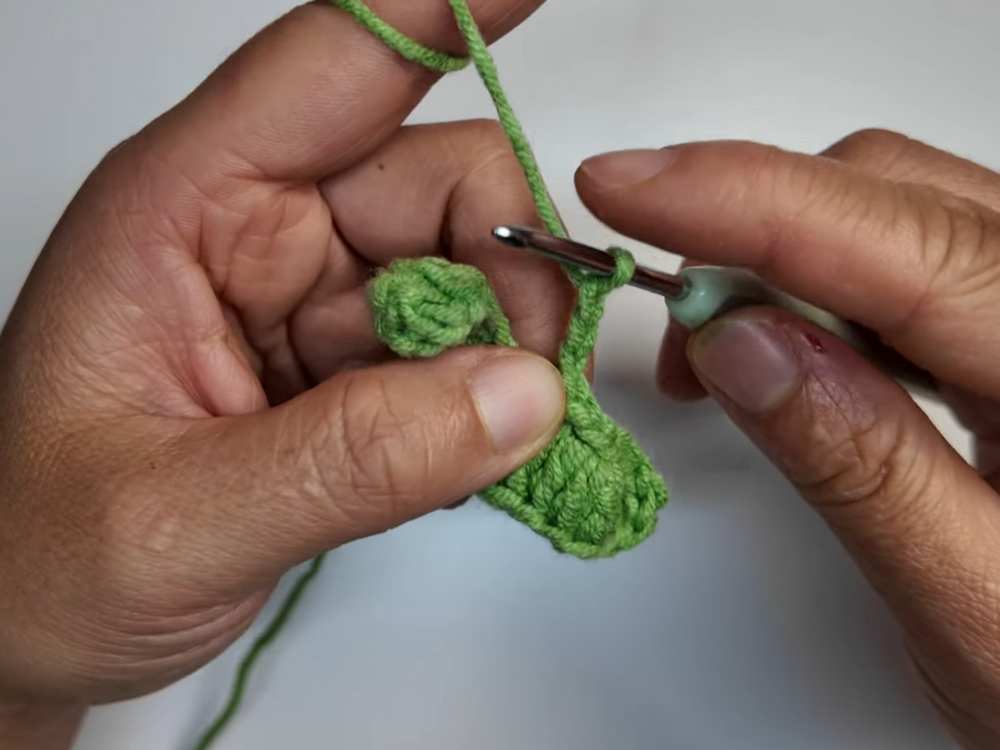
- In the next ch, make a dc inc (2 dc in the same stitch).
- In the next ch, make 1 dc.
- In the last ch, make a dc inc (2 dc in the same stitch).
Row 2 (Ears & Scalloped Wing Bottoms):
- Turn the work to start working along the edges you just made.
- Sl st into the first 4 stitches along the edge until you reach the center head area.
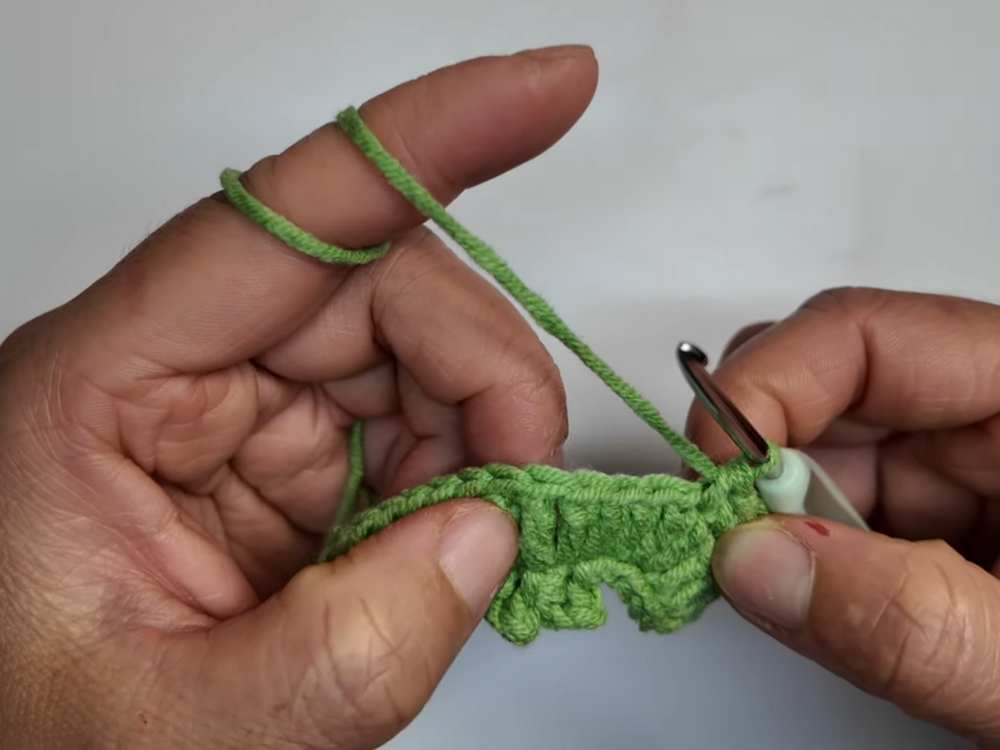
- First Ear: Sl st into the first tr stitch. Ch 3. Skip the 1st ch from hook, make 1 sc in the 2nd ch. Sl st back into the same tr stitch on the base.
- Second Ear: Sl st into the next tr stitch. Ch 3. Skip the 1st ch from hook, make 1 sc in the 2nd ch. Sl st back into the same tr stitch on the base.
- Sl st into the next 3 stitches.
Working down the other side (Bottom of Wings):
- Sl st into the side of the starting chain 3 to bring your yarn to the bottom side of the bat.
- Wing Tip 1: In the next stitch, make (1 sc, 1 hdc). Ch 2, and sl st into the base of the ch-2 (Picot made). Make (1 hdc, 1 sc) into the same base stitch.
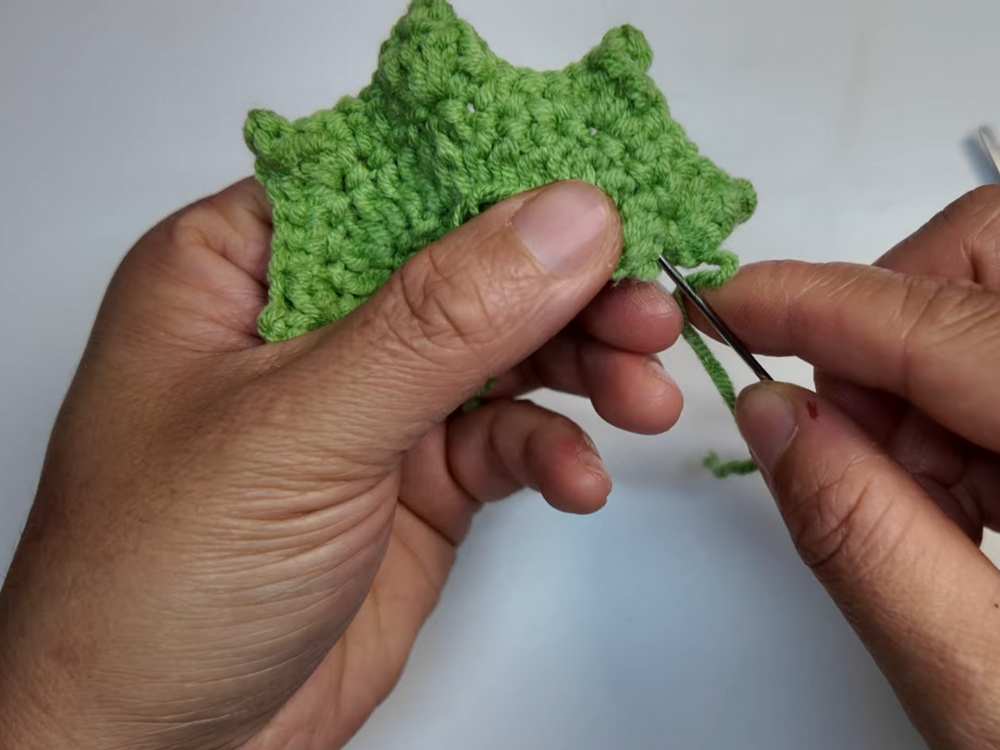
- 1 sc into each of the next 2 stitches.
- Wing Tip 2: In the next stitch, make (1 sc, 1 hdc, picot, 1 hdc, 1 sc) all in the same stitch.
- 1 sc into each of the next 3 stitches.
- Center Bottom Tail: In the next stitch, make (1 hdc, 1 dc, picot, 1 dc, 1 hdc) all in the same stitch.
- 1 sc into each of the next 3 stitches.
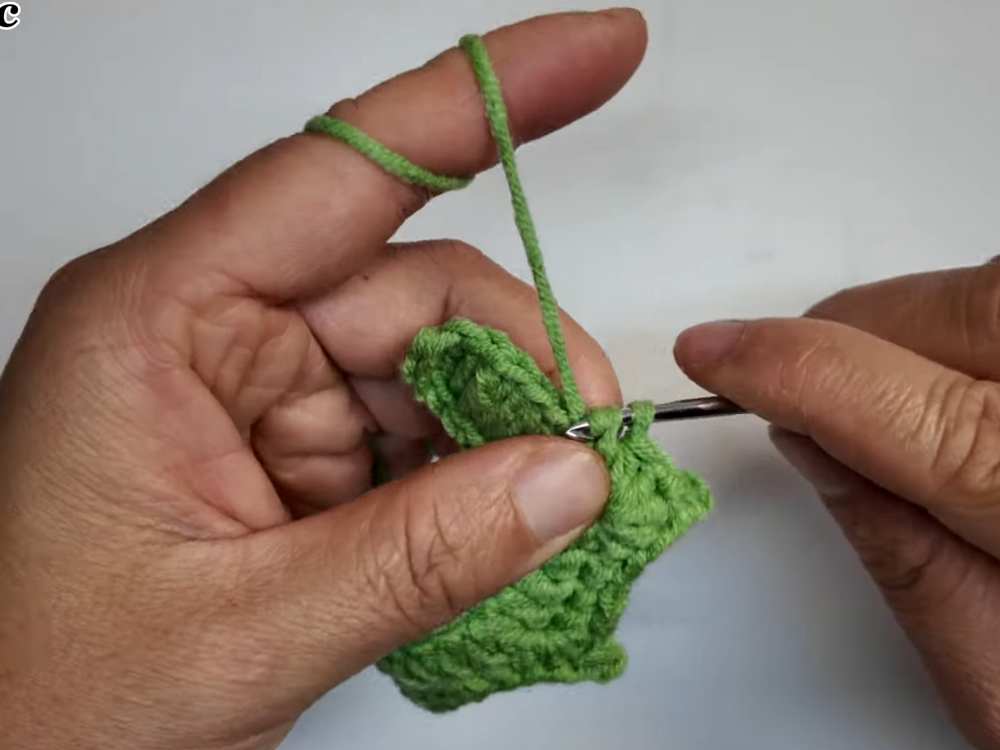
- Wing Tip 3: In the next stitch, make (1 sc, 1 hdc, picot, 1 hdc, 1 sc) all in the same stitch.
- 1 sc into each of the next 2 stitches.
- Wing Tip 4: In the last stitch, make (1 sc, 1 hdc, picot, 1 hdc, 1 sc) all in the same stitch.
Finishing: Cut yarn, leaving a short tail. Pull through to fasten off. Use a yarn needle to seamlessly weave the end into the back of the work. Weave in the starting tail.
See More:

How to Crochet Bunny Bat White Foldable Wings Amigurumi with Bow for Halloween
How to Crochet Red Mouth Spooky-Cute Grey and Black Bat Amigurumi
Pattern Tester: How to Crochet A Spooky-Cute Bat Food Ring Plush for Gifting
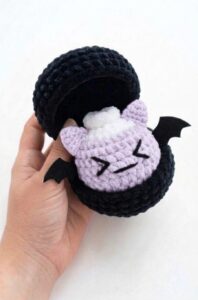
Tester Pattern: To Crochet A Plush Spooky Bat Bao Bun Plushie
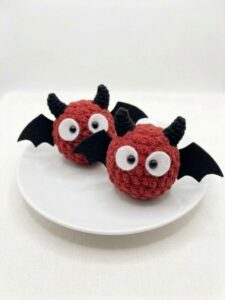
Tester Pattern: To Crochet A Red Soot Bat Amigurumi Plushie Pattern
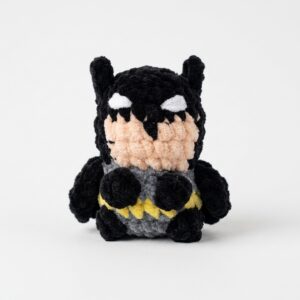
How to Crochet Low-Sew Mr. Bat Superhero Plushie for Kids
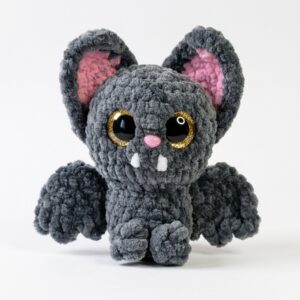
How to Crochet Glitter-Eyed Kawaiiest Bat Softie for Halloween
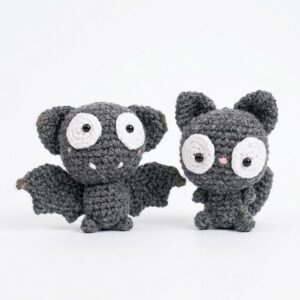
Featuring: Crochet Black Kitty Amigurumi But it is A Bat for Halloween (2-in-1 Tutorial)
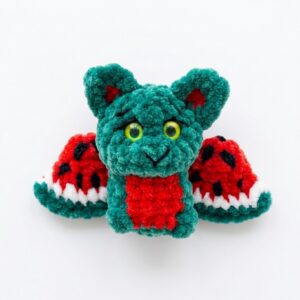
How to Crochet the Watermelon Bat No-Sew Plushie Pattern