Author: Talha
I am a crochet designer, macramé maker and a crafter who also loves doing MATH.
Contributor: Rina of Art of Crochet
She is a designer of trendy crochet and has been our contributor since mid 2026 via mycraftybasket.
Show support for Rina!
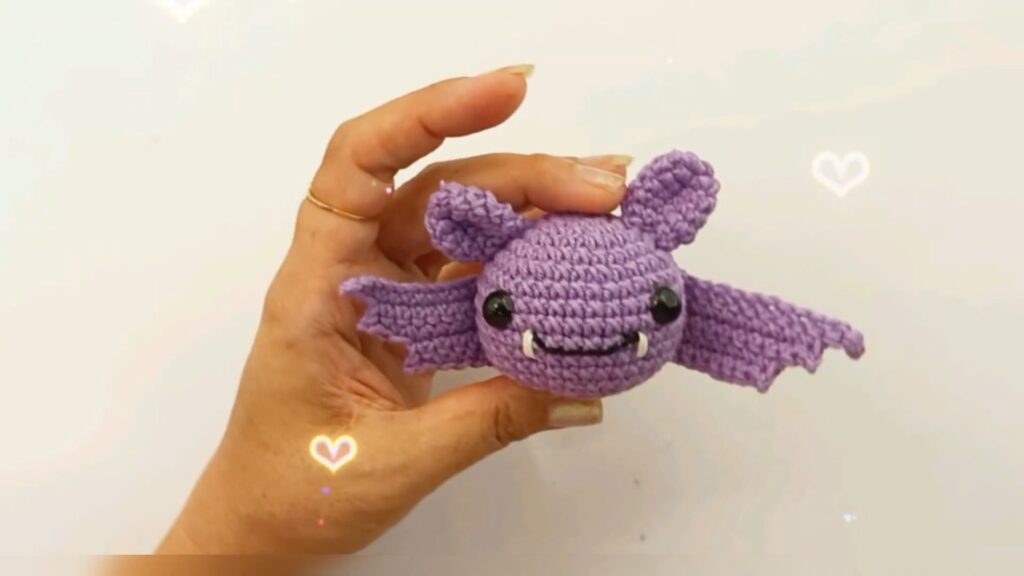
If you are looking for an absolutely CUTE crochet bat amigurumi to make your buddy, count on today’s bat amigurumi design. This is an easy, quick, and spooky-cute bat amigurumi for beginners. Introducing the KAWAII flying baby bat amigurumi: you can learn how to crochet both a written pattern & tutorial, too. This is a chubby bat amigurumi with small flat wings, embroidery smile with white fangs that make it look CUTE instead of spooky. It is easily the 2nd cutest bat amigurumi I have shared here after the no-sew kawaii bat plushie.
Crochet it as a bag charm for a pouch or a hanging to welcome the guests. This crochet low-sew bat amigurumi should be easy to crochet for beginners, as we are gonna crochet a sphere as the body, a circle as the ears, and a small applique as the wings.
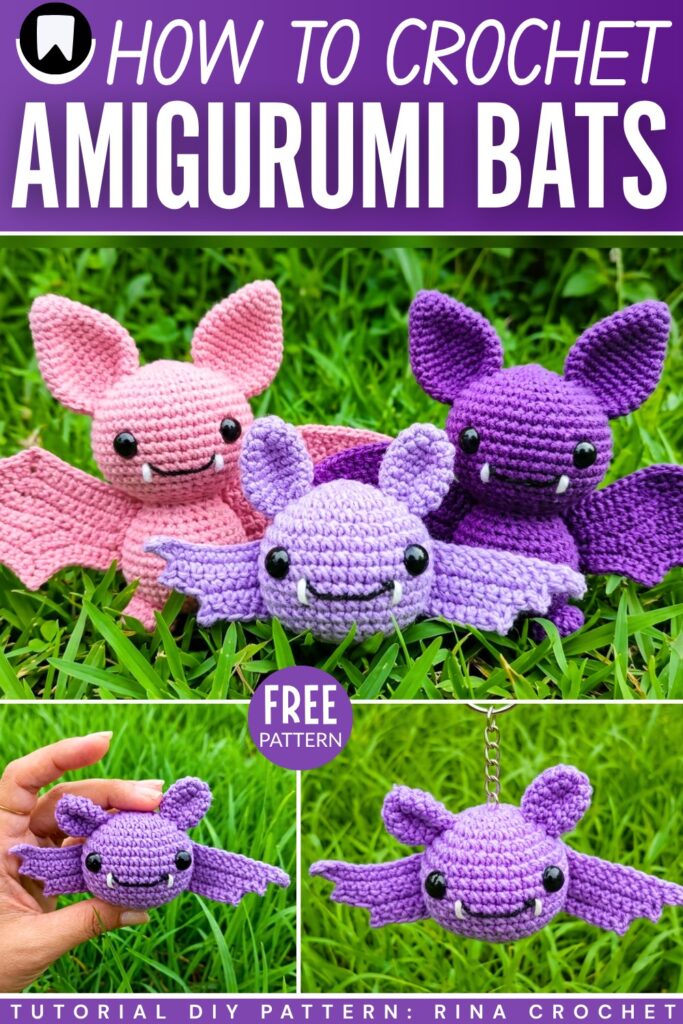
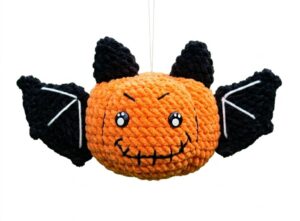
I have already shared more than 6 crochet bat patterns and tutorials, including your favorite chonky bat, bat pumpkin, and the bat ornament. However, this is the easiest of these crochet bat amigurumi designs. You can also make a softer version by crocheting your bat amigurumi using chenille yarn. Now, continue reading to learn more about this Halloween purple bat amigurumi.
Similar Project(s)
Pattern to Crochet A Spooky But Cute Bat, Easy
Skill Level: Beginner – Level 3
This project is for a small bat toy. You use purple yarn to make the head, ears, and wings. You use a hook to make the stitches. You put soft stuffing inside the head. You sew eyes and a mouth on the face. You add small white fangs. You put a metal ring on top to hold keys.
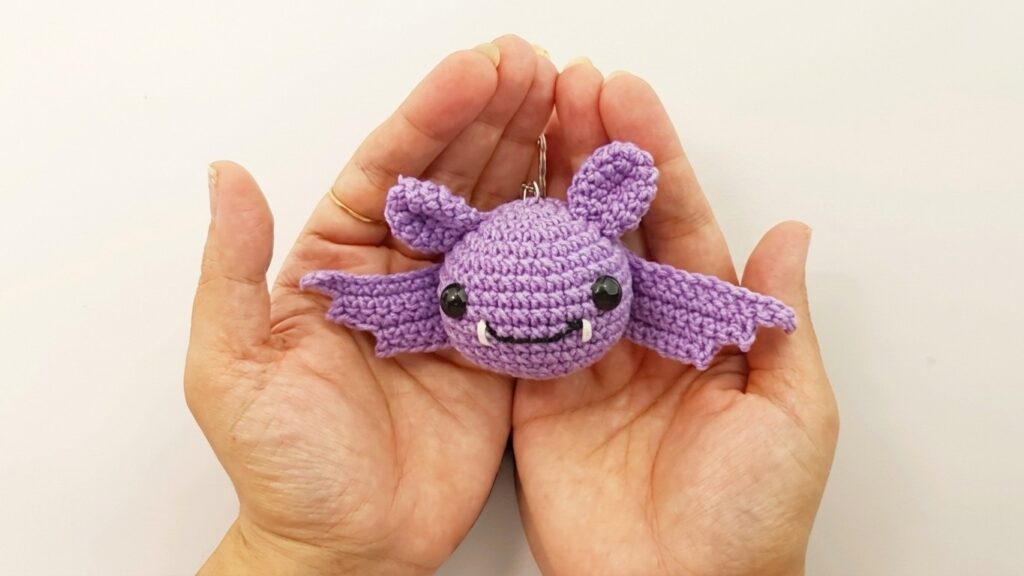
Materials
Yarn: Purple (main), small amounts of black and white for the face.
Crochet Hook: 2.0mm or 2.5mm (depending on yarn weight).
Eyes: 4mm black safety eyes or beads.
Stuffing: Polyester fiberfill.
Tools: Yarn needle, scissors, glue, keychain ring.
Abbreviations
ch: chain
sc: single crochet
inc: increase (2 sc in the same stitch)
dec: decrease (2 sc together)
sl st: slip stitch
MR: Magic Ring
[ ] * n: repeat instructions inside brackets ‘n’ times
Are you a Beginner? Learn Crocheting Easily!
You can learn to crochet this UNIQUE spooky-cute mini bat amigurumi as a beginner by following this tutorial, too:
Pattern Instructions
1. Bat Body (Purple Yarn)
R1: MR, 6 sc (6)
R2: 6 inc (12)
R3: [1 sc, 1 inc] * 6 (18)
R4: [2 sc, 1 inc] * 6 (24)
R5: [3 sc, 1 inc] * 6 (30)
R6: 2 sc, 1 inc, [4 sc, 1 inc] * 5, 2 sc (36)
R7–12: 36 sc in each round (36) — 6 rounds total
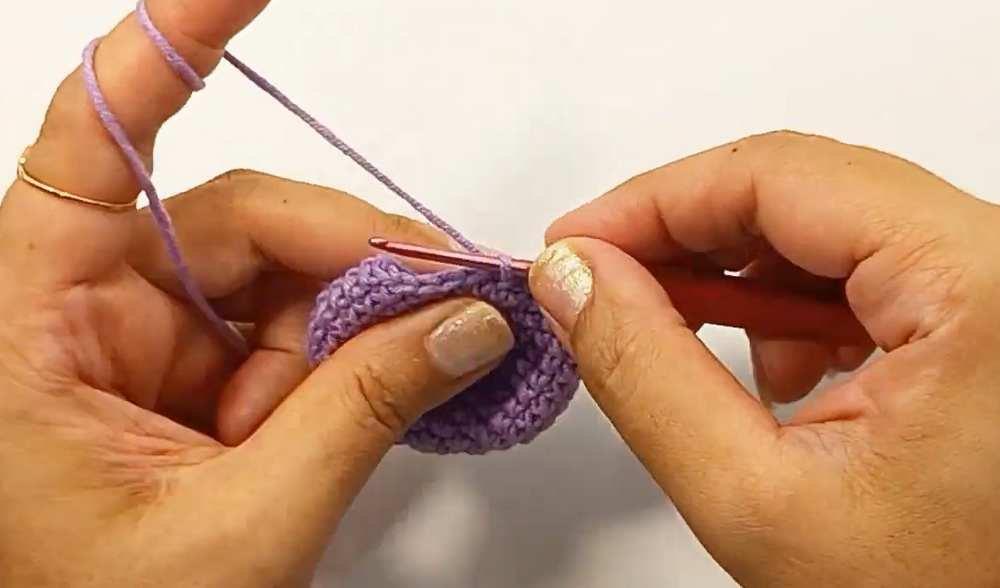
R13: 2 sc, 1 dec, [4 sc, 1 dec] * 5, 2 sc (30)
R14: [3 sc, 1 dec] * 6 (24)
R15: [2 sc, 1 dec] * 6 (18)
Add eyes and stuff the body firmly here.
R16: [1 sc, 1 dec] * 6 (12)
R17: 6 dec (6)
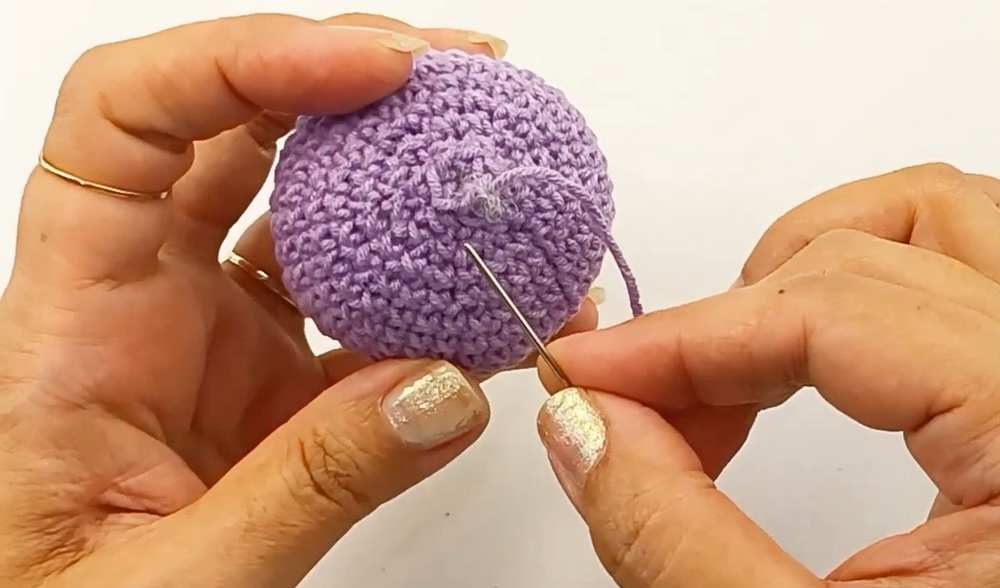
Fasten off and weave in the end to close the hole.
2. Ears (Make 2 – Purple Yarn)
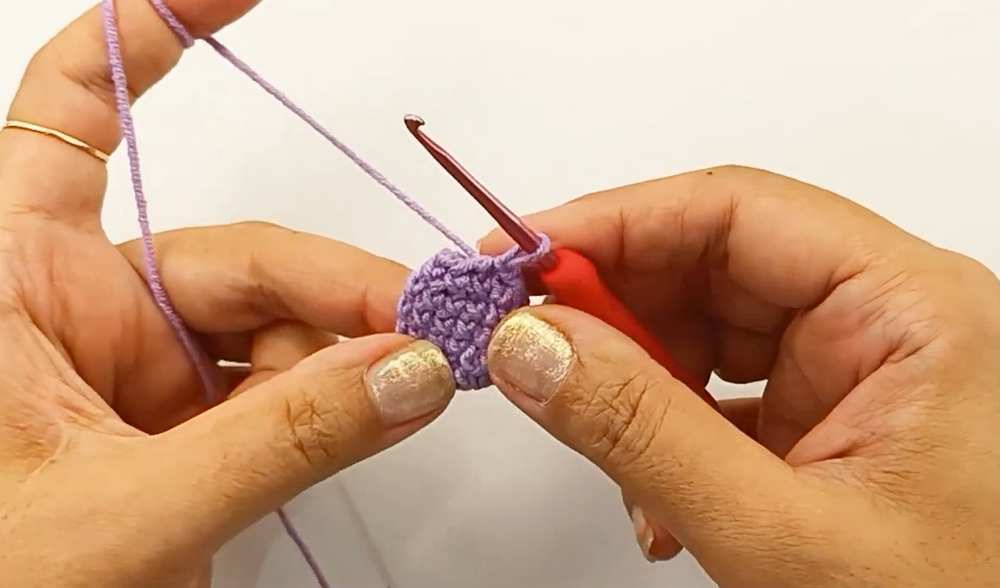
R1: MR, 6 sc (6)
R2: 6 inc (12)
R3–5: 12 sc in each round (12) — 3 rounds total
R6: [1 sc, 1 dec] * 4 (8)
Fasten off, leaving a long tail for sewing.
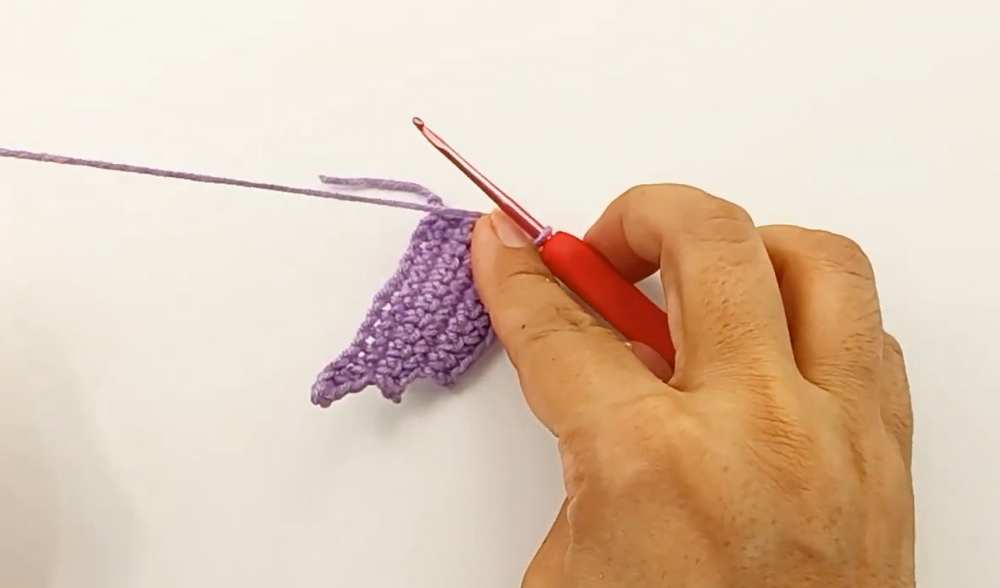
3. Wings (Make 2 – Purple Yarn)
R1: ch 15.
R2: Starting in 2nd ch from hook, 14 sc, ch 1, turn.
R3: 1 sl st, 10 sc, ch 1, turn (leave remaining stitches unworked).
R4: 9 sc, ch 1, turn.
R5: 1 sl st, 8 sc.
Fasten off, leaving a long tail for sewing.
Assembly
Eyes: If not using safety eyes, glue or sew the 4mm eyes between R7 and R9, about 8 stitches apart.
Mouth: Using black thread, sew a wide, slightly curved smile between R9 and R10.
Fangs: Using white yarn, sew two small vertical stitches over the mouth line to create fangs.
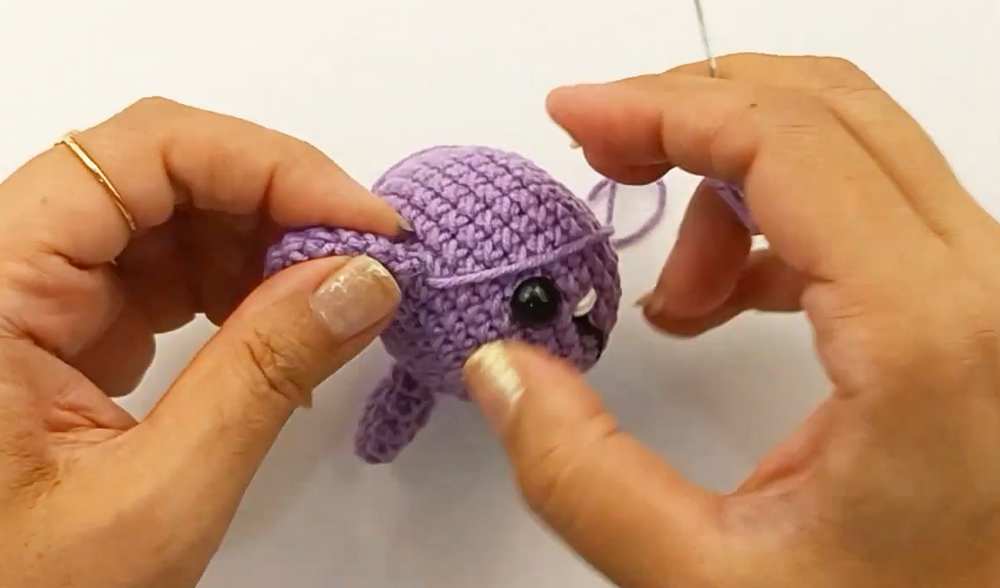
Ears: Flatten the ears (do not stuff) and sew them to the top of the head between R3 and R7.
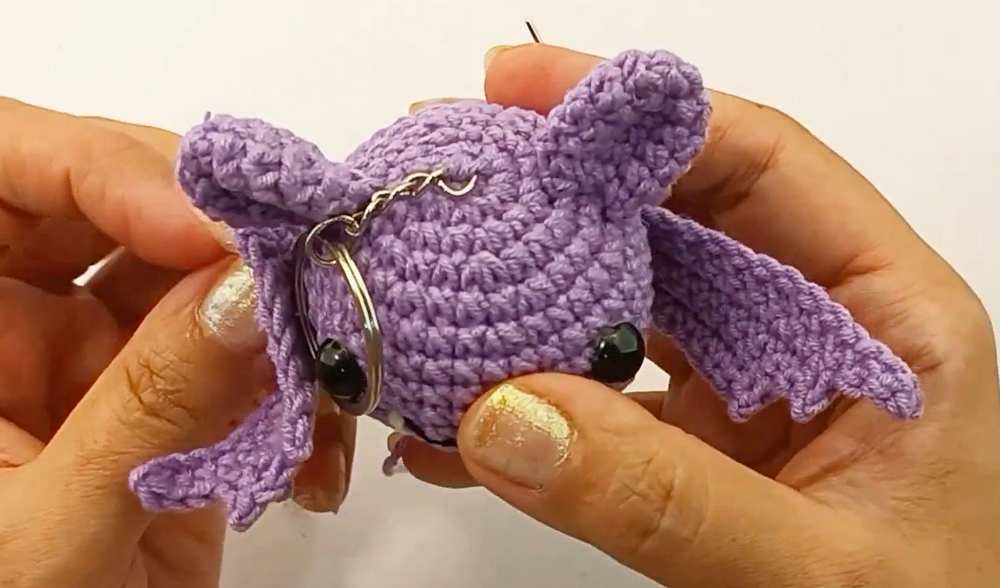
Wings: Sew the straight edge of the wings to the sides of the body between R8 and R13.
Keychain: Attach the keychain ring to the top center of the head.
See More:
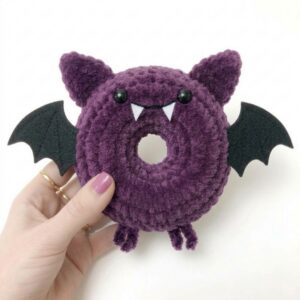
Pattern Tester: How to Crochet A Spooky-Cute Bat Food Ring Plush for Gifting
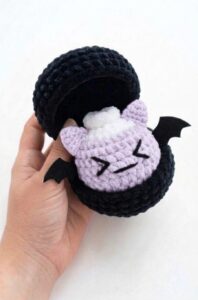
Tester Pattern: To Crochet A Plush Spooky Bat Bao Bun Plushie
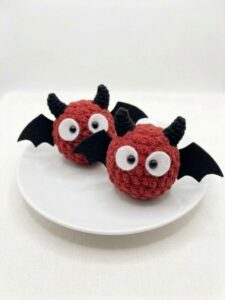
Tester Pattern: To Crochet A Red Soot Bat Amigurumi Plushie Pattern
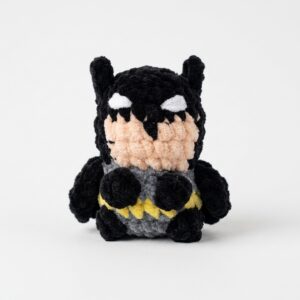
How to Crochet Low-Sew Mr. Bat Superhero Plushie for Kids
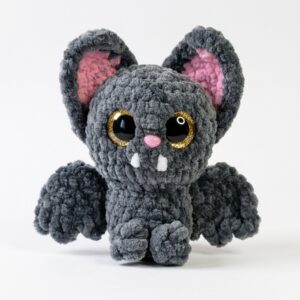
How to Crochet Glitter-Eyed Kawaiiest Bat Softie for Halloween
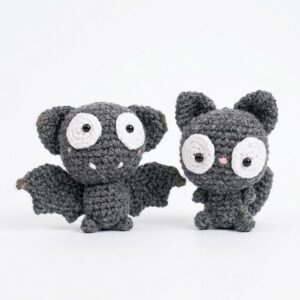
Featuring: Crochet Black Kitty Amigurumi But it is A Bat for Halloween (2-in-1 Tutorial)
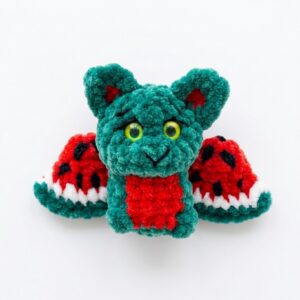
How to Crochet the Watermelon Bat No-Sew Plushie Pattern
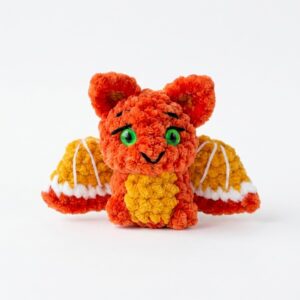
How to Crochet An Orange, Watermelon & Strawberry Fruit Bat Plushie
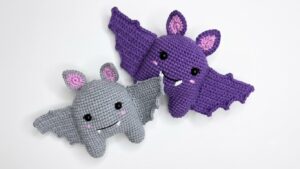
How to Crochet the CUTEST Kawaii Bat Amigurumi Buddy for Kids