Show support for her!
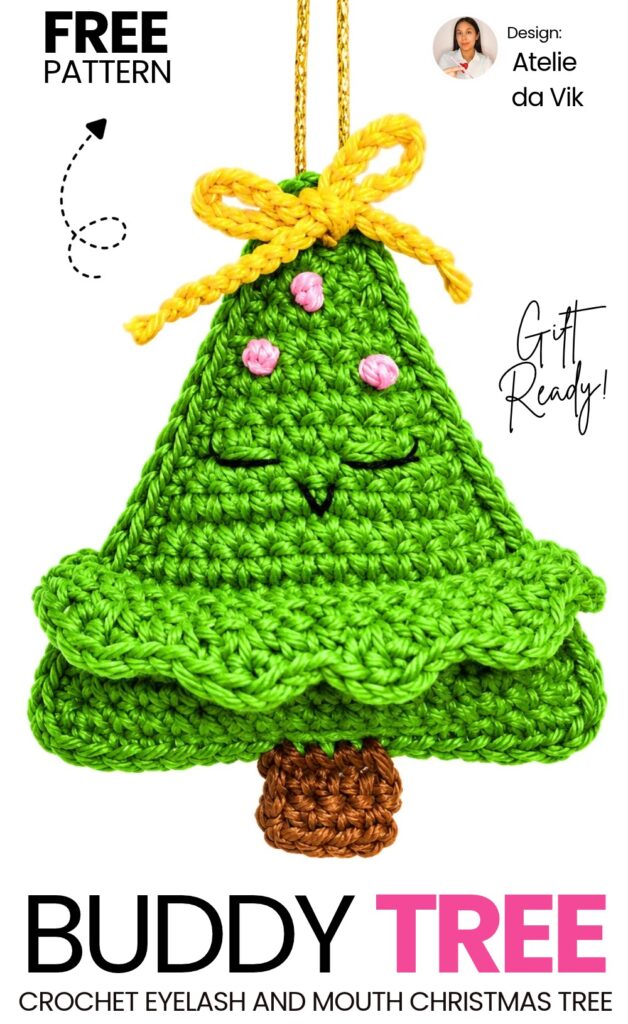
I am finally back with one more Christmas tree cutie design and tutorial! Last time, you learned to crochet those FUNNY mad Christmas tree amigurumi. Today, learn how to crochet this SUPER adorable, flat-but-stuffed Christmas tree cutie with a sweet, sleeping face, rosy cheeks, a ruffled “skirt” tier, and a yellow bow ornament. This is a quick and super easy crochet ragdoll Christmas tree charm you can crochet for a little girl.
Unlike tiered cone-base Christmas tree amigurumi, this small crochet Christmas tree is made using flat crochet (working in back-and-forth rows) to make two triangular panels. We will also crochet a separate bow knot that I have taught you already in my detailed tutorial.

Anyway, the panels are then crocheted together with a neat border while being lightly stuffed. To finish, a little tree trunk is added to the bottom, a ruffled scalloped garland wraps around the middle, and a sunny yellow bow sits at the peak. We also have those pink embroidered ornaments you can crochet along with it. Now, continue reading for learning more about this amigurumi tree project!

Pattern to Crochet Amigurumi Ragdoll Christmas Tree Cutie
Skill Level: Beginner – Level 6
Materials & Tools
Main Green Yarn: Medium-weight cotton yarn in light/tiffany green (e.g., Círculo Amigurumi color 5669 – Tiffany)
Brown Yarn: Medium-weight cotton yarn for the trunk (e.g., Círculo Amigurumi color 7148 – Craft)
Yellow/Mustard Yarn: For the top bow (or star)
Pink Yarn: Small amount for the French knot ornaments
Black Thread: Thin black sewing thread or embroidery floss for the sleepy eyes and eyelashes
Crochet Hook: 2.20 mm (or 2.0 mm – 2.5 mm to match your yarn)
Stuffing: Polyester fiberfill (light stuffing)
Hanging Cord: Gold metallic thread or cord
Tools: Tapestry needle, embroidery needle, stitch markers, sewing pins, small scissors, tweezers (for stuffing corners)
Makeup/Coloring: Red/pink fabric marker or powdered blush with a small brush for rosy cheeks

Abbreviations (US Terms)
ch: Chain
st / sts: Stitch / stitches
sc: Single crochet
dc: Double crochet
dec: Decrease (in flat rows: skip a stitch—see technique notes below)
sl st: Slip stitch
RS / WS: Right side / Wrong side
[ ] / ( ): Repeat instructions within brackets the specified number of times
(number): Total stitch count at the end of the row
Are you a Beginner? Learn Crocheting Easily!
You can learn to crochet better with this crochet Christmas decoration tutorial. Or continue to the written pattern below!
Special Technique: Decreasing in Flat Rows
In this pattern, decreases at the ends of rows are worked cleanly by skipping a stitch:
At the beginning of a decrease row: ch 1, turn, skip the turning chain and skip the very first single crochet of the row; work your first single crochet directly into the 2nd stitch.
At the end of a decrease row: When 2 stitches remain, skip the penultimate (second-to-last) stitch and work your final single crochet into the very last stitch.
Pattern Instructions
1. Tree Triangle Panels (Make 2)
Foundation:
Chain 19.
Row 1: Starting in the 2nd chain from hook, work 18 sc across (18)
Row 2: ch 1, turn; 18 sc across (18)
Row 3 (Decrease Row): ch 1, turn; dec (skip 1st st, sc in 2nd st), 14 sc, dec (skip second-to-last st, sc in last st) (16)
Row 4: ch 1, turn; 16 sc across (16)
Row 5 (Decrease Row): ch 1, turn; dec, 12 sc, dec (14)
Row 6: ch 1, turn; 14 sc across (14)
Row 7 (Decrease Row): ch 1, turn; dec, 10 sc, dec (12)
Row 8: ch 1, turn; 12 sc across (12)
Row 9 (Decrease Row): ch 1, turn; dec, 8 sc, dec (10)
Row 10: ch 1, turn; 10 sc across (10)
Row 11 (Decrease Row): ch 1, turn; dec, 6 sc, dec (8)
Row 12: ch 1, turn; 8 sc across (8)
Row 13 (Decrease Row): ch 1, turn; dec, 4 sc, dec (6)
Row 14: ch 1, turn; 6 sc across (6)
Row 15 (Decrease Row): ch 1, turn; dec, 2 sc, dec (4)
Row 16: ch 1, turn; 4 sc across (4)
Row 17 (Decrease Row): ch 1, turn; 2 dec (skip 1st, sc in 2nd; skip 3rd, sc in 4th) (2)
Row 18 (Final Tip): ch 1, turn; 1 dec (skip 1st st, sc in last st) (1)
Finishing Panel 1: Cut yarn leaving a short tail. Thread onto a tapestry needle, weave the tail through a few stitches along the inner side, and trim.
Finishing Panel 2: DO NOT cut the working yarn! You will use this yarn to immediately crochet the two panels together.
2. Joining & Lightly Stuffing the Tree
Place the two triangular panels on top of each other with wrong sides facing in.
Insert your hook into the top tip stitch of both panels simultaneously.
Work single crochet stitches evenly down the edge, catching one stitch from each panel together:
Side Edge 1: Work single crochets evenly down the left side toward the bottom corner.
Bottom Left Corner: In the exact corner stitch, work 3 sc together in the same space to turn the corner cleanly without curling.
Bottom Edge: Work single crochets across the bottom flat edge through both panels.
Bottom Right Corner: Work 3 sc together in the same corner space.
Side Edge 2: Work single crochets upward along the right side toward the top.
Pause for Stuffing: Before closing the final 2–3 inches, use tweezers or the back of your hook to lightly insert polyester fiberfill into the tree.
Tip: Push small bits of stuffing into the two bottom corners and up toward the top tip. Do not overstuff; keep the tree relatively flat and pillowy.
Finish working single crochets up to the top tip.
Close the round into the starting stitch with an invisible join (false single crochet):
Cut yarn leaving a 4-inch tail and pull the loop out.
Thread onto a tapestry needle, pass under both loops of the second stitch of the border, then back down through the center of the last stitch made. Pull gently to mimic a stitch, knot securely on the edge, and bury the tail inside the tree.
3. Tree Trunk (Tronco)
Using Brown Yarn:
Look at the bottom flat edge of your tree and find the center 4 stitches. Mark them with pins if needed so the trunk is centered beneath the top tip.
Join brown yarn with a slip knot on your hook into the first marked stitch (working through the bottom sc border):
Row 1: 4 sc across the marked stitches (4)
Row 2: ch 1, turn; 4 sc across (4)
Row 3: ch 1, turn; 4 sc across (4)
Fasten off leaving a tail.
Using a tapestry needle, weave the tail up through the back loops of the trunk and bury all yarn ends inside the tree.
4. Ruffled Skirt / Garland (Babado)
Using the Main Green Yarn:
Foundation: Chain 37.
Row 1: Skip 1st ch from hook, work 36 sc across the chain (36)
Row 2 (Scallop/Ruffle Row):
ch 1, turn.
Repeat pattern 9 times: [1 sc in next st, skip 1 st, 3 dc in next st, 1 sc in next st]
×9(This creates 9 wavy ruffles across the piece).
Fasten off leaving a long tail for sewing (around 12 inches).
Attaching the Skirt:
Wrap the ruffled garland horizontally around the bottom third of the tree (just above the trunk row). It wraps all the way around the front and back.
Use sewing pins to secure it in place.
Thread the yarn tail onto a tapestry needle and whipstitch the top chain edge of the skirt to the tree fabric. (Alternatively, you can use hot glue or fabric glue to secure it in place).
5. Facial Embroidery & Details
Sleepy Eyelids & Lashes
Using thin black thread on an embroidery needle:
Locate the row just above the ruffled skirt. Center the eyes with the top tip and trunk.
Insert your needle from the back/side and emerge at the inner eye point.
Make a horizontal straight stitch spanning 2 stitches to form a resting eyelid. Pass through twice for clear definition.
From the outer corner, make a small diagonal flick upward and outward spanning 1 stitch for a sweet eyelash.
Repeat on the other side, leaving a 2-stitch gap between the two eyes.
Bring both thread tails out through the same hole on the back, tie a gentle knot, and pull the knot inside the tree to hide it.
Rosy Cheeks
Dip a small brush into powdered makeup blush or dab a red fabric pen onto your finger to remove excess.
Gently dust a soft pink circle right below the outer corner of each eye.
6. Ornaments & Bow
French Knot Ornaments (Bolinhas):
Using Pink Yarn on a needle:
Enter from the back of the tree and exit at the desired ornament location on the front.
Hold the yarn taut near the fabric surface. Wrap the yarn 3 times around the needle.
Re-insert the needle into the exact same hole (or right next to it), holding the working thread taut with your thumb until the knot pulls neatly down against the crochet surface.
Make 3 ornaments:
1 centered higher up near the tree tip.
2 spaced apart on either side above the ruffled skirt.
Exit through the back, knot the ends together, and bury them inside.
Top Bow (Laço):
Using Yellow/Mustard Yarn:
Chain 45. Fasten off and trim ends.
Thread the chain through a larger tapestry needle.
Pass the chain through the very top tip of the tree beneath the top single crochet stitch.
Pull until both tails are equal in length and tie into a neat, small bow. Trim the chain tails as desired.
Gold Hanging Loop:
Cut a 7-inch piece of gold metallic string.
Thread onto a needle and pass through the back of the top peak behind the bow.
Tie a secure overhand knot at the ends.
Using a needle or scissor tip, push the knot inside the tree stuffing so only the clean gold loop remains visible.
Finished!
Your charming little Christmas Tree Amigurumi is now complete! You can hang it on your holiday tree, attach it to a key ring, or make several in pastel and jewel tones to create a festive garland.
Share on Social Media!

See More:
How to Crochet Christmas Tree Yellow Treat Pouch with Colorful Poms & Red Strings
How to Crochet Knotted Bow & Star on the Top Pastel Rainbow Tiered Christmas Tree
Crochet Red, White & Green Pincone Tree Granny Square for Christmas Bags & Coaster
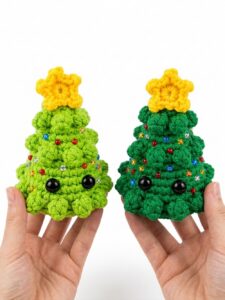
Featuring: Crochet Table Decoration Christmas Tree Buddies with Eyes & Popcorn Texture

3-in-1 Crochet Tree Embroidery, Grinch and Santa Miniature Treat Baskets
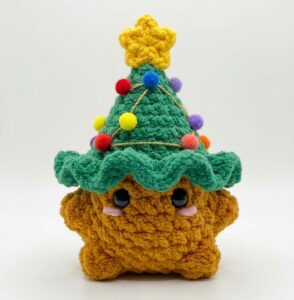
Tester Call: How to Crochet Well-Decorated Tree Hat Baby Mushroom Plushie (Pom Pom Lightings)

Featuring: How to Crochet Layered UNIQUE Star and Snowflake on the Top Christmas Tree Keychain
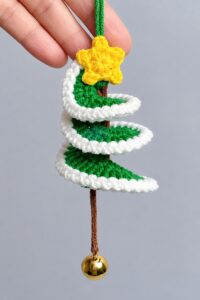
Featuring: Tutoral to Crochet White Edging & Bell Hanging Mini Tree Spinner
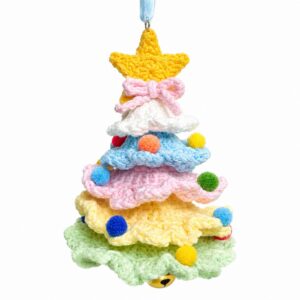
Featuring: How to Crochet Rainbow Pop Holiday Tree Hanging & Table Decoration