Author: Talha
I am a crochet designer, macramé maker and a crafter who also loves doing MATH.
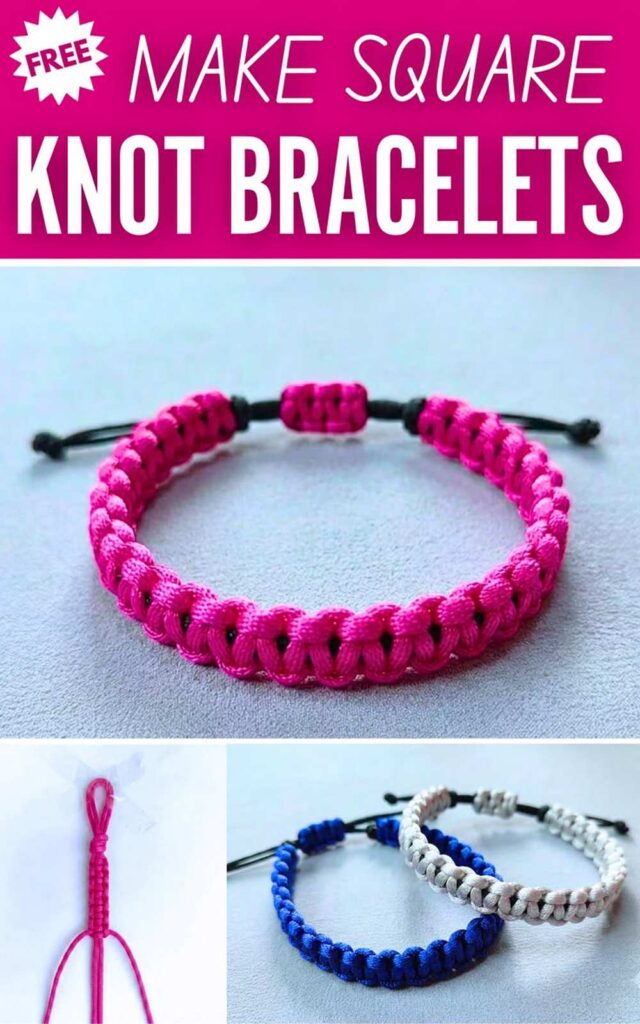
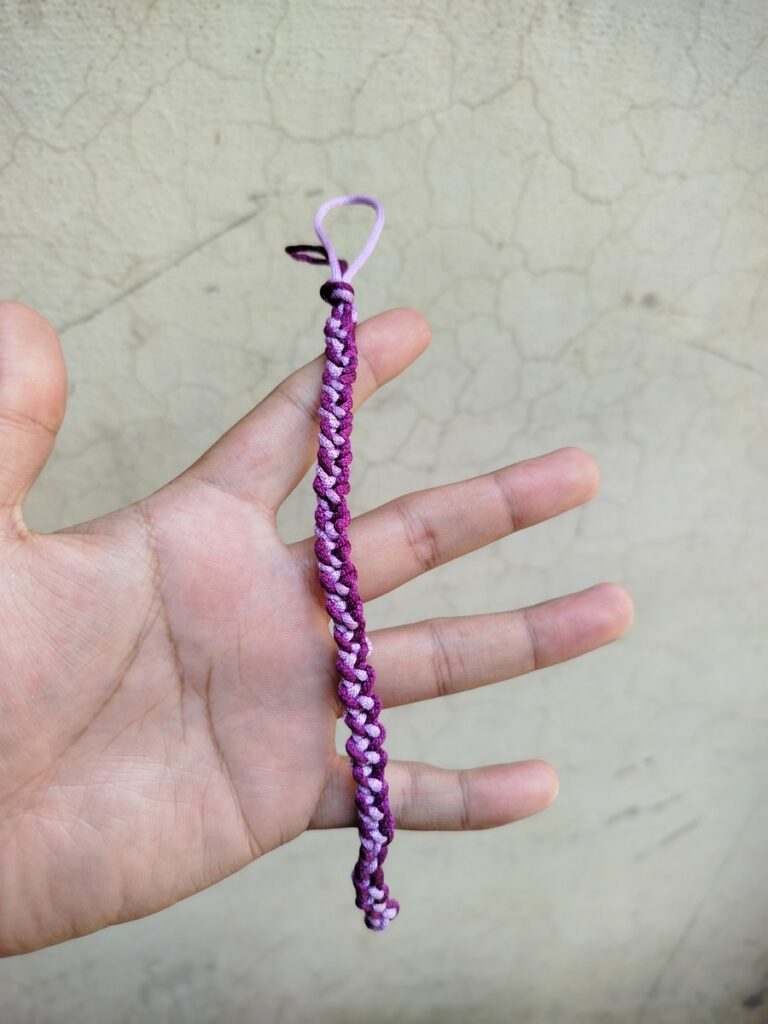
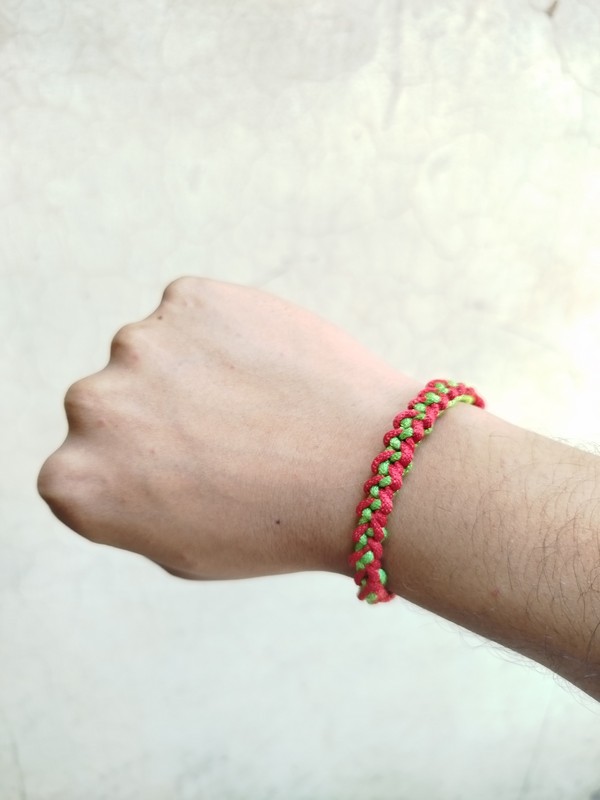
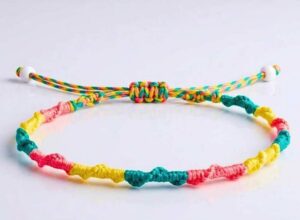
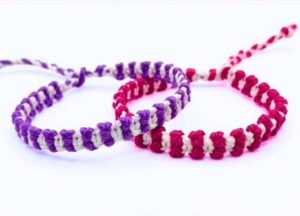
Learn how to make the easiest macramé bracelet with a beautiful watermelon color scheme following these instructions. This is a variation of traditional basic square knot bracelet and can be made in about 10 minutes.
If you are a beginner, make this bracelet, this summer. I will show you both the standard and my way of making this bracelet, here. The only difference is my cord choice (its thick macramé cord!), colors and the arrangement of strands while making it.
Bracelet from Easy Square Knot
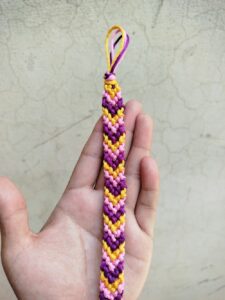
If you want it for Friendship Day, you can also make it with any other two colors of yarn using the 2nd method, too. Both looks ELEGANT but the one I will be using highlights both colors pretty nicely. You can also turn it into a bookmark similar to my chevron candy bracelet. Now, let me show you how you can make one for yourself or your friend.
Square Knot Bracelet Pattern: Quick Instructions
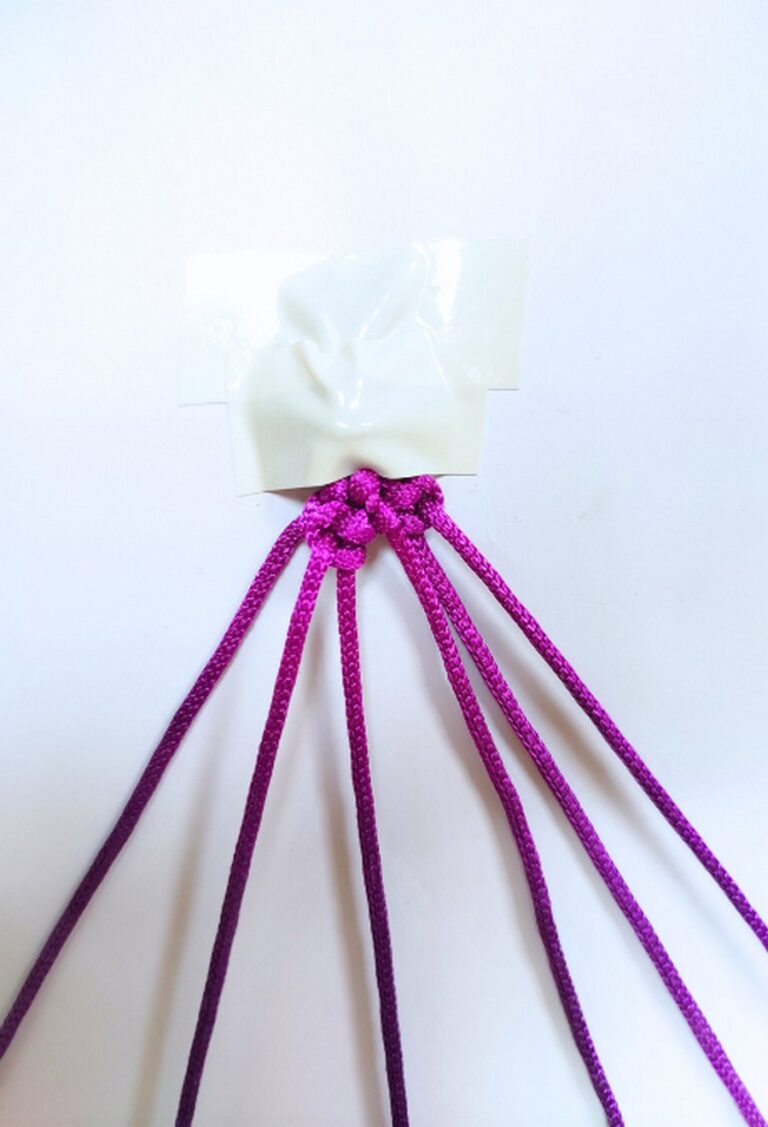
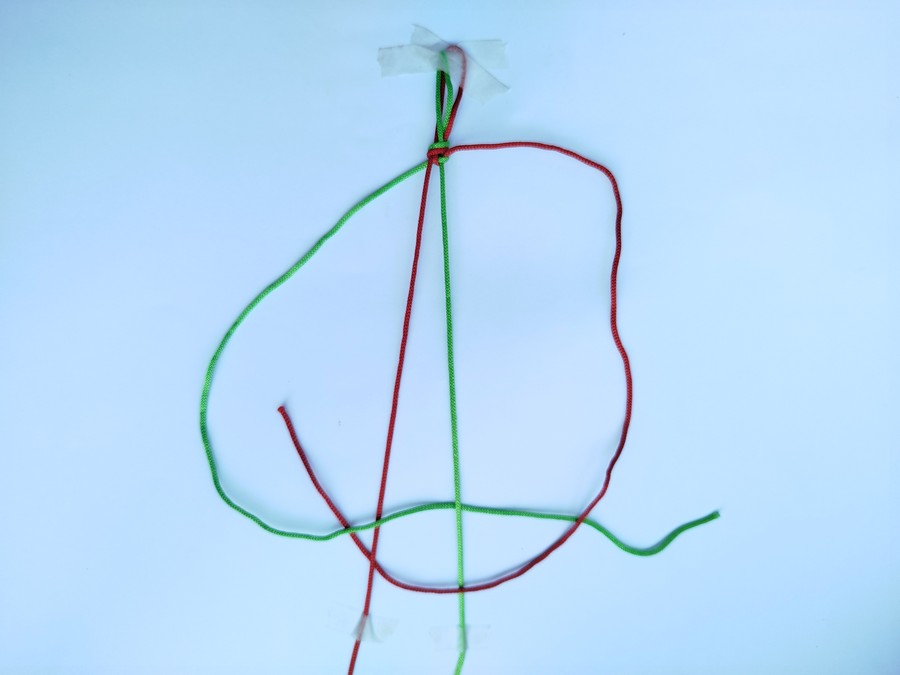
- Step 1: Take two 160 cm long strands of yarn or thread, align and fold them in half.
- Step 2: Make a slip knot in the middle and tape the knot on the table.
- Step 3: Arrange the 4 strands as follows (from left to right): COLOR A, COLOR B, COLOR A, COLOR B (alternating pattern) or just as follows: COLOR A, COLOR A, COLOR B, COLOR B. Well, for this watermelon bracelet, I will be using the 2nd color scheme!
- Step 4: The outer two will be working strands and the middle two will be the base.
- Step 5: Make square knots using the extreme strands for each row. This knot involves two knots under and through the other strand always starting with the COLOR B or whatever you are hand it.
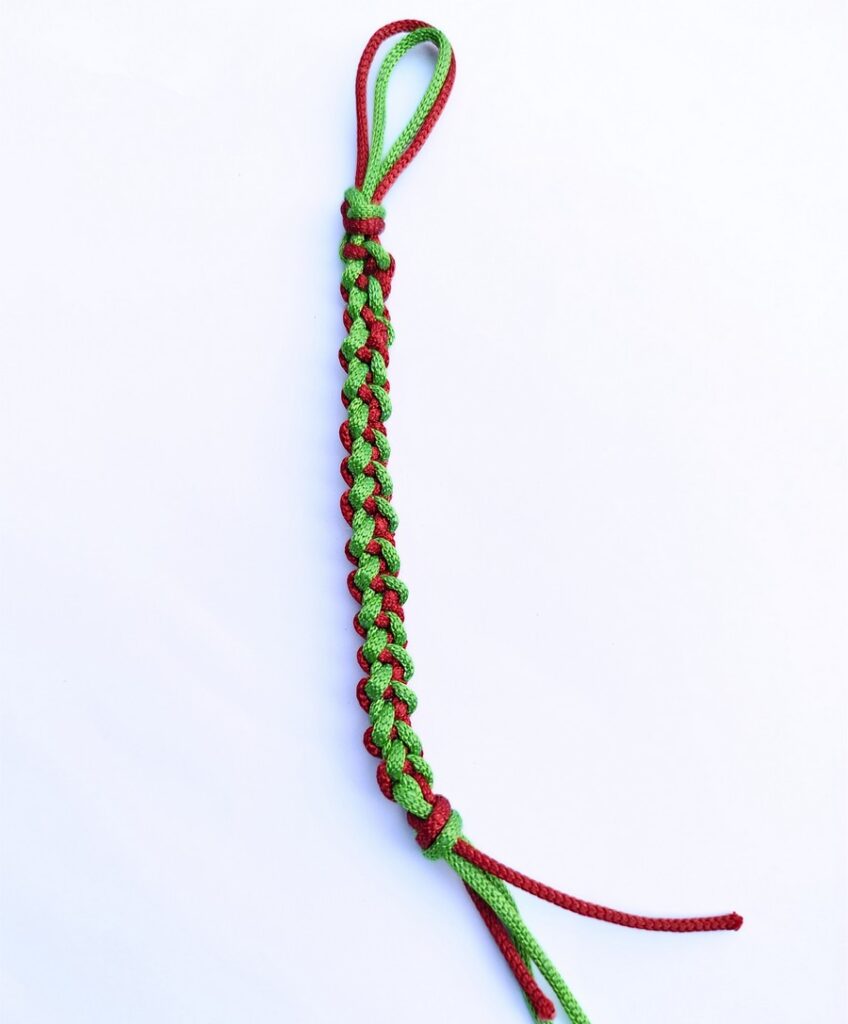
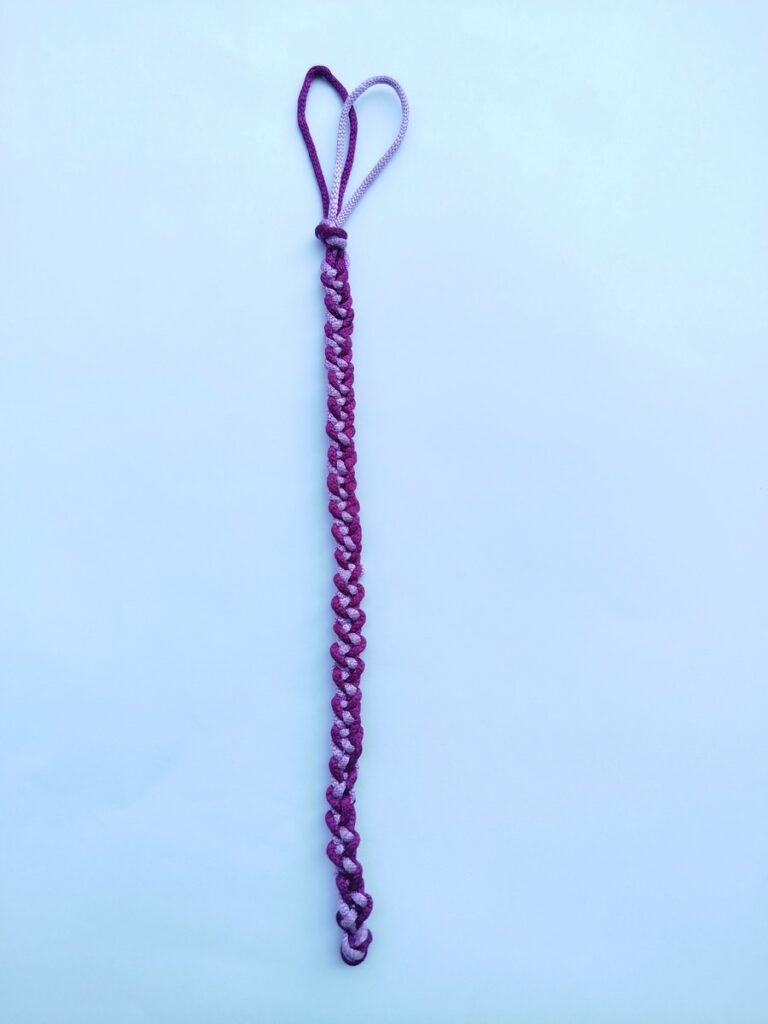
- Step 6: That’s it! Make it as long as the wrist needs and make a tassel in the end!

Watermelon Bracelet Pattern: Step-by-Step Instructions
Colors:
- Green (Color A)
- Red (Color B)
Knots Needed:
- Slip Knot
- Square Knot (Right Half Knot + Left Half Knot)
Supplies
- Embroidery floss or macramé cord (I am using 1.5mm macramé cord as usual!)
- 2 colors with good contrast
- Paper tape
- Flat surface like a glass, table, etc.
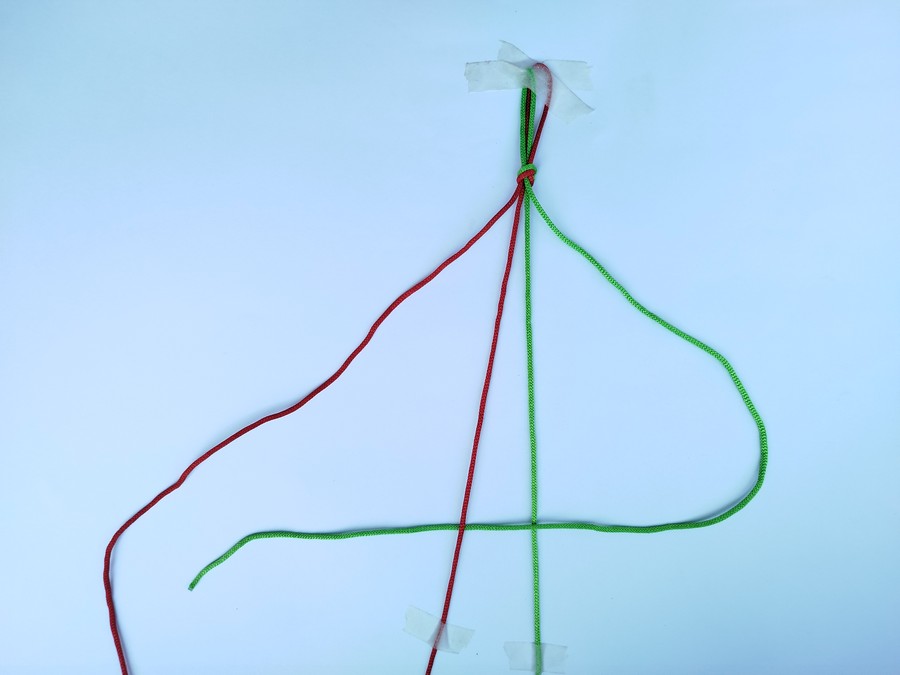
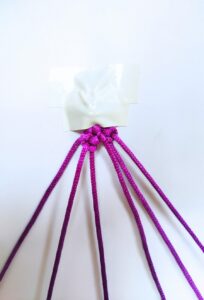
Step #1: Preparation
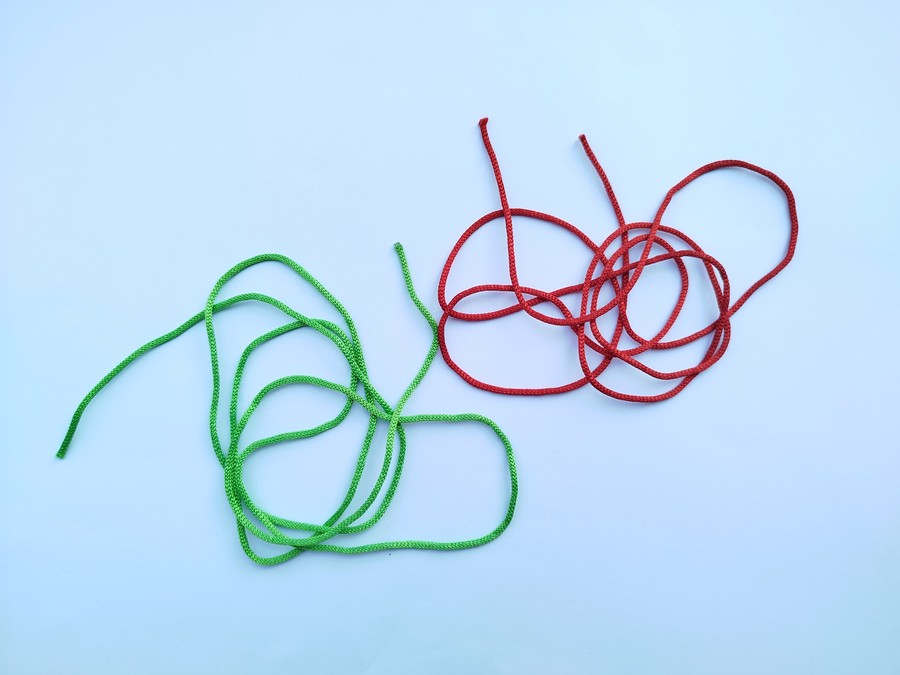
- From your red and green macramé cord or floss skeins, cut strands of 160cm each.
- This is the maximum amount you need for a watermelon bracelet of adult-sizes wrist.
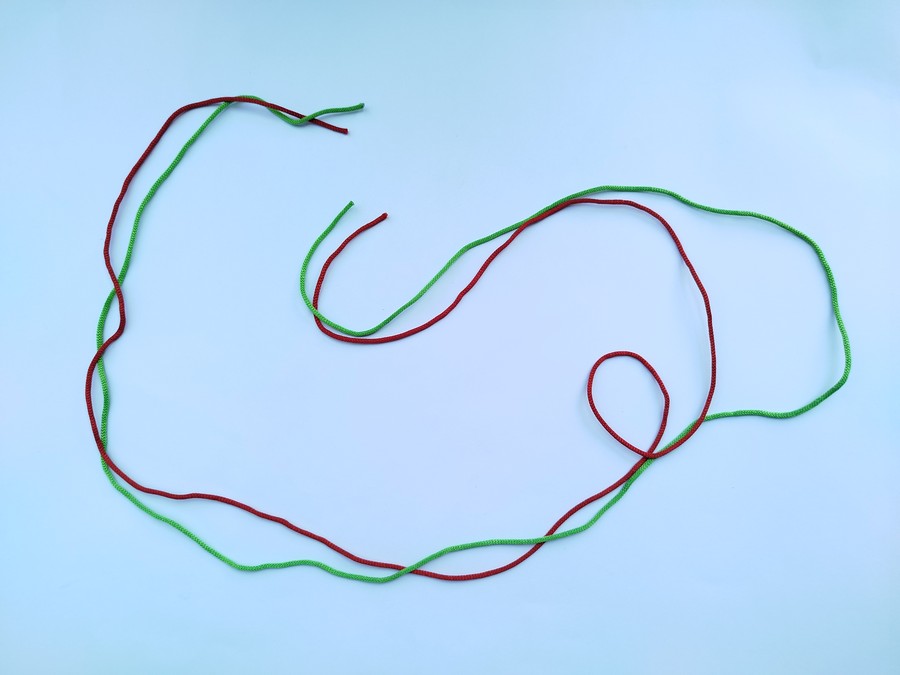
- Align the yarn strands tip to tip from both end, lift them together and fold in half.
- Note that while the halving is a convenient suggestion, the middle two strands will make the bracelet base, so its length must actually be about 4 – 6 inches more than the length of the bracelet.
- However, halving will still make a perfect adult-sizes bracelet!
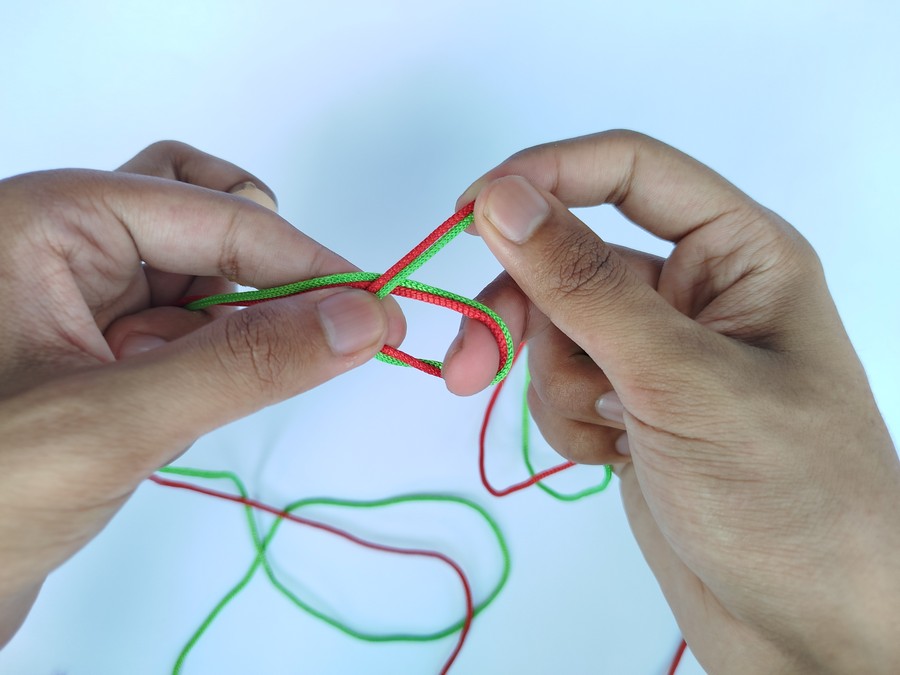
- Now, to make a slip knot, make a loop in the middle and reverse its direction so that the strand crossing is above and the loop is below.
- Pick the right strand (left one otherwise!) and pass it through the loop such that you hold the left strand (right one otherwise!) in place.
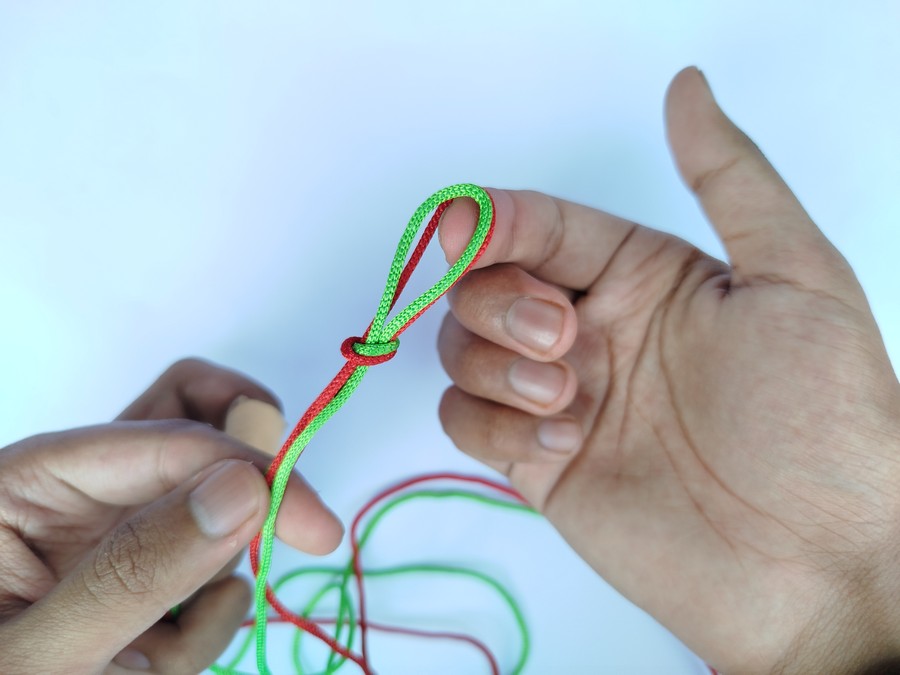
- Continue pull until loop forms a knot.
- Be sure not slide the knot to the top towards the loop so it gets shortened, knot gets tightened and you can use more of yarn in making the bracelet.
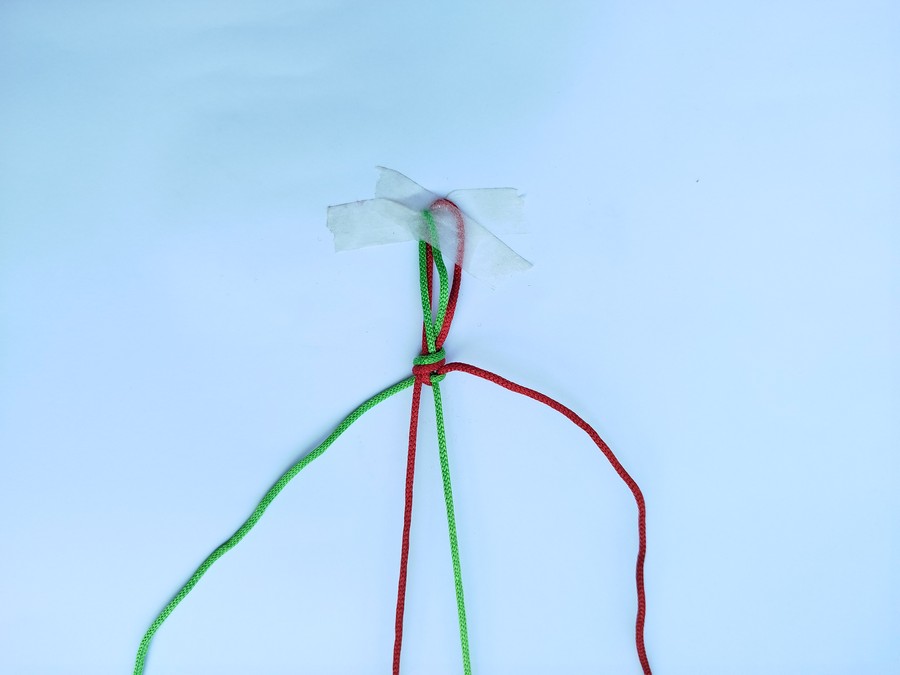
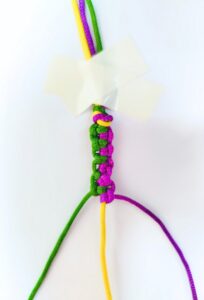
Step #2: Strand Arrangement
- Now that you have taped the top to lock your work in place, we will want to properly arrange the yarn strands to distinguish between active and passive strands. You have two options as mentioned already:
- Middle: 2 base strands (red + green stay straight)
- Outer: 1 green (left) + 1 white (right) = working strands
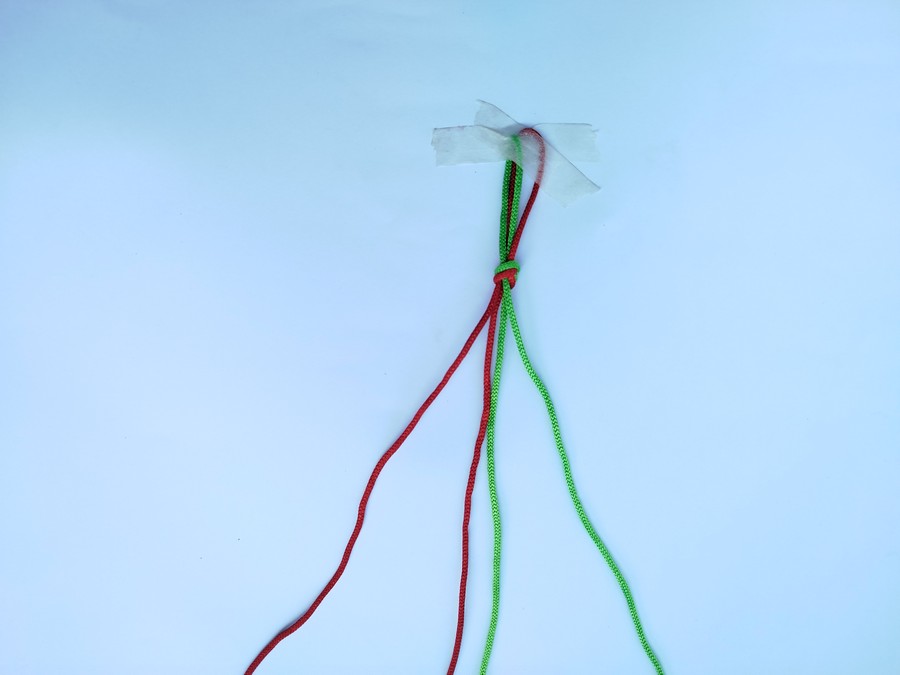
And the second strand arrangement is the following and the one we shall be using for this watermelon bracelet:
- Middle: 2 base strands (red + green stay straight)
- Outer: 1 red (left) + 1 green (right) = working strands
Or in color option from right to left: COLOR A, COLOR A, COLOR B, COLOR B.
Note: With either arrangement, the method of making this bracelet does not change!
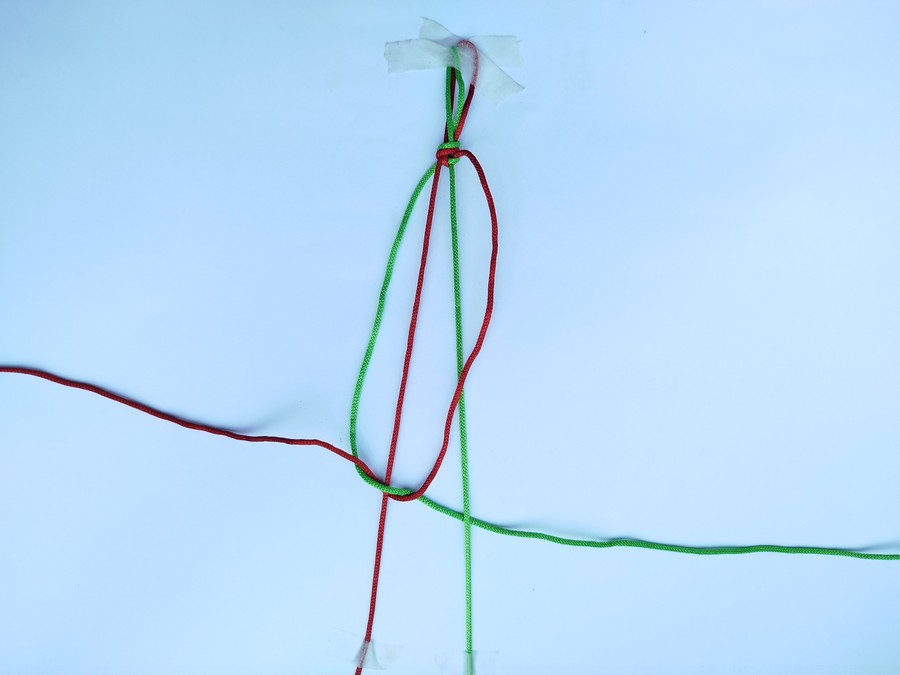
- Now, we have arranged the strands, since I am right-handed, I will choose right green strand as the foundation or main strand.
- With this strand, we shall start every half knot.
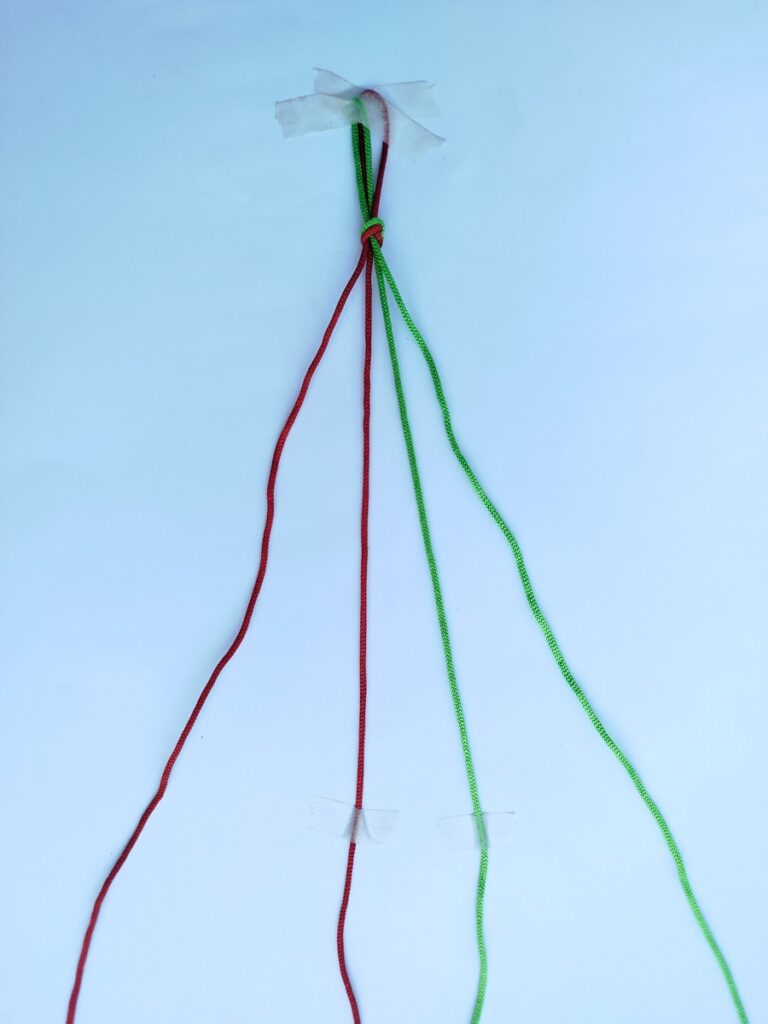
- Tape the middle strands at an angle so they left in place. Don’t worry, unlike the chevron bracelet, we don’t need to switch the tapes.
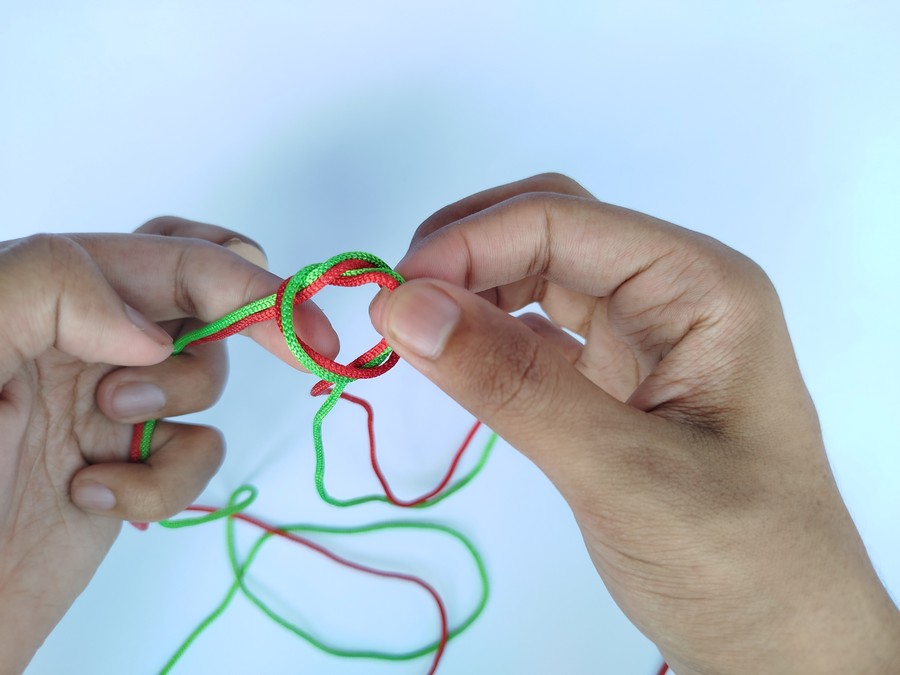
Step #3: Row 1 – Right Half Knot
- Take the right green strand, cross it over the middle right green strand and cross below the middle left red strand.
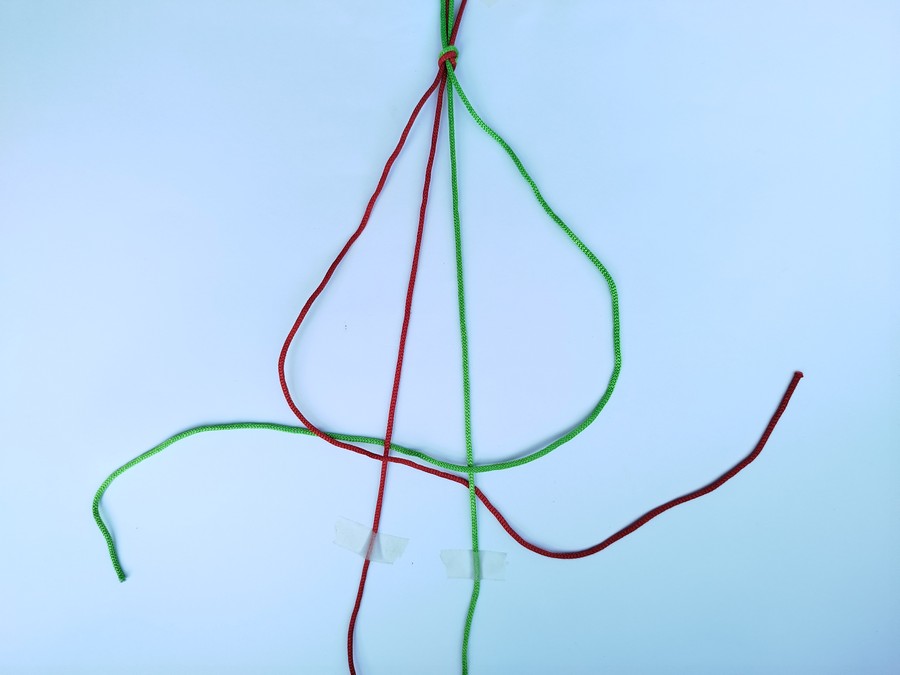
- Take the left red strand, cross it over the middle left red strand and cross below the middle right green strand.
- Now take the red strand over the through the loop from the crossing from the bottom of the green loop.

- Pinch both the red and the green strands with your thumb and the index finger and pull them tight so that both loops get closed and make a knot.

And that’s the first half knot. We make another one but reverse the direction.
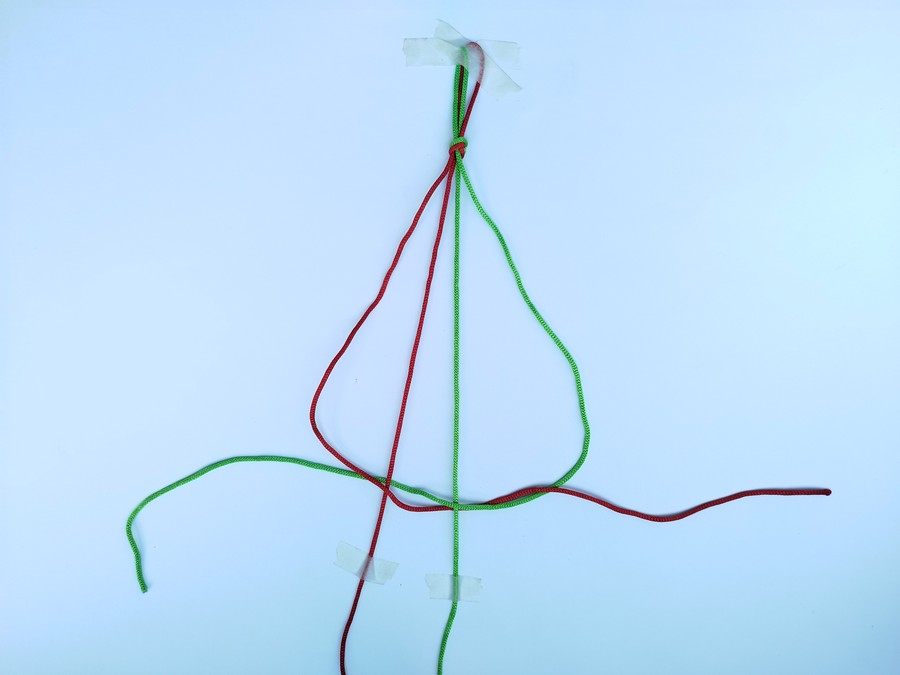
Step #4: Row 1 – Left Half Knot
- Take the left green strand, cross it over the middle left red strand and cross below the middle right green strand.
- Take the right red strand, cross it over the middle right green strand and cross below the middle left red strand.
- Now take the red strand over the through the loop by crossing it below the green loop in the left.
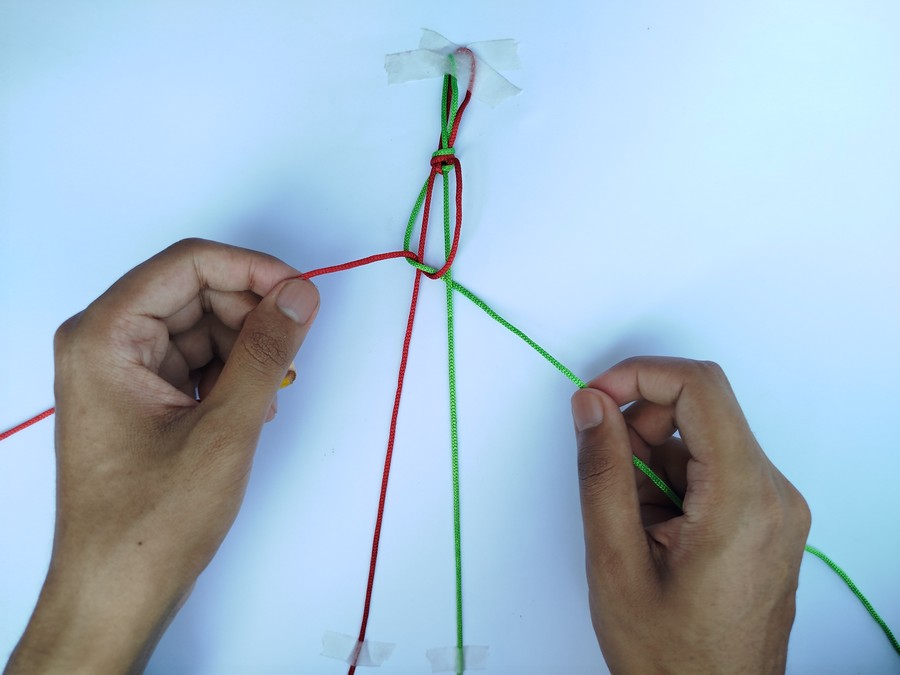
- Pull both the strands tight to close the loops and make a knot.

And that brings us to the completion of our first row of watermelon bracelet and it also normalizes the positions of the strands. Now, we can have a repeat pattern!
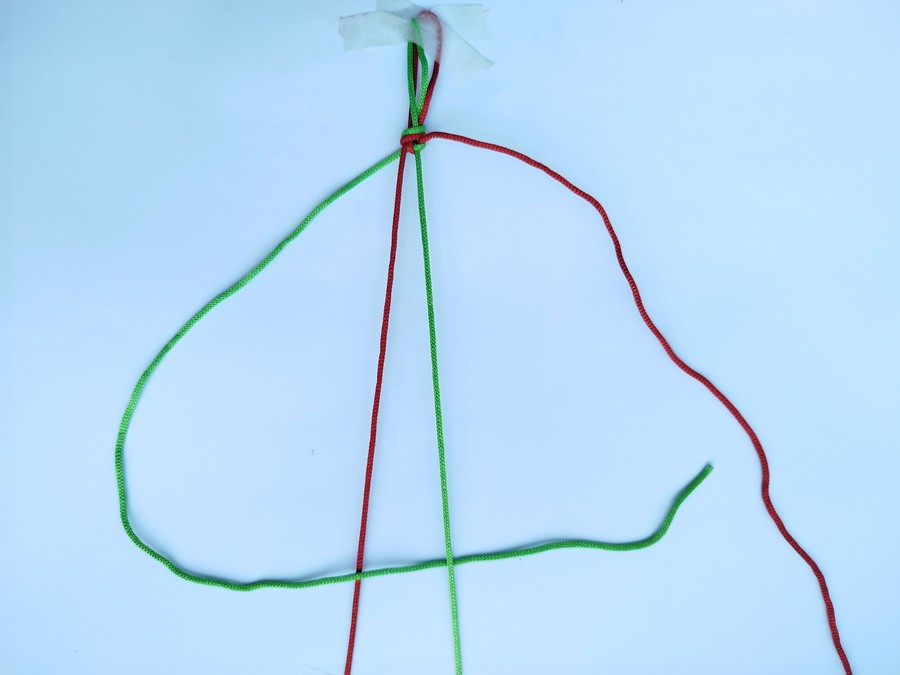
Step #5: Row 2 & Repeat Pattern
Now you have to repeat the row 1 as follows:
- Always begin with the green strand and pass it in the opposite direction such that you have an above crossing for the near middle strand and below crossing for the far strand.
- Then take the red strand pass it through in the same fashion except you have
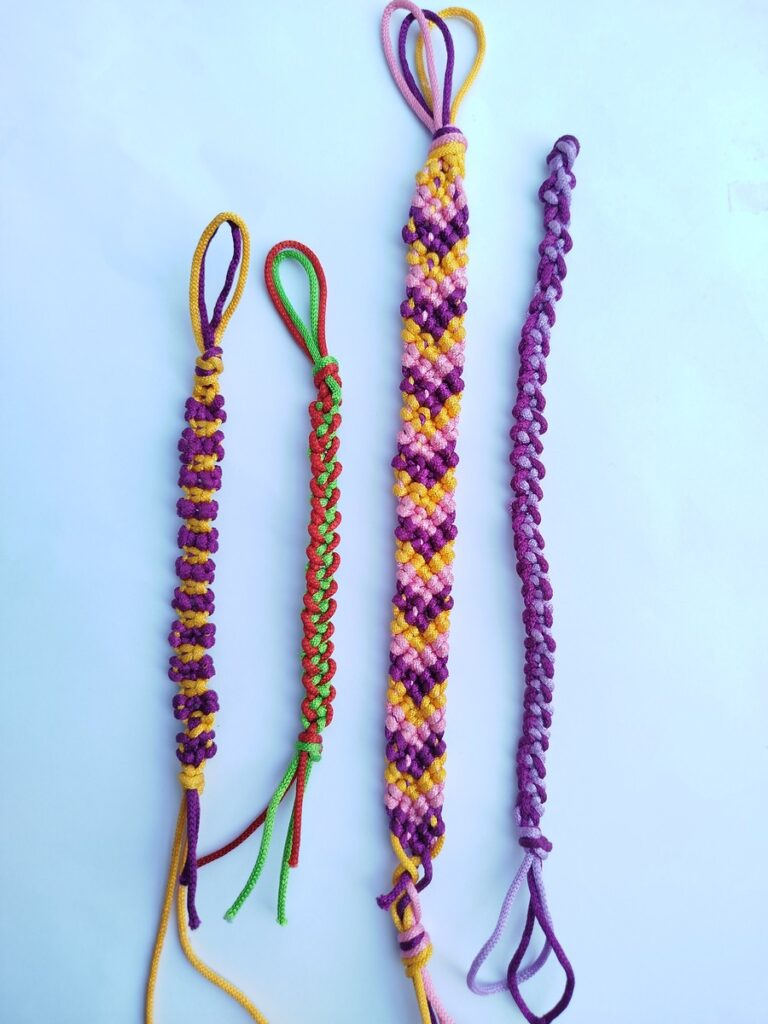
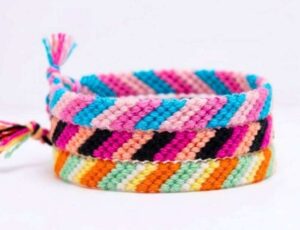
Check My Other Bracelets, too! You see, I have a whole series on the friendship bracelets and they are so COOL. Be sure to gift some of them to your dear one.
Was this tutorial helpful? Tell me in the comments
Your feedback is a great way for us to improve my crochet tutorials. So, share your thoughts on whether you tried this one or not, and highlight the weak points.
See More:
How to DIY 9-Knot Repeat Infinity Loop Pattern Bracelet for Friendship Day
How to DIY 2-Row Repeat Zipper Pattern Bracelet in 4 Steps
How to Make Staircase Spiral Friendship Bracelet in 3 Steps
How to Make A Macramé 4-Strand Chevron Bracelet
How to Make A Candy Striped Macramé Bracelet for Friendship Day
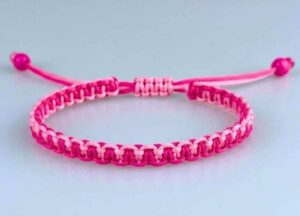
How to Make Macramé Square Knot Bracelet for Friendship Day
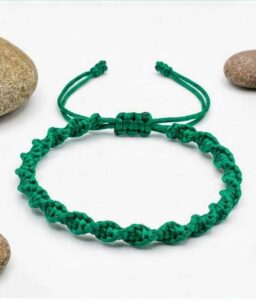
How to Make A Spiral Bracelet with Macramé
Make this Easiest 2-Row Repeat Friendship Bracelet Today!
How to Make Macramé Candy Chevron Bracelet for Friendship Day
Wanna Crochet Something Else?