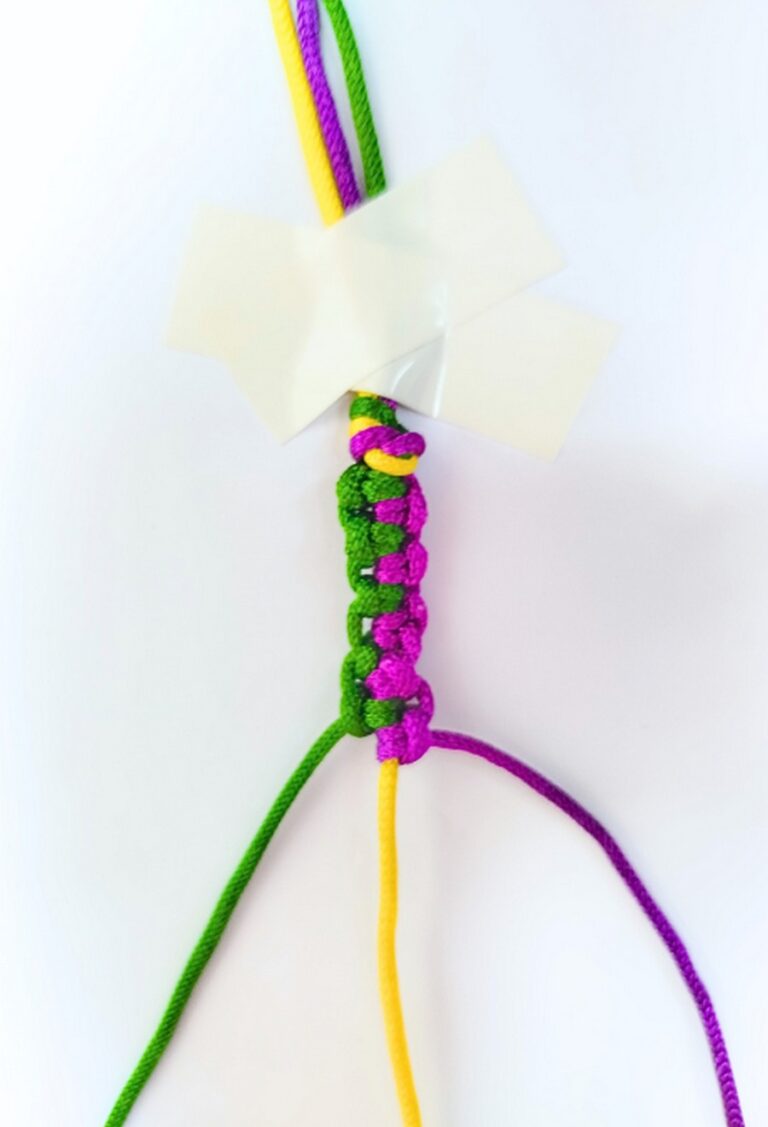
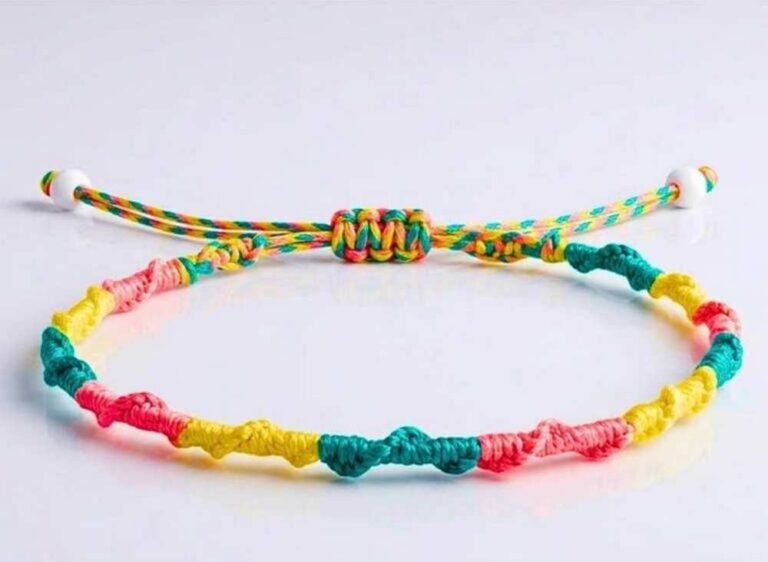
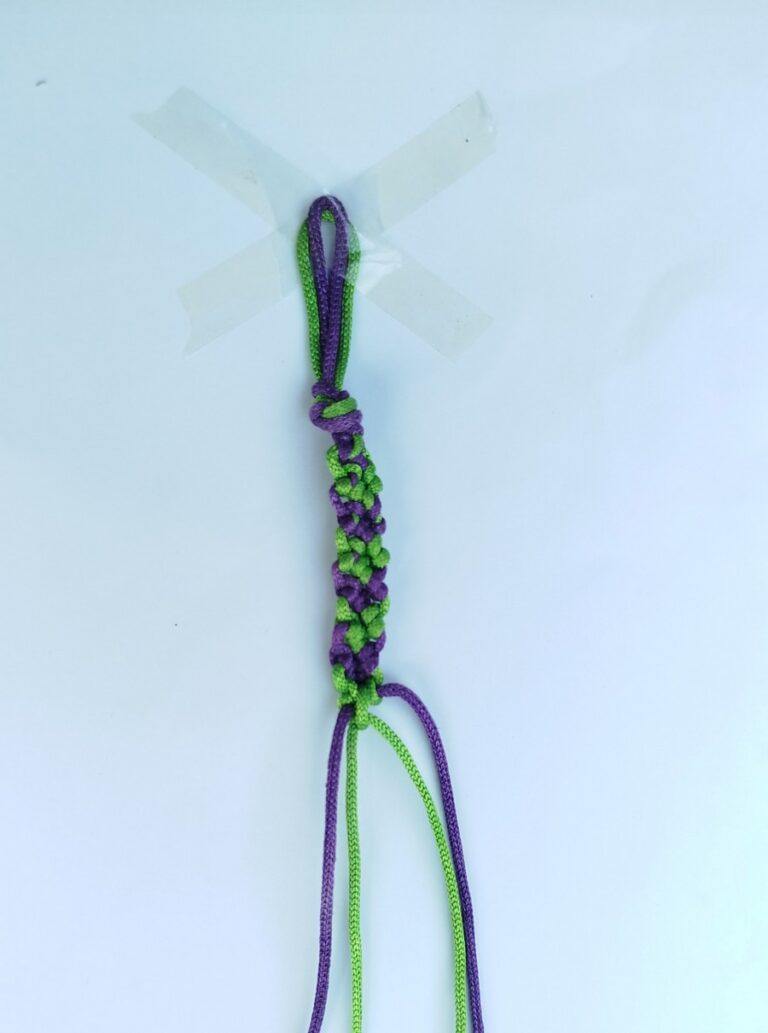
This Friendship Day, learn how to DIY the infinity loop Friendship bracelet, which is a 5-row repeat bracelet perfect for beginners. This bracelet has an elegant infinity pattern in the middle and a wavy pattern at each edge. This bracelet only requires 9 knots for the repeat pattern and only 1 color. Just like the solid square knot bracelet, you can make it in red, purple, green, and even pink.
DIY 9-Knot Repeat Infinity Loop Pattern
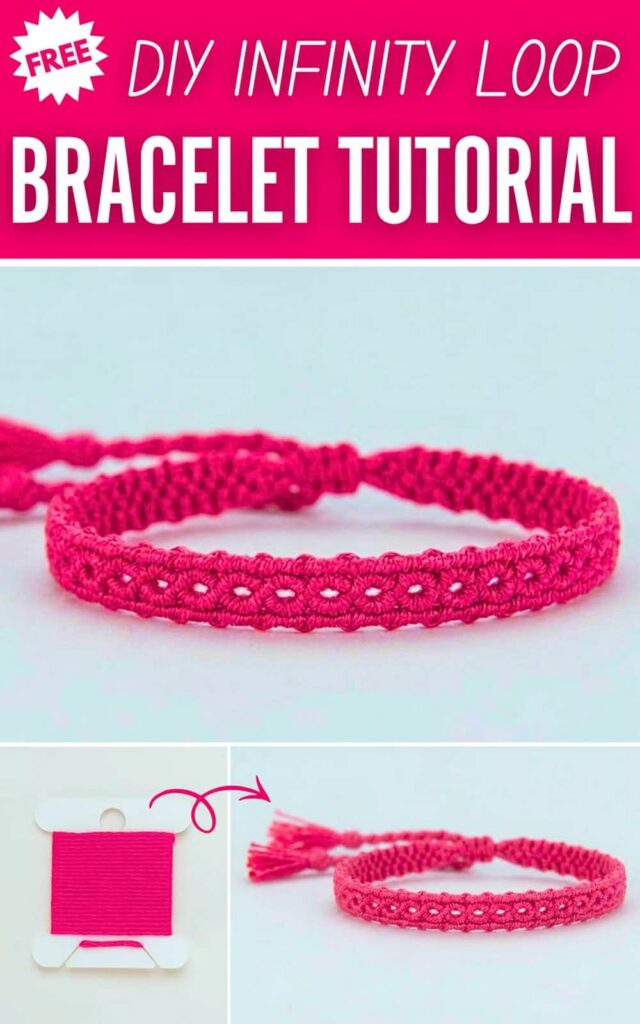
The pattern still works up fast and only needs forward and backward knots. You can make this macrame bracelet for any special occasion in just 10 minutes, since the knot density is only 3 per row, and you only need to work with 6 strings.
For this Friendship bracelet, in particular, I recommend using the embroidery floss. This is my first 5-row repeat bracelet pattern; even the chevron only required a 3-row repeat. However, since you only have to work with 1 color, it is an irresistible bracelet. Now, continue reading to learn how to make each knot and the pattern in detail. I have also provided the chart!
[ez-toc]
DIY an Infinity Loop Bracelet for Beginners (Quick Guide)
- Step #1: Cut two 180cm and four 80cm lengths of your embroidery floss in your favorite color.
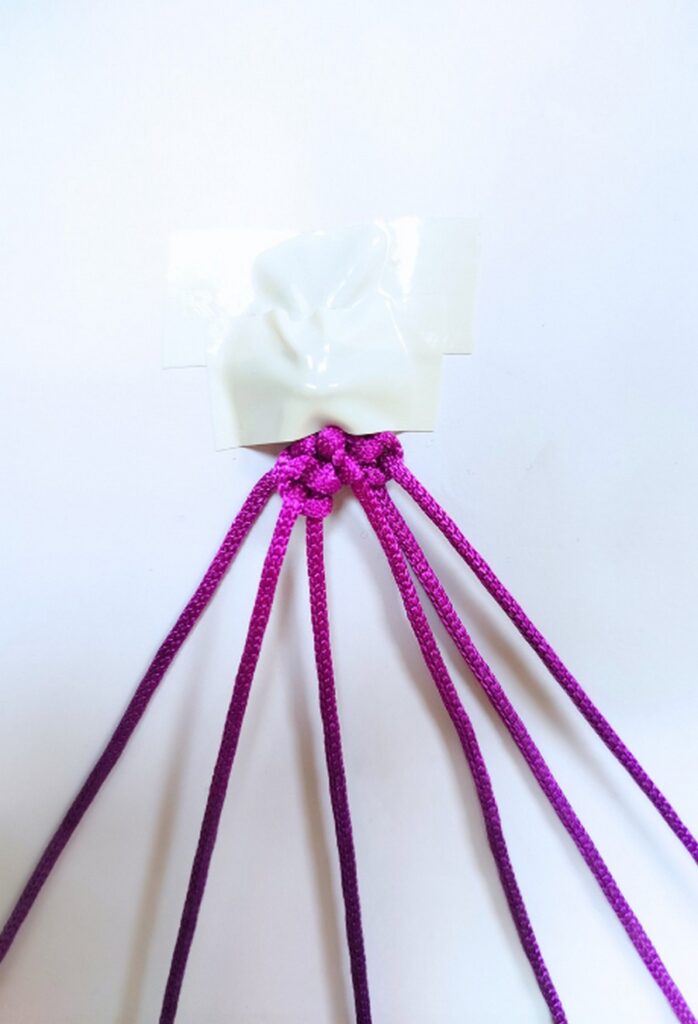
- Step #2: Join one of the ends of the strings and make an overhand knot just below, and secure the work onto the table using a paper tape.
- Step #3: Arrange the strings in the following pattern: AAAAA.
Now:
- Row 1: FK(1,2), FK(3,4), BK(5,6)
- Row 2: FK(2,3), BK(4,5)
- Row 3: No knots
- Row 4: BK(2,3), FK(4,5)
- Row 5: BK(1,2), FK(5,6)
Then:
- Step #4: Repeat this pattern until you are ready to make a 3-strand braid (dual strings)! Finish the bracelet off by making a slip knot with the rest!
DIY Infinity Bracelet: Step-by-Step Instructions
Colors:
- Purple (Color A)
Knots Needed:
- Forward Knot
- Backward Knot
- Slip Knot
- Overhand Knot
Recommended Supplies
- Floss: You can use Embroidery floss or polycherry thread. I am using the 1.5mm macrame cord!
- Colors: 1 color.
- Tape: Use paper tape or scotch tape. I am using a tennis ball tape!
- A flat surface, such as a table, to tape the work over.
Preparation of the Work
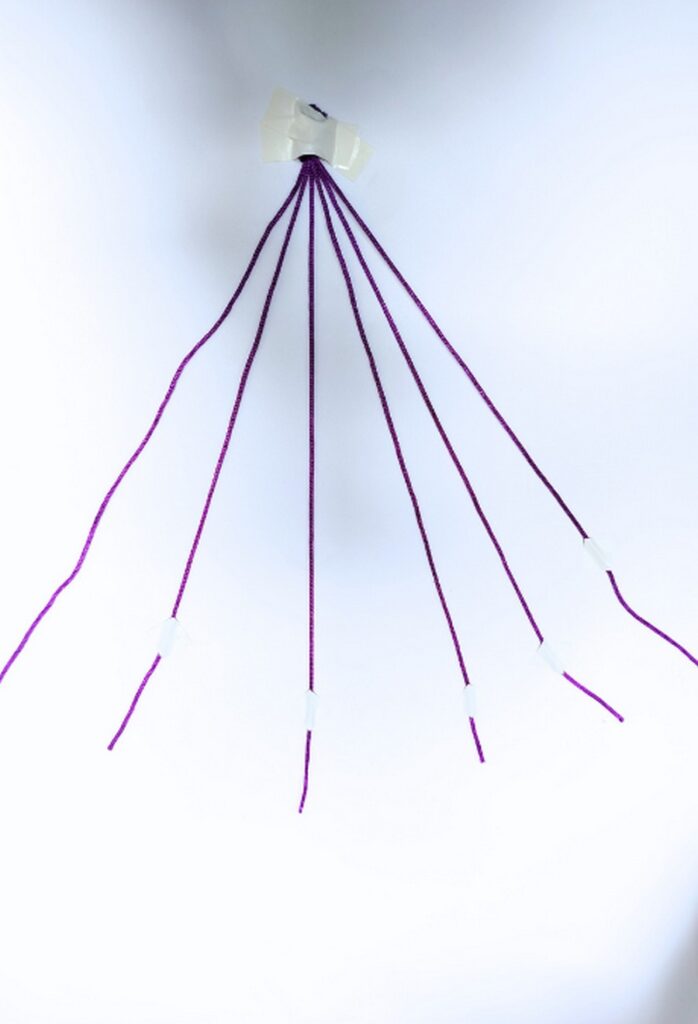
Start by cutting four 180cm (70-inch) strands from COLOR A. Also, cut a 70cm(42-inch) strand in the same color. Now, gather all strands and line each coinciding with the top tips of all, and make an overhand knot 3cm away from the top.
Also, have to use 2 tape strips to secure the work onto the table by making a cross. This way, when you pull the work, the strands won’t slide through. Separate the strands and fix the right 5 of the strands in place with the tape strips. Leave the first right one as an active strand!
Forward Hitch
Row 1
Make three knots.
First, tie a forward knot between strings 1 and 2 with string #2 as the base string of the knot.
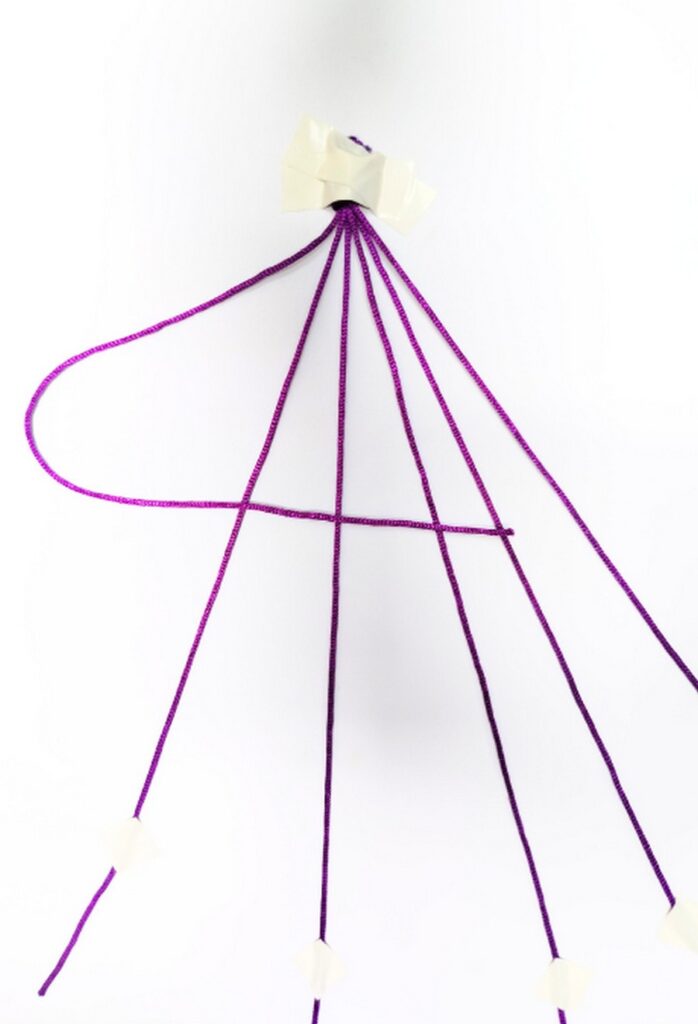
- Let’s revise, making the forward hitch! First, pick the active strand and cross it over the strand #2 such that you leave a U-shaped loop on the left of the strand #2.
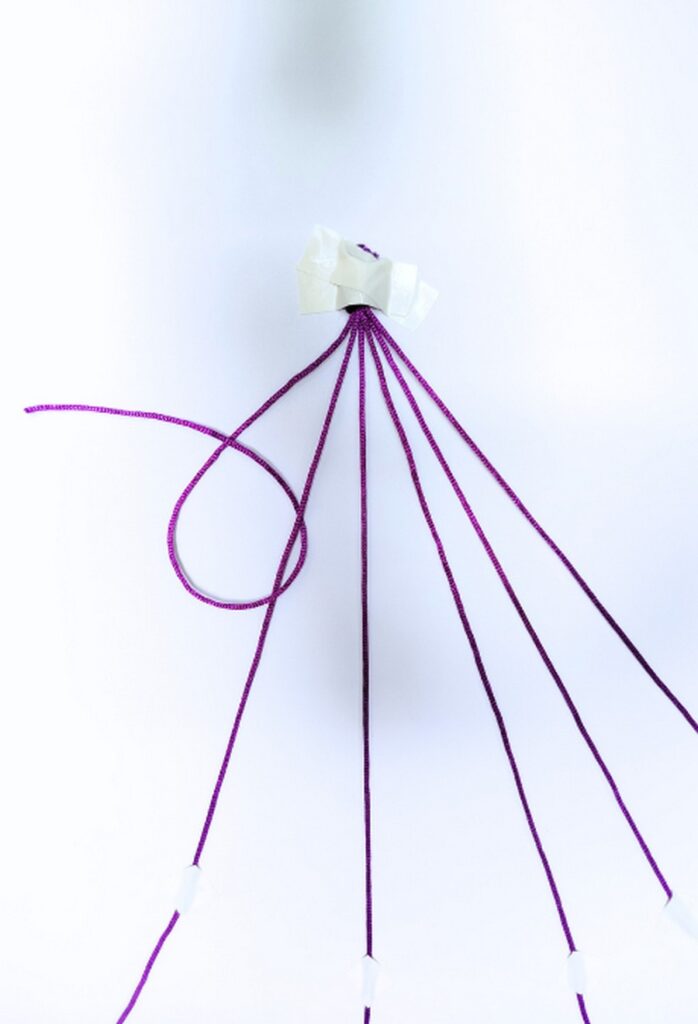
- To the left, cross the strand #1 below the strand #2 and then over itself. You will form a tangle!
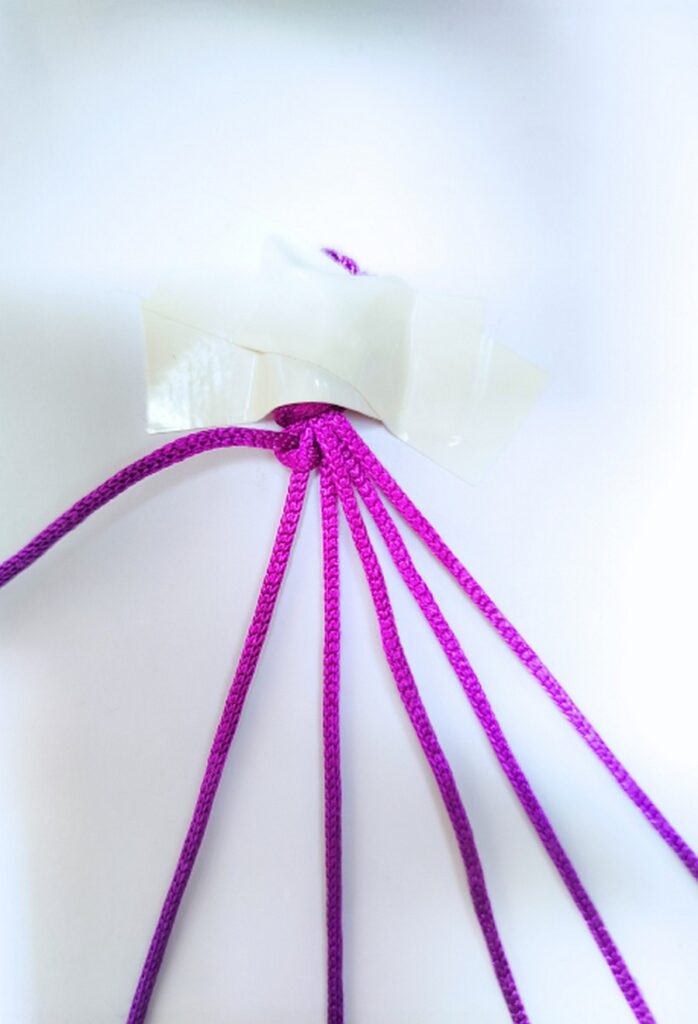
- Pull tight to make a forward hitch! Be sure to press the base strand while you are pulling the string tight and the knot is about to form.
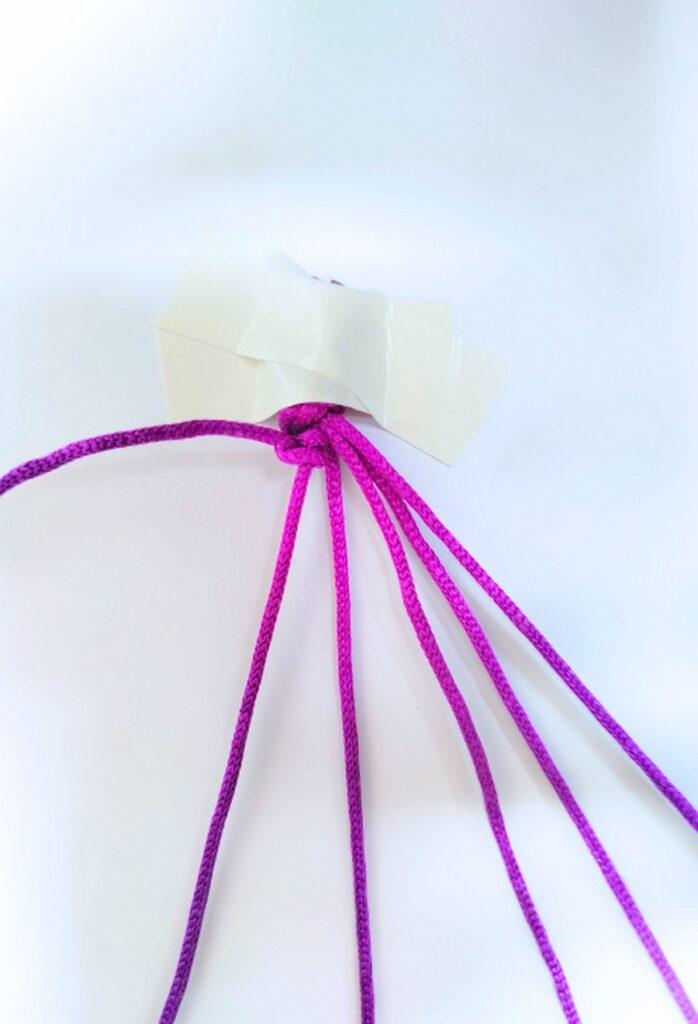
- Make another forward hitch to complete the forward knot as mentioned above! This is one of 3 three knots we shall make for this row.
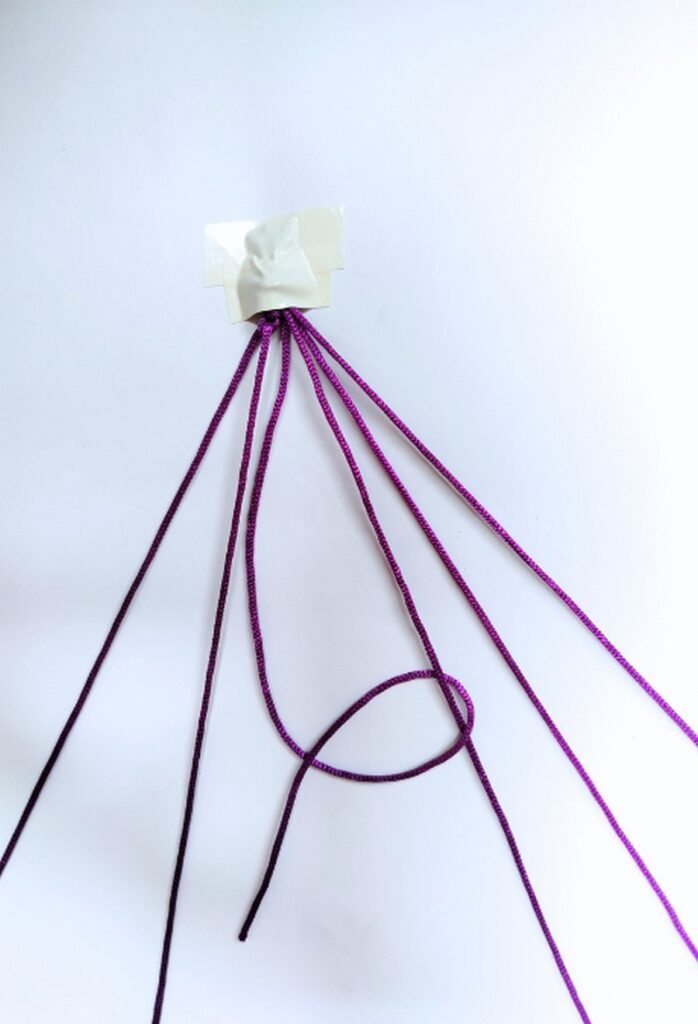
Next:
Remove the tape from the string 3 and use it to fix the leftmost strand.
- Tie a forward knot between strings 3 and 4.
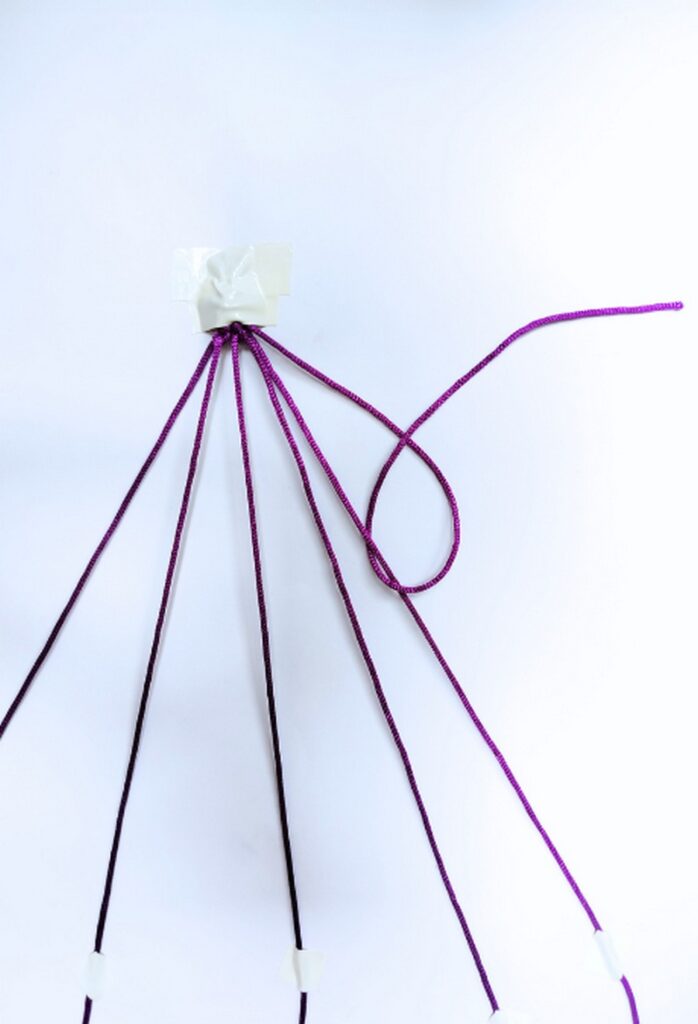
- Tie a backward knot between strings 5 and 6 with the 5th string as a base. To make a backward knot:
- Cross the knot from right to left over the base strand, to the right, pass below the strand, and pass over itself on the right. Repeat that twice.
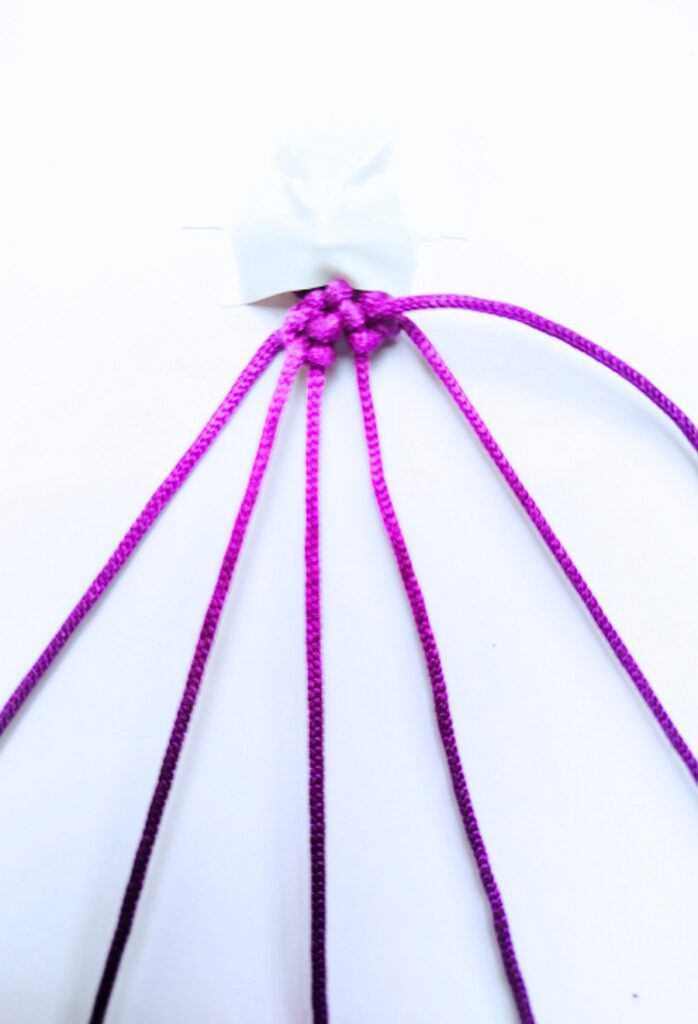
Row 2
Work on the four center strings.
- Tie a forward knot between strings 2 and 3.
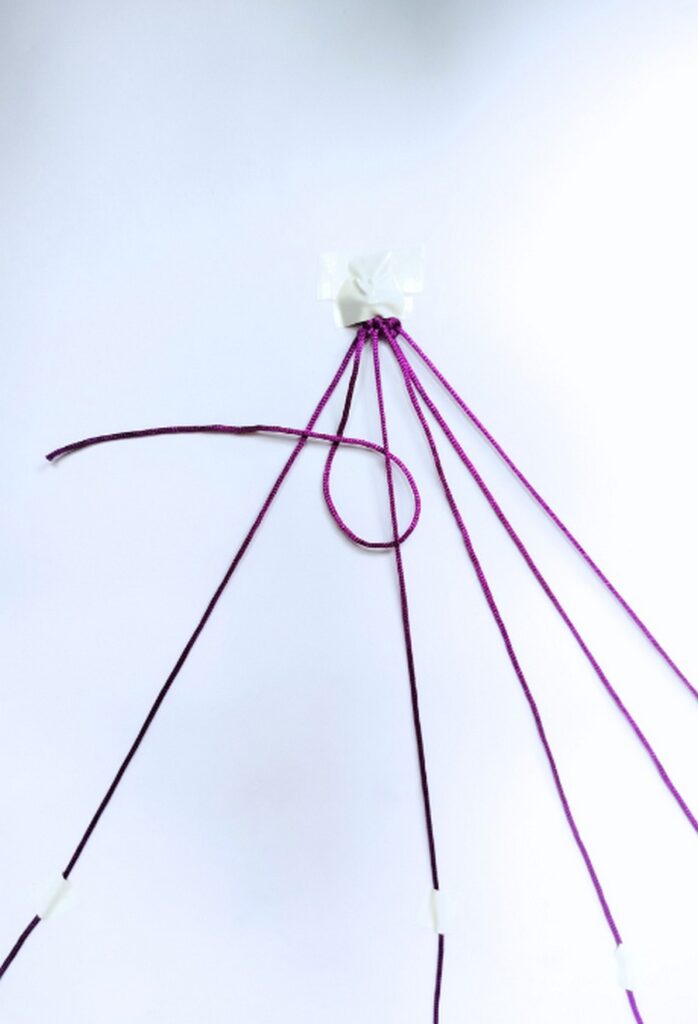
- Tie a backward knot between strings 4 and 5.
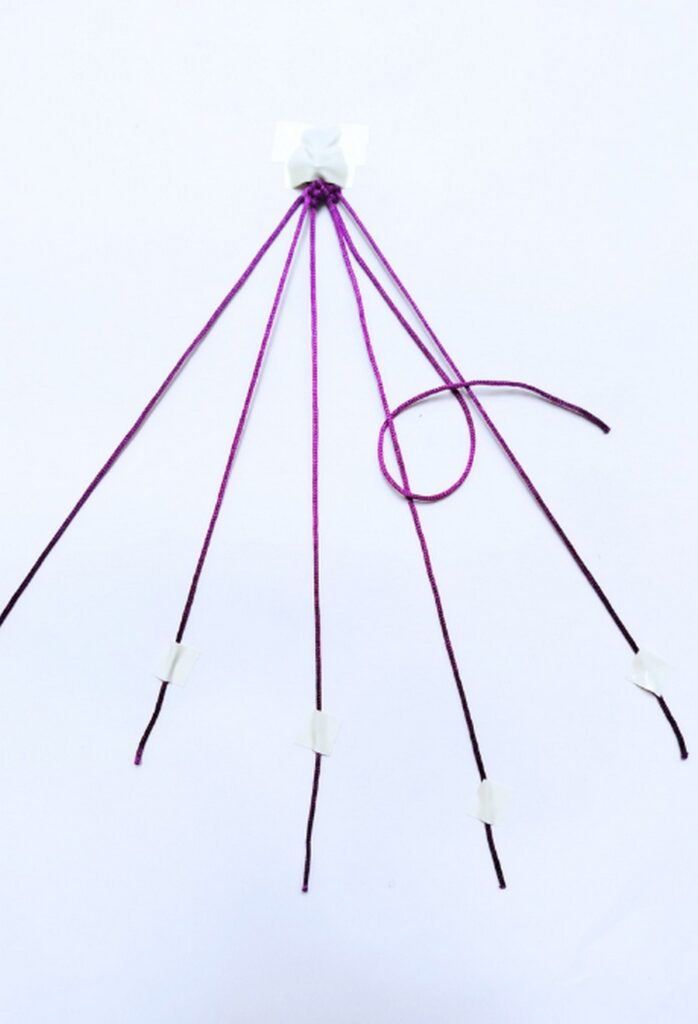
Leave the outer strings untouched.
Row 3
No knots are made in this row.
Allow the strings to hang naturally and prepare for the next row.
Row 4
Tie two knots.
- Tie a backward knot between strings 2 and 3.
- Tie a forward knot between strings 4 and 5.
Row 5
Make two outer knots.
- Tie a backward knot between strings 1 and 2.
- Tie a forward knot between strings 5 and 6.
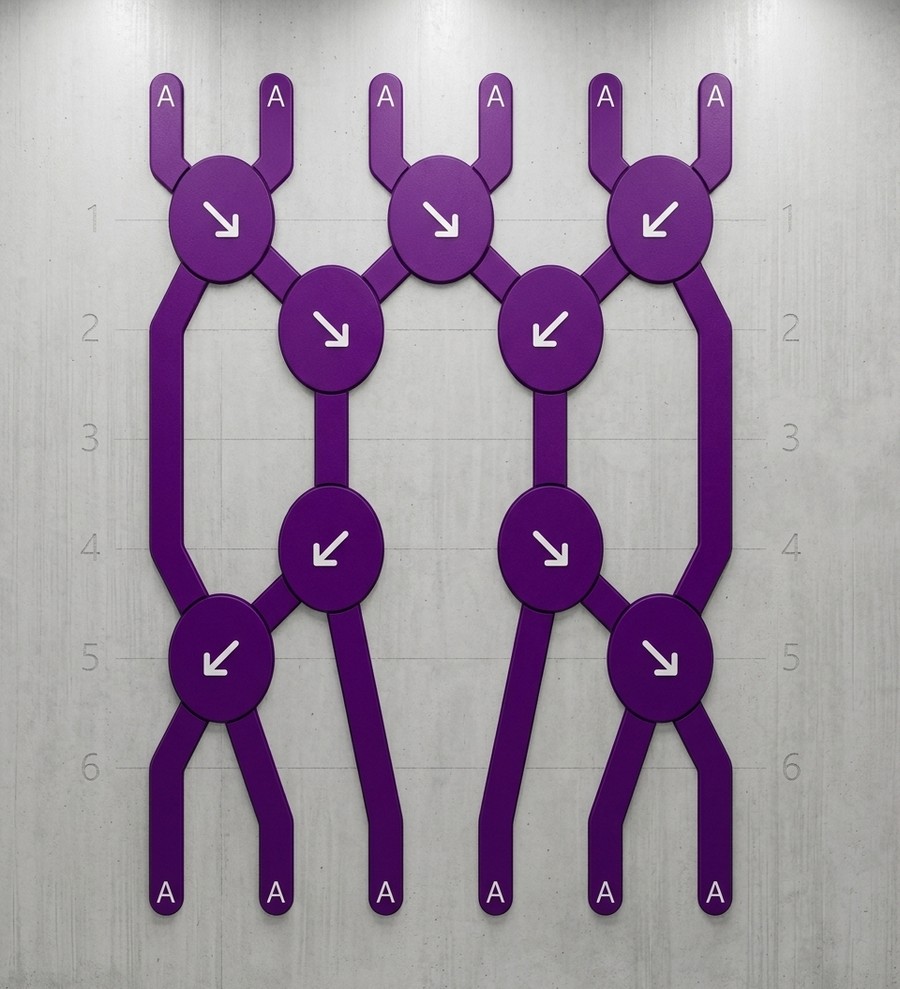
Finished Pattern
You have completed one full repeat of the pattern.
To make the bracelet longer, repeat Rows 1–5 until it reaches the length you need for your bracelet.
Beginner Tips
- Tighten every knot with the same amount of pressure to keep the bracelet even.
- Complete each knot before starting the next one.
- Check that the strings stay in the correct order after every row.
- If a knot looks wrong, undo it right away. It is much easier to fix a mistake early.
- Practice making neat forward and backward knots before starting the full pattern.