Author: Talha
I am a crochet designer, macramé maker and a crafter who also loves doing MATH.
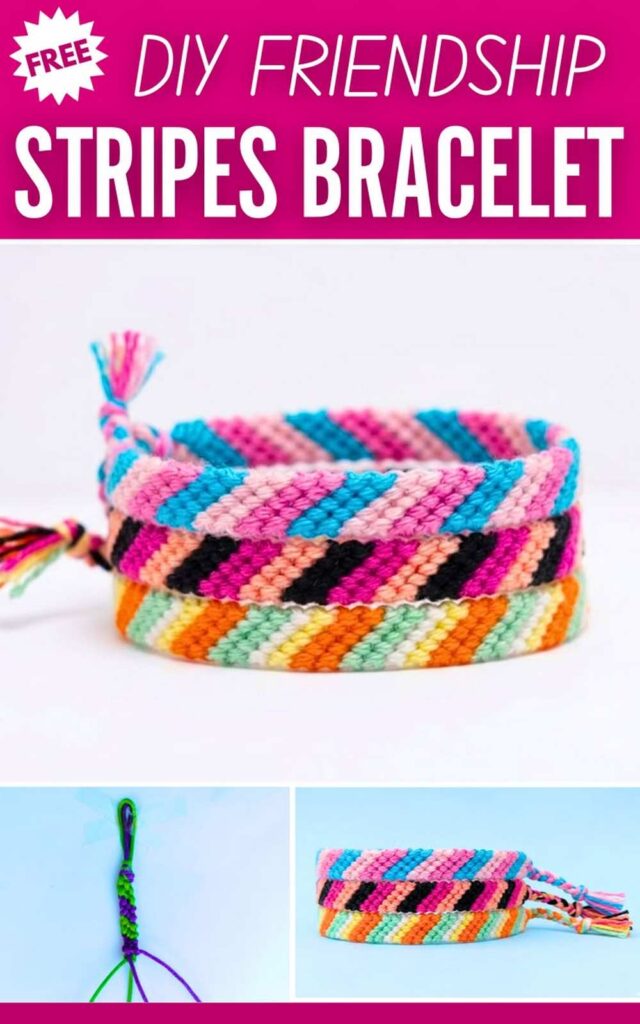
Learn how to knot a candy stripe bracelet aka diagonal stripe bracelet with these instructions. This bracelet belongs to the chevron bracelet family and just require forward hitch. While you can make it with any number of yarn strands, the one I will show you making requires 4 strands across 2 colors of yarn. It will feel a little quicker and you can make a bunch for 4th of July, this way within an hour.
Candy Striped Macramé Bracelet
I personally found the 6-strand variation a little intimidating as it required to use 3 colors and I had to make two rows with the same color before the color changes.
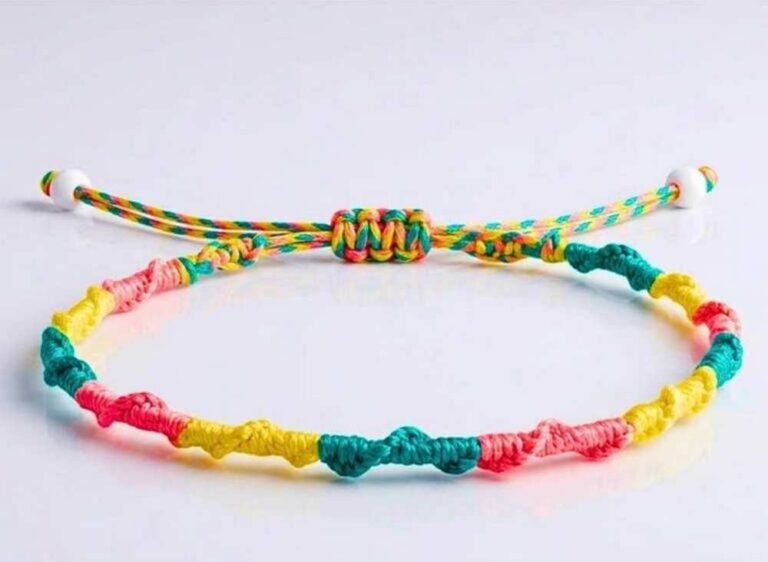
If you have 6 rainbow colors, definitely make it using them as this way, you have have thin stripes that look much elegant. This is one of my first bracelet variation to let me fall in love with Friendship bracelets. Below, I will show you knot-by-knot & crossing-by-crossing to make it and also explain the other variations in a nutshell.
How You Can Make a Candy Stripe Bracelet (Quick Pattern)
For thick stripes variation:
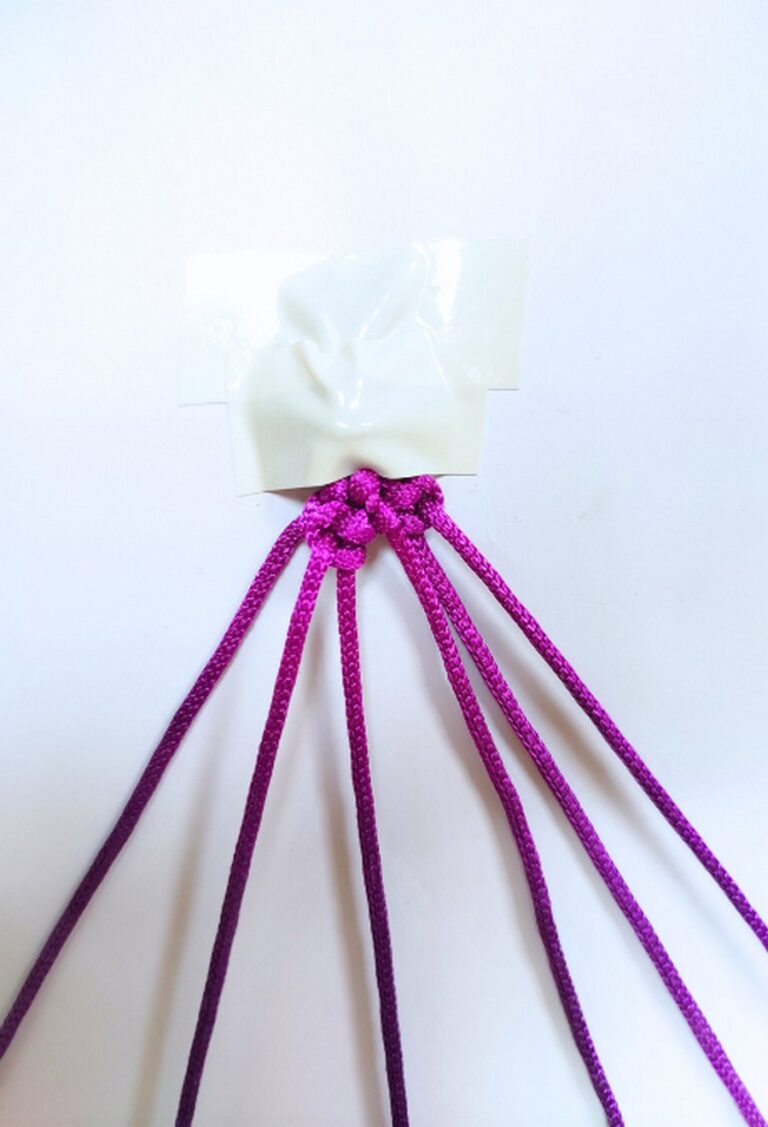
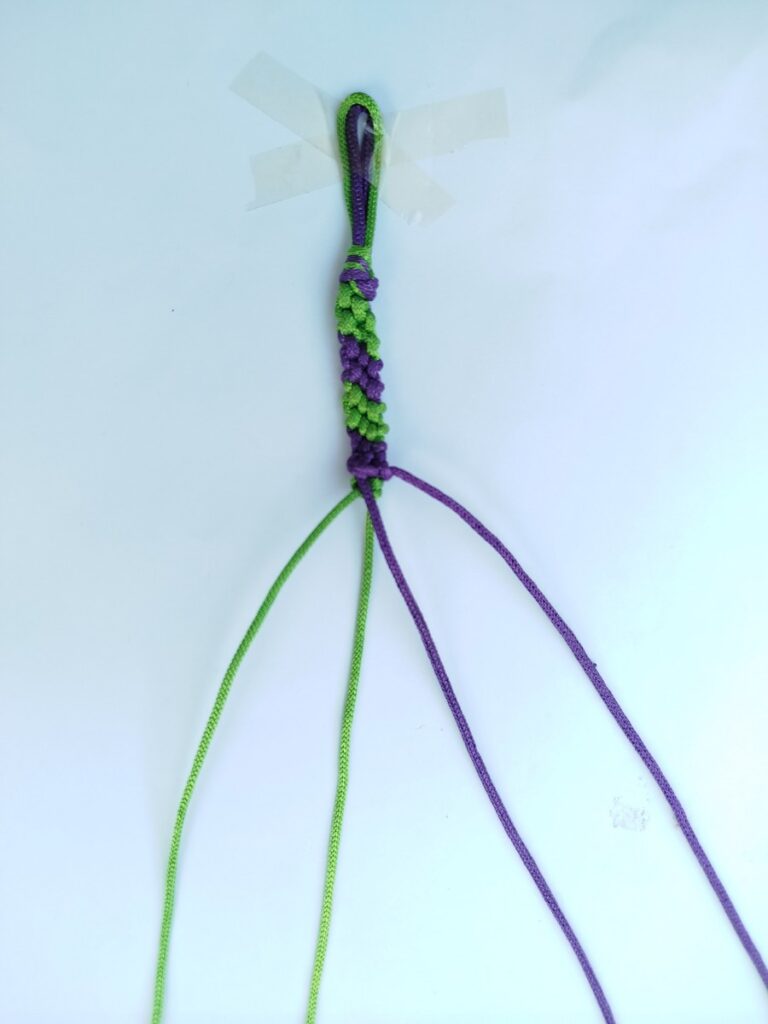
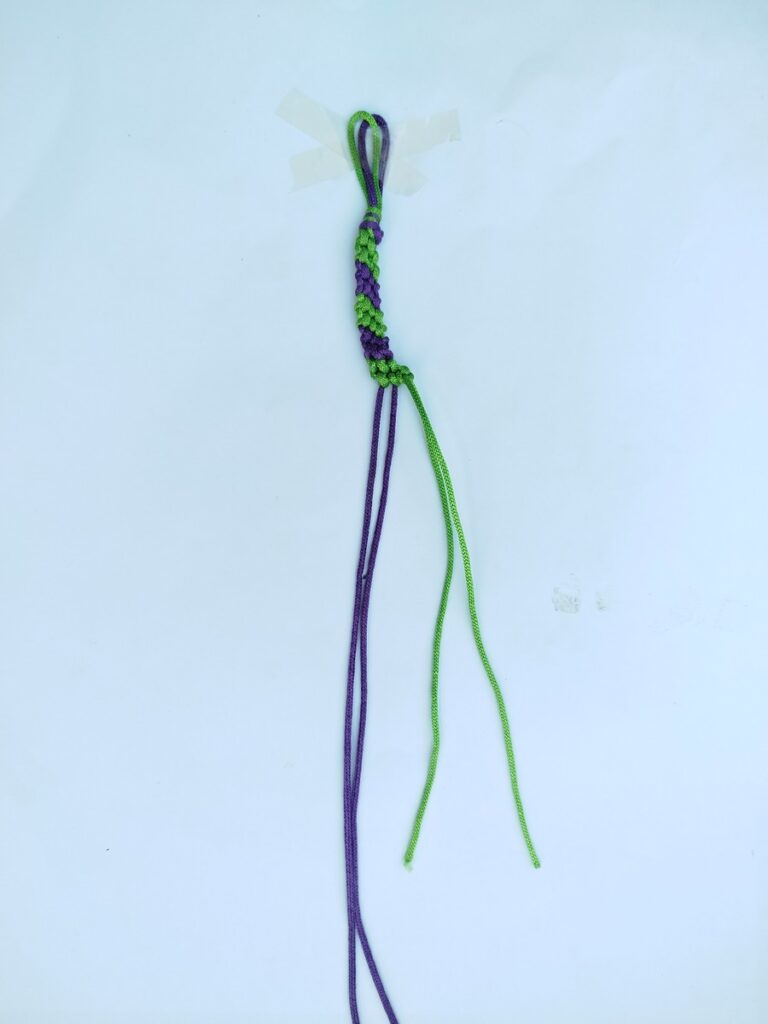
Step #1: Start by cutting 3 or 2 strands of equal length such as 120 cm each. Fold them in half as normal and make a slip knot in the middle. Tape the knot over the table.
Step #2: Separate and arrange the strands from left to right as follows: COLOR A, COLOR A, COLOR, COLOR B and so on!
Step #3: With the leftmost strand, make two forward hitches around each of the next strands including the 2nd color of the same.
Step #4: At the end of the first row, you will be left with the 2nd strand of the same color at the leftmost. Make two forward hitches per strand to the right. These two rows will finish the first stripe.
Step #5: Continue repeating the forward hitches with whatever the color gets at left extreme. And that’s the quick pattern for making the double-thick diagonal stripe bracelet.
For single-row stripes variation:
Step #1: For single-row stripes variation, start by cutting 4 or 6 different colors of yarn each in the same length. Align all the strands tip-to-tip and make an overhand knot so you don’t double the number of strands. Tape the knot afterwards. Or you can just align all the strands and tape them straight over such that all the strands are parallel.
Step #2 & beyond: Separate the colors and make two forward hitches per remaining strands to right with each color. Note that if you are right-handed, you must form a backward hitch!
Macramé Diagonal Stripes Pattern: Step-by-Step Instructions
Colors used in the demonstration:
- Parrot (COLOR A)
- Purple (COLOR B)
Note: This is when you are using two yarn strands and want to get 4 working strands by folding them in half. Otherwise, use the 4 to 6 separate colors for the variation #2.
Supplies
- Yarn, floss or cord: I am using a 1.5mm thick macramé cord as usual, but you can embroidery floss to polycherry thread if you like less thickness per knot. It provides me clarity in the demonstration, so I will continue using the macramé cord while teaching you. Otherwise, even cotton yarn will work fine.
- Paper tape or transparent tape. For this tutorial, I could not get my hands over my paper tape as you saw in the chevron bracelet tutorial, so I also used transparent tape.
- Smooth flat surface such as a white board, table or mirror that you can put over your lap and avoid the back pain.
Knots
- Slip Knot or Overhand for beginning
- Forward Hitch
- Overhand knot for finishing
Strand Count: 2 – folded in half to make 4 strands.
Length Requirement: You should cut each strand in the same length and choose it based on the thickness of the yarn. My swatch is as follows:
2.3cm per 2 stripes with 1.5mm macramé cord
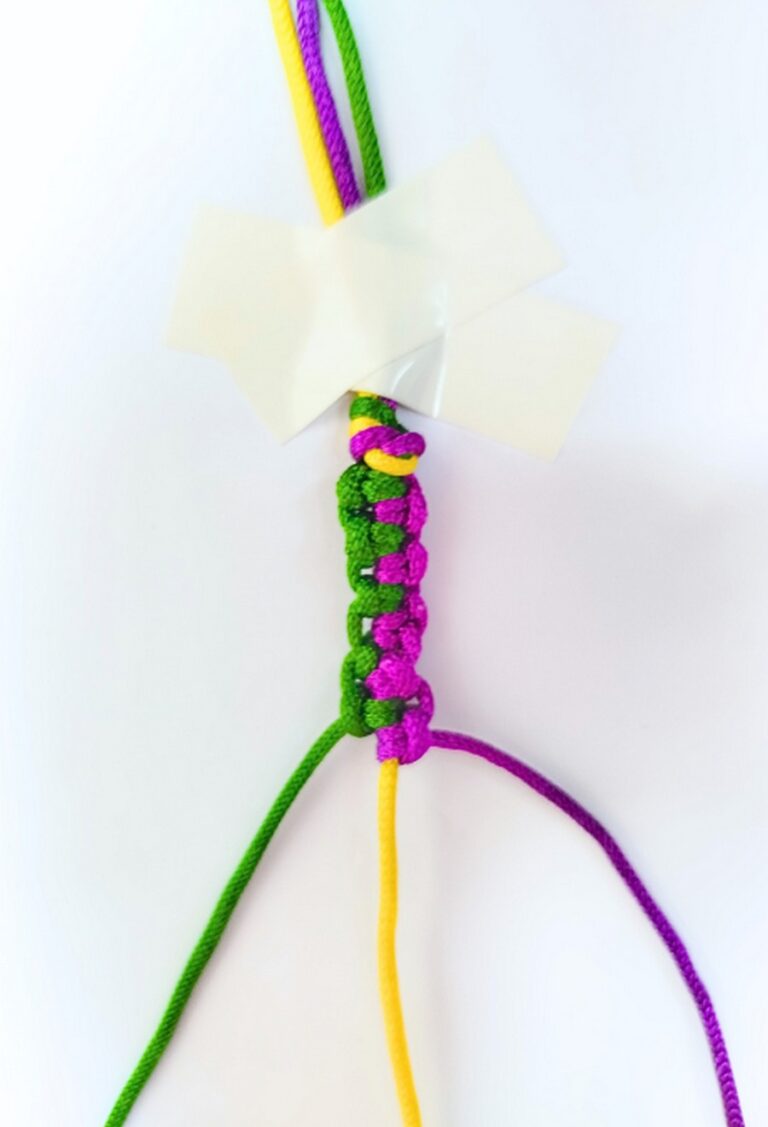
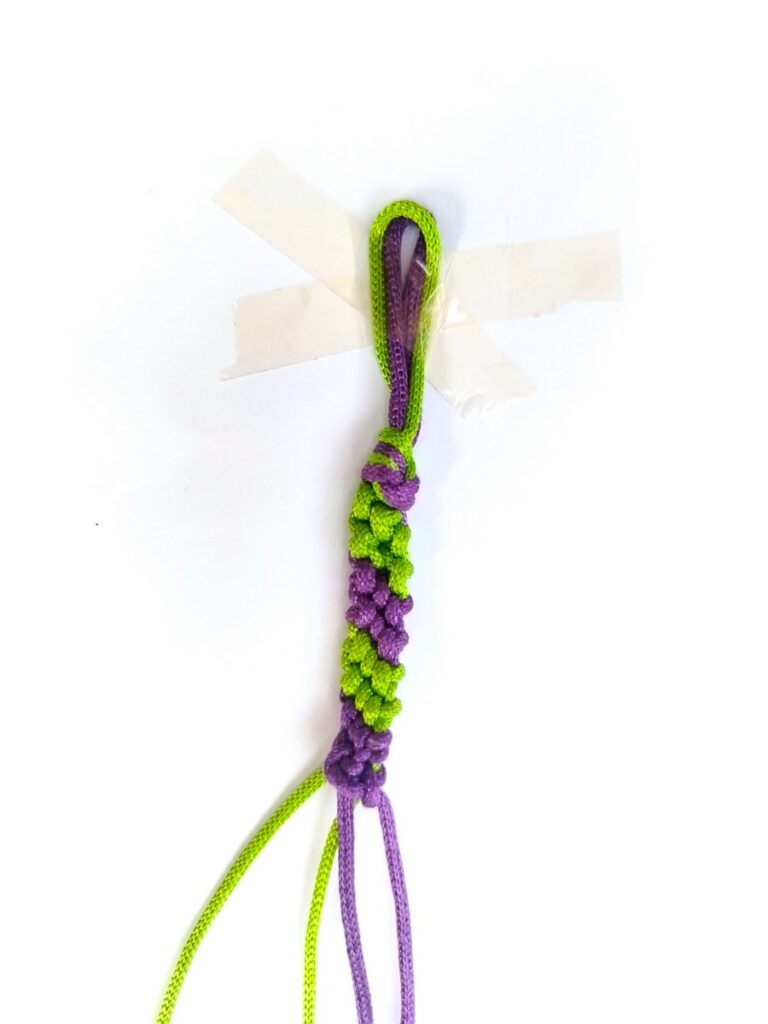
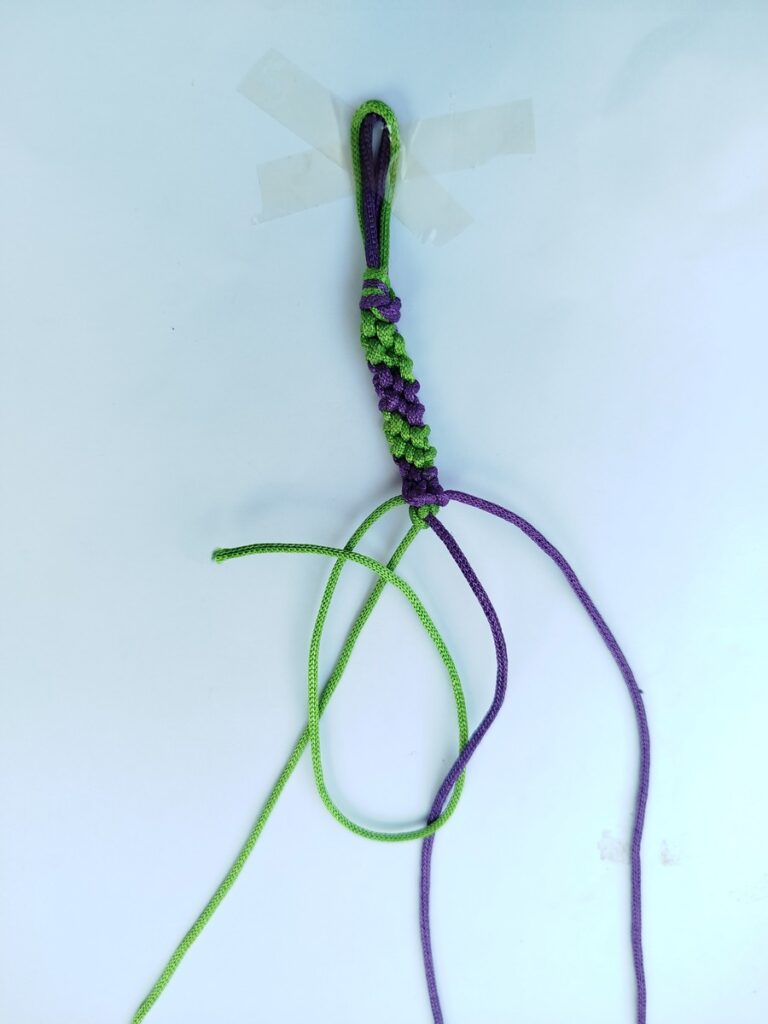
Step #1: First Forward Hitch
Secure the work on the table and separate the strands as described above for the thick stripes variation. Now, make a forward hitch with the left green yarn around the inner green strand in the following way:
- Cross the outer green strand over the inner green making an arc on the left side of the inner green strand.
- Make a loop around the inner green strand by crossing it below the inner strand and then over itself. You will have a tangle that can be knotted.
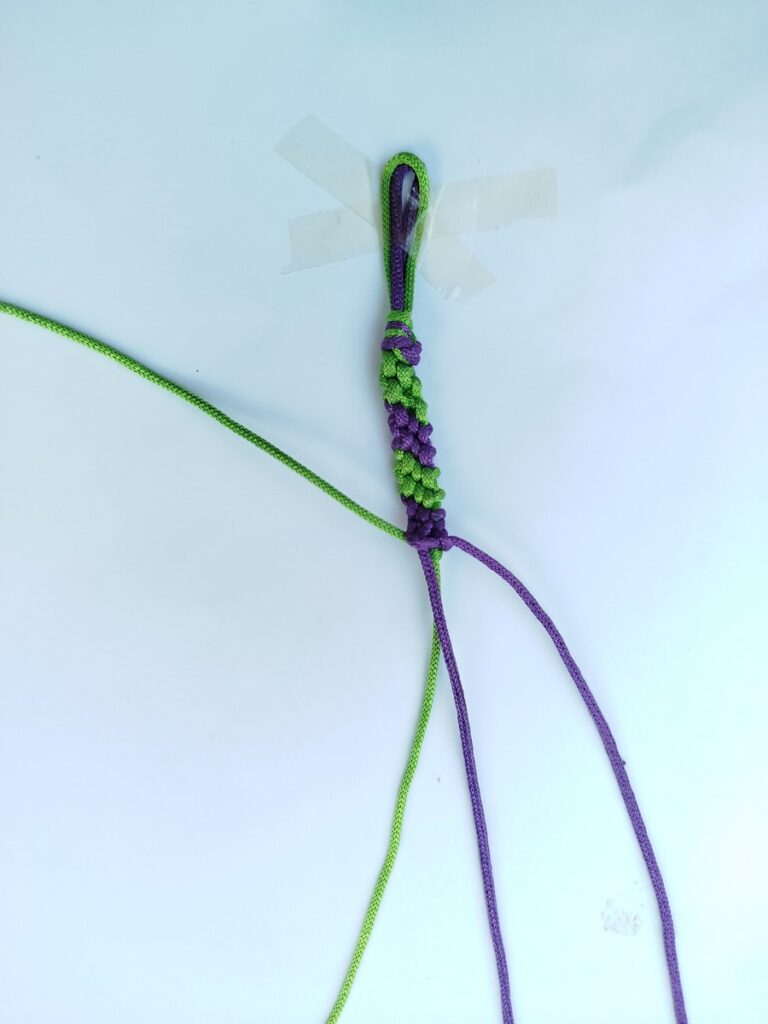
- Pull the left strand slowly through the loop till the loop is much smaller. When that happens, pull the inner stand towards you tight, so the knot forms just below the previous row or knot and pull the outer strand tight to make a loop.
Step #2: 2nd Forward Hitch (Double Knot)

- Now, we have to repeat the same knot to make a so-called double knot. To do, again, cross the yarn or cord over the inner green strand.
- Cross it below the inner green strand and over itself to the right and start pulling to make the loop smaller and smaller.
- Pull tight to complete another forward hitch. Now, you will notice that the outer green strand is in between the previously inner green and the purple. Now, we have to repeat a double knot around the purple.
Step #3: 3rd Forward Hitch

- So, cross the inner strand over the inner purple strand to the right.
- Cross it below from right to left and over through itself and keep pulling to shorten the loop.
- Pull tight to make another forward hitch.
Step #4: 4rd Forward Hitch
- Again, cross the inner green yarn over the inner purple, then below it from right to left and continue pulling the loop tight.
- And that’s the 4th forward hitch of this row that you complete by knotting tight. We need the last two for this row!
Step #5: 5th Forward Hitch
- Cross the inner green strand over the outer purple strand to the right, then below to the left and then over itself. Pull tight to make a knot.
- That’s how you will make the first green row of the bracelet!
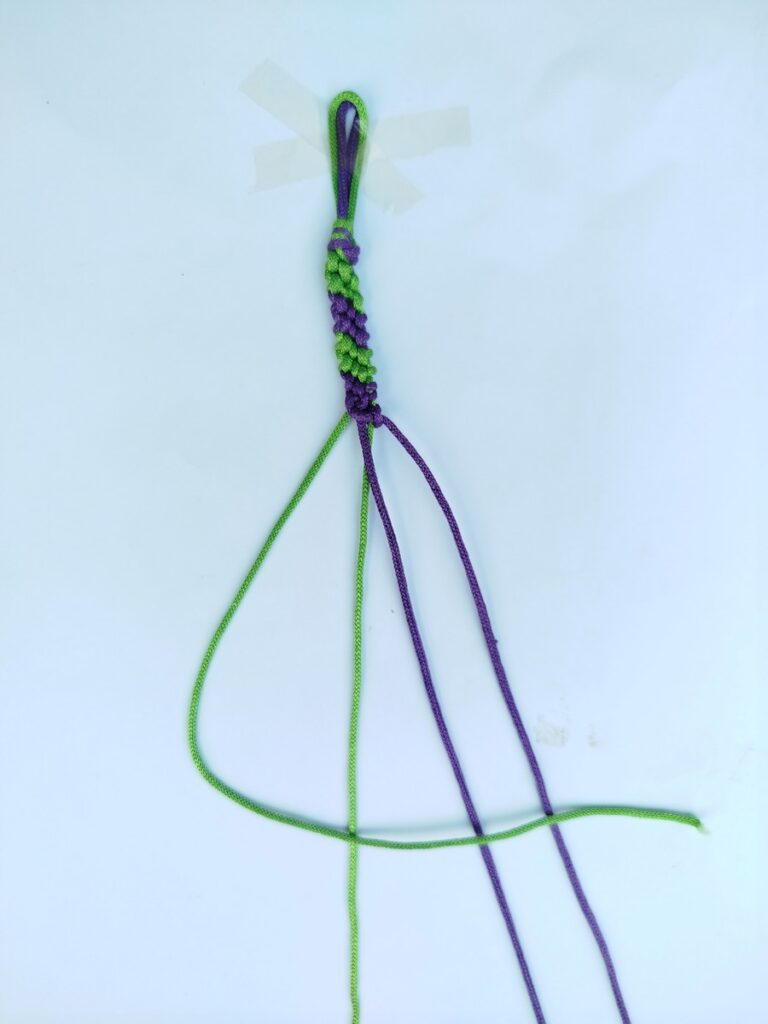
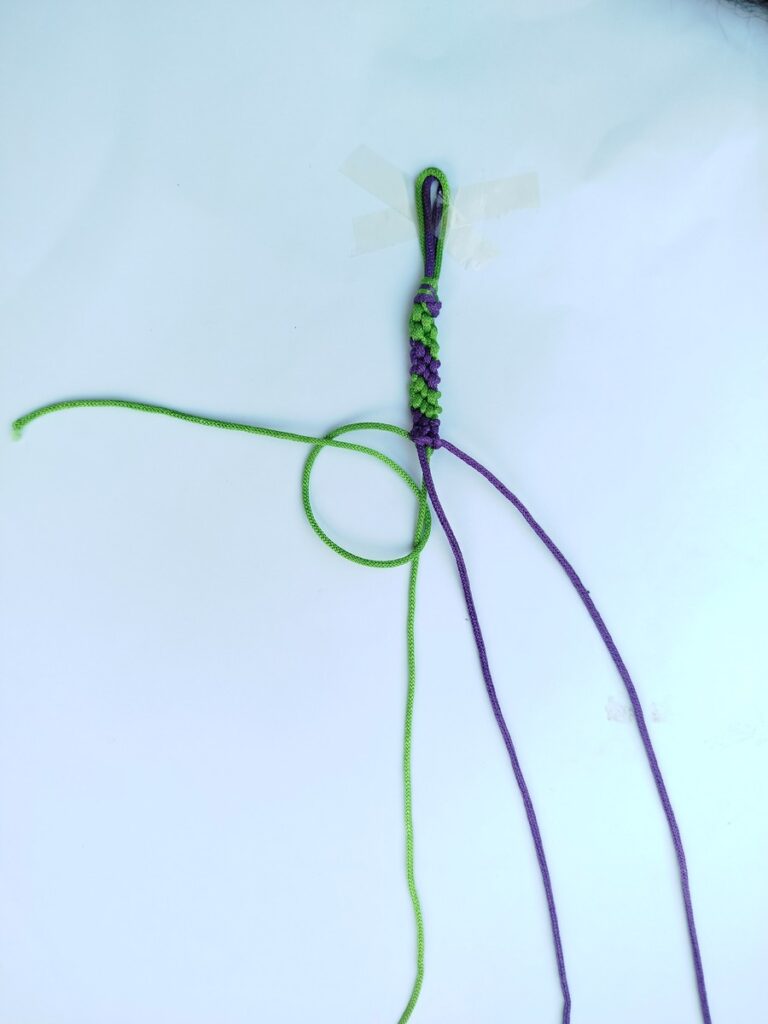
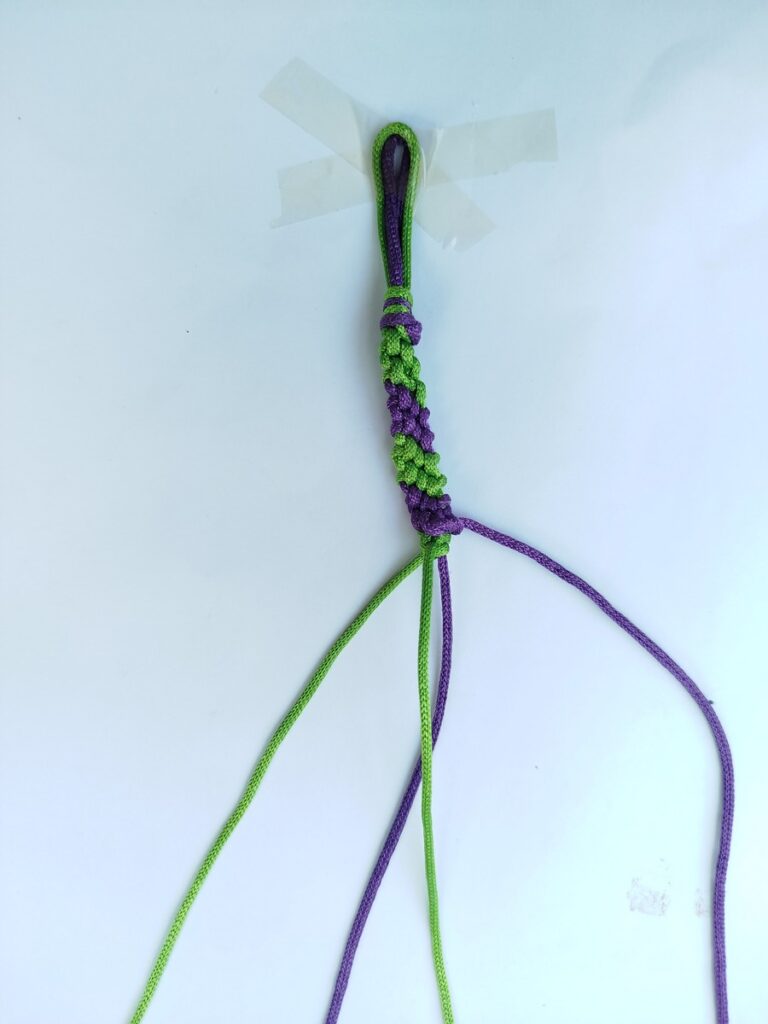
Row #2
Now, we with the left outer green strand, repeat the same knot over and over for all the strands till both the green loops come to the right side:
- Make a double knot around inner left purple strand.
- Make a double knot around inner right purple strand.
- Make a double knot around outer right green strand.
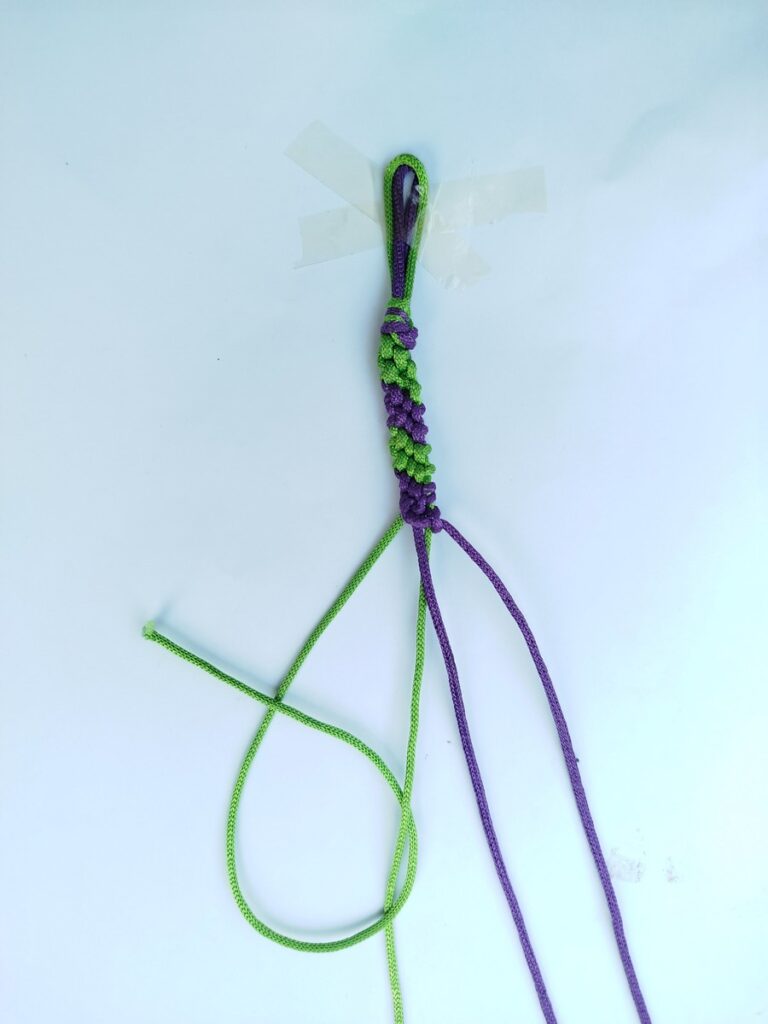
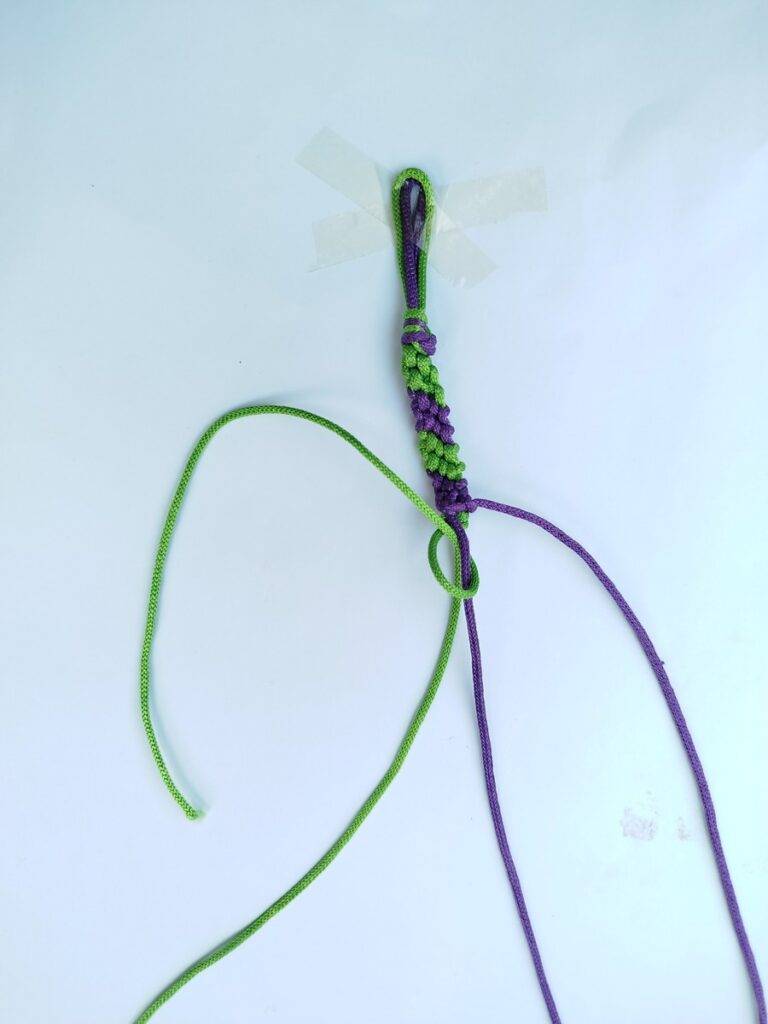
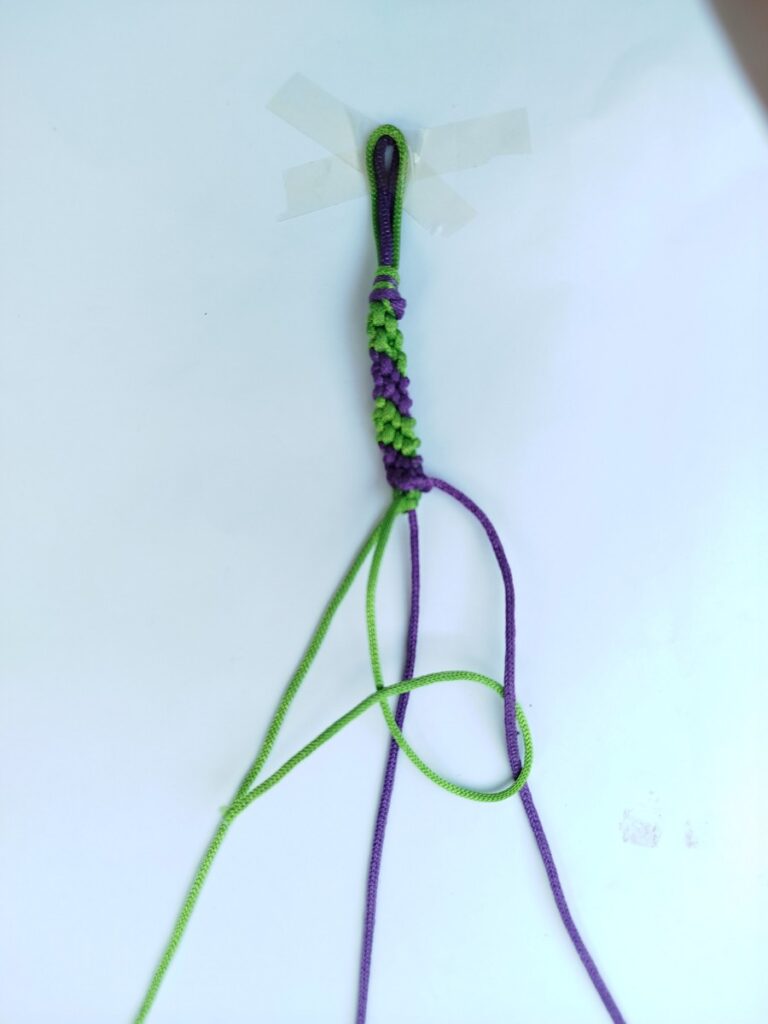
Repeat Pattern
To change the color, we have to work the R1 following the step #1 through the step #4 and then R2 but replacing the green with the purple and vice versa.
- R3: Double knot around inner left purple, double knot around the inner green, double knot around the outer green.
- R4: Double knot around inner left green, double knot around the inner green, double knot around the outer purple.
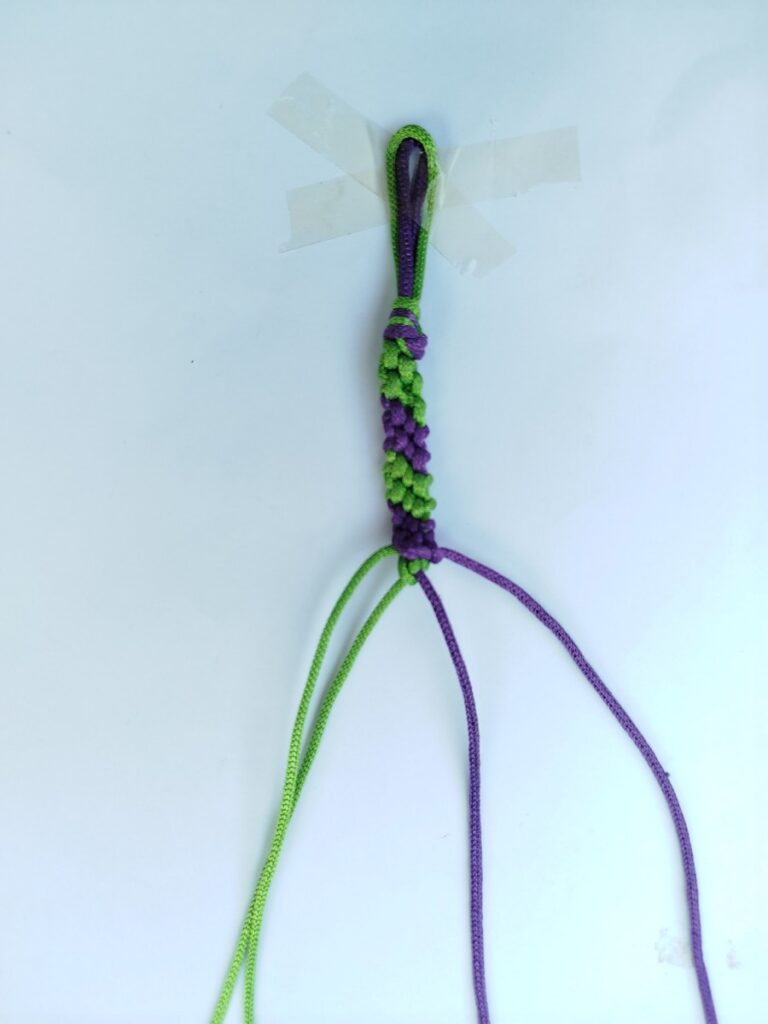
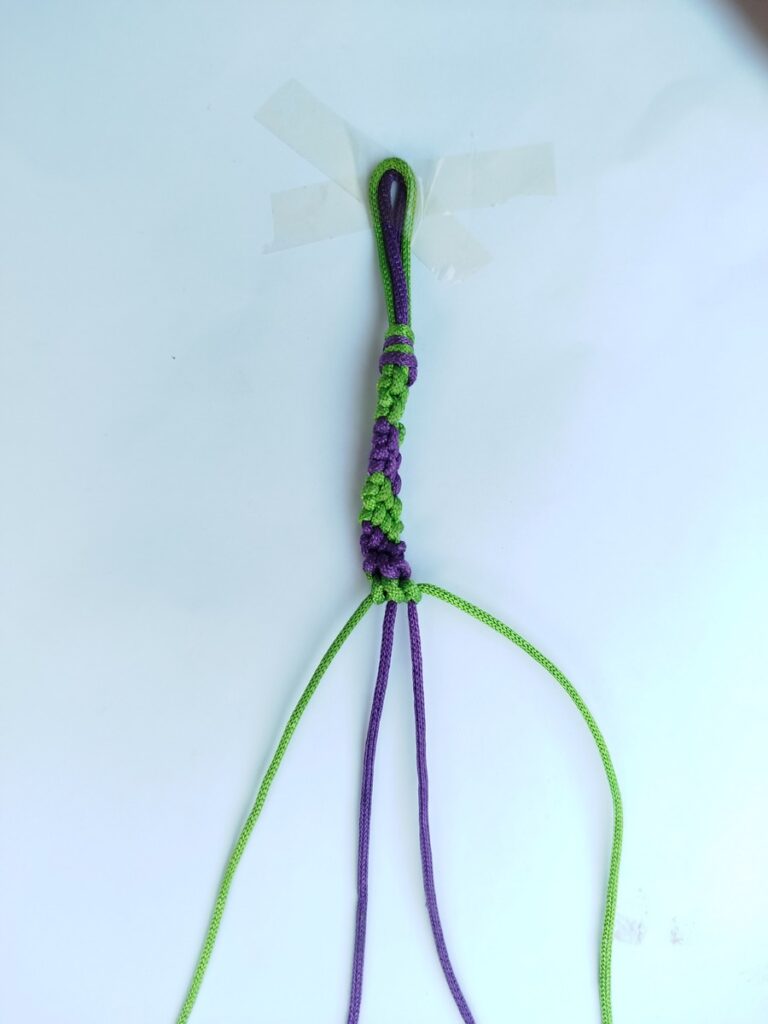
For the rest of the rows, continue repeating the R1 through R4 and finish it off braiding the four strands and then making an overhand knot.
Was this macramé tutorial helpful? Tell me in the comments
Your feedback is a great way for us to improve my macramé and crochet tutorials. So, share your thoughts on whether you tried this one or not, and highlight the weak points.