Author: Talha
I am a crochet designer, macramé maker and a crafter who also loves doing MATH.
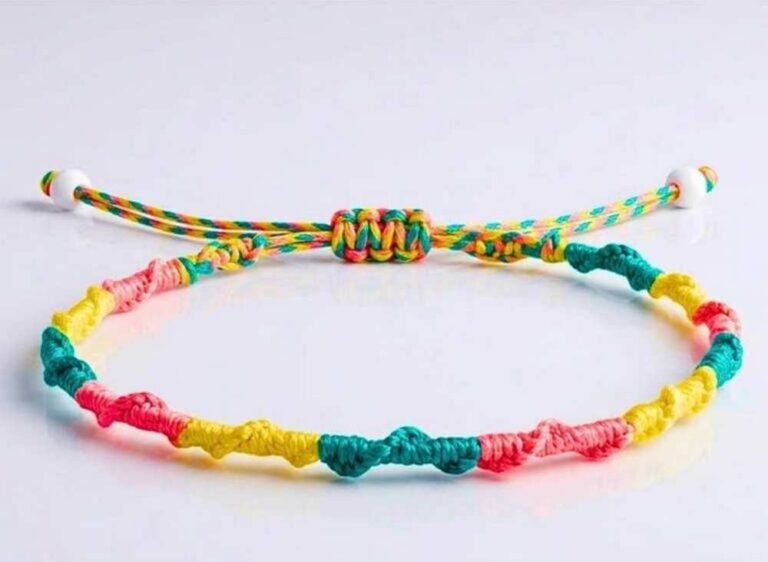
Chevron bracelet is probably the most popular macramé friendship bracelet with its beautiful three-row repeat pattern of elongated V stripes. Yesterday, I was working on my crochet candy coaster and found that I have discovered one of the best color combo for a chevron bracelet, too.
Macramé Candy Chevron Bracelet
So, I made one and finally, these instructions will show you how to weave this candy chevron bracelet for summer and Friendship Day for sure. I will be weaving it with about 1.5mm macramé cord using yellow, dark purple and the pink colors of yarn.
And as you see, it turned out so elegant. Practically, it will be one of the easiest bracelets you will make needing only the overhand knot and the double knot. Don’t worry, I will show you making each of these knots as well as how to finish it! Now, let me teach you step-by-step.

Chevron Bracelet Pattern: Quick Instructions
- Step 1: Slip knot the three colors of yarn folded from the mid.
- Step 2: Arrange the three strands containing every color on the left.
- Step 3: Mirror the color rule for the right side.
- Step 4: Tape or hold in place the middle 4 strands. Two extreme strands will be the working strands for every chevron bracelet row.
- Step 5: Make a double knot with the left strand around the middle color of the left.
- Step 6: Make a double knot with the same left strand around the rightmost color of the left side.
- Step 7: Repeat step 5 and 6 for the right side.
- Step 8: Make a double knot with the left strand of the active color around the right.
- Repeat Pattern: Repeat the step 5 through 8 for the remaining rows and repeating the same color of the row after every 2 rows.
Candy Chevron Bracelet Pattern: Step-by-Step Instructions
Colors:
- Yellow
- Pink
- Purple
Knots Needed:
- Slip Knot
- Backward Hitch (knotting under the strand)
Supplies Needed
- Embroidery floss or macramé cord (I am using the macramé cord as usual!)
- 3 colors with good contrast
- Paper tape
- Flat surface
![]()
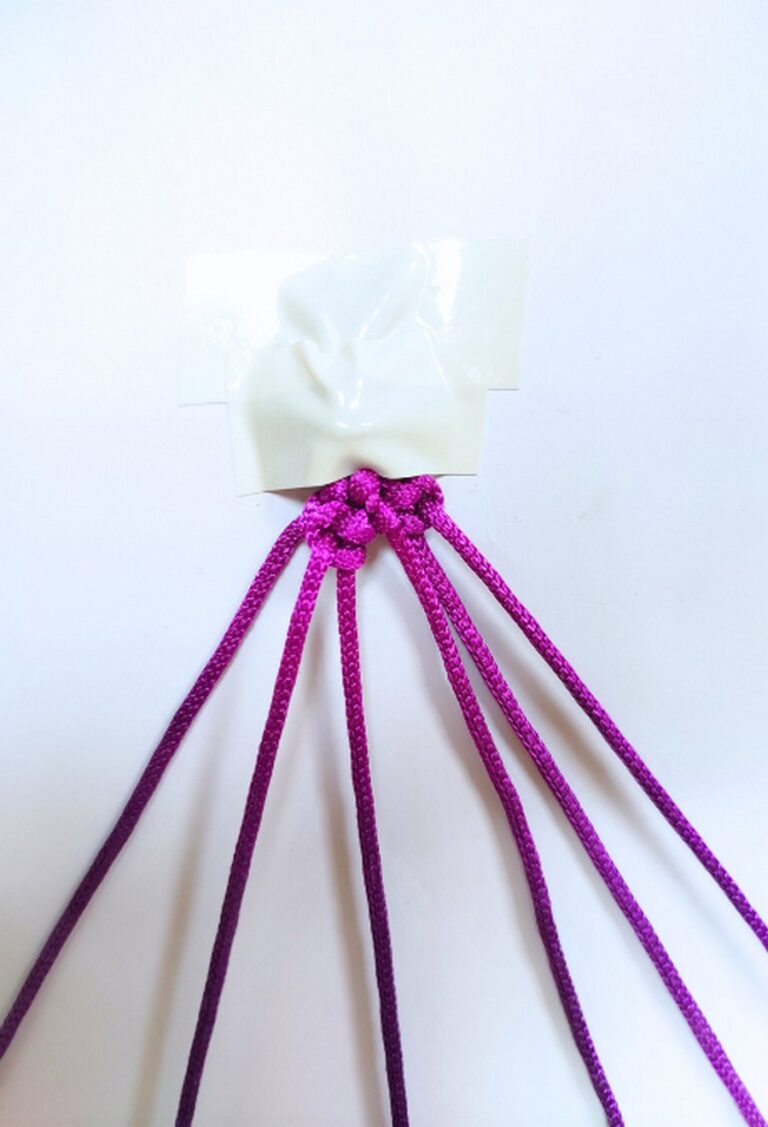
- Take three strands of each color 180 cm each and fold them in half. Align all of them and make a knot in the middle. Then, tape the knot over the top of the table.
- Separate the strands and arrange them from one color to the last on one side at angle and mirror this arrangement to the other side! Try to keep the arrangement symmetrical both color-wise and angle-wise.
- If you are a beginner, you can also tape middle four strands as they will be our passive strands!
- However, note that it will require changing the tape positions after every row!
Step #1: Chevron Stitch Set 1 & Double Knot
![]()
- Take the right purple strand (which is at the extreme and is the active color), move its tip to the left and place is above all the strands like this!
![]()
- Pass this strand through the pink strand to the right from the bottom.
![]()
- Pick the tip and continue pulling it through the pink strand until the loop narrow downs to almost zero area.
![]()
- Hold the knot of the macramé in place so that it does not get detached while making a knot. Then pull the loop tightly to make a single knot. We have to make a double knot!
![]()
You have to pull the loop much tightly, so that the chevron row has a more defined shape and does not look awkward. However, don’t take this advice, too far.
![]()
- Hold the active right yarn again, bring it to the left, pass through the bottom of the pink strand and make a knot.
![]()
This completes our first double knot which makes first stitch of the 5 stitches in each chevron row!
Step #2: Chevron Stitch Set 2 (Around Yellow)
![]()
- Now, bring the purple strand to the left, again, but pass through the bottom of the yellow strand.
![]()
- Keep pulling the strand to tighten the loop and making a single knot.
![]()
- Finish the double knot around the yellow strand in the same way.
![]()
- Now, place the purple strand between the two yellow strands, making the pink strand active color for the next row.
Step #3: Chevron Stitch Set 3 (Around Pink)
![]()
- Now, take the rightmost purple strand and make a double knot around the left pink strand.
![]()
- Now, bring the active strand to the right, again and pass through the bottom of the yellow right strand.
Step #4: Chevron Stitch Set 4 (Around Yellow)
![]()
- Finish this knot and make another of the same knot around the right yellow strand to complete the double overhand knot.
Step #5: Chevron Stitch Set 5 (Around Purple)
![]()
- This is the important step! Take the left of the middle purple strand and make an overhand knot around the right strand. This will make first of the middle chevron stitches!
![]()
Here is how the chevron row will look after the first of the middle knot. Note that the direction of knotting is to the left!
![]()
- Pass through the bottom, the middle left strand again.
![]()
- Pull tight to make a knot and thus completing the first chevron row!
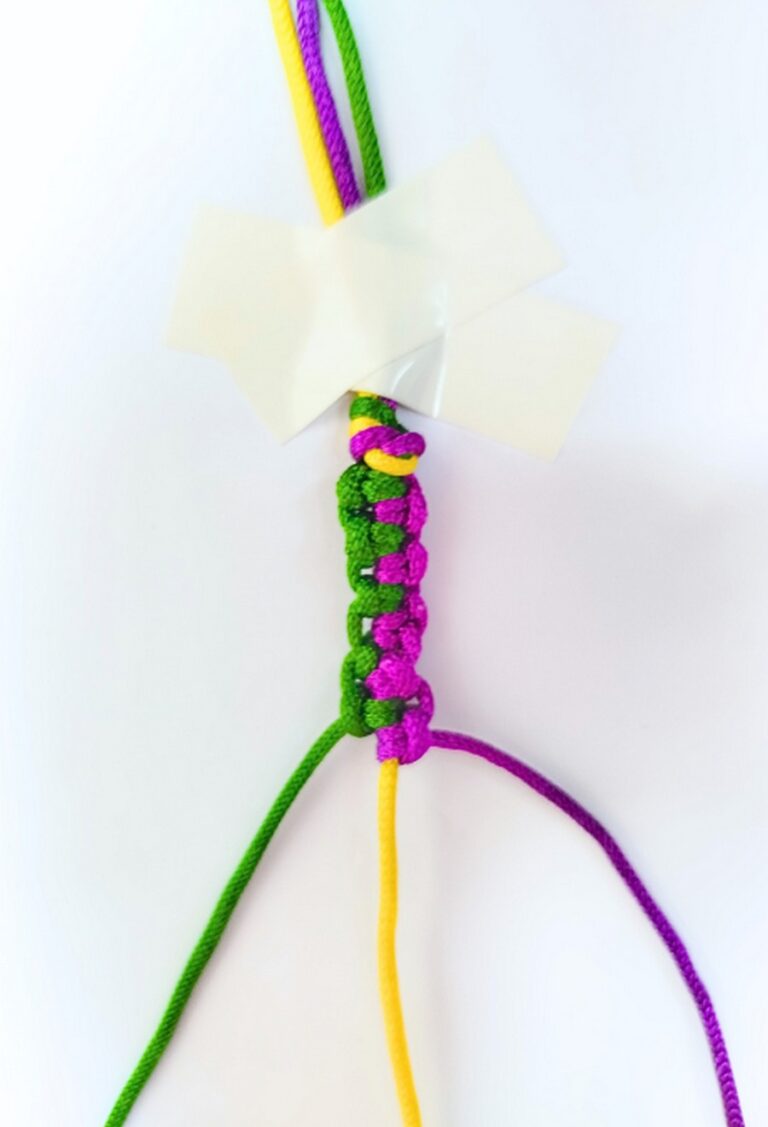
Row 2: Working with the Pink Strand
![]()
- Now, the pink strands will become the extreme strands as the purple ones have gone to the middle. Make next row with the pink yarn following the step #1 to step #5 but with the following replacement:
- For the first right row, make a double knot around the right yellow strand.
- For the 2nd right row, make a double knot around the right purple strand.
- For the 3rd left row, make a double knot around the left yellow strand.
- For the 4th left row, make a double knot around the left purple strand.
- For the 5th middle row, make a double knot around pink right strand situated in the middle!
Row 3: Working with the Yellow Strand
![]()
Yellow strands will become the extreme strands after the row 2 as the pink ones have gone to the middle. Make next row with the yellow yarn following the step #1 to step #5 but with the following replacement:
- For the first right row, make a double knot around the right pink strand.
- For the 2nd right row, make a double knot around the right purple strand.
- For the 3rd left row, make a double knot around the left pink strand.
- For the 4th left row, make a double knot around the left purple strand.
- For the 5th middle row, make a double knot around yellow right strand situated in the middle!
Repeat Pattern!
Continue repeating Row 1, row 2 and row 3 for all the remaining chevron rows until you have enough length to cover about 7/8 of the wrist!
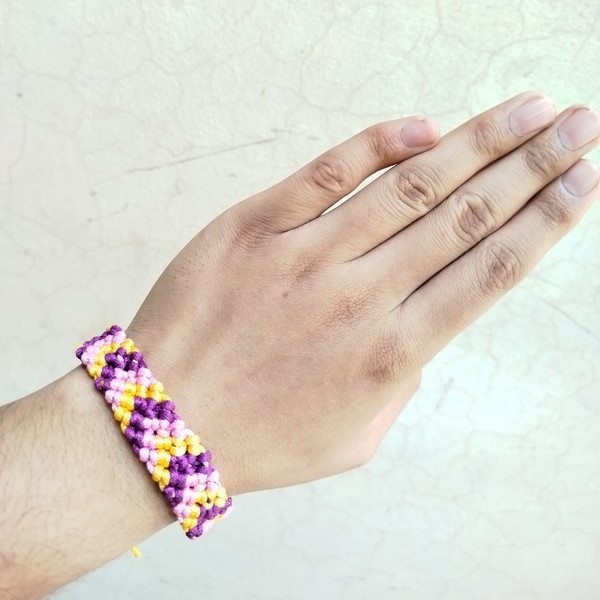
Final Knot!
Leave about 4 inches and make another slip knot or you can first braid the 6 strands like me and then make a knot to finish the tassel! And that’s how you will make a chevron bracelet for summer! Gift to a friend or make for yourself!
Was this tutorial helpful? Tell me in the comments
Your feedback is a great way for us to improve my crochet tutorials. So, share your thoughts on whether you tried this one or not, and highlight the weak points.