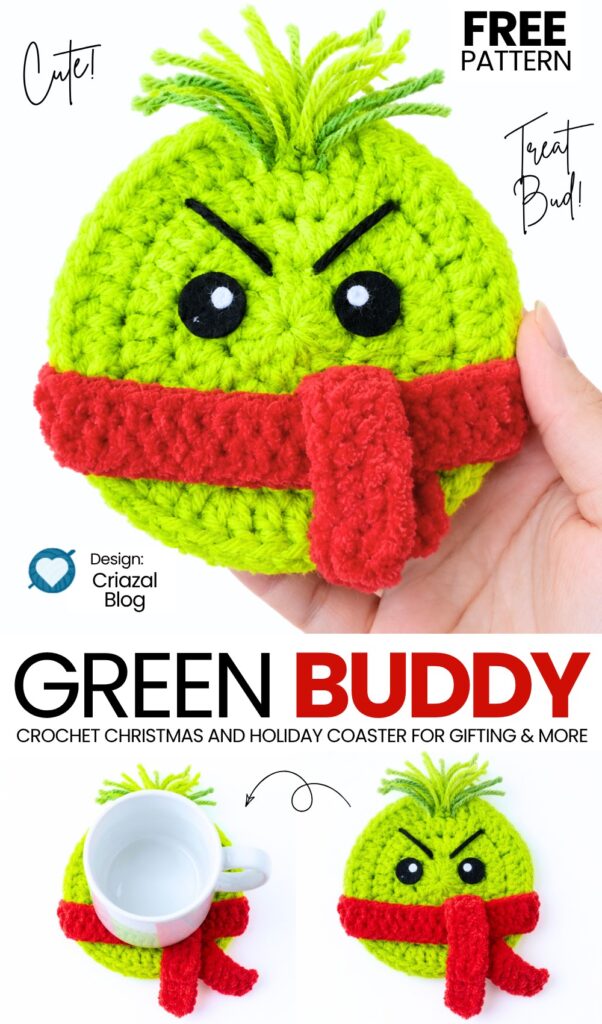
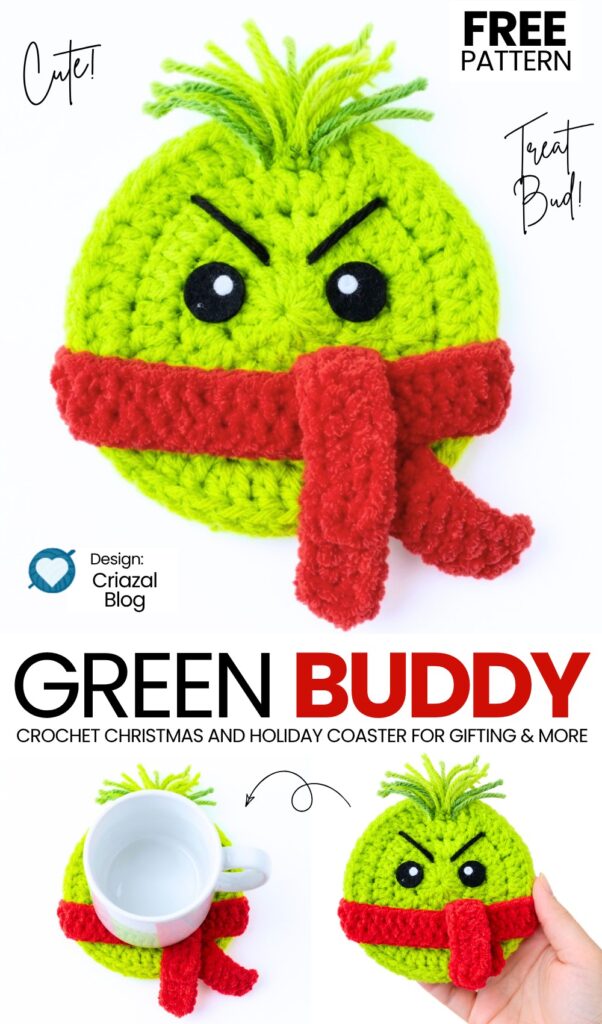
This is the first crochet CUSTOM holiday coaster pattern since the very first Christmas and holiday tester call! And luckily, it is for beginners and perfect for CUTE holiday decorations! Introducing the crochet green buddy in a red scarf crochet holiday coaster & decoration; you can learn to crochet it with a FREE written pattern.
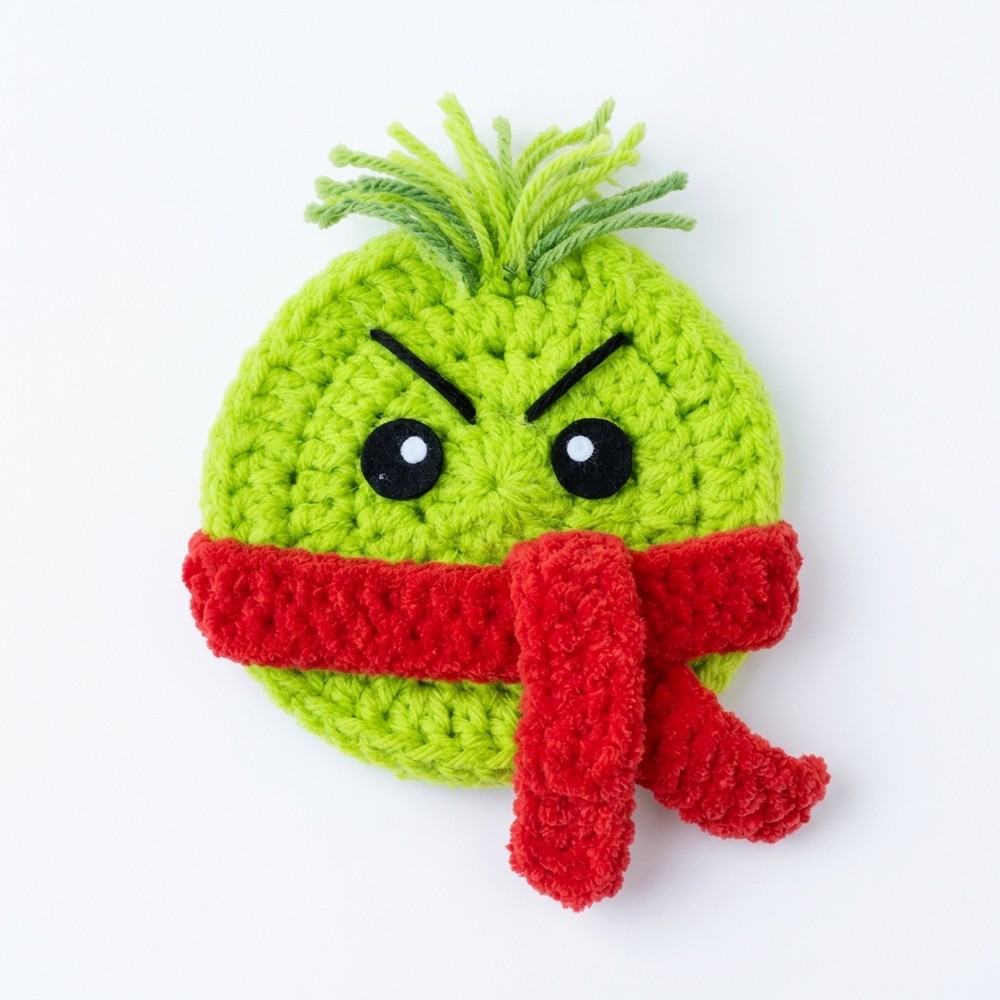
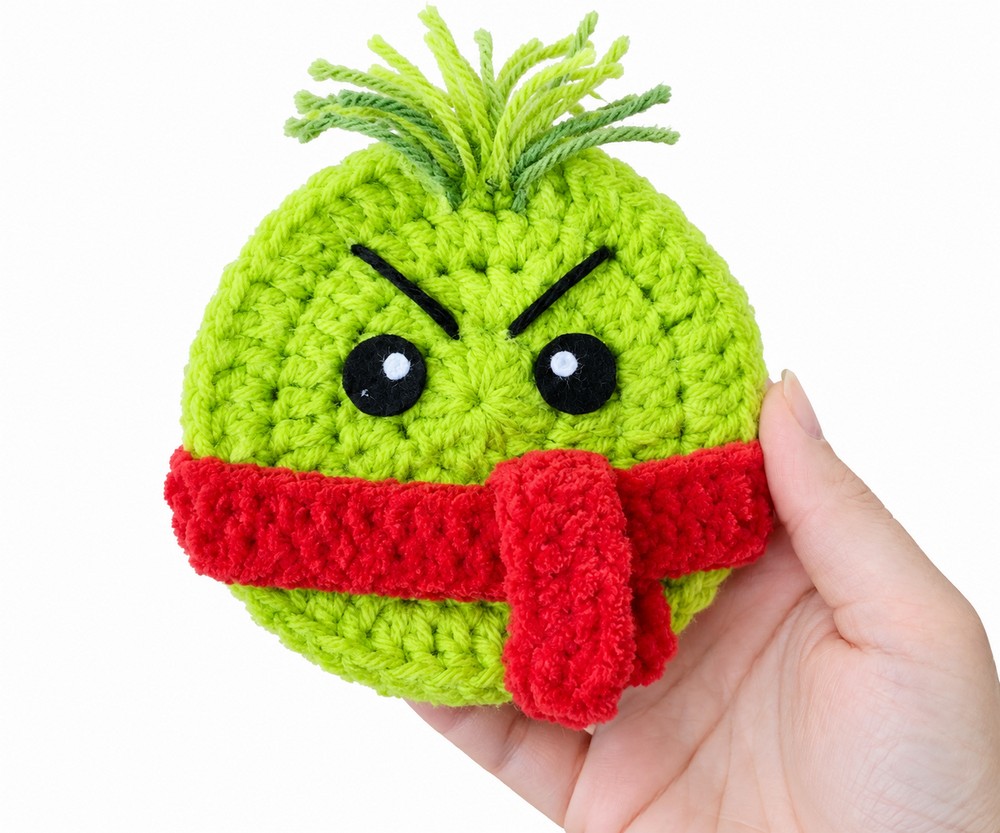
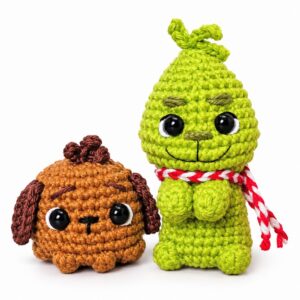
This crochet Grinch buddy coaster has Grinch eyebrows, black and white felt eyes, and a cute wrapped scarf.
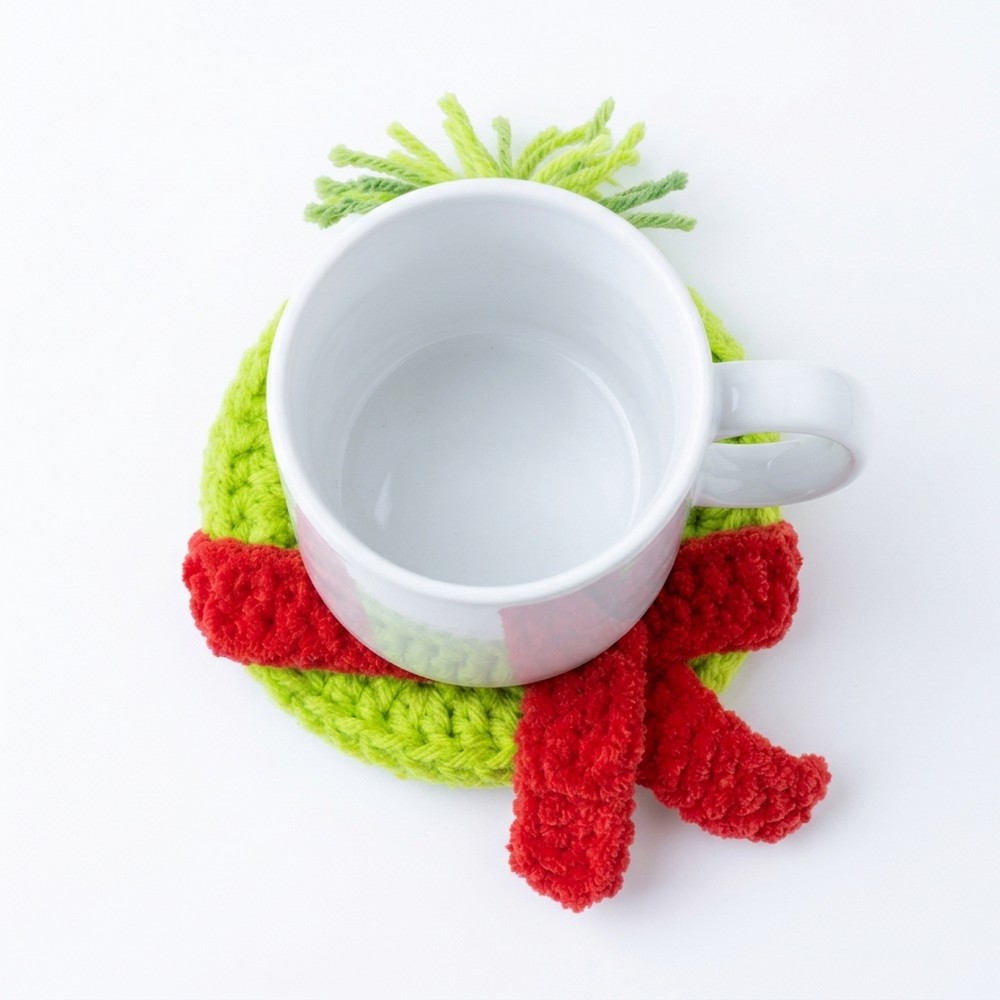
Perfect for gifting this year, as this is the easiest crochet coaster you will make thanks to the use of a basic double crochet round as a base. Can be crocheted in under 30 minutes. Now, continue reading to learn more about this worsted yarn coaster with a plush red scarf!
Pattern to Crochet Holiday Grinch Coaster for Gifting
Skill Level: Beginner – Level 3
Materials & Tools
Yarn for Coaster Base: Medium weight yarn (Category 4 / Worsted weight) in bright lime or apple green.
Yarn for Scarf: Red super bulky yarn (chenille or velvet texture works best for plushness).
Yarn for Hair Tufts: Lime green and slightly darker olive/sage green medium-weight yarn.
Crochet Hooks:
5.0 mm (US Size H-8) for the circle base.
4.0 mm (US Size G-6) for the super bulky scarf.
Face Details: Black felt sheet, white felt scraps (or white fabric paint), and black embroidery floss.
Notions: Tapestry needle, sharp scissors, and fabric glue (optional, for attaching felt eyes).
Abbreviations (US Terms)
MR: Magic Ring (Magic Circle)
ch: Chain stitch
sc: Single crochet
dc: Double crochet
sl st: Slip stitch
st(s): Stitch(es)
FO: Fasten Off
Part 1: The Circle Base (Lime Green Yarn & 5.0 mm Hook)
Note: The beginning ch 3 at the start of each round serves as a turning/height chain and does not count as a double crochet stitch. Always join each round with a slip stitch into the first actual double crochet stitch of the round, skipping over the initial chain 3.
Starting the Base: Magic Ring
Lay the tail end of the lime green yarn across the palm of your left hand.
Wrap the working yarn around your index and middle fingers, crossing over to form an “X” on top of your fingers. Hold the yarn in place with your pinky.
Insert your crochet hook under the first strand of the “X” and grab the second strand (the working yarn).
Pull the yarn under the first strand, then rotate/twist your hook upward to create a loop on the hook.
Yarn over with the working yarn and pull through the loop on your hook to secure the ring. Carefully slip your fingers out of the loops. You now have an open magic ring.
Round 1: Foundation Ring
Chain 3: Yarn over and pull through the loop on your hook three times (ch 3). Remember, this does not count as a stitch.
Work 12 Double Crochets into the Ring: Yarn over, insert your hook through the center of the magic ring. Yarn over and pull up a loop (3 loops on hook). Yarn over and pull through the first 2 loops (2 loops on hook). Yarn over and pull through the remaining 2 loops (1 dc completed). Repeat this process until you have 12 double crochets worked directly into the center of the ring.
Close the Ring: Firmly pull the short yarn tail to pull the center ring tightly closed until the hole in the middle disappears.
Join Round 1: Locate the very first double crochet stitch made (skip the starting chain 3). Insert your hook under both top loops of that first double crochet. Yarn over, pull through the stitch, and continue pulling through the loop on your hook (slip stitch).
Stitch Count: 12 dc.
Round 2: First Increase Round
Chain 3.
Increase in Every Stitch: Insert your hook into the very same stitch where you just made your joining slip stitch. Work 2 double crochets into that first stitch. Work 2 double crochets into each remaining stitch around the circle.
Join Round 2: Locate the first double crochet of Round 2 (skipping the ch-3). Insert your hook into the top of that first dc and make a slip stitch to close the round. Pull gently on the working loop to tighten the slip stitch.
Stitch Count: 24 dc.
Round 3: Second Increase Round
Chain 3.
Pattern Repeat [2 dc, 1 dc]: Work 2 double crochets into the first stitch (the same stitch joined by the previous slip stitch). Work 1 double crochet into the next stitch. Repeat the pattern [2 dc in next st, 1 dc in following st] all the way around the circle.
Join Round 3: Insert hook into the first double crochet of the round, yarn over, and complete a slip stitch to join.
Stitch Count: 36 dc.
Round 4: Final Coaster Round
Chain 4 (or ch 3 per standard notes).
Pattern Repeat [2 dc, 1 dc, 1 dc]: Work 2 double crochets into the first stitch. Work 1 double crochet into the next stitch. Work 1 double crochet into the following stitch. Repeat the pattern [2 dc in next st, 1 dc in each of the next 2 sts] all the way around the circle.
Join Round 4: Slip stitch into the first double crochet of the round to join. Fasten off, leaving a 6-inch tail to weave in.
Stitch Count: 48 dc.
Part 2: The Plush Red Scarf (Super Bulky Yarn & 4.0 mm Hook)
Foundation Chain: Using your red super bulky yarn and 4.0 mm crochet hook, chain 28 chains (this estimated length provides enough slack to wrap horizontally across the lower face of the coaster with extra length left to drape downward vertically).
Row 1: Working into the second chain from the hook, work 1 single crochet (sc) in each chain across (27 sts). Turn.
Row 2: Chain 1 (does not count as a stitch), work 1 sc in each st across (27 sts). Fasten off, leaving a long tail (about 8 inches) for sewing and securing.
Assembly on Coaster: Wrap the long strip horizontally across the lower third of your green circle base. Position it so that one end wraps across the face and the other end hangs vertically down the right side (overlapping slightly to mimic the photo). Use your tapestry needle and the red yarn tail to securely tack the scarf to the back/sides of the coaster so it stays firmly in place.
Part 3: The Grinch Hair Tufts
Cut 6 to 8 strands of lime green and dark green medium-weight yarn, each measuring about 3 inches long.
Hold a bundle of 2–3 strands together, fold them in half to form a loop.
Insert your 5.0 mm hook from back to front through the top center stitches of Round 4 (right at the top of the head).
Hook the folded center of the yarn strands and pull a small loop through to the front.
Take the loose ends of the yarn, feed them through the loop, and pull tight to create a secure lark’s head knot.
Repeat across the top 4 center stitches. Once all tufts are attached, trim the ends evenly with sharp scissors so they stand up stiff and spiky like hair tufts.
Part 4: Felt & Embroidery Face
The Eyes:
Cut two small circles (approx. 1/2 inch in diameter) out of black felt.
Cut two tiny white dots out of white felt (or use white fabric paint) and glue them onto the upper-right corner of each black circle to create the pupil highlight.
Glue or stitch the finished eyes onto Round 3 just above the red scarf line, spacing them evenly apart.
The Eyebrows:
Thread your tapestry needle with black embroidery floss.
Embroider thick, slanted, angry angled lines (“V” or downward-sloping brows) directly onto the stitches of Round 4, positioned diagonally just above each eye to capture that signature grumpy expression.
Share on Social Media!

See More:
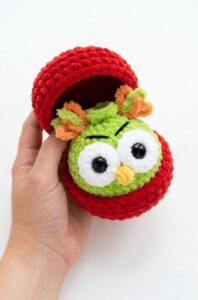
Tester Call: How to Crochet Grinch Owl Dumpling in A Christmas Box Plushie
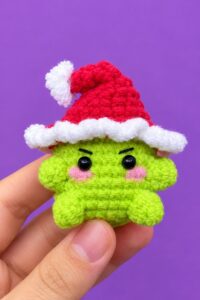
How to Crochet Grinch Mushy in Ruffle-Brim Santa Hat Miniature Amigurumi for Gifting
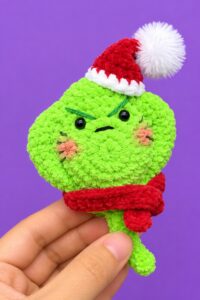
How to Crochet Mini Grinch Stingray in Santa Hat & Scarf Buddy Plushie for Gifting
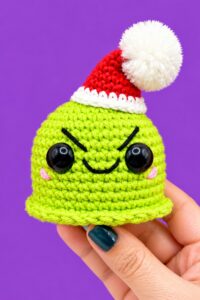
Tester Call: How to Crochet Surprise Gift Amigurumi No-Sew Grinch-Eyed Ghost Buddy for Gifting
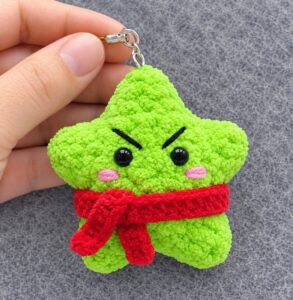
Tester Call: How to Crochet Plush Grinch Star Buddy & Ornament Gift for Christmas
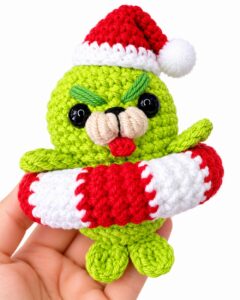
How to Crochet Grinch Seal in a Peppermint Swimming Tube Amigurumi Holiday Gift
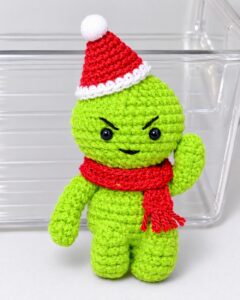
How to Crochet Amigurumi Grinch Smiski For Christmas Gifting
How to Crochet Peppermint Scarf & Cutest-Eyed Grinch Buddy Amigurumi Clip-Toy
Tester Call: How to Crochet Amigurumi Miniature Grinch Whale Present Toy