Show support for Crochet in You!
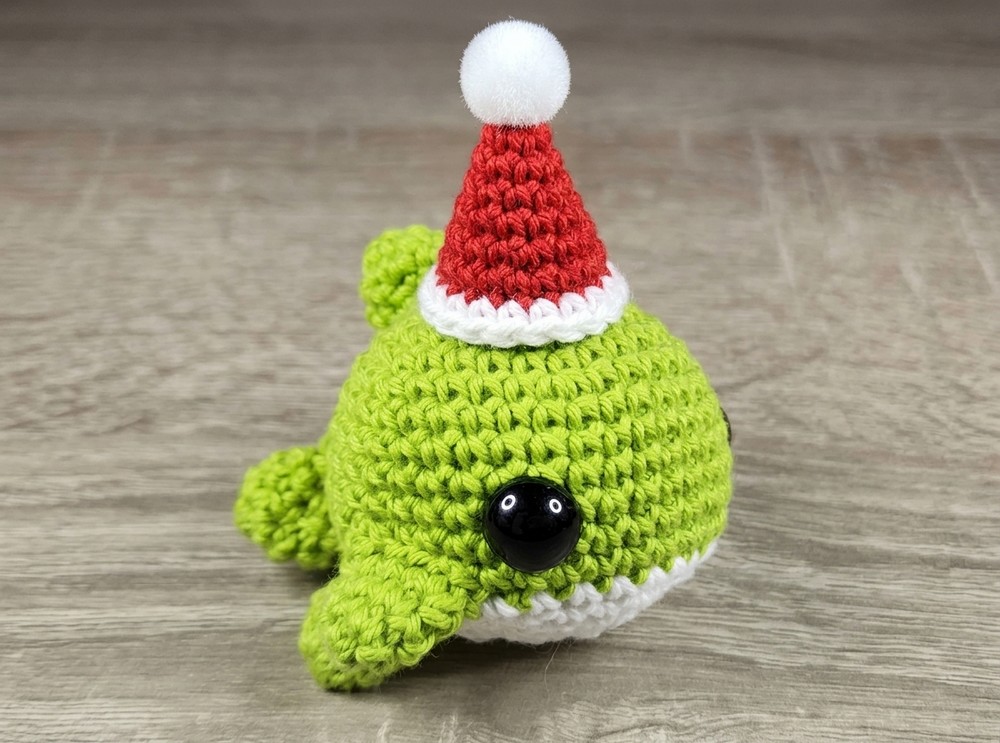
I am glad you liked all the previous crochet sea creature Grinch buddy amigurumi and plushies that I have been sharing this whole week. Today, as a thank you, I will be sharing a FREE pattern to crochet this UNIQUE Grinch eyebrow miniature no-sew whale amigurumi wearing a red and white hat.
You can also follow the tutorial for the smaller parts, such as the fins and the tail of this reen buddy whale amigurumi. Can be used as a keychain, bag charm, treat basket buddy, and even as a last-minute gift.

Pattern to Crochet the Plush Amigurumi Festive Whale Amigurumi
Skill Level: Beginner – Level 5
Materials & Tools
Yarn: 100% cotton yarn (e.g., Katia Cotton 100% or similar DK/sport-weight cotton):
Color A: Grey (for the upper body and all fins)
Color B: White (for the belly)
Crochet Hook: 2.5 mm
Safety Eyes: 1 pair of black safety eyes (approx. 8–10 mm)
Fiberfill Stuffing
Tapestry / Yarn Needle
Stitch Marker
Sewing Pins (for positioning pieces before sewing)
Scissors
Abbreviations (US Terms)
MR: Magic Ring
ch: Chain
sc: Single crochet
inc: Increase (2 sc in the same stitch)
dec: Decrease (single crochet 2 stitches together)
sl st: Slip stitch
st(s): Stitch(es)
[ ]: Total stitch count at the end of the round
( … ) x times: Repeat instructions within brackets the specified number of times
Grinch Whale Amigurumi Video Tutorial?
Pattern Instructions
1. Body
Worked in continuous spirals from the top down. Start with Color A (Grey).
Round 1: Make 6 sc in a Magic Ring [6]
Round 2: (1 inc) x 6 [12]
Round 3: (1 sc, 1 inc) x 6 [18]
Round 4: (2 sc, 1 inc) x 6 [24]
Round 5: (3 sc, 1 inc) x 6 [30]
Round 6: 1 sc in each of the 30 sts around [30]
Round 7: (4 sc, 1 inc) x 6 [36]
Rounds 8–13 (6 rounds): 1 sc in each of the 36 sts around [36]
Safety Eyes Placement:
Insert the safety eyes between Rounds 11 and 12, placing them symmetrically on opposite sides of the face (approximately 8–9 visible stitches apart along the front curve). Secure with the back washers.
Color Change:
At the final stitch of Round 13, complete the last yarn-over using Color B (White). Cut the grey yarn, tie the ends securely inside, and continue with white.
Round 14: (4 sc, 1 dec) x 6 [30]
Round 15: (3 sc, 1 dec) x 6 [24]
Round 16: (2 sc, 1 dec) x 6 [18]
Round 17: (1 sc, 1 dec) x 6 [12]
Stuffing & Closing:
Stuff the body firmly with fiberfill, shaping it into a smooth, plump ball.
Fasten off, leaving a yarn tail for closing.
Thread the tail onto a tapestry needle, weave through the front loops of all 12 remaining stitches, pull gently to cinch the opening completely closed, knot securely, and bury the tail inside the body.
2. Dorsal & Pectoral Fins (Make 3)
Make 3 identical pieces using Color A (Grey):
1 for the Dorsal Fin (top)
2 for the Pectoral Fins (sides)
Round 1: Make 6 sc in a Magic Ring [6]
Round 2: (1 sc, 1 inc) x 3 [9]
Round 3: 1 sc in each of the 9 sts around [9]
Round 4: (2 sc, 1 inc) x 3 [12]
Work a sl st into the next stitch to finish.
Fasten off, leaving a long tail for sewing. Do not stuff the fins; press them flat.
3. Tail Fins (Make 2)
Make 2 identical pieces using Color A (Grey).
Round 1: Make 6 sc in a Magic Ring [6]
Round 2: (1 sc, 1 inc) x 3 [9]
Round 3: 1 sc in each of the 9 sts around [9]
Round 4: (1 sc, 1 dec) x 3 [6]
Work a sl st into the next stitch to finish.
Fasten off, leaving a long tail for sewing. Do not stuff; flatten into small, tapered points.
Mini Santa Hat
Yarn: DK Yarn in Red and White
Hook: 2.00 mm
- Mini pom pom
Pattern Instructions
Using Red yarn:
Rnd 1: 4 sc in MR (4)
Rnd 2: [sc 1, inc] x 2 (6)
Rnd 3: [sc 2, inc] x 2 (8)
Rnd 4: [sc 3, inc] x 2 (10)
Rnd 5: [sc 4, inc] x 2 (12)
Rnd 6: [sc 5, inc] x 2 (14)
Rnd 7: [sc 6, inc] x 2 (16)
Change to White yarn:
Rnd 8: [sc 3, inc] x 4 (20)
Rnd 9: [sc 9, inc] x 2 (22)
Fasten off and weave in the ends.
Finishing
Glue your store-bought pom-pom onto the top point of the hat using fabric glue or hot glue.
Assembly & Finishing
Dorsal Fin:
Pin the dorsal fin centered on top of the shark’s back, spanning roughly between Rounds 6 and 10, aligned symmetrically between the eyes.
Sew along both sides of the base to the body, secure, and weave in the tail.
Pectoral (Side) Fins:
Pin one fin to each side of the body just behind the eyes, positioned horizontally along the color transition line between the grey and white sections.
Sew the open edges flat against the body, knot, and hide the yarn tails inside.
Tail Fins:
Pin the two small tail pieces at the rear of the shark, sitting vertically side-by-side or angled slightly apart to form the classic V-shaped caudal fin.
Sew both securely to the back of the body, tie off, and weave in all remaining yarn ends.

See More:
Tester Call: How to Crochet Grinch Owl Dumpling in A Christmas Box Plushie
How to Crochet Grinch Mushy in Ruffle-Brim Santa Hat Miniature Amigurumi for Gifting
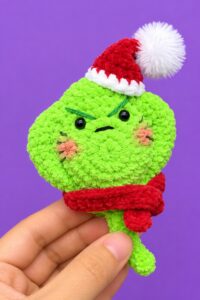
How to Crochet Mini Grinch Stingray in Santa Hat & Scarf Buddy Plushie for Gifting

Tester Call: How to Crochet Surprise Gift Amigurumi No-Sew Grinch-Eyed Ghost Buddy for Gifting
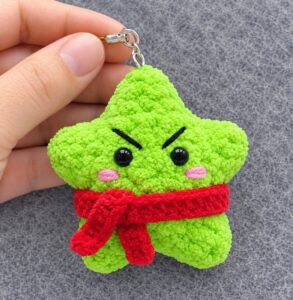
Tester Call: How to Crochet Plush Grinch Star Buddy & Ornament Gift for Christmas
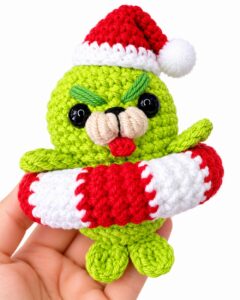
How to Crochet Grinch Seal in a Peppermint Swimming Tube Amigurumi Holiday Gift

How to Crochet Amigurumi Grinch Smiski For Christmas Gifting
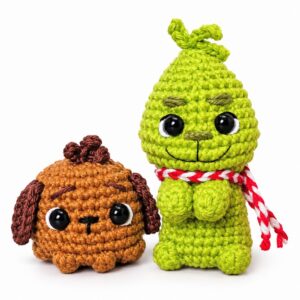
How to Crochet Peppermint Scarf & Cutest-Eyed Grinch Buddy Amigurumi Clip-Toy

Tester Call: How to Crochet Mr. Grinch Jellyfish Plushie in Santa Hat & Scarf