Show support for Marifairyland!
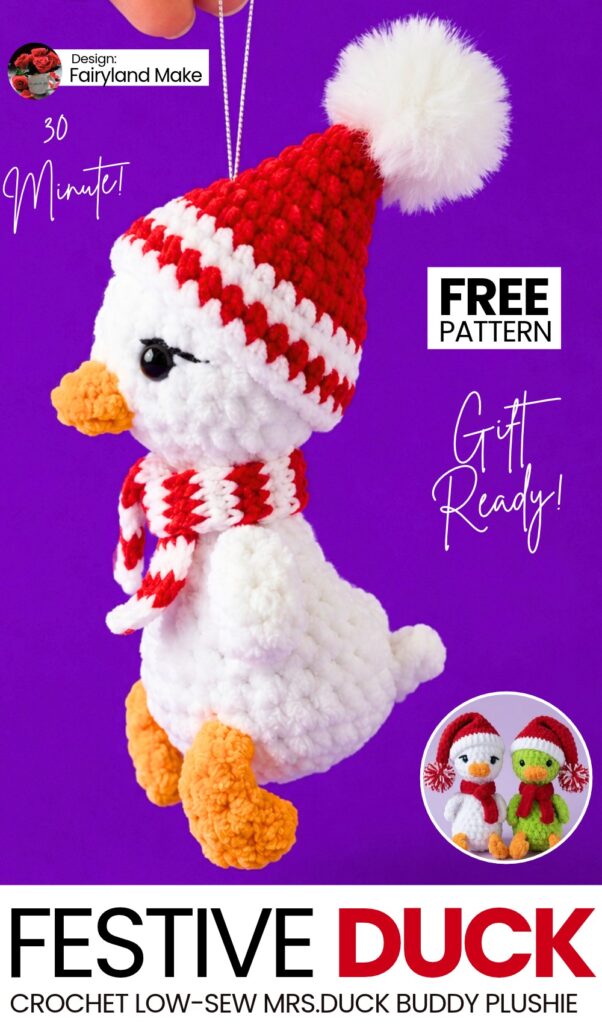
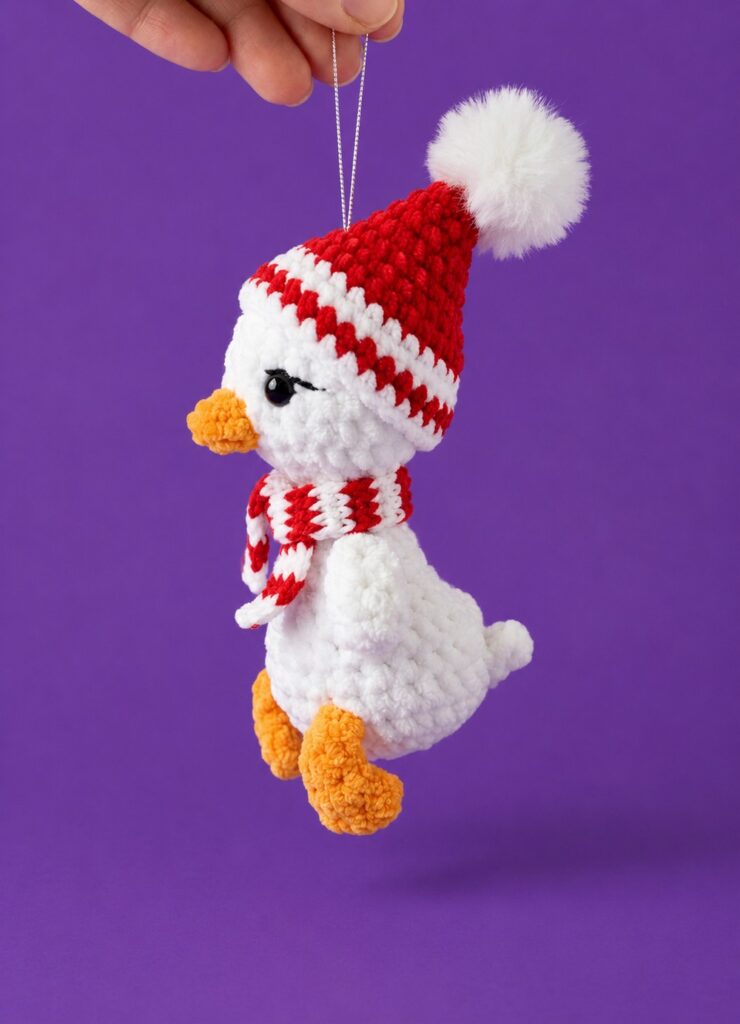
In today’s tutorial to crochet your favorite animal plushies in festive accessories, learn how to crochet this NO-Sew sitting snowman duck plushie with a FREE pattern. Choose from the duck wearing a peppermint beanie, a Santa hat, or a peppermint crochet scarf. You can choose from the white and the green duck plushie as well.
In this tutorial, you will learn how to crochet an adorable, miniature plush goose (or duckling) that measures approximately 12 cm (4.7 inches) tall.
What makes this plushie snowman duck project special is that it is 100% seamless and completely no-sew. It makes a charming pocket pal, backpack charm, car mirror hanger, or quick handmade gift for any animal lover.
Pattern to Crochet a Green Doll Buddy Duck Plushie for Gifting
Skill Level: Beginner – Level 4
Materials & Tools
Plush / Chenille Yarn (Super Bulky weight, e.g., Himalaya Dolphin Baby or Wolans Bunny Baby, 100 g / 120 m):
Main Color: Light grey (or white / dark grey) for the body and head (~25–30 g)
Contrast Color: Bright yellow or orange for the webbed feet and beak (~5–10 g)
Crochet Hook: 4.0 mm
Safety Eyes: 8 mm (blue, brown, or black)
Embroidery Thread / Yarn: A strand of black semi-cotton yarn (e.g., YarnArt Jeans) for the sleepy eyelids/eyebrows
Stuffing: Polyester fiberfill (holofiber)
Notions:
Tapestry/yarn needle
Stitch marker
Sharp scissors
Tweezers or stuffing tool
Craft lighter (optional, to melt and secure the safety eye posts inside)

Materials & Tools for Scarf & Hat
Yarn: Category 5 (Bulky/Plush) yarn in Red and White
Crochet Hook: 3.5 mm
Notions: Fluffy faux pom-pom ball, yarn needle, stitch marker, scissors
Pattern Notes & Abbreviations (US Terms)
MR: Magic Ring (or Ch 2 method for plush yarn)
ch: Chain
sc: Single crochet
inc: Increase (2 single crochet into the same stitch)
dec: Decrease (single crochet 2 stitches together)
hdc: Half double crochet
dc: Double crochet
FLO: Front loops only
BLO: Back loops only
sl st: Slip stitch
st(s): Stitch(es)
[ … ]: Total stitch count at the end of the round
( … ) * X: Repeat the sequence in parentheses X times
Special Stitch Guides
Webbed Foot (worked on foundation chain):
Ch 5. In the 4th chain from the hook (leaving 1 unworked chain at the base), work: 3 dc, ch 2, 1 sc all into the same 4th chain. Then, work 1 sc into each of the remaining 2 chain spaces back down toward the body.Tail Feather Fan:
Worked across 3 stitches in FLO. In each of the 3 front loops, work: (2 dc, ch 2, 1 sc).3-dc Cluster (Beak Stitch):
Yarn over, insert hook into the indicated stitch, yarn over, pull up a loop. Yarn over, pull through 2 loops (2 loops on hook). Repeat 2 more times in the same stitch (4 loops on hook). Yarn over and pull through all 4 loops together.
Video tutorial to Crochet the Duck Plushie
Step-by-Step Crochet Pattern
The toy is worked in continuous spiral rounds from the bottom of the body, up the neck, and through the head.
Phase 1: Lower Body & Legs
Using Grey Yarn:
Round 1: Ch 2, work 6 sc into the 2nd ch from hook (or 6 sc in a MR) [6]
Round 2: 6 inc [12]
Round 3: (1 sc, inc) * 6 [18]
Round 4: (2 sc, inc) * 6 [24]
Round 5: Crocheting the Feet & Tail
Work 2 sc in grey. On the 2nd sc, stop before the final pull-through and change to Yellow yarn.
First Foot:
Ch 5.
In the 4th ch from the hook, work: 3 dc, ch 2, 1 sc.
Work 2 sc along the remaining chains back down to the body.
Insert hook back into the base stitch on the body, pull up a loop of yellow, drop yellow, pick up grey, and complete the stitch with Grey yarn.
Work 4 sc in grey. On the 4th sc, stop before the final pull-through and change to Yellow yarn.
Second Foot:
Ch 5.
In the 4th ch from the hook, work: 3 dc, ch 2, 1 sc.
Work 2 sc along the remaining chains back down to the body.
Insert hook into the base stitch on the body, pull up a loop of yellow, and complete the stitch with Grey yarn. Cut the yellow yarn and knot the ends securely inside the body.
Work 7 sc in grey.
The Tail (worked in FLO across the next 3 stitches):
In FLO of next st: (2 dc, ch 2, 1 sc)
In FLO of next st: (2 dc, ch 2, 1 sc)
In FLO of next st: (2 dc, ch 2, 1 sc)
Work 6 sc in grey to the end of the round [24]
Phase 2: Upper Body & Wings
Round 6: Work 24 sc around.
(Note: When you reach the tail, push the feathers forward and crochet into the 3 unworked back loops (BLO) behind the tail feathers.) [24]Round 7: 15 sc, 3 dec (centered above the tail), 3 sc [21]
Round 8: (5 sc, dec) * 3 [18]
Round 9: (4 sc, dec) * 3 [15]
Round 10: (3 sc, dec) * 3 [12]
Round 11: Crocheting the Wings
Work 2 sc.
First Wing:
Ch 7.
Starting in the 2nd ch from hook, work 5 hdc back down the chain.
Work 6 sc across the body.
Second Wing:
Ch 7.
Starting in the 2nd ch from hook, work 5 hdc back down the chain.
Work 4 sc across the body to finish the round [12]
Phase 3: The Neck
Round 12: (2 sc, dec) * 3 [9]
(When working past the wings, tuck the wings forward and crochet into the body stitches behind them).Rounds 13–15 (3 rounds): 9 sc around [9]
Phase 4: Head & Beak
Round 16: 9 inc [18]
Round 17: (2 sc, inc) * 6 [24]
Round 18: Crocheting the Beak
Work 14 sc in grey. On the 14th sc, stop before the final pull-through and change to Yellow yarn.
Beak:
In the next st (st 15): Work a 3-dc cluster in yellow.
In the next st (st 16): Work a 3-dc cluster in yellow. On the final pull-through of this second cluster, change back to Grey yarn.
Cut the yellow yarn and tie the tails securely together inside the head.
Work 8 sc in grey to the end of the round [24]
Phase 5: Finishing the Head & Eyes
Rounds 19–21 (3 rounds): 24 sc around [24]
Stuffing & Safety Eye Placement:
Firmly stuff the body and neck with fiberfill, ensuring the neck stands straight and proud.
Safety Eyes (8 mm): Insert between Rounds 19 and 20, spaced 5 stitches apart (centered diagonally above each side of the beak).
Snap on the washer backings. (Tip from the video: carefully use a lighter to slightly melt the plastic post behind the washer and flatten it with the metal lighter top for extra child-safe security).
Round 22: (2 sc, dec) * 6 [18]
Round 23: (1 sc, dec) * 6 [12]
Stuff the head firmly with fiberfill, shaping it into a neat, rounded dome.
Round 24: 6 dec [6]
Fasten Off & Closing:
Cut yarn leaving an 8-inch tail. Thread the tail onto a tapestry needle, pick up the front loops of the remaining 6 stitches, pull tightly to cinch the crown closed, and weave the yarn tail down through the head and body before trimming.
Phase 6: Facial Embroidery
Thread a length of black semi-cotton yarn (YarnArt Jeans) onto your needle.
Enter from the back/side of the head and emerge just above the outer top corner of one eye.
Stitch a small, slightly downward-slanted eyelid/eyebrow line to give the goose its characteristic sweet, sleepy expression.
Repeat symmetrically above the other eye.
Exit through the base of the head, knot the two black yarn ends together, and pull them inside the head to conceal.
Your completely seamless, no-sew plush gosling is finished!
Hat Pattern
Start with Red yarn category 4 and 3.5mm hook.
Rnd 1: 6 sc in a Magic Ring (6 sts)
Rnd 2: [1 sc, inc] x 3 (9 sts)
Rnd 3: [2 sc, inc] x 3 (12 sts)
Rnd 4: [3 sc, inc] x 3 (15 sts)
Rnd 5: [4 sc, inc] x 3 (18 sts)
Rnd 6: [5 sc, inc] x 3 (21 sts)
Rnd 7: [6 sc, inc] x 3 (24 sts)
Rnd 8: [7 sc, inc] x 3 (27 sts)
Change to White yarn.
Rnd 9: [8 sc, inc] x 3 (30 sts)
Rnd 10: [9 sc, inc] x 3 (33 sts)
Change to Red yarn.
Rnd 11: 33 sc around (33 sts)
Change to White yarn.
Rnd 12: 33 sc around (33 sts)
fo and weave in ends.
Finishing the Hat
Take your fluffy faux pom-pom ball. Using a yarn needle and loose fibers pulled from the base section of the pom-pom, securely whipstitch the pom-pom to the center top (magic ring area) of the hat.
Part 2: The Peppermint Scarf
Working in rows using Single Crochet (sc) with 5 stitches. Change colors every 3 rows to create the peppermint stripes.
Materials & Tools for Beanie Hat
Yarn: Category 5 (Bulky/Plush) yarn in Red and White
Hook: 3.5 mm crochet hook
Notions: Stitch marker, yarn needle, scissors
Abbreviations
Rnd: Round
sc: Single Crochet
inc: Increase (2 sc in the same stitch)
dec: Decrease (Invisible single crochet decrease)
st(s): Stitch(es)
fo: Fasten Off
Pattern Instructions
Start with Red yarn.
Rnd 1 (Red): 8 sc in a Magic Ring (8 sts)
Rnd 2 (White): [inc] x 8 (16 sts)
Rnd 3 (Red): [1 sc, inc] x 8 (24 sts)
Rnd 4 (White): [2 sc, inc] x 8 (32 sts)
Rnd 5 (Red): 32 sc around (32 sts)
Rnd 6 (White): 32 sc around (32 sts)
Rnd 7 (Red): [14 sc, dec] x 2 (30 sts)
Rnd 8 (White): [13 sc, dec] x 2 (28 sts)
Fasten off and weave in ends.
Share on Social Media!


See More:
Tester Call: How to Crochet Surprise Gift Amigurumi No-Sew Grinch-Eyed Ghost Buddy for Gifting
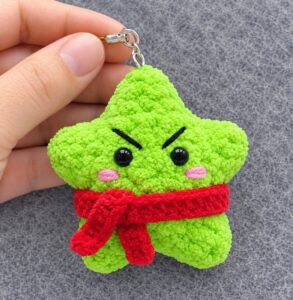
Tester Call: How to Crochet Plush Grinch Star Buddy & Ornament Gift for Christmas
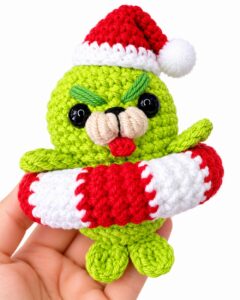
How to Crochet Grinch Seal in a Peppermint Swimming Tube Amigurumi Holiday Gift
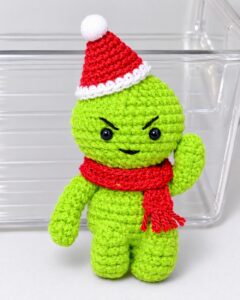
How to Crochet Amigurumi Grinch Smiski For Christmas Gifting
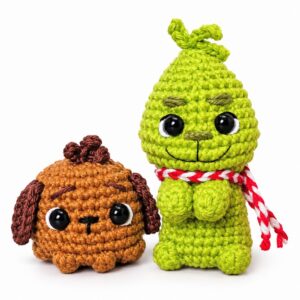
How to Crochet Peppermint Scarf & Cutest-Eyed Grinch Buddy Amigurumi Clip-Toy
Tester Call: How to Crochet Amigurumi Miniature Grinch Whale Present Toy
Tester Call: How to Crochet Mr. Grinch Jellyfish Plushie in Santa Hat & Scarf
3-in-1 Crochet Tree Embroidery, Grinch and Santa Miniature Treat Baskets
Tester Call: How to Crochet Santa Hat & Scarf Tiger Grinch Buddy Plushie for Gifting