Show support for Marifairyland!
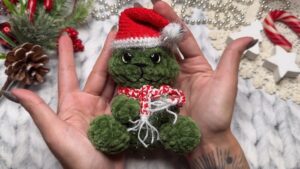
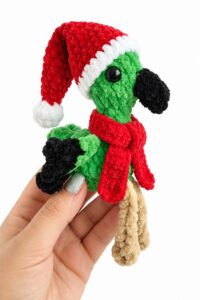
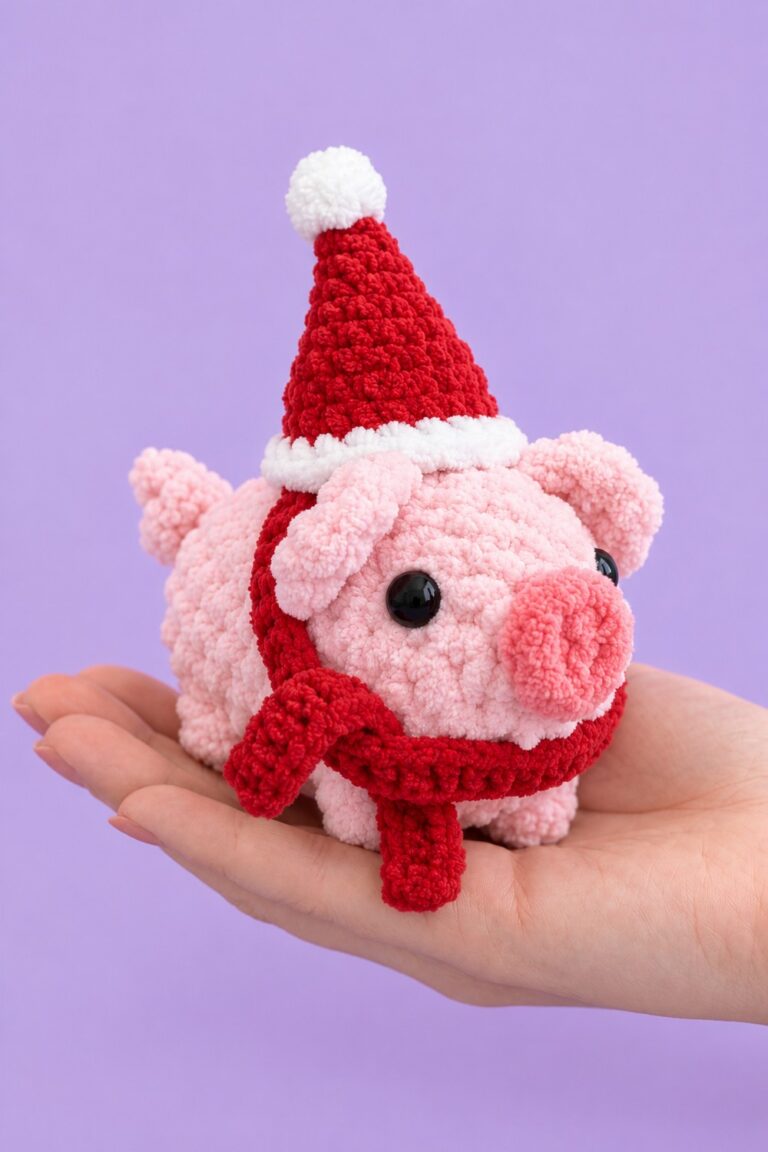
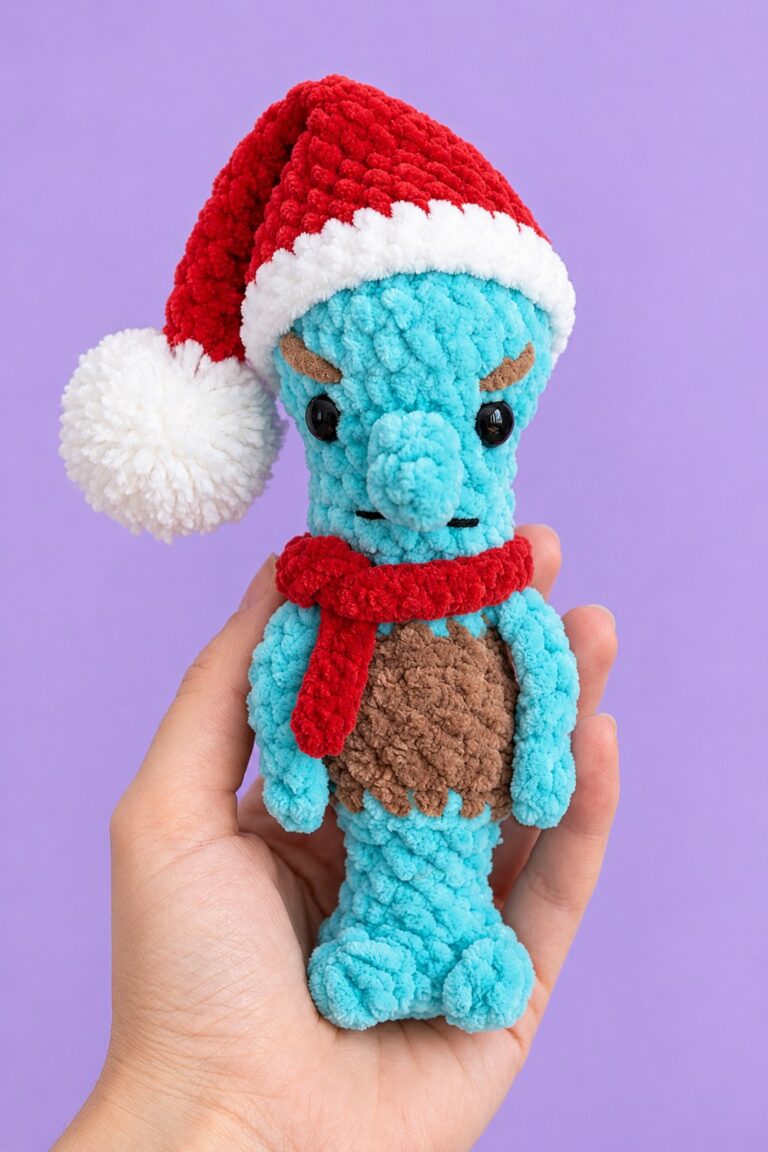
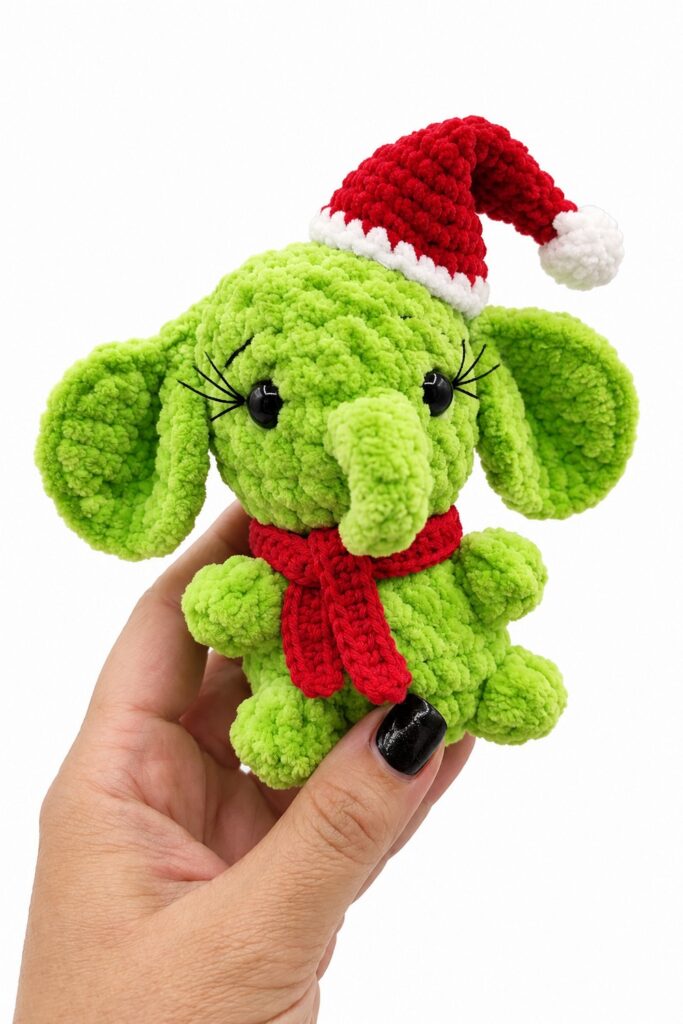
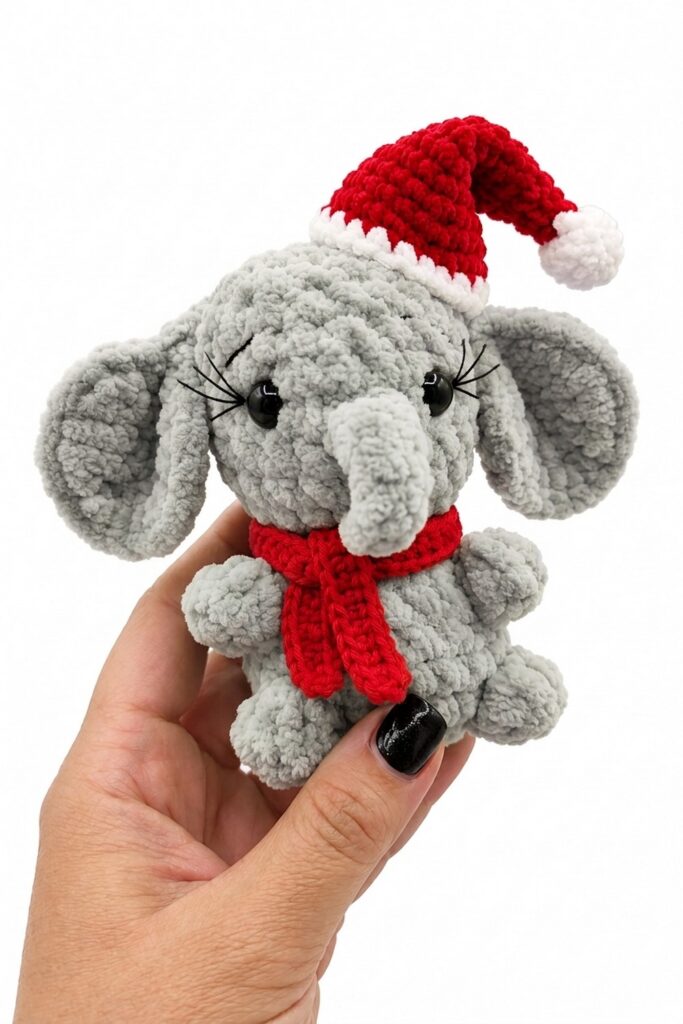
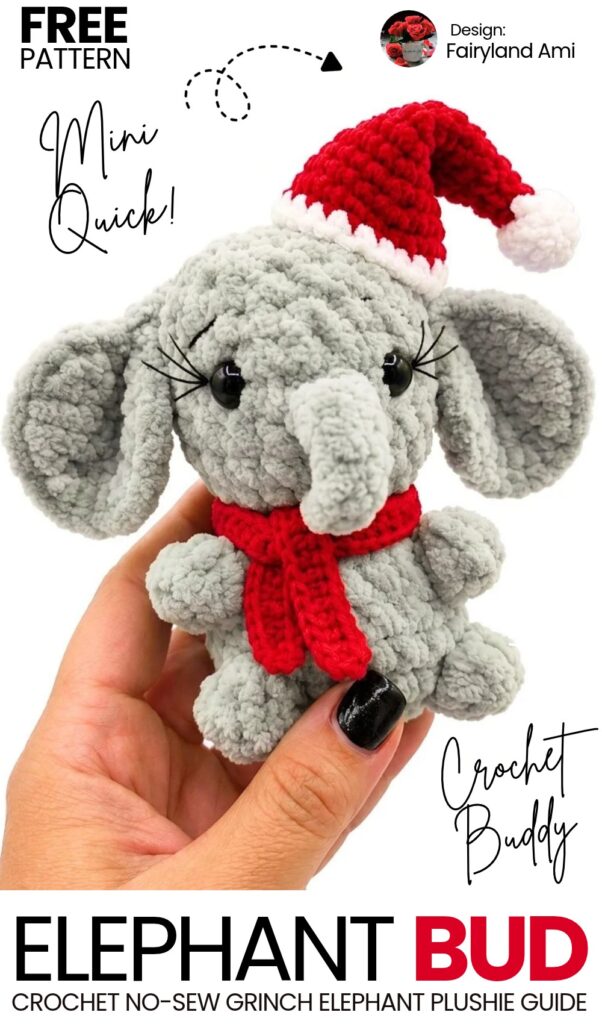
Welcome to part 5 of crocheting your favorite animal plushies with the removable festive accessories. Today, I chose the crochet elephant plushie with the same no-sew, quick, super-easy design. Meet the crochet grey baby elephant in a slouchy Santa hat and scarf, with a FREE pattern to learn. You can also crochet its Grinch variation!
Designed almost entirely seamless (no-sew), the legs, tail, trunk, and arms are crocheted directly into the body as you go, and the ears are joined seamlessly into the head without any sewing.
Standing around 8.5 cm (3.3 inches) tall, this pocket-sized elephant makes a wonderful keychain, bag charm, baby toy, or thoughtful handmade gift. Now, continue reading to learn more about this UNIQUE miniature elephant buddy plushie!
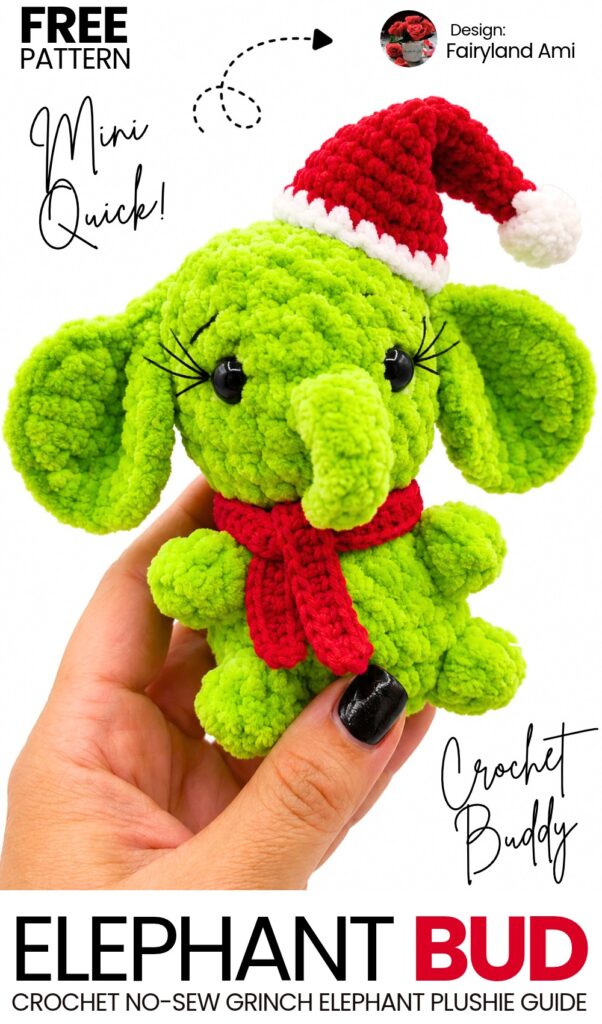
Pattern to Crochet the Christmas Elephant Plushie for Gifting
Height: Approximately 8.5 cm (~3.3 inches)
Materials & Tools
Plush Yarn: 1 skein (small leftover amount) of chunky plush/chenille yarn (100 g / 120 m, e.g., Himalaya Dolphin Baby, YarnArt Dolce) in light blue, soft grey, or coral pink.
Crochet Hook: 4.5 mm (US 7).
Safety Eyes: 8 mm colored or black safety eyes (1 pair).
Embroidery Thread: Fine black yarn/cotton thread for the eyebrows and eyelashes.
Fiberfill: Polyester stuffing (holofiber).
Notions: Stitch marker, tapestry/yarn needle, fine embroidery needle, sharp scissors, stuffing tweezers (optional), and a lighter (optional, for melting safety eye stems).
Materials for the Hat
Hook Size: 2.5 mm
Yarn:
DK Light Worsted Yarn in Red and White
Plush / Chenille Yarn in White (for the top pompom)
Notions: Yarn needle, scissors, stitch marker
Abbreviations (US Terms)
MR: Magic Ring (or Ch 2 method)
ch: Chain
sc: Single crochet
inc: Increase (2 sc in the same stitch)
dec: Decrease (single crochet 2 stitches together)
sl st: Slip stitch
dc: Double crochet
st(s): Stitch(es)
[ ]: Total stitch count at the end of the round
Video tutorial to Crochet the Elephant Plushie
Special Stitches & Techniques
Popcorn Stitch (Limbs): Work 5 dc into the indicated stitch. Pull your hook slightly out of the active loop, insert hook from front to back through the top of the 1st dc, pick up the dropped loop, pull it through, and ch 1 to lock the popcorn.
Ch 2 Start: Instead of a magic ring, ch 2 and work the initial stitches into the 2nd chain from the hook (ideal for chenille yarn to prevent snapping).
Pattern Instructions
1. Ears (Make 2)
Ears are made first so they can be crocheted directly into Round 14 of the head.
Round 1: Ch 2, work 7 sc into the 2nd chain from the hook [7]
Round 2: 7 inc (2 sc in each st around) [14]
Round 3: (1 sc, inc) repeat 7 times [21]
Fasten off, cut yarn leaving a short tail, remove marker, and secure the end with a slip stitch. Set both ears aside.
2. Body & Head (Worked in One Continuous Piece from Bottom Up)
The Lower Body & Legs
Round 1: Ch 2, work 6 sc into the 2nd chain from the hook [6]
Round 2: 6 inc (2 sc in each st around) [12]
Round 3 (Tail & Hind Legs):
1 sc
Tail: ch 4, turn; starting in 2nd ch from hook, work 3 sl st down the chain.
Continue on base: inc into next st, inc into next st, 1 sc, inc
Leg 1: Popcorn stitch (5 dc in next st, close with sl st through 1st dc, ch 1)
inc into next st, inc into next st
Leg 2: Popcorn stitch in next st
1 sc, inc into next st, 1 sc, inc into next st [18 sts around body]
Rounds 4–5 (2 rounds): 18 sc around [18]
The Arms & Neck
Round 6 (Front Arms):
6 sc
Arm 1: Popcorn stitch in next st
4 sc
Arm 2: Popcorn stitch in next st
5 sc [18]
Round 7 (Neck Shaping): (1 sc, dec) repeat 6 times [12]
Round 8: 12 sc around [12]
The Head & Trunk
Round 9: (1 sc, inc) repeat 6 times [18]
Round 10: 18 sc around [18]
Round 11 (Trunk):
11 sc (centered between the arms)
Trunk: ch 7; starting in 2nd ch from hook, work 3 sl st, then 3 sc down the chain.
Continue on head: 7 sc to complete round [18]
Rounds 12–13 (2 rounds): 18 sc around [18]
Pause here to lightly stuff the lower body with fiberfill.
Joining the Ears
Round 14:
6 sc along the head.
Attach Ear 1: Fold the first ear in half. Insert your hook through both folded edges of the ear (through 2 edge loops) and through the next stitch on the head; work 1 sc. Repeat through the next aligned ear edge and next head st to complete the join (joined across 2 head sts).
8 sc across the forehead/back of head.
Attach Ear 2: Fold the second ear in half. Insert hook through both folded edges of the ear and the next head st; work 1 sc. Repeat through the next aligned ear edge and next head st (joined across 2 head sts).
[18 sts total]
Round 15: 18 sc around [18]
3. Inserting Safety Eyes
Position the 8 mm safety eyes between Rounds 12 and 13, spaced 2 stitches away from each side of the trunk.
Fasten the backings securely on the inside. (Optional safety tip: carefully melt the protruding plastic post inside using a lighter and flatten it with the back of a tool or lighter casing to prevent the eye from pulling through the plush stitches).
4. Closing the Head
Round 16: (1 sc, dec) repeat 6 times [12]
Stuffing: Firmly stuff the head with fiberfill, shaping the cheeks and back of the head.
Round 17: 6 dec [6]
Fasten off, cutting the yarn leaving a 10 cm (4-inch) tail. Thread the tail onto a yarn needle, weave through the front loops of all 6 remaining stitches, pull firmly to close the top opening, knot securely, and hide the yarn tail inside the head.
Pattern Abbreviations (US Terms)
MR: Magic Ring
sc: Single crochet
inc: Increase (2 sc in same stitch)
sl st: Slip stitch
ch: Chain
dc: Double crochet
st(s): Stitch(es)
Pompom Bobble (5-dc cluster): [Yarn over, insert hook, yarn over, pull up a loop, yarn over, pull through 2 loops] 5 times into the same stitch (6 loops on hook). Yarn over, pull through all 6 loops, then ch 1 to secure.
Hat Body
Using 2.5 mm hook and DK Red yarn:
Rnd 1: 6 sc in MR (6)
Rnd 2: (5 sc, inc) (7)
Rnd 3: (6 sc, inc) (8)
Rnd 4: (7 sc, inc) (9)
Rnd 5: (8 sc, inc) (10)
Rnd 6: (9 sc, inc) (11)
Rnd 7: (10 sc, inc) (12)
Rnd 8: (5 sc, inc) x 2 (14)
Rnd 9: (6 sc, inc) x 2 (16)
Rnd 10: (7 sc, inc) x 2 (18)
Rnd 11: (8 sc, inc) x 2 (20)
Rnd 12: (9 sc, inc) x 2 (22)
Rnd 13: (10 sc, inc) x 2 (24)
Change to DK White yarn on the last stitch of Rnd 13.
Brim
Rnd 14: sc in each st around (24)
Rnd 15: sc in each st around (24)
Fasten off white yarn, weave in ends, or tuck tails neatly inside the hat.
Top Pompom
Reattach White plush yarn to the top center point of the hat (the original Magic Ring center): insert hook, pull up a loop, and ch 1.
In the same top spot, work 1 Pompom Bobble (5-dc cluster + ch 1 to secure).
Sl st back into the exact same center spot of the hat to anchor the pompom securely.
5. Facial Embroidery
Thread a fine needle with thin black thread.
Eyelashes: Take a tiny diagonal stitch at the outer upper edge of each safety eye to create delicate eyelashes/eyeliner.
Eyebrows: Embroider small, slightly curved or angled eyebrows 1–2 rounds above each eye to give the elephant an expressive, gentle look.
Secure the thread ends with a knot and pull them deep into the head using tweezers or a needle.
Share on Social Media!
See More:
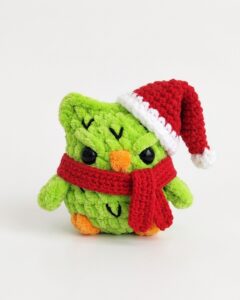
How to Crochet Angry Slouchy Santa Hat Owl Plushie Bag Charm (Grinch Owl)
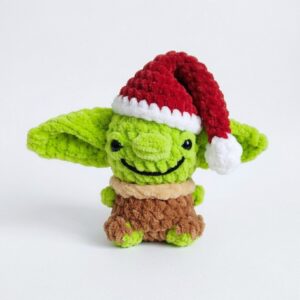
How to Crochet Slouchy Santa Hat Grinch Baby Yoda Plushie for Gifting
Tester Pattern: How to Crochet Santa Hat Grinch Turtle Plushie for Christmas Gifting
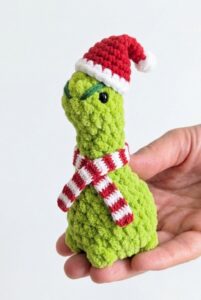
Tester Call: Crochet Santa Mr. No-Sew Dino Grinch Plushie for Gifting
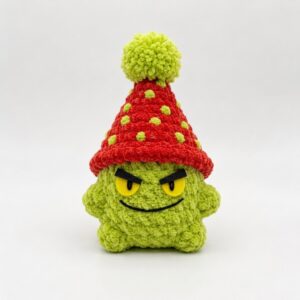
Tester Call: How to Crochet Grinch & Frog Festive Hat Baby Mushroom Plushie for Gifting
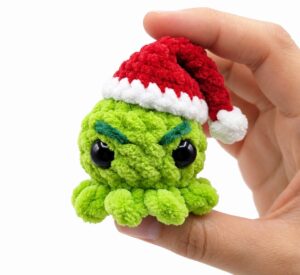
Tester Call: How to Crochet Mini No-Sew Grinch Santa Octopus Plushie for Kids
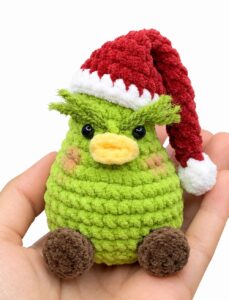
Tester Call: How to Crochet Grinch Pear Miniature Christmas Plushie for Gifting

Tester Call: How to Crochet Grinch Christmas Gift Plushie for Kids