Show support for Marifairyland!
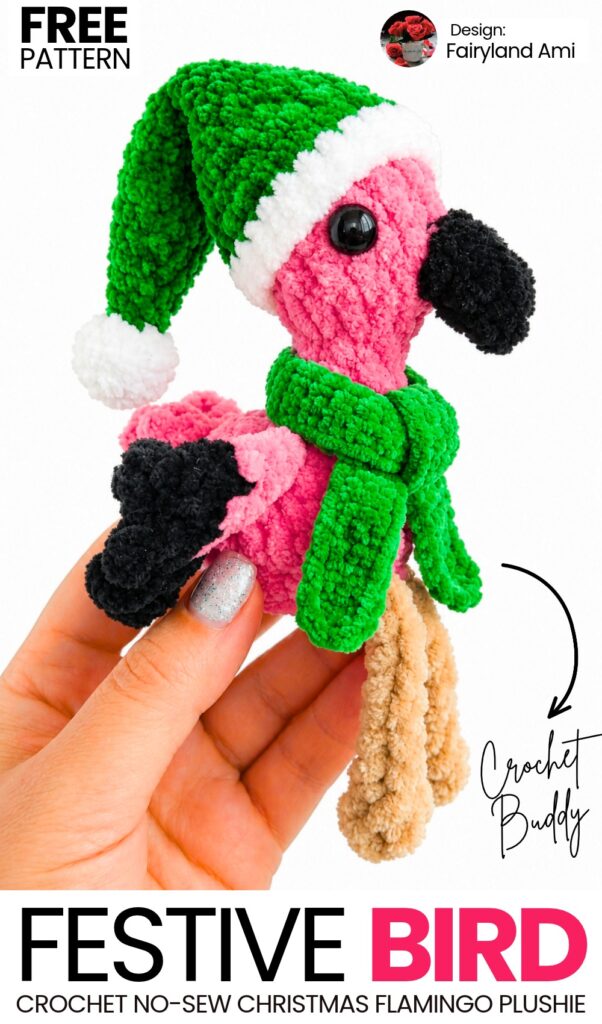
Today, I am sharing a truly UNIQUE Christmas plushie pattern with the same fast, no-sew, last-minute construction that has been the signature of our crochet Christmas dressed buddy plushie series! Introducing the crochet plush sitting flamingo pink bird buddy plushies wearing a Santa hat and a single crochet winter scarf. Actually, I wanted to share a pattern for this plushie this summer. However, you will find it equally compelling and cute, and kids will love to receive one as a Christmas gift as well.
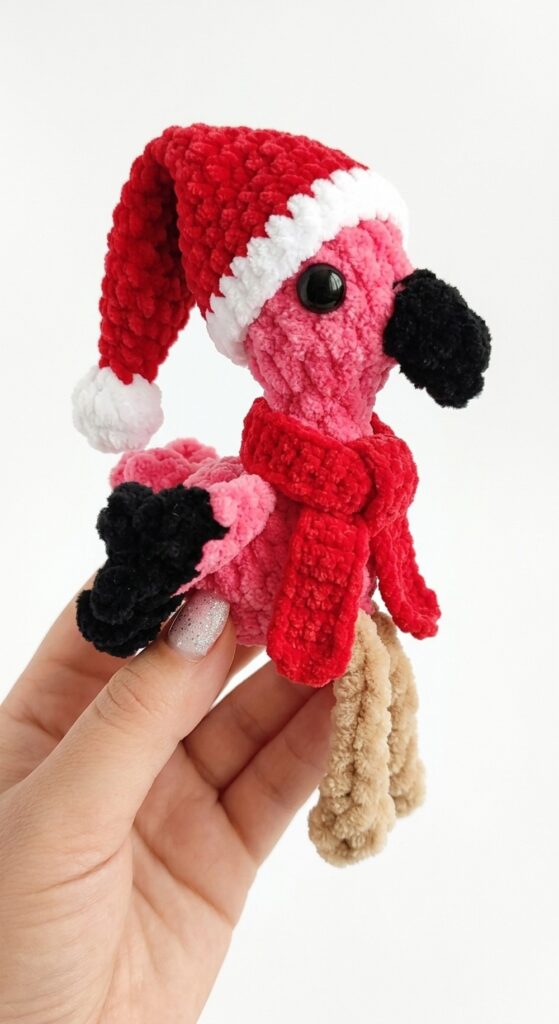
This charming little flamingo amigurumi is worked almost entirely in one continuous piece from the legs up to the head.
Using super-soft plush chenille yarn, you will crochet the legs directly into the body, shape the ruffled tail feathers, close the back with neat slip stitches, and continue straight up through the slender neck into the head.
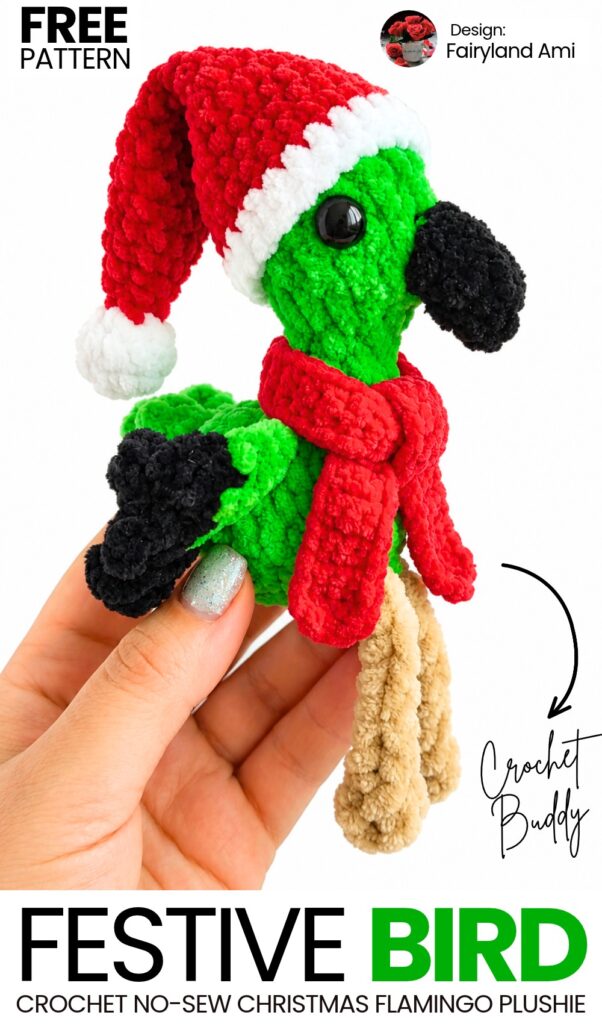
The beak is crocheted directly onto the face using a plush popcorn cluster stitch, meaning the only sewing required is attaching the two wings. Finished at approximately 8 cm (3.1 inches) tall, this sweet flamingo can sit on a shelf or desk, or be turned into a keychain or bag charm.
Pattern to Crochet the Holiday Flamingo Plushie for Gifting
Skill Level: Beginner – Level 6
Materials & Tool
Super Bulky Plush / Chenille Yarn (100 g / 120 m, e.g., Himalaya Dolphin Baby or YarnArt Dolce):
Pink (Main body, neck, head, wing base)
Beige / Tan (Legs)
Black (Beak, wing feather tips)
Crochet Hook: 4.0 mm
Safety Eyes or Half-Round Beads: 8 mm (black)
Fiberfill Stuffing (Holofiber)
Sewing Needle & Strong Thread (for attaching wings)
Yarn Needle (wide-eye, blunt)
Stitch Marker & Scissors
Lighter (to lightly singe plush yarn ends and prevent shedding)
Hot Glue Gun (if using flat-back eyes/beads)
Materials for Hat
Yarn A: Skinny plush yarn in White
Yarn B: Red yarn (main hat color)
Yarn C: White yarn (for brim)
Hook: 3.0mm crochet hook
Notions: Fiberfill stuffing, stitch marker, yarn needle

Abbreviations (US Terms)
MR: Magic Ring
ch: Chain
sc: Single crochet
hdc: Half double crochet
dc: Double crochet
tr: Treble crochet
inc: Increase (2 sc in the same stitch)
dec: Decrease (single crochet 2 stitches together)
sl st: Slip stitch
st(s): Stitch(es)
[ … ]: Work instructions within brackets as directed
Are you a Beginner? Learn Crocheting Easily!
You can learn to crochet better with this crochet miniature buddy flamingo plushie tutorial for beginners:
Pattern Instructions
Part 1: Wings (Make 2)
Start with Pink plush yarn.
Row 1: Ch 3. Starting in the 3rd ch from the hook, work 2 hdc. [2 sts]
Row 2: Ch 2, turn. Work 2 hdc-inc (2 hdc in each of the 2 sts). [4 sts]
Row 3: Ch 2, turn. Work 1 hdc-inc in the first st, 2 hdc across, 1 hdc-inc in the last st. [6 sts]
Side Edging (Pink):
Without turning your work, crochet along the two diagonal side edges:
Ch 1, work 3 sc evenly down the first side (1 sc per row end).
Work 1 sc into the tip/point at the base (the original foundation chain).
Work 3 sc evenly up the other diagonal side. [7 sc along the outer curve]
Fasten off Pink yarn and cut, leaving a small tail.
Feather Fringe (Black):
Join Black plush yarn into the first stitch along the straight top edge (Row 3 edge):
In the 1st st: [Ch 3, 1 sc into the same st].
Across the remaining 5 sts: [Ch 3, 1 sc in the next st] in each stitch across.
(This creates 6 ruffled feather points along the edge).Finishing the wing: Sl st into the corner, cut Black yarn, secure, and use a lighter to lightly singe both cut ends on the back.
Repeat to make the second wing.
Part 2: Body, Legs, Tail, Neck & Head (One Piece)
Start with Pink plush yarn.
Rnd 1: Ch 2, work 8 sc into the 2nd chain from hook (or 8 sc in a MR). [8]
Rnd 2 (Leg Integration Round):
St 1: 1 inc (place stitch marker in the first st).
St 2: 1 inc.
St 3: 1 inc.
St 4 (First Leg): Start 1 sc in Pink, but do not complete the final yarn over. Pull Beige yarn through the last 2 loops to finish the stitch. In the same 4th stitch, work 1 sc in Beige.
Now chain 10 in Beige: ch 10.
In the 3rd ch from hook, work 1 dc.
Ch 2, sl st into the same 3rd ch (foot formed).
Work 7 sl st back along the chain towards the body.
St 5 (Second Leg): Insert hook into the 5th stitch of the body, work 1 sc in Pink.
Chain 10 in Beige: ch 10.
In the 3rd ch from hook, work 1 dc.
Ch 2, sl st into the same 3rd ch (foot formed).
Work 7 sl st back along the chain towards the body.
In the same 5th stitch of the body, insert your hook, pull up a Beige loop, but complete the final yarn over with Pink yarn.
St 6: 1 inc in Pink.
St 7: 1 inc in Pink.
St 8: 1 inc in Pink. [16 sts around body]
(Cut the Beige yarn tails, knot them securely on the inside of the body, and trim).
Rnds 3–6 (4 rounds): Work 16 sc around in Pink. [16]
(Ensure the legs hang neatly on the outside of the piece).Rnd 7 (Tail, Back Seam & Neck Opening):
Work 3 sc to reach the center-back of the body (directly between the legs).
In the next stitch, work the Tail:
[Ch 4, sl st into the same stitch] x 3 (creates 3 ruffled tail loops).
Join the back seam: Flatten the body opening from the tail forward. Insert hook through the next stitch on the front side and the corresponding stitch on the back side:
Work 5 sl st through both thicknesses across the back.
(This consumes 10 body stitches and closes the rear portion of the body).
Neck foundation: There are 6 unworked stitches remaining at the front opening.
Continue crocheting in the round around these 6 stitches: work 6 sc. Place your stitch marker at the start of this 6-stitch round. [6]
Stuffing the Body: Before working higher up the neck, firmly fill the body with fiberfill. Flatten the underside so the flamingo can sit balanced on its bottom with its legs extended forward.
Rnds 8–9 (2 rounds): Work 6 sc around the neck. [6]
Rnd 10 (Head Expansion): Work 6 inc around. [12]
Rnd 11: Work 12 sc around. [12]
Rnd 12 (Beak Round):
Work 6 sc in Pink.
In the 7th stitch, begin a sc in Pink, but complete the final yarn over with Black yarn.
In the 8th stitch, work the Curved Beak (all into this single stitch):
Work: 2 dc, 1 tr, 2 dc all into the 8th stitch.
Drop the loop from your hook. Insert the hook from front to back through the first dc of this cluster, grab the dropped loop, and pull it through to cinch the cluster into a popcorn/beak.
Ch 1 using Pink yarn to secure the beak and switch colors.
Work 4 sc in Pink to the end of the round. [12 sts]
(Cut Black yarn, tie the inner ends together, and tuck them inside the head).
Rnds 13–14 (2 rounds): Work 12 sc around in Pink. [12]
Rnd 15 (Head Closure): Work 6 dec around. [6]
Fasten off Pink yarn, leaving a 15–20 cm tail.
Firmly stuff the neck and head with fiberfill, ensuring the neck is sturdy and holds the head upright.
Thread the yarn tail onto a tapestry needle, pick up the front loops of the remaining 6 stitches, pull tight to close the hole, knot securely, and hide the yarn tail inside the head.
Abbreviations
MR: Magic ring
sc: Single crochet
inc: Increase (2 sc in the same stitch)
dec: Decrease (sc 2 stitches together)
st(s): Stitch(es)
Rnd(s): Round(s)
Part 1: Top Tip / Small Ball
Using White skinny plush yarn and a 3.0mm hook.
Rnd 1: 6 sc in a magic ring (6)
Rnd 2: (sc, inc) x 3 (9)
Rnd 3: sc in each st around (9)
Rnd 4: (sc, dec) x 3 (6)
Firmly stuff this small ball with fiberfill before moving on.
Part 2: Hat Body
Switch to Red yarn, continuing with the 3.0mm hook. Work in continuous rounds, distributing increases and decreases as needed to meet the stitch counts.
Rnd 5: dec, 2 sc, dec (4)
Rnd 6: inc, 2 sc, inc (6)
Rnd 7: inc, 4 sc, inc (8)
Rnd 8: sc in each st around (8)
Rnd 9: (3 sc, inc) x 2 (10)
Rnd 10: sc in each st around (10)
Rnd 11: (4 sc, inc) x 2 (12)
Rnd 12: sc in each st around (12)
Rnd 13: (5 sc, inc) x 2 (14)
Rnd 14: sc in each st around (14)
Rnd 15: (6 sc, inc) x 2 (16)
Rnd 16: sc in each st around (16)
Rnd 17: (7 sc, inc) x 2 (18)
Rnd 18: (8 sc, inc) x 2 (20)
Rnd 19: (9 sc, inc) x 2 (22)
Rnd 20: (10 sc, inc) x 2 (24)
Rnd 21: 23 sc, inc (25)
Rnd 22: 24 sc, inc (26)
Part 3: Brim
Switch to White yarn, keeping the 3.0mm hook.
Rnd 23: sc in each st around (26)
Rnd 24: sc in each st around (26)
Fasten off invisibly, cut yarn, and weave in all loose ends.
Part 3: Facial Details & Eye Placement
Safety Eyes / Beads (8 mm):
Position the eyes on the sides of the head between Rounds 12 and 13 (or 13 and 14), approximately 2 stitches away from the base of the beak on each side.
Secure with washers or glue them firmly in place using hot glue.
Part 4: Attaching the Wings
Thread a sewing needle with strong matching thread (or use a length of yarn).
Position the wings on each side of the body:
Place the top pointed corner of each wing near the base of the neck on the upper back.
Angle the wings slightly backward and downward, so the black feather fringe extends towards the tail.
Stitch the top corners together across the upper back first.
Sew along the pink upper edge of each wing to anchor them securely against the sides of the body, leaving the black scalloped edges free.
Knot the thread, hide the ends inside the body, and trim.
Share on Social Media!
See More:
Featuring: How to Crochet Yellow, Green, White and Red Parrot Bird Plushie & Keychain
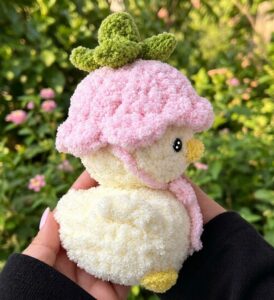
How to Crochet Strawberry & Winter Hat Set Little Bird Plushie for Gifting
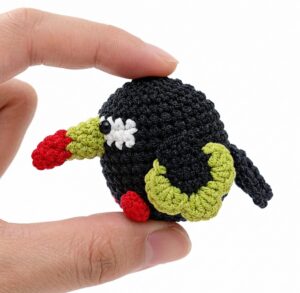
Featuring: How to Crochet Black, Blue, Red and Green Mini Bird Plushie (Toucan Plush)
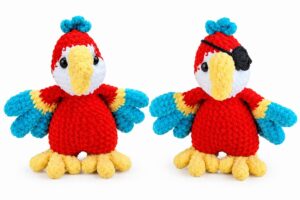
Featuring: How to Crochet Cosplay Red, Blue and Yellow Parrot Buddy Plushie
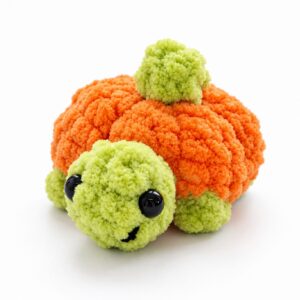
Featuring: How to Crochet the Smallest Pumpkin Fall Turtle Plushie with Orange & Parrot
How to Crochet Funny Santa Dress Mouse Plushie Fidget Toy Gift for Christmas
How to Crochet Miniature No-Sew Mr. Capy in Santa Hat Plushie Christmas Gift
How to Crochet Holly Leaf, Berry & Stuffed Bell Ornament for Christmas
How to Crochet Christmas Ghost Buddy Holding A Treat Basket Plushie