Show support for hello amigurumi!
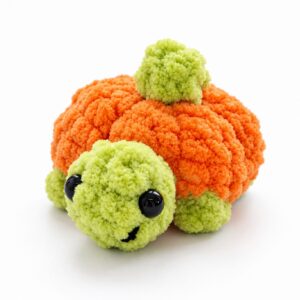
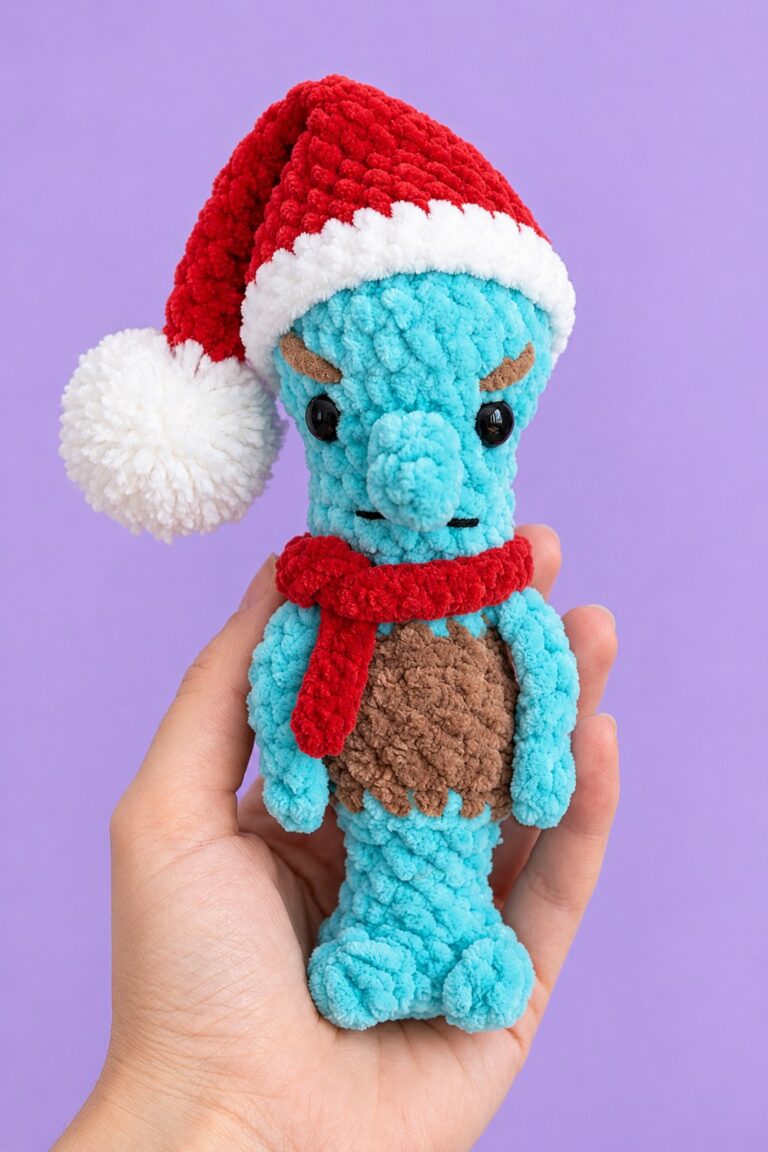
You will like today’s crochet holiday turtle plushie for 3 reasons: it is quick, easy, and has Grinch eyebrows! Introducing the low-sew crochet Santa hat mini Grinch turtle plushie that you can learn to crochet with a FREE written pattern for beginners.
The only thing you have to crochet separately is that small sport yarn. It is designed similarly to the last crochet Grinch plushie variation, with thread eyebrows, which makes it super easy.
You can crochet your turtle plushie in minutes as a last-minute present. Now, continue reading for learning more about this UNIQUE crochet plush turtle pattern!

Pattern to Crochet the Turtle Grinch Plushies
Skill Level: Advanced Beginner / Intermediate
Terminology: Standard US Crochet Terms
Working Style: Continuous spiral rounds (do not join unless specified). Use a stitch marker to track the first stitch of each round.
Materials Needed
Super Bulky Chenille / Plush Velvet Yarn (Size 6):
Color A: Red (for the upper shell)
Color B: Bright Lime Green / Grinch Green (for the bottom shell, head, and 4 legs)
Sport Weight / Fine Yarn (Size 2):
Red & White (for the mini Santa hat)
Embroidery Floss: Black or dark green yarn/floss for the Grinch’s furrowed eyebrows.
Hooks:
4.0 mm – 5.0 mm (for the plush turtle body)
2.0 mm (for the mini Santa hat)
Safety Eyes: 1 pair (6 mm – 8 mm black or dark brown safety eyes with back washers).
Notions: Small white pom-pom ball, hot glue or fabric glue, polyester fiberfill, stitch marker, large-eye tapestry needle, and sharp scissors.
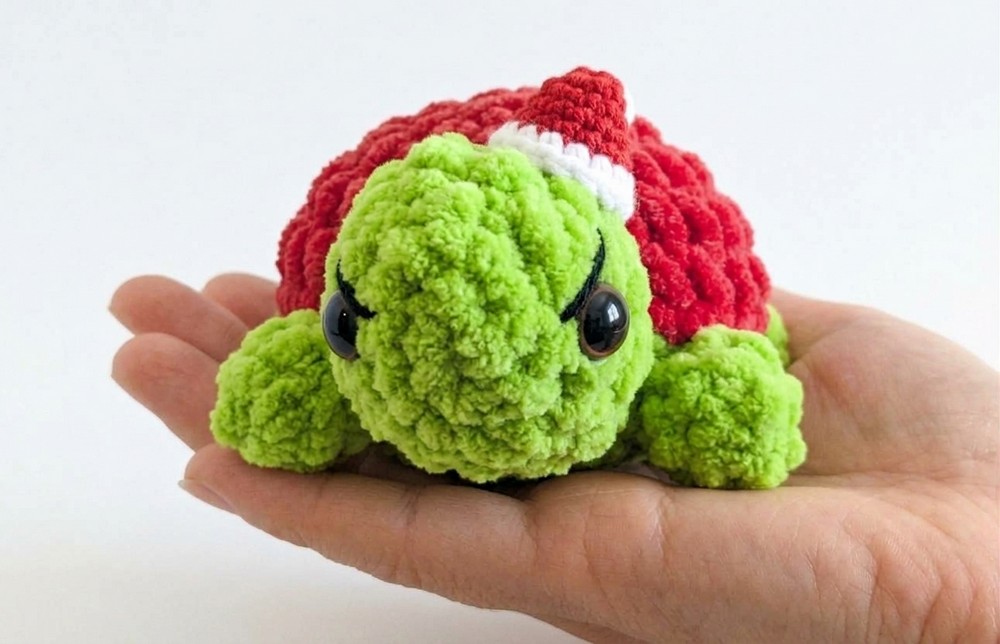
Abbreviations (US Terms)
ch: chain
sl st: slip stitch
sc: single crochet
inc: single crochet increase (2 sc worked into the same stitch)
dec: single crochet decrease (sc 2 together, or invisible decrease)
st(s): stitch(es)
rnd: round
[ … ] / ( … ) × N: repeat instructions inside brackets/parentheses N times
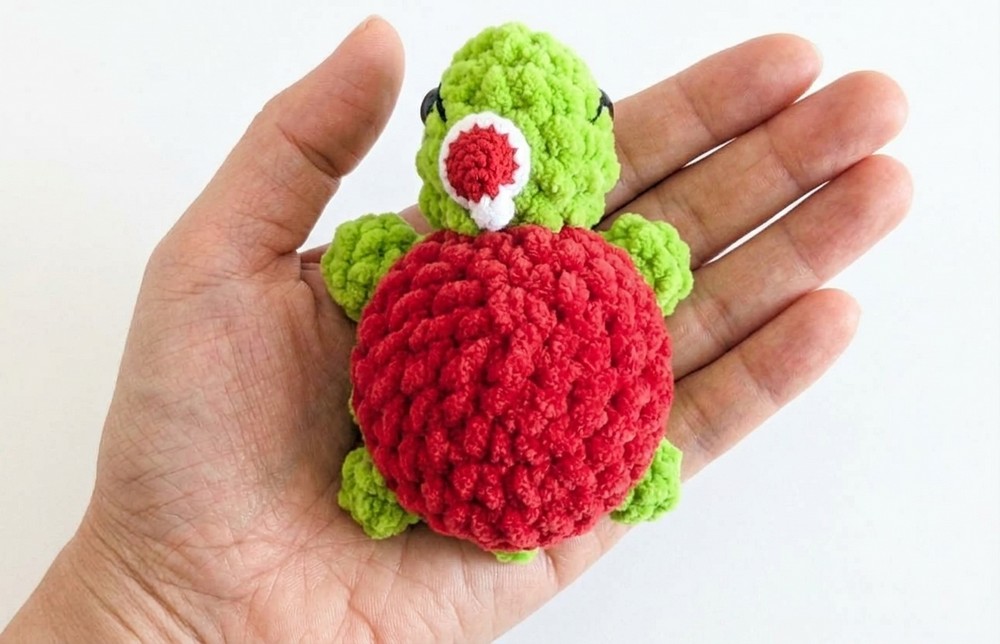
Learn to Crochet the Turtle!
Part 1: Upper Shell (Carapace)
Using Color A (Red) plush yarn and your 4.0 mm – 5.0 mm hook.
Rnd 1: Ch 2, work 6 sc into the second chain from hook [6 sts].
Rnd 2: Work 6 inc (2 sc in each st around) [12 sts].
Rnd 3: (1 sc, inc) × 6 [18 sts].
Rnd 4: (2 sc, inc) × 6 [24 sts].
Rnd 5: Sc in each of the 24 sts around, then sl st into the next st [24 sts].
Fastening Off:
Cut the yarn, leaving a short tail (~4 inches / 10 cm).
Thread the tail onto your hook or needle and pull it through to the inside to create a smooth edge.
Part 2: Bottom Shell (Plastron / Belly)
Using Color B (Lime Green) plush yarn.
Rnd 1: Ch 2, work 6 sc into the second chain from hook [6 sts].
Rnd 2: Work 6 inc [12 sts].
Rnd 3: (1 sc, inc) × 6 [18 sts].
Rnd 4: (2 sc, inc) × 6, then sl st into the next st [24 sts].
Fastening Off:
Cut the yarn, leaving a long tail (~20–24 inches / 50–60 cm) for sewing the shell pieces together.
Draw the tail through the next stitch.
Part 3: Head
Using Color B (Lime Green) plush yarn.
Rnd 1: Ch 2, work 4 sc into the second chain from hook [4 sts].
Rnd 2: Work 4 inc (2 sc in each st around) [8 sts].
Rnd 3: (1 sc, inc) × 4 [12 sts].
Rnd 4: Sc in each of the 12 sts around [12 sts].
Rnd 5: (1 sc, dec) × 4 [8 sts].
Inserting Eyes, Brow Embroidery & Stuffing
Safety Eyes: Insert the safety eyes between Rnds 2 and 3, placed symmetrically on opposite sides of the face. Snap the washers securely inside.
Grinch Eyebrows Embroidery:
Thread your needle with black embroidery floss or dark yarn.
Insert the needle from inside the head opening and bring it out slightly above and behind the eye.
Stitch diagonally downward over the eye toward the nose to form an angled, grumpy eyebrow.
Knot the thread tails securely on the inside of the head.
Stuffing: Firmly stuff the head with polyester fiberfill, shaping it neatly.
Rnd 6: 4 dec, sl st into the next stitch [4 sts].
Fastening Off:
Leave a long tail (~16 inches / 40 cm) for attaching to the shell.
Part 4: Legs / Flippers (Make 4)
Using Color B (Lime Green) plush yarn.
Rnd 1: Ch 2, work 4 sc into the second chain from hook [4 sts].
Rnd 2: Sc in each of the 4 sts around [4 sts].
Finishing Each Leg:
Push the starting yarn tail inside the tiny leg cup.
Cut the working yarn leaving a tail (~6–8 inches / 15–20 cm) for attaching.
Repeat until you have 4 identical green legs.
Part 5: Mini Santa Hat
Using 2.0 mm hook and Sport Weight Yarn in Red and White.
Begin with Red yarn.
Rnd 1: 5 sc in magic ring [5]
Rnd 2: 5 sc [5]
Rnd 3: (4 sc, inc) [6]
Rnd 4: 6 sc [6]
Rnd 5: (2 sc, inc) 2 times [8]
Rnd 6: (3 sc, inc) 2 times [10]
Change to White yarn on the last pull-through of Rnd 6.
Rnd 7: (9 sc, inc) [11]
Rnd 8: (10 sc, inc) [12]
Fasten off, leaving a short tail for sewing. Attach the small white pom-pom ball to the tip of the hat using hot glue or a few stitches.
Part 6: Assembly, Slouching & Finishing
1. Joining Shells & Body Stuffing
Place the Red Upper Shell and Lime Green Bottom Shell together, wrong sides facing.
Thread the long green tail from the bottom shell onto your yarn needle.
Sew edge-to-edge around the perimeter (through both loops of the bottom piece and front loop only of the top piece).
When about $3/4$ of the circle is closed, firmly stuff the body with fiberfill.
Sew the remaining stitches closed, tie off, weave in, and hide the tail inside.
2. Attaching Head & Legs
Head: Whipstitch the head securely to the front seam where the red shell meets the green belly. Weave in the tail.
Legs (No-Sew Hook Method):
Position two legs on the front sides behind the head, and two on the back sides.
Pull both yarn tails from each leg through adjacent belly stitches using your crochet hook.
Tie the two strands into a tight knot flush against the belly, then pull the knot and tail ends inside the body cavity. Snip any excess.
3. Styling & Slouching the Santa Hat
To achieve the exact folded, slouchy Santa hat look shown in the picture:
Positioning: Place the hat on the side of the Grinch turtle’s head (just above one eye).
Slouching/Folding the Tip: Bend the upper red cone section of the hat downward so the pom-pom points slightly toward the front/side rather than standing straight up.
Securing the Slouch:
Thread your needle with a small piece of red yarn.
Pass the needle through the inside of the folded tip and anchor it to the body of the hat where it folds over.
Take 1–2 tiny, invisible stitches to hold the fold permanent.
Attaching to Head: Sew the white brim securely to the head using white yarn or secure it with a small dab of hot glue.
See More:
Tester Call: Crochet Santa Mr. No-Sew Dino Grinch Plushie for Gifting
Tester Call: How to Crochet Grinch & Frog Festive Hat Baby Mushroom Plushie for Gifting
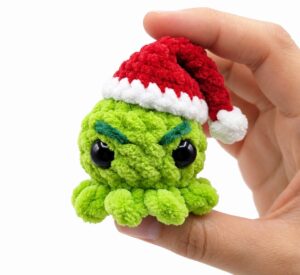
Tester Call: How to Crochet Mini No-Sew Grinch Santa Octopus Plushie for Kids
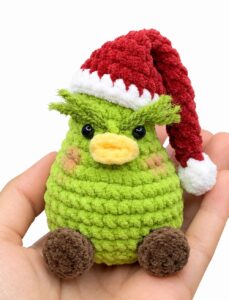
Tester Call: How to Crochet Grinch Pear Miniature Christmas Plushie for Gifting
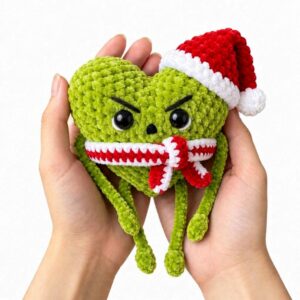
Tester Call: How to Crochet Grinch Christmas Gift Plushie for Kids
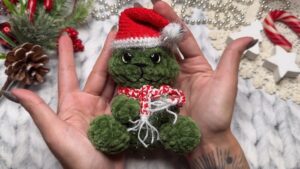
How to Crochet A Plush Grinch in a Santa Hat & Peppermint Scarf
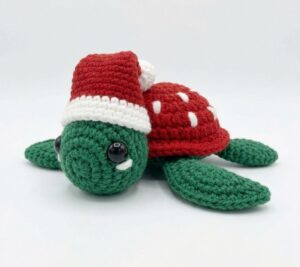
Tester Call: How to Crochet Amigurumi Buddy Slouchy Santa Hat Turtle Gift
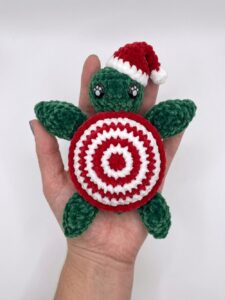
Tester Call: How to Crochet Kawaii-Eyed Red & Green Santa Hat Turtle Plushie for Gifting
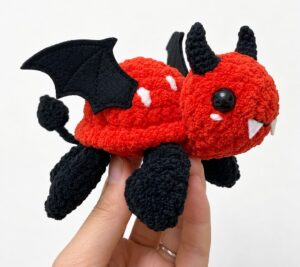
Tester Call: How to Crochet A Red & Black Spooky Turtle Plushie for Halloween