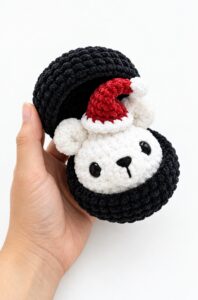
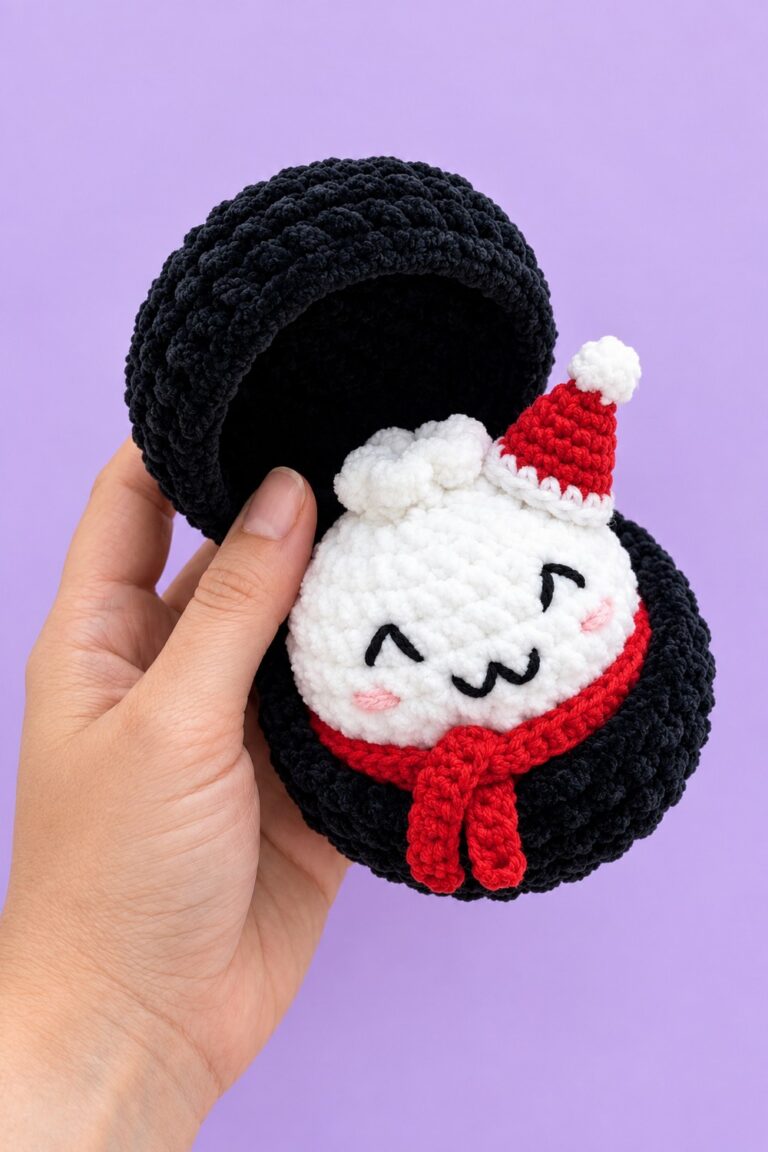
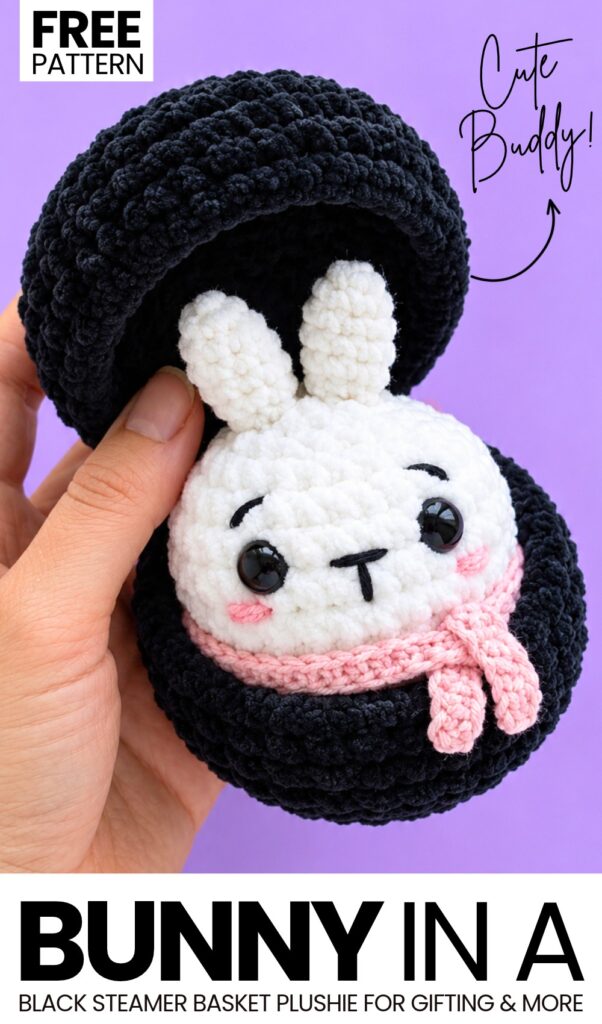
In today’s crochet winter gift tester call, I have chosen your favorite animal theme – the crochet bunny – and your favorite food plush – the buddy in a steamer basket plush! Introducing the crochet bunny ball in a black food basket plush, which you can learn to crochet with a FREE written pattern for all skill levels.
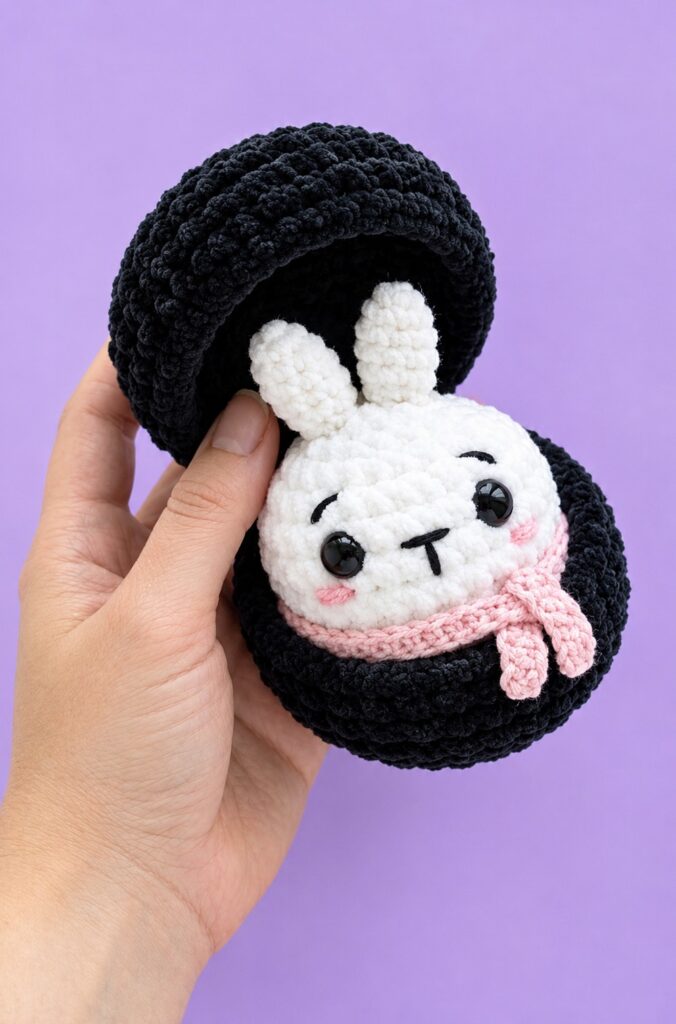
Our little kawaii bunny has small ears and wears an easy-to-make crochet pink scarf.
So, if you are looking for a crochet surprise gift for a girl, be sure to crochet this UNIQUE crochet bunny food gift following the pattern below. It works up fast and can be finished in under 45 minutes!
Pattern to Crochet A Bunny in A Steamer Basket Plushie
Here is your complete, super-detailed crochet pattern for the adorable Bunny in a Black Steamer Basket variation, adapted from your base pattern and customized with the cute bunny ears, black steamer basket, pink scarf, and expressive face!
Pattern Overview & Details
Skill Level: Advanced Beginner
Finished Size: Bunny is approximately 7 cm tall; basket fits comfortably in hand.
Terminology: US Crochet Terms
Updated Materials & Tools
Plush / Chenille Yarn (Super Bulky / Category 6):
White: For the bunny body (~40 g)
Black: For the steamer basket container (~50 g)
Worsted Weight / DK Yarn:
White: For the bunny ears (used with a smaller hook)
Pink: For the cozy winter scarf
Fine Cotton / Semi-Cotton Yarn / Embroidery Thread:
Black: For embroidering the eyebrows, nose, and mouth
Crochet Hooks:
4.0 mm (for plush chenille yarn body & basket)
3.0 mm (for worsted weight bunny ears)
3.5 mm or 4.0 mm (for the pink scarf)
Safety Eyes: 12 mm black safety eyes (pair)
Other Supplies: Fiberfill stuffing, tapestry/yarn needle, stitch marker, scissors, sewing pins, pink blush (optional, for cheek color).
Abbreviations (US Terms)
MR: Magic Ring (Magic Circle)
ch: Chain
sc: Single crochet
hdc: Half double crochet
inc: Increase (2 sc in the same stitch)
dec: Decrease (single crochet 2 stitches together / invisible decrease)
sl st: Slip stitch
BLO: Back loop only
FLO: Front loop only
st(s): Stitch(es)
[ ]: Stitch count at the end of the round
( … ) * X: Repeat the instructions in brackets X times
Part 1: The Bunny Body
Work in continuous spirals using White plush yarn and a 4.0 mm hook. Use a stitch marker in the first stitch of each round.
Round 1: In a MR, work 8 sc. [8]
Round 2: 8 inc. [16]
Round 3: (1 sc, inc) * 8. [24]
Round 4: (2 sc, inc) * 8. [32]
Rounds 5–8 (4 rounds): 32 sc around. [32]
Round 9: (2 sc, dec) * 8. [24]
Safety Eye Placement:
Insert the 12 mm safety eyes between Rounds 7 and 8, leaving 6 stitches visible between them. Secure the safety backings firmly inside the body.
Round 10: (1 sc, dec) * 8. [16]
Stuffing: Add fiberfill stuffing softly and evenly so the bunny stays squishy and rounded.
Round 11: 8 dec. [8]
Closing the Top: Fasten off plush yarn, leaving a short tail (~15 cm). Thread your tapestry needle and weave through the front loops of the remaining 8 stitches, pull tight to close the hole completely, secure with a knot, and hide the tail inside the body.
Part 2: The Bunny Ears (Make 2)
Work using White worsted weight yarn and a 3.0 mm crochet hook.Note: Unlike the body, these rounds are joined with a slip stitch at the end of each round, and you fasten off and reattach yarn as noted.
Round 1: 6 sc in a MR. Join with a sl st to the first sc, fasten off. [6]
Round 2: Join white yarn in any st, [1 sc, inc] 3 times. Join with a sl st to first st, fasten off. [9]
Round 3: Join yarn in any st, 8 sc, 1 inc. Join with a sl st to first st, fasten off. [10]
Round 4: Join yarn in any st, 10 sc. Join with a sl st to first st, fasten off. [10]
Round 5: Join yarn in any st, 8 sc, 1 dec. Join with a sl st to first st, fasten off. [9]
Round 6: Join yarn in any st, [1 sc, 1 dec] 3 times. Join with a sl st, fasten off leaving a long tail for sewing. [6]
Part 3: The Black Steamer Basket Container
The basket consists of two identical halves (base and lid) crocheted in Black plush yarn using a 4.0 mm hook.
Halves (Make 2):
Round 1: In a MR, work 8 sc. [8]
Round 2: 8 inc. [16]
Round 3: (1 sc, inc) * 8. [24]
Round 4: (2 sc, inc) * 8. [32]
Round 5: (7 sc, inc) * 4. [36]
Round 6: In Back Loops Only (BLO): 36 sc around. [36] (This creates the sharp bottom edge/crease of the basket).
Rounds 7–8 (2 rounds): Through both loops: 36 sc around. [36]
For the 1st Half (Base): Fasten off and cut the yarn.
For the 2nd Half (Lid): Do not cut the working yarn.
Joining the Two Halves (The Hinge):
Align the two open halves edge-to-edge with the right sides facing out.
Using the working loop from the 2nd half, join them across 4 to 5 stitches along the back rim:
Insert your hook through the BLO of the top half and the corresponding FLO of the bottom half.
Work 1 sc across each pair to create a flexible hinge.
Fasten off the hinge yarn and weave in the ends.
Adding the Lid Handle / Strap:
Attach Black plush yarn to the top center of the lid right above the hinge seam.
Chain a strip across the top of the dome (approx. 16–18 chains, long enough to reach the front edge).
Join the end of the chain to the front edge with a sc.
Chain 1, turn, and work 1 sc in each chain stitch heading back toward the hinge to create a sturdy handle strap.
Join with a sl st, fasten off, and weave all tails inside.
Part 4: The Pink Scarf
Yarn & Hook: Pink DK/worsted weight yarn with a matching hook (3.5 mm or 4.0 mm).
Instructions:
Chain 36 to 40 chains (long enough to wrap around the bunny’s neck comfortably with crossed ends).
Starting in the 3rd chain from the hook, work 1 row of half double crochet (hdc) all the way across the chain.
Fasten off, leaving short tails.
Part 5: Face Embroidery & Final Assembly
1. Embroidering the Face:
Eyebrows: Using fine black thread/yarn, embroider small, slightly angled, cute sleepy/worried eyebrows one round above each safety eye.
Nose/Mouth: Embroider a cute small “T” shape centered between the eyes.
Blush: Gently dab a little pink makeup blush or pink yarn embroidery under each eye for rosy cheeks.
2. Attaching the Ears:
Position the two white worsted-weight ears on top of the bunny’s head (centered around the closed top ring).
Pin them in place and securely sew them down using the long tails left on the ears.
3. Styling the Scarf:
Wrap the pink half double crochet scarf around the bunny’s neck, crossing the ends neatly over the front chest. Secure with a tiny hidden stitch if needed so it stays in place.
4. Putting It Together:
Place your finished plush bunny inside the black steamer basket container, flip the lid shut over its head, and your charming amigurumi bunny gift set is complete!
See More:
How to Crochet Bunny Bat White Foldable Wings Amigurumi with Bow for Halloween
Tester Pattern: To Crochet Cute Bunny Ear Autumn Pluhsie for Kids
Tester Pattern: Free Crochet Pumpkin-Holding Witch Bunny Plushie Pattern
Featuring: How to Crochet Bunny in a Horse Mask Amigurumi
How to Crochet New Year Goat in Red Scarf Dumpling Plushie for Gifting
Tester Call: How to Crochet the Very First Patrik Star Dumpling Plushie for Gifting
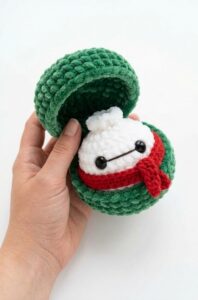
How to Crochet Baymax Dumpling Plushie for Gifting At Christmas
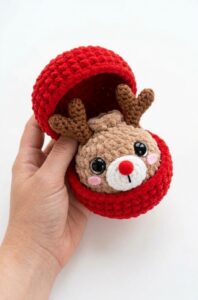
Tester Call: How to Crochet Reindeer Dumpling Plushie for Christmas Gifting
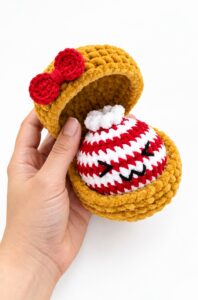
Tester Pattern: How to Crochet Peppermint Dumpling Plushie for Christams Gifting