Author: Talha
I am a crochet designer, macramé maker and a crafter who also loves doing MATH.
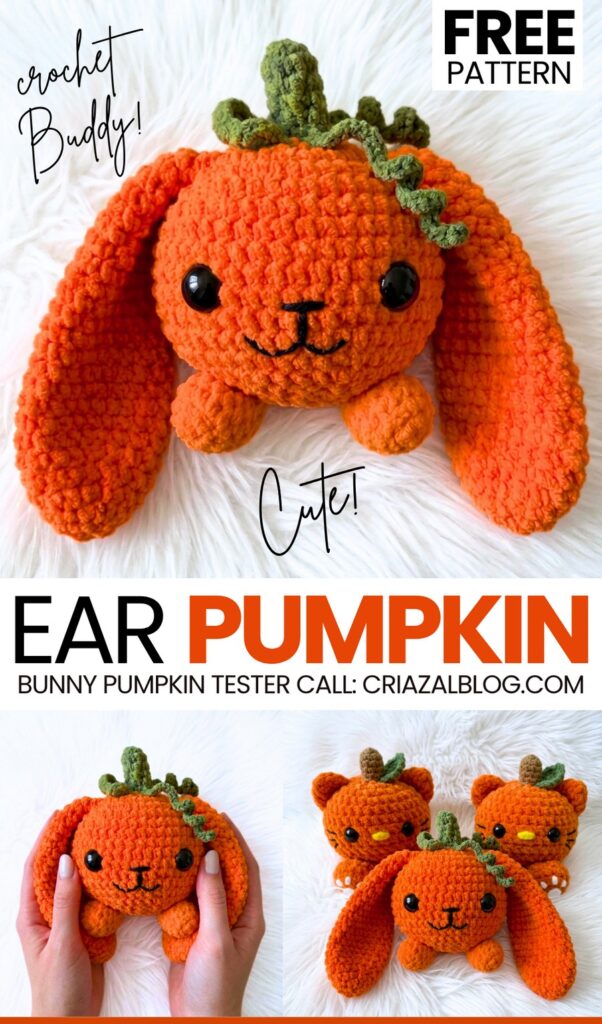
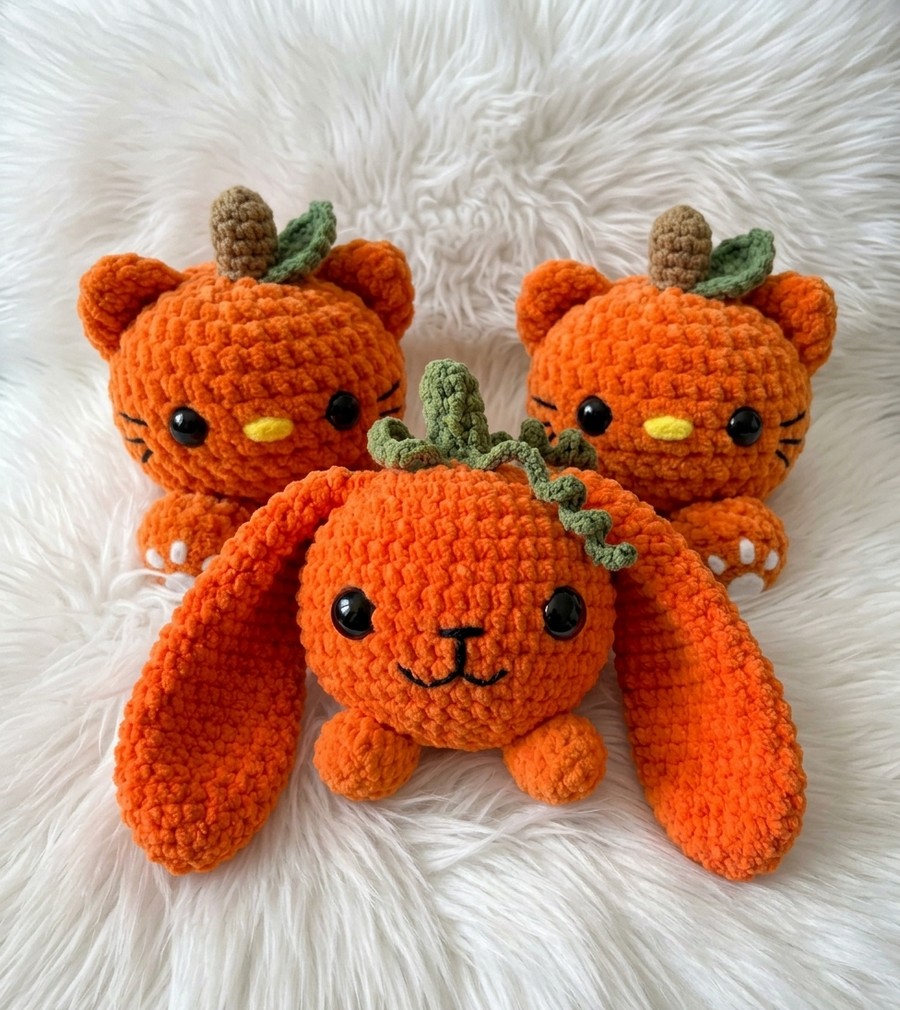
This week’s crochet tester pattern is from the “crochet autumn-themed animal buddy plushies” series. Last time, you learned to crochet a CUTE kitty pumpkin plush. Today, learn how to crochet this UNIQUE long-eared autumn bunny sphere plushie by following a FREE written pattern for absolute beginners. Makes a desk buddy, Halloween gift, and even a birthday gift.
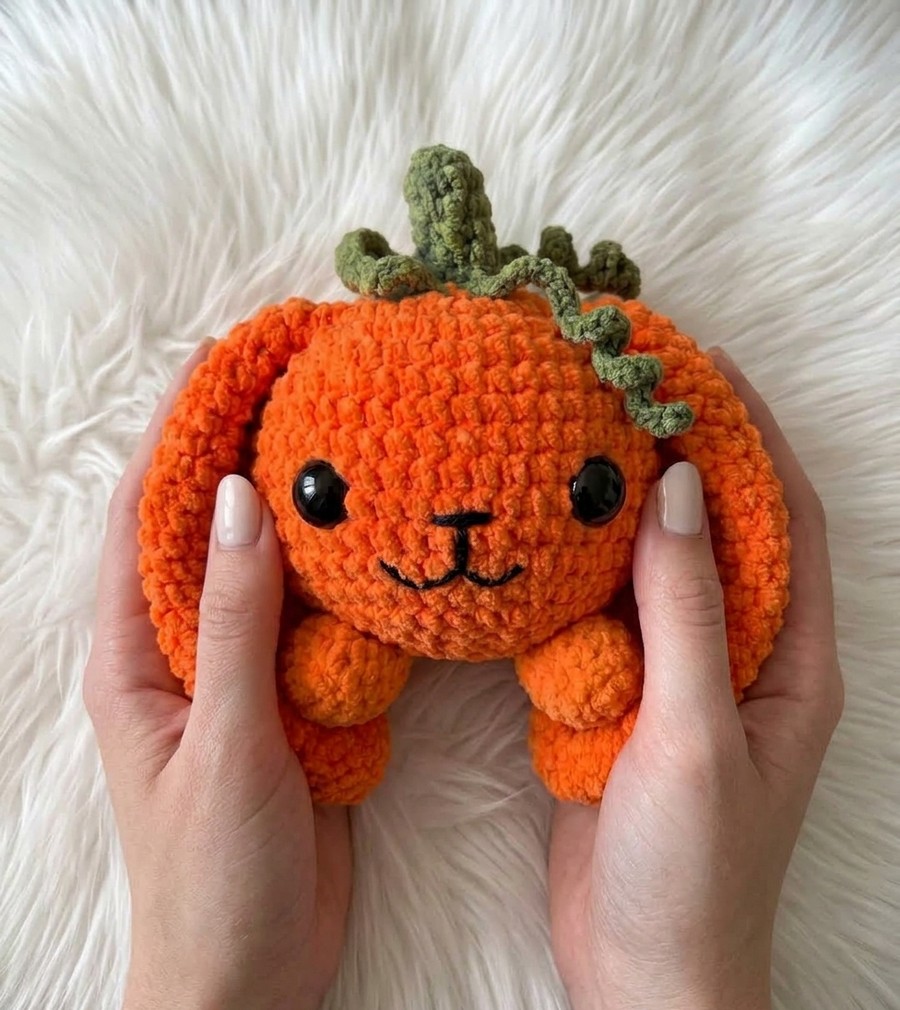
Valentine’s Day present. This is a chonky crochet bunny plush in orange, with small legs, a pumpkin stem, and a coiled vine at the top.
We also have a super kawaii animal embroidery that is my favorite of all the crochet animal plushie tutorials I have covered so far. You can also crochet your bunny with the full crochet bunny body from the viral bunny pattern. Anyway, continue reading to learn more about this crochet plush autumn bunny project. You can also crochet this as a Halloween gift.
Similar Project(s)
Pattern to Crochet A Bunny Pumpkin Plushie
Skill Level: Beginner – Level 4
Materials & Tools
Yarn:
Super Bulky / Chunky Plush Yarn in Orange (Main Color)
DK Weight Yarn in Green (Accent Color)
- Skinny yarn in Green for the Stem
Hooks:
5 mm crochet hook (or a hook matching your plush yarn)
2.5mm crochet hook (for green DK yarn)
Safety Eyes: 12 mm – 14 mm black safety eyes
Extras: Fiberfill stuffing, yarn needle, black embroidery thread for nose/mouth, stitch marker, scissors
Pattern Abbreviations (US Terms)
ch: chain
sc: single crochet
hdc: half double crochet
dc: double crochet
inc: increase (2 sc in same stitch)
dec: invisible decrease
sl st: slip stitch
st(s): stitch(es)
[ ] x N: repeat instructions inside brackets N times
(N): total stitch count at end of round
1. Pumpkin Head / Body (Plush Orange Yarn, 5 mm Hook)
Worked from top to bottom.
R1: Ch 2, 6 sc in 2nd ch from hook (6)
R2: [inc] x 6 (12)
R3: [1 sc, inc] x 6 (18)
R4: [2 sc, inc] x 6 (24)
R5: [3 sc, inc] x 6 (30)
R6: [4 sc, inc] x 6 (36)
R7–11: 1 sc in each st around (36 sts per round)
R12: [4 sc, dec] x 6 (30)
R13: [3 sc, dec] x 6 (24)
Placement & Face Details: Insert safety eyes between R8 and R9, spaced about 5–6 stitches apart. Embroider a small “T” shape nose and mouth centered between the eyes using black embroidery thread. Stuff the head firmly.
R14: [2 sc, dec] x 6 (18)
R15: [1 sc, dec] x 6 (12)
Fasten off, weave tail through the front loops of the remaining 12 stitches, pull tight to close, and weave in ends.
2. Ears (Make 2) (Plush Orange Yarn, 14 mm Hook)
R1: Ch 2, 6 sc in 2nd ch from hook (6)
R2: [inc] x 6 (12)
R3: [1 sc, inc] x 6 (18)
R4–6: 1 sc in each st around (18)
R7: [7 sc, dec] x 2 (16)
R8–9: 1 sc in each st around (16)
R10: [6 sc, dec] x 2 (14)
R11–12: 1 sc in each st around (14)
R13: [5 sc, dec] x 2 (12)
R14–15: 1 sc in each st around (12)
Do not stuff ears. Fold the top opening flat and sc 6 across to close. Fasten off with a long tail for sewing.
3. Paws / Legs (Make 2) (Plush Orange Yarn, 14 mm Hook)
R1: Ch 2, 6 sc in 2nd ch from hook (6)
R2: [1 sc, inc] x 3 (9)
R3–4: 1 sc in each st around (9)
Stuff lightly with fiberfill. Fold flat and sc 4 across top to close, or leave open. Fasten off, leaving a long tail for sewing.
4. Stem (Green DK Yarn, 3.5 mm – 4.0 mm Hook)
R1: Ch 2, 6 sc in 2nd ch from hook (6)
R2–5: 1 sc in each st around (6)
Fasten off, leaving a long tail for sewing. Lightly stuff stem if needed.
5. Curly Vine (Green DK Yarn, 3.5 mm – 4.0 mm Hook)
Row 1: Ch 21. Starting in 2nd ch from hook, work 2 sc in each ch across (40)
Fasten off, leaving a tail for sewing. Twist the strip into a tight spiral.
6. Leaf (Make 1 or 2) (Green DK Yarn, 3.5 mm – 4.0 mm Hook)
Row 1: Ch 6. Working starting in 2nd ch from hook: sl st, sc, hdc, dc, 5 dc in the last ch.
Row 2: Turn to work along the opposite side of the chain: dc, hdc, sc, sl st.
Fasten off, leaving a tail for sewing.
Assembly Instructions
Ears: Sew the top of each ear to the top sides of the head near R3–R4, allowing them to flop downwards along the sides.
Stem & Leaf: Centering at R1 of the head, sew the stem firmly to the top. Attach the leaf at the base of the stem.
Vine: Attach one end of the twisted curly vine right next to the stem base.
Legs: Sew the two small paws onto the lower front of the body (around R12–R13), angled slightly outward beneath the eyes.
See More:

How to Granny Square with Pumpkin Applique in the Middle

Tester Pattern: To Crochet Pumpkin Hello Kitty Plushie with Big Paws Buddy

Featuring: How to Crochet Tiered Unusual Texture Pumpkin Decoration (3 Sizes)

Tester Pattern: To Crochet A Grizzly Bear Presenting You A Pumpkin Plushie

Tester Pattern: To Crochet A Witch Cat Plush Gifting You A Pumpkin Softie
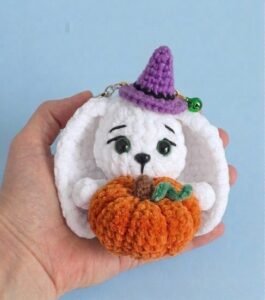
Tester Pattern: Free Crochet Pumpkin-Holding Witch Bunny Plushie Pattern
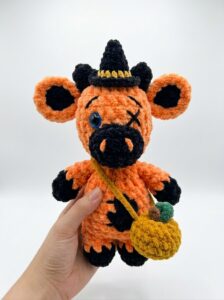
Tester Pattern: How to Crochet Spooky Cow with Pumpkin Bag Plushie
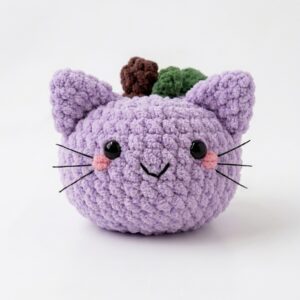
Tester Pattern: How to Crochet Smiling Pumpkin Kitty Cat Plushie
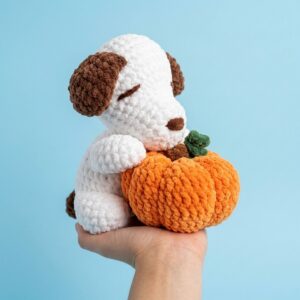
Featuring: How to Crochet Pumpkin Lover Puppy Plushie for Fall Decorations