Author: Talha
I am a crochet designer, macramé maker and a crafter who also loves doing MATH.
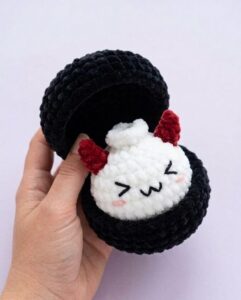
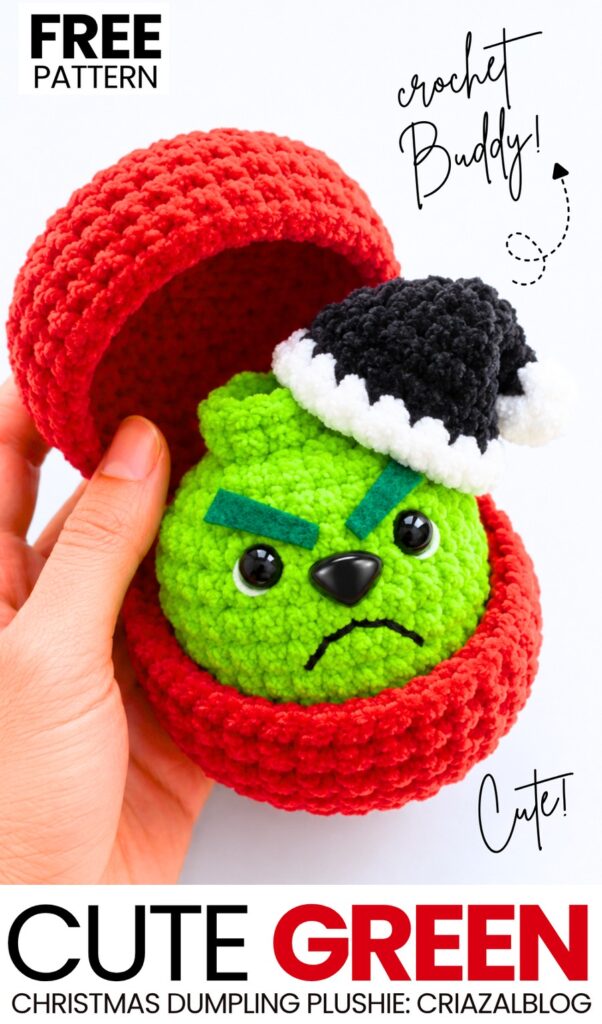
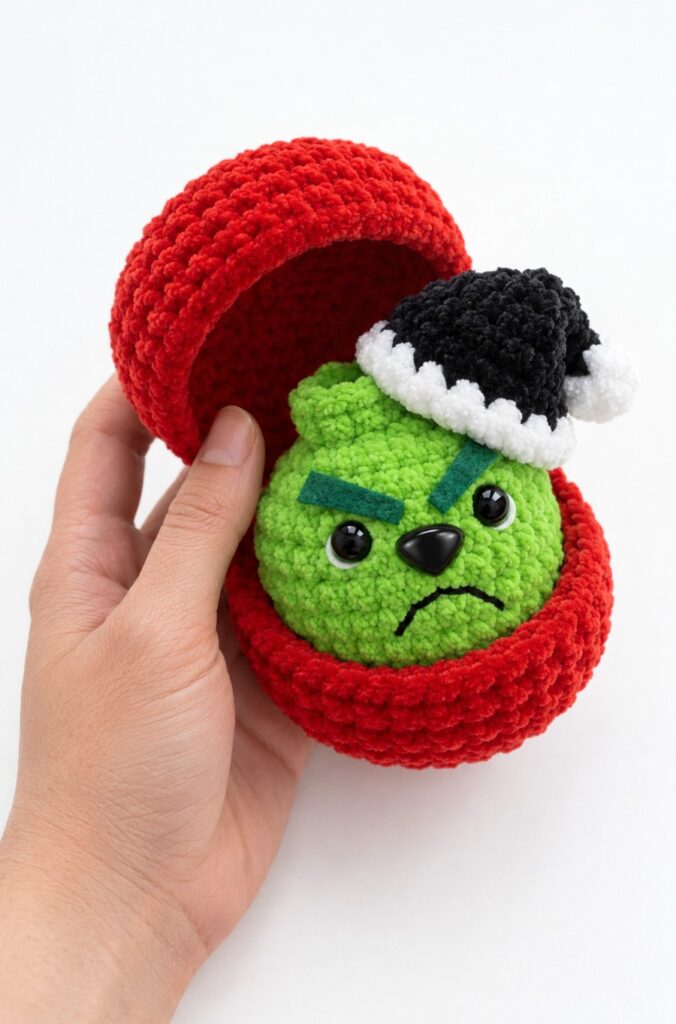
From today, I am shifting the “crochet dumpling in a box” series to a crochet Christmas theme. While spooky crochet food patterns will continue to come on their schedule, these crochet Christmas gift patterns are gonna come more often. I am starting with this crochet plush green Christmas character dumpling in a steamer box plushie that you can learn how to crochet with a FREE written pattern for beginners.
Our crochet dumpling has an angry face, just like the character, but you can definitely make it smile in your remake before gifting.
This crochet Grinch face also wears a small crochet plush black Santa hat that is also made slouchy. You will learn how to make that variation in the tutorial as well. Next, you will learn to crochet a snowman dumpling plush, and I hope you are as excited for it as I am. Now, continue reading to learn more about this crochet plush Grinch dumpling and also how to crochet it with the FREE pattern.
Similar Project(s)
Pattern to Crochet A Cute Grinch Dumpling Plushie
Skill Level: Beginner – Level 4
Materials & Tools
Yarn:
Plush yarn (100g / 120m) in Lime Green (Dumpling body/head)
Plush yarn in Bright Red (Box container)
Plush yarn in Black (Hat body)
Plush yarn in White (Hat brim and tip)
Semi-cotton or embroidery thread in Black (mouth embroidery)
Hooks & Hardware:
4.0 mm crochet hook
10 mm black safety eyes
12 mm – 14 mm black triangle safety nose
Notions & Supplies:
Dark green craft felt (eyebrows)
White craft felt (eye backings)
Fiberfill toy stuffing
Yarn needle, scissors, craft glue
Pattern Abbreviations (US Terms)
MR: Magic Ring
sc: single crochet
inc: increase (2 single crochets in same stitch)
dec: decrease (invisible decrease)
sl st: slip stitch
ch: chain
BLO: back loops only
FLO: front loops only
R: Round
1. Grinch Dumpling Body (Lime Green Plush Yarn, 4.0 mm Hook)
R1: 8 sc in MR (8)
R2: [inc] x 8 (16)
R3: [1 sc, inc] x 8 (24)
R4: [2 sc, inc] x 8 (32)
R5–8 (4 rounds): 32 sc (32)
R9: [2 sc, dec] x 8 (24)
Facial Features Attachment:
Cut two small crescent shapes out of white craft felt. Slide them onto the posts of the 12 mm safety eyes so the white shows along the lower/outer edge.
Insert safety eyes between R7 and R8, spaced 6 stitches apart.
Insert 12 mm black triangle safety nose centered between the eyes, 1 row down. Secure backings.
R10: [1 sc, dec] x 8 (16)
Stuff firmly with fiberfill stuffing.
R11: [dec] x 8 (8)
R12 (Top Ruffle): Working in FLO only, [inc, 1 sc] repeat around to end. Sl st to close, cut yarn, and fasten off.
Closing the Hole: Thread semi-cotton yarn on a yarn needle. Weave through the remaining unworked back loops of R11. Pull tightly to close the opening, tie a knot, and weave ends inside.
Embroidering Mouth & Brows:
Using black thread, embroider a downward curved line under the nose to form a scowl.
Cut two thin rectangular strips from dark green felt, tapering the ends. Glue them directly above the eyes, slanting sharply downward toward the center.
2. Slouchy Santa Hat – Easy Method (White & Black Plush Yarn, 4.0 mm Hook)
Pom-Pom Tip (White Yarn): Ch 2. Work 1 Puff stitch in 2nd ch from hook, ch 1, sl st into same ch. Tie off white.
Hat Body (Black Yarn): Join black yarn into that same starting chain space.
- R1: 4 sc into same space, working behind puff st (4)
- R2: [1 sc, inc] x 2 (6)
- R3: 6 sc (6)
- R4: [2 sc, inc] x 2 (8)
- R5: 8 sc (8)
- R6: [3 sc, inc] x 2 (10)
- R7: 10 sc (10)
Hat Brim (White Yarn): Change to white yarn.
- R8: Working in both loops, [4 sc, inc] x 2 (12)
- R9: [5sc, inc] x 2 (14)
Fasten off white yarn and leave a tail for assembly.
Hat Assembly & Slouch:
Flip R8 white trim upward so it covers the bottom edge of the black hat.
Fold the top pointed half of the hat down to one side.
Use a yarn needle and black yarn to make hidden tacking stitches through the underside of the tip to lock the fold in place.
- Sew the completed hat onto the top right side of the dumpling head, angled over the trim.
Method 2:
You can follow the same hat pattern in the magic ring and crochet a separate small partial sphere or sew a pom pom!
3. Hinged Box / Basket (Make 2 – Lid & Base) (Bright Red Plush Yarn, 4.0 mm Hook)
R1: 8 sc in MR (8)
R2: [inc] x 8 (16)
R3: [1 sc, inc] x 8 (24)
R4: [2 sc, inc] x 8 (32)
R5: [7 sc, inc] x 4 (36)
R6: 36 sc in BLO (36)
R7–8 (2 rounds): 36 sc (36)
Top Lid: Fasten off and weave in ends cleanly.
Bottom Base: Fasten off, leaving a tail for connecting.
Connecting Box Parts (Hinge):
Align the lid and base back-to-back.
Join red yarn and crochet 5–6
scstitches through the back loop of the lid and front loop of the base to join them together. Fasten off and hide ends inside.
Optional Handle:
Join red yarn to one side of the base rim.
Chain desired length (approx. 15–20 ch).
Join to opposite side of base with a sl st, ch 1, turn, and sc back across each chain stitch. Sl st to secure, cut yarn, and weave in ends.
4. Final Assembly
Place the completed Grinch dumpling inside the bottom base of the red box so it sits snugly inside when open.
See More:

How to Crochet A Plush Grinch in a Santa Hat & Peppermint Scarf
Tester Pattern: How to Crochet Birthday-Popper Dumpling Plushie for Gifting

Tester Pattern: How to Crochet Dumpling Buddy in A Steamer Costume Plushie

Tester Pattern: To Crochet A Snowball Christmas Dumpling in Basket Plush
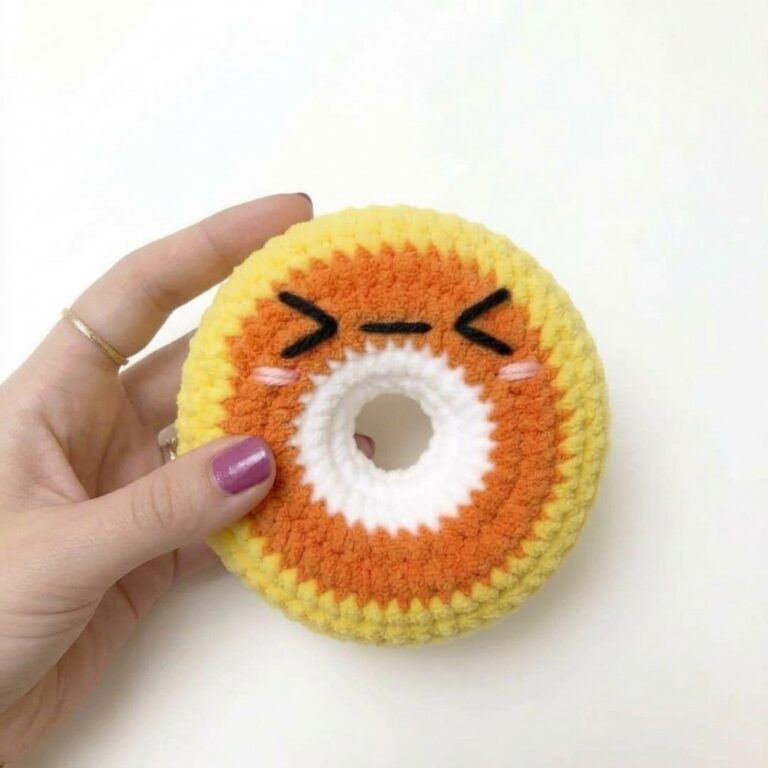
Tester Call: Free Crochet Orange, Yellow & White Dumpling Plushie
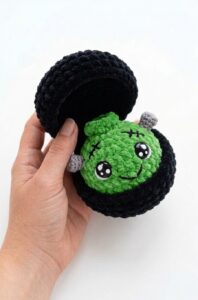
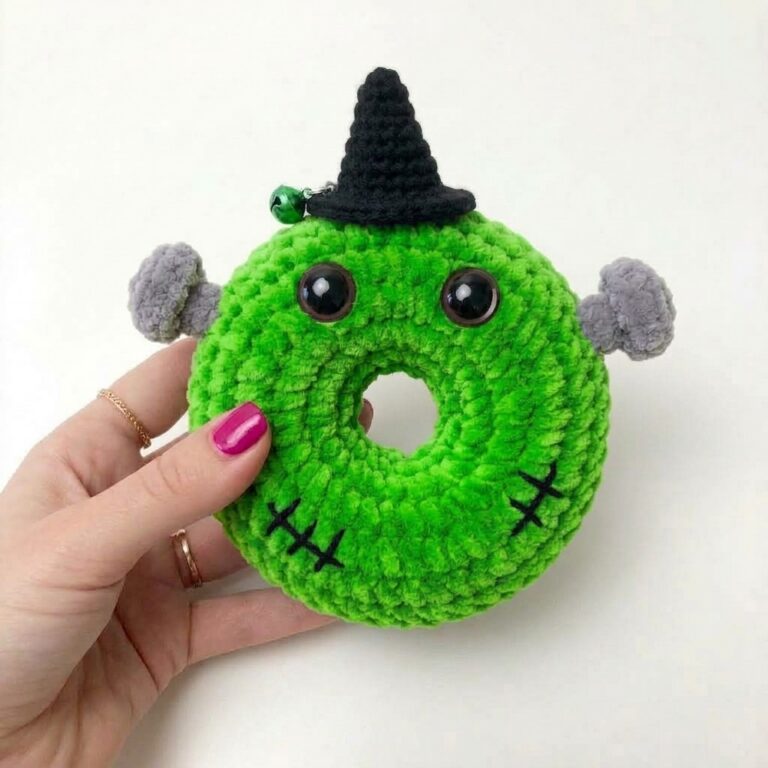
Tester Call: Free Crochet Kawaii-Eyes Bolt Zombie Dumpling Plushie
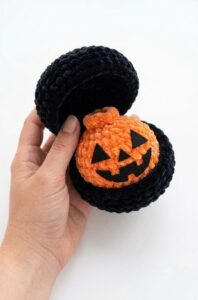
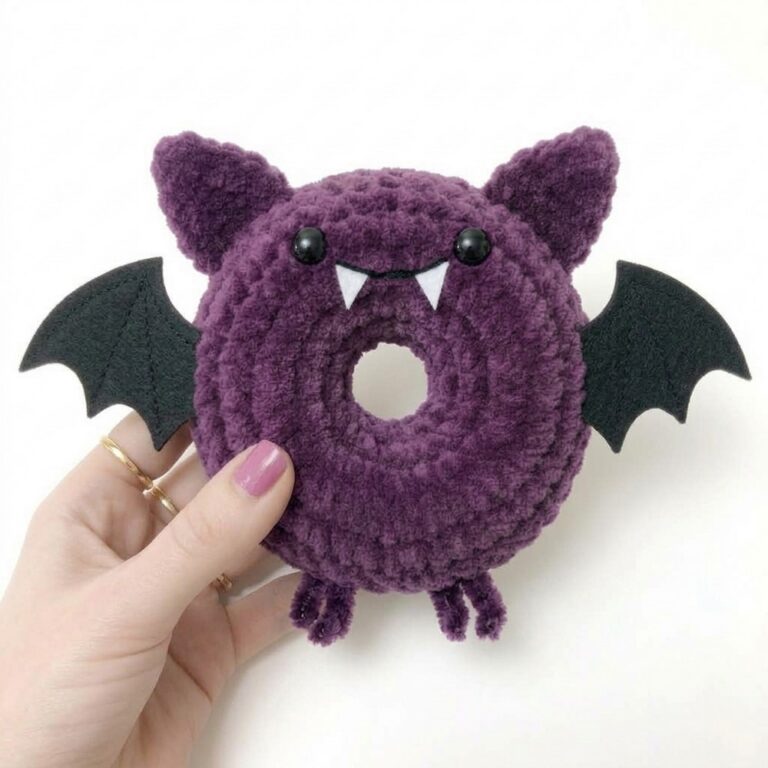
Tester Call: How to Crochet A Pumpkin Dumpling Plush for Halloween
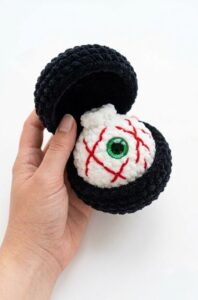
Free Crochet Eyeball Dumpling in a Steamer Plushie for Halloween
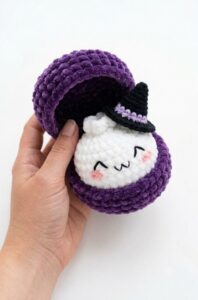
Tester Call: Crochet Spooky Ghost Dumpling Plushie Pattern