Show support for Linh!
Last time, you learned to crochet a plush yarn Grinch baby mushroom wearing a long red elf hat with yellow star embroidery! Today, I am back with another Grinch-mushy amigurumi variation that you can learn to crochet with a step-by-step tutorial and a FREE written pattern as well. This time, our crochet Christmas gift table buddy is wearing a ruffled and slouchy Santa hat and will be crocheted using amigurumi cotton yarn.
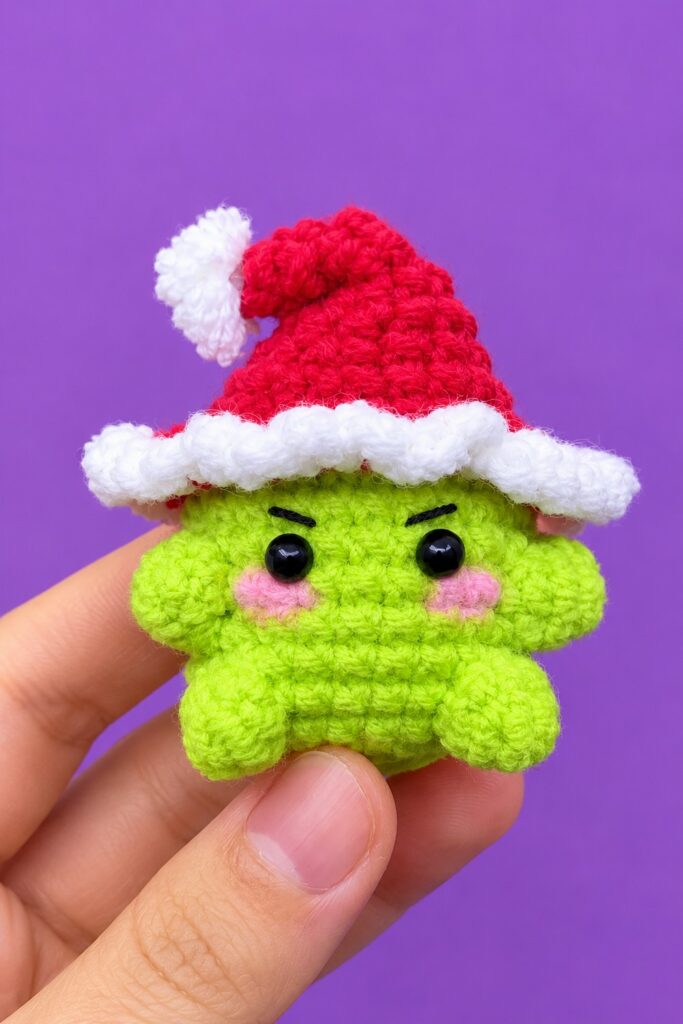
Makes a Christmas keychain, bag charm, or Christmas tree ornament. It has embroidered eyebrows and bobble-stitch legs and arms that make it no-sew, completely!
Designed as a chubby mushroom wearing an oversized red Santa hat with a fluffy, ruffled white brim and a tiny pom-pom on top fastest, crochet no-sew amigurumi gift you can crochet this year. Now, continue reading to learn more about this amigurumi green mushroom project for all skill levels.
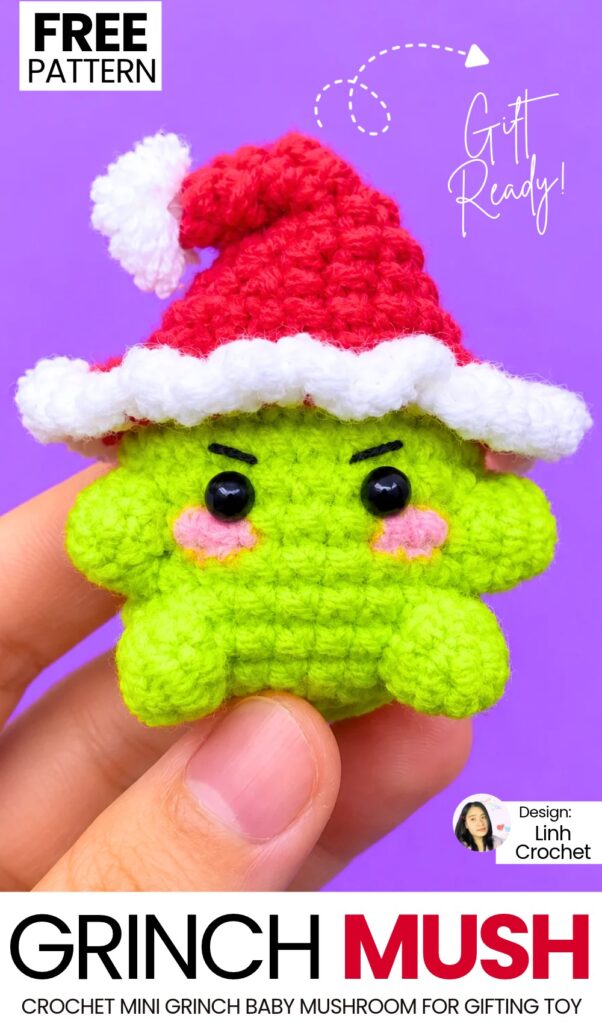
Pattern to Crochet Amigurumi Grinch Mushroom Buddy in a Santa Hat
Skill Level: Beginner – Level 4
Materials and Tools
Yarn: Red and white yarn in an approximately 2-millimeter to 2.2-millimeter weight cotton or acrylic blend (the tutorial uses Susan’s Family 5 and Milk Cotton 50 gram yarn)
Crochet Hook: 2.5 millimeter hook
Polyester fiberfill stuffing
1 pair of small black half-pearl or bead eyes
Hot glue gun (or strong craft glue)
Pink blush or eyeshadow and a small brush (for the rosy cheeks)
Tapestry or yarn needle
Scissors
Optional: 1 silver keychain clasp and jump ring (to turn it into a keychain)
Stitch Guide (US Terminology)
Magic Ring
Chain: Yarn over and pull through the loop on the hook.
Slip Stitch: Insert the hook into the stitch, yarn over, and pull directly through both the stitch and the loop on your hook.
Single Crochet: Insert the hook into the stitch, yarn over, pull up a loop, yarn over, and pull through both loops on the hook.
Increase: Work 2 single crochet stitches into the same stitch.
Invisible Decrease: Insert the hook into the front loop only of the next stitch, then immediately insert the hook into the front loop only of the following stitch (3 loops on the hook). Yarn over and pull through the first 2 front loops, then yarn over and pull through the remaining 2 loops.
Bobble Stitch (5-Double-Crochet Bobble): Yarn over, insert the hook into the stitch, yarn over and pull up a tall loop, yarn over and pull through 2 loops (2 loops left on hook). Repeat this same step 4 more times into the exact same stitch until there are 6 loops on the hook. Yarn over and pull through all 6 loops at once. Push the bobble outward so it pops cleanly on the right side of the work.
Front Loops Only: Work only into the front strand of the top V of each stitch, leaving the back strand untouched.
Back Loops Only: Work only into the back strand of the top V of each stitch left behind from an earlier round.
Are you a Beginner? Learn Crocheting Easily!
You can learn to crochet better with this crochet base Christmas buddy mushroom tutorial. Or continue to the written pattern below!
Part 1: The Red Santa Hat
Start at the tip of the hat using red yarn.
Round 1: Make a magic ring and work 4 single crochet into the ring. Pull the tail tight to close the loop, and join with a slip stitch into the first single crochet. (4 stitches)
Round 2: Chain 1. Work 1 single crochet in each of the 4 stitches around. Push the tiny cone outward so the right side faces out, then join with a slip stitch into the first single crochet. Trim the starting tail short if it gets in the way. (4 stitches)
Round 3: Chain 1. Work 1 single crochet in the first stitch, then 1 increase in the next stitch. Repeat this sequence 2 times in total around the round. Join with a slip stitch into the first single crochet. (6 stitches)
Round 4: Chain 1. Work 1 single crochet in each of the next 2 stitches, then 1 increase in the following stitch. Repeat this sequence 2 times in total around the round. Join with a slip stitch into the first single crochet. (8 stitches)
Round 5: Chain 1. Work 1 single crochet in the first stitch, then 1 increase in the next stitch. Repeat this sequence 4 times in total around the round. Join with a slip stitch into the first single crochet. (12 stitches)
Round 6: Chain 1. Work 1 single crochet in each of the 12 stitches around. Join with a slip stitch into the first single crochet. (12 stitches)
Round 7: Chain 1. Work 1 single crochet in each of the next 2 stitches, then 1 increase in the following stitch. Repeat this sequence 4 times in total around the round. Join with a slip stitch into the first single crochet. (16 stitches)
Round 8: Chain 1. Work 1 single crochet in each of the next 3 stitches, then 1 increase in the following stitch. Repeat this sequence 4 times in total around the round. Join with a slip stitch into the first single crochet. (20 stitches)
Round 9: Chain 1. Work 1 single crochet in each of the next 4 stitches, then 1 increase in the following stitch. Repeat this sequence 4 times in total around the round. Join with a slip stitch into the first single crochet. (24 stitches)
Round 10 (Hat Brim Base, Front Loops Only): Chain 1. Working into the front loops only of Round 9 so the back loops remain free inside the hat for the body later, work 1 single crochet in each of the next 3 stitches, then 1 increase in the next stitch. Repeat this sequence 6 times in total around the round. Join with a slip stitch into the first single crochet. Cut the red yarn, leaving a short tail to hide underneath the white stitches in the next round. (30 stitches)
Round 11 (Ruffled White Hat Trim):
Insert your hook into the first stitch of Round 10 and pull up a loop of white yarn. Lay both the red ending tail and the white starting tail along the top edge so you can crochet over them for a few stitches to secure them.
Chain 3, then slip stitch into the next stitch.
Repeat the sequence of chaining 3 and slip stitching into the next stitch all the way around the 30 stitches of the hat brim. (Trim the hidden yarn tails neatly after working over the first several stitches.)
After the final chain 3, slip stitch back into the very first stitch of Round 11 to finish the ruffled brim.
Do not cut the white yarn. Pull the working loop slightly, tilt the brim upward to see the unused back loops left behind from Round 9, and work a slip stitch directly into the first back loop of Round 9 to transition cleanly to the body.
Part 2: The White Body
Continue directly with white yarn, working downward from the underside of the hat into the 24 unused back loops of Round 9.
Round 1: Chain 1. Work 1 single crochet into each of the 24 back loops of Round 9 all the way around. Join with a slip stitch into the first single crochet. (24 stitches)
Rounds 2 and 3: For each round, chain 1, work 1 single crochet in each of the 24 stitches around, and join with a slip stitch into the first single crochet. (24 stitches)
Round 4 (Making the Arms): Chain 1. Work 1 single crochet in each of the next 7 stitches, work 1 bobble stitch in the next stitch (first arm), work 1 single crochet in each of the next 8 stitches, work 1 bobble stitch in the next stitch (second arm), and work 1 single crochet in each of the last 7 stitches. Join with a slip stitch into the first single crochet. (24 stitches)
Rounds 5 and 6: For each round, chain 1, work 1 single crochet in each of the 24 stitches around, and join with a slip stitch into the first single crochet. (24 stitches)
Round 7 (Making the Legs): Chain 1. Work 1 single crochet in each of the next 8 stitches, work 1 bobble stitch in the next stitch (first leg), work 1 single crochet in each of the next 6 stitches, work 1 bobble stitch in the next stitch (second leg), and work 1 single crochet in each of the last 8 stitches. Join with a slip stitch into the first single crochet. (24 stitches)
Round 8: Chain 1. Work 1 single crochet in the first stitch, then 1 invisible decrease over the next 2 stitches. Repeat this sequence 8 times in total around the round. Join with a slip stitch into the first single crochet. (16 stitches)
Round 9: Chain 1. Work 8 invisible decreases in a row all the way around. Do not join with a slip stitch; cut the white yarn leaving a sewing tail about 15 to 20 centimeters long, and pull the tail through the final loop. (8 stitches)
Stuffing and Closing the Body:
Firmly stuff the white body with polyester fiberfill through the small opening at the bottom, using small closed scissors or the back of a pen to pack the stuffing evenly without stretching the stitches.
Thread the long white yarn tail onto a tapestry needle. Pass the needle through the first stitch to pull the round even, then weave the needle through the outer loops of the remaining 8 stitches around the opening, skipping every other stitch if preferred.
Pull the yarn tail tightly to cinch the bottom opening completely shut. Weave the needle back and forth through the bottom stitches several times to lock the tail securely, then trim the excess yarn flush with the body.
Part 3: Pom-Pom, Facial Details, and Finishing
Make the Mini White Pom-Pom: Wrap white yarn around two fingers about 8 to 10 times. Tie a separate short strand of white yarn tightly around the middle of the wrapped bundle, then slide it off your fingers.
Attach and Trim the Pom-Pom: Apply a dab of hot glue to the tip of the red hat and press the tied center of the yarn bundle onto it. Once set, use sharp scissors to snip open all the loops on both sides and trim the yarn ends down into a neat, tiny round pom-pom.
Shape the Hat: Place a small drop of hot glue on the side of the red hat around Rounds 6 or 7 and press the pom-pom tip gently down against the side so the Santa hat has a cute floppy bend.
Glue the Eyes: Apply tiny dabs of glue to the back of the 2 black bead eyes and press them evenly onto the front of the face between the two arms (around Rounds 2 and 3 of the body).
Add Rosy Cheeks: Use a small makeup brush dipped in pink blush or eyeshadow to gently brush two soft pink cheeks directly below and slightly to the outer sides of each eye.
Optional Keychain Hardware: If you would like to use your crochet Santa as a keychain, attach a jump ring and keychain clasp to the top curve of the red hat.

See More:
How to Crochet Mini Grinch Stingray in Santa Hat & Scarf Buddy Plushie for Gifting
Tester Call: How to Crochet Surprise Gift Amigurumi No-Sew Grinch-Eyed Ghost Buddy for Gifting
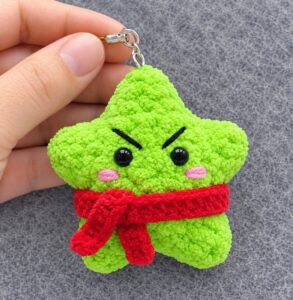
Tester Call: How to Crochet Plush Grinch Star Buddy & Ornament Gift for Christmas
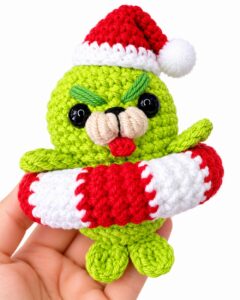
How to Crochet Grinch Seal in a Peppermint Swimming Tube Amigurumi Holiday Gift
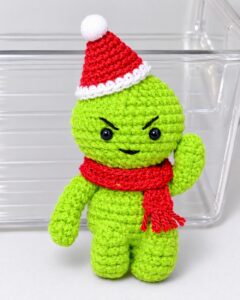
How to Crochet Amigurumi Grinch Smiski For Christmas Gifting
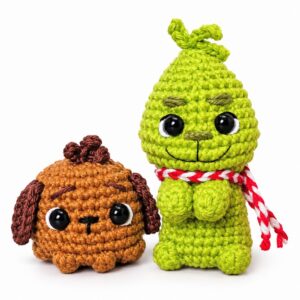
How to Crochet Peppermint Scarf & Cutest-Eyed Grinch Buddy Amigurumi Clip-Toy
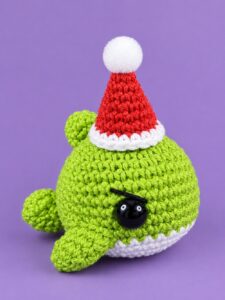
Tester Call: How to Crochet Amigurumi Miniature Grinch Whale Present Toy

Tester Call: How to Crochet Mr. Grinch Jellyfish Plushie in Santa Hat & Scarf
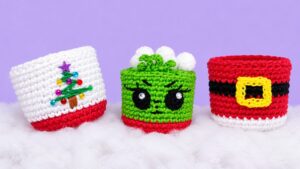
3-in-1 Crochet Tree Embroidery, Grinch and Santa Miniature Treat Baskets