Show support for Linh!
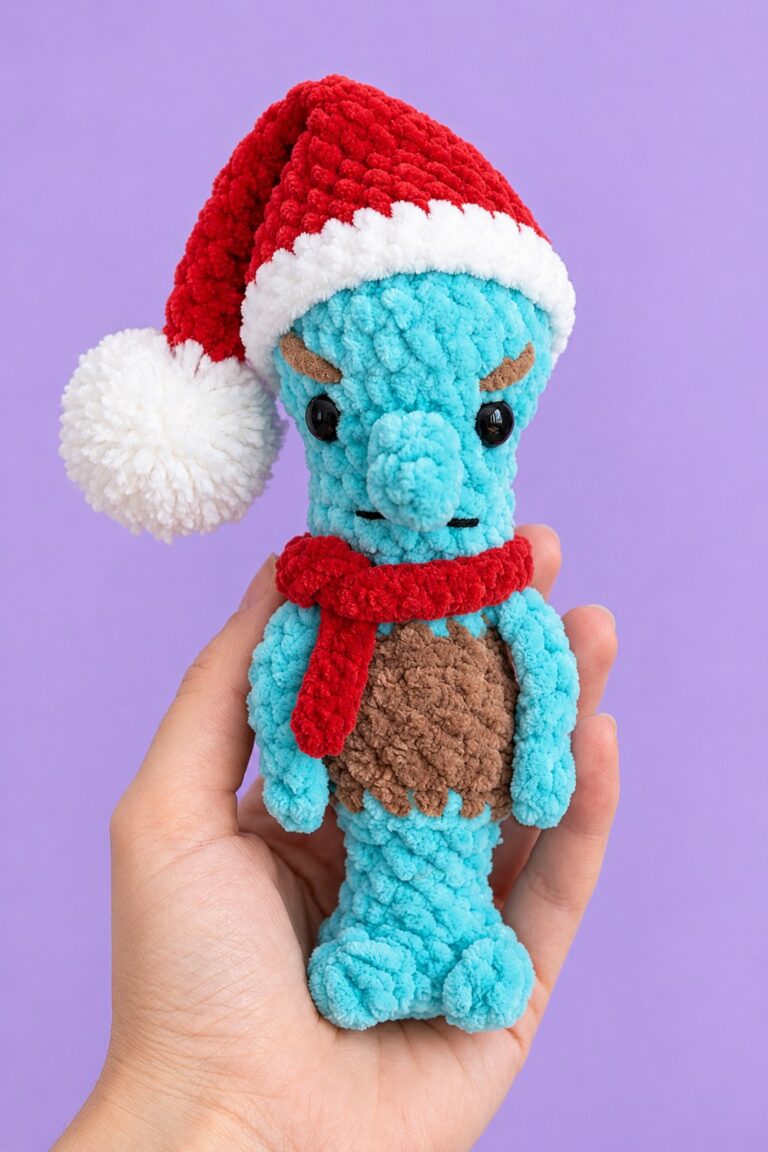
For this week’s crochet Christmas gift plushie pattern, I wanted to combine the Grinch and a fruit to crochet a funny buddy Christmas plushie. So, using the crochet FUNNY pear plushie from one of our contributors, I have designed this UNIQUE crochet Grinch pear buddy plushie with an oh-so crochet gift that you can learn to crochet with a FREE written pattern!
I especially like its little brown legs that are inspired by the Jellycat, and let it sit on your table as your buddy!
It wears a slouchy crochet Christmas hat and has the same angry eyebrows, crocheted this time using the thin plush yarn. Now, continue reading for learning more about this plush Santa pear pattern!
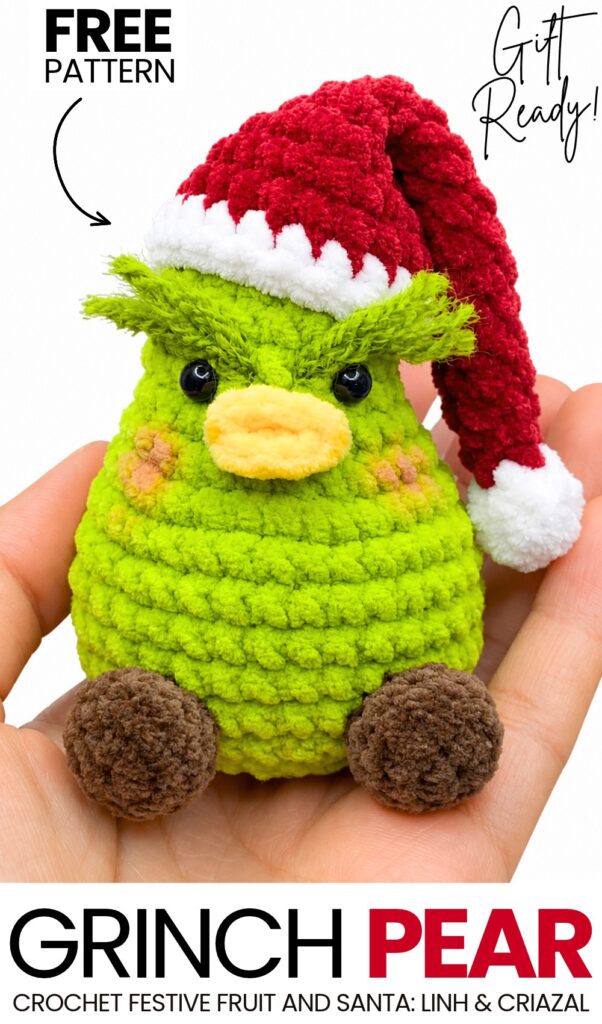
Pattern to Crochet A Funny Christmas Pear Plush
This adorable plushie combines a sweet little duckling with the shape of a fresh pear! Crocheted seamlessly from the top down, it features a chubby pear-shaped body, a tiny sprout with a stem on top, and a little yellow beak. It is quick, beginner-friendly, and perfect as a desk buddy, bag charm, or gift.
Follow this pattern to create the adorable lime green holiday plushie. Crocheted using thin plush chenille/velvet yarn (approx. 2 mm thickness), it combines a chubby pear-shaped body, textured brown feet, a bright yellow duck-like beak, expressive top hair tufts, and a festive slouchy Santa hat.
Materials & Tools
Yarn (Chenille / Velvet baby yarn, ~2 mm thickness):
Light / Lime Green (Body)
Red (Santa Hat body)
White (Santa Hat trim and pom-pom tip)
Brown (Feet)
Yellow (Beak)
Bright Green (Hair / Brow tufts)
Crochet Hook: 2.5 mm
Eyes: Two small black safety eyes or black plastic beads (approx. 4–5 mm)
Stuffing: Polyester fiberfill
Notions: Stitch marker, tapestry/yarn needle, scissors
Finishing: Hot glue gun (or craft glue), pink blush/eyeshadow, and a small makeup brush
Abbreviations (US Terms)
MR: Magic Ring
ch: Chain
sc: Single crochet
hdc: Half double crochet
dc: Double crochet
inc: Increase (2 sc in the same stitch)
dec: Decrease (sc 2 stitches together / invisible decrease)
slst: Slip stitch
st(s): Stitch(es)
( … ) * x: Repeat instructions inside parentheses x times
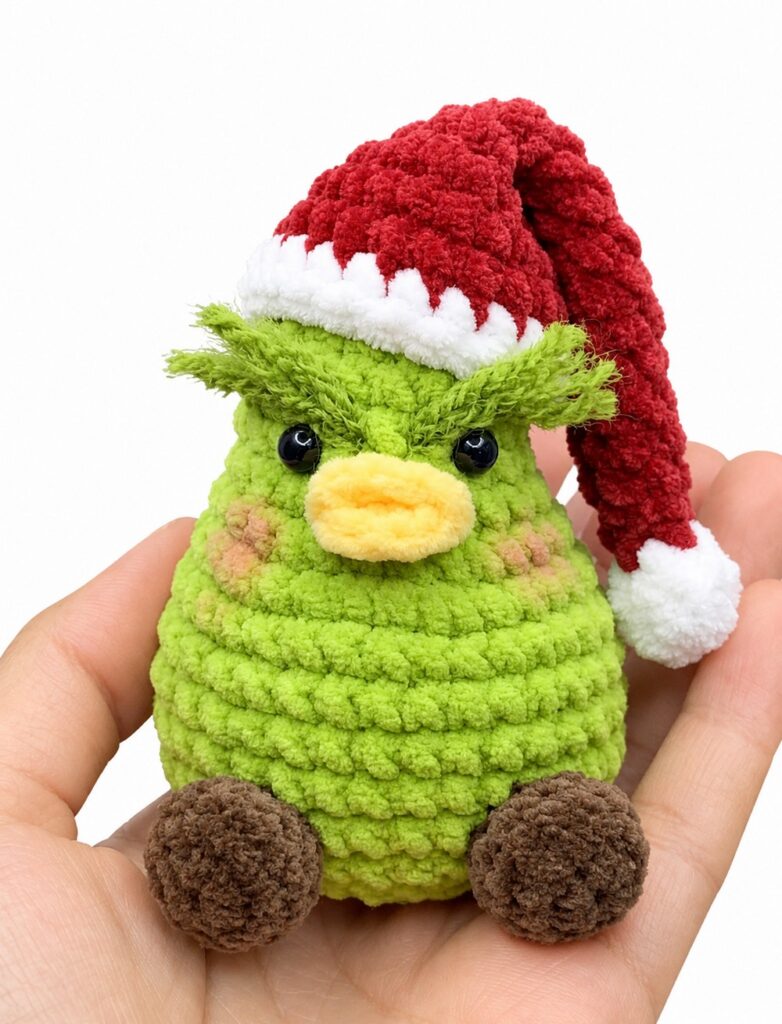
Pattern Instructions
1. Body (Light Green Yarn)
Work continuously in a spiral without joining rounds.
R1: 6 sc into a MR (6)
R2: 6 inc (12)
R3: (1 sc, inc) * 6 (18)
R4–R6 (3 rounds): 18 sc around (18)
R7: (2 sc, inc) * 6 (24)
R8: (3 sc, inc) * 6 (30)
R9: (2 sc, inc, 2 sc) * 6 (36)
R10–R14 (5 rounds): 36 sc around (36)
R15: (2 sc, dec, 2 sc) * 6 (30)
R16: (3 sc, dec) * 6 (24)
R17: (2 sc, dec) * 6 (18)
R18: (1 sc, dec) * 6 (12)
Fasten off, leaving a long yarn tail for closing. Stuff the body firmly with fiberfill, shaping it into a chubby pear/teardrop. Thread the yarn tail onto a needle, weave through the front loops of the remaining 12 stitches, pull tight to close, and secure.
2. Legs / Feet (Brown Yarn – 5-Round Unfinished Sphere)
Make 2. Work in continuous spirals.
R1: 6 sc into a MR (6)
R2: 6 inc (12)
R3: (1 sc, inc) * 6 (18)
- R4: sc in each stitch across (18)
Fasten off, leaving a long tail for sewing. Lightly stuff each foot with fiberfill.
3. Beak (Yellow Yarn)
In a Magic Ring, crochet:
(ch 2, 2 hdc, ch 2, slst into ring) * 2Pull the magic ring tight to form the top and bottom lip of the beak.
Fasten off, leaving a tail. Use a yarn needle to stitch the center together lightly so it forms a rounded, puffy beak. Trim off excess ends.
4. Hair / Brow Tufts (Bright Green Yarn)
Cut and comb a bit of rope thread in the same color in four small pieces and glue as in the image!
5. Santa Hat (White, Red, White)
The hat transitions from a small white tip base into a long, slouchy red body, finished with a white ribbed brim.
Base / Tip (White Yarn)
Round 1: 6 sc in MR [6 sts]
Round 2: (sc 2, inc) x 2 [8 sts]
Round 3: sc in each st around [8 sts]
Round 4: (dec) x 2, sc 4 [6 sts]
Cap / Body (Red Yarn)
Round 5–6 (2 rounds): sc in each st around [6 sts]
Round 7: (sc 5, inc) [7 sts]
Round 8–9 (2 rounds): sc in each st around [7 sts]
Round 10: (sc 6, inc) [8 sts]
Round 11–12 (2 rounds): sc in each st around [8 sts]
Round 13: (sc 7, inc) [9 sts]
Round 14: sc in each st around [9 sts]
Round 15: (sc 8, inc) [10 sts]
Round 16: (sc 4, inc) x 2 [12 sts]
Round 17: (sc 5, inc) x 2 [14 sts]
Round 18: (sc 6, inc) x 2 [16 sts]
Round 19: (sc 7, inc) x 2 [18 sts]
Round 20: (sc 8, inc) x 2 [20 sts]
Brim / Trim (White Yarn)
Round 21–22 (2 rounds): sc in each st around [20 sts]
Fasten off and weave in all loose ends.
How to Make the Hat Slouchy:
The extended tubular structure built across Rounds 5 through 20 naturally creates length. When placing the hat on the plushie, gently bend the upper red body section down toward the right side. Secure the white tip pom-pom to the side of the head or body with a few discreet stitches or a dab of hot glue so it holds a permanent, playful slouch.
Assembly & Finishing
Feet: Position the two brown hemispherical feet at the bottom front of the pear body, spaced slightly apart, and securely sew them in place.
Beak: Glue or sew the yellow puffy beak horizontally across rounds 5–6 on the front face of the body.
Eyes: Insert or glue the two black safety eyes/beads just above and slightly to the sides of the beak, spaced roughly 3–4 stitches apart.
Hair Tufts: Attach the bright green tufts just above the eyes to mimic the textured brow line visible in the reference picture.
Cheeks: Dip a small makeup brush into pink blush or powder eyeshadow and gently dust rosy circles onto the cheeks on both sides of the beak.
Santa Hat: Place the white brim of the hat snugly over the top of the head (resting just above the hair tufts). Bend the red body downward into its slouchy posture and tack the white pom-pom tip to the side to complete your plushie.
See More:
Tester Call: How to Crochet Grinch Christmas Gift Plushie for Kids
How to Crochet A Plush Grinch in a Santa Hat & Peppermint Scarf
Tester Call: How to Crochet Amigurumi Buddy Slouchy Santa Hat Turtle Gift
Tester Call: How to Crochet Kawaii-Eyed Red & Green Santa Hat Turtle Plushie for Gifting
Tester Pattern: How to Crochet Slouchy Santa Hat Heart Plushie Gift with Scarf
Featuring: How to Crochet Santa Costume Miniature Gnome Plushie with No-Sew Slouchy Hat
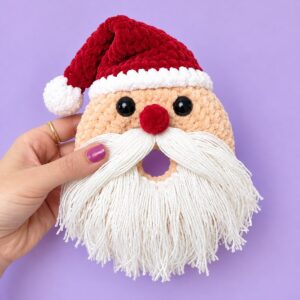
Tester Call: How to Crochet Mr. Santa Anti-Stress Donut Ring Plushie for Christmas
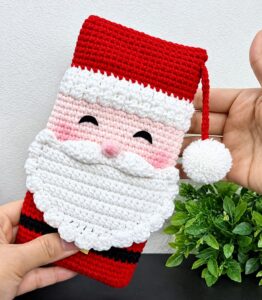
How to Crochet Christmas Gift Smiling Santa Mobile Phone Pouch and Gift Bag
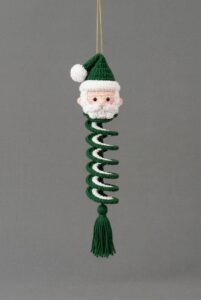
How to Crochet A Santa on the Top Wind Spinner for Christmas