Show support for Ochy!
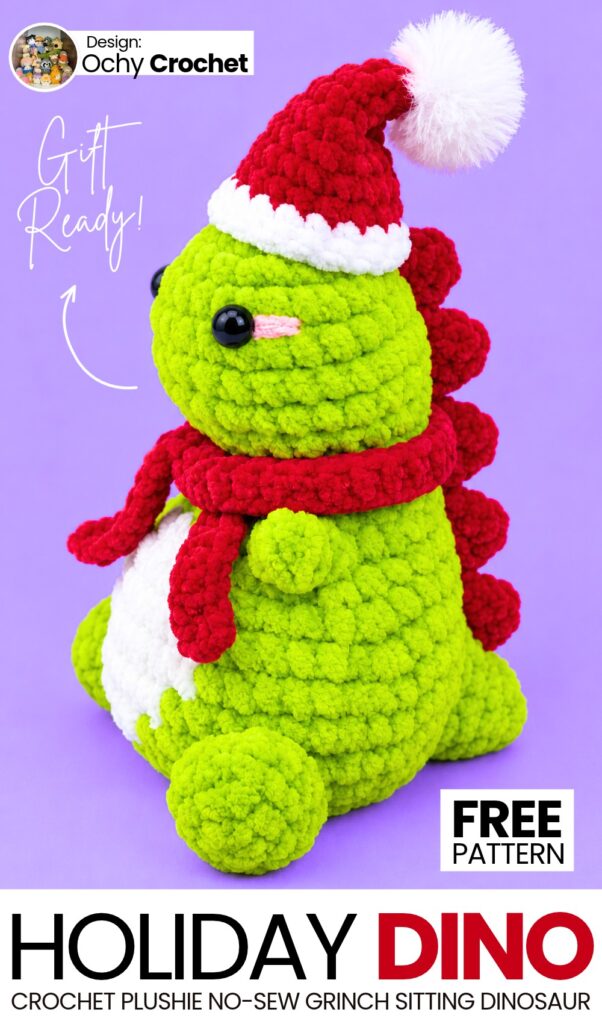
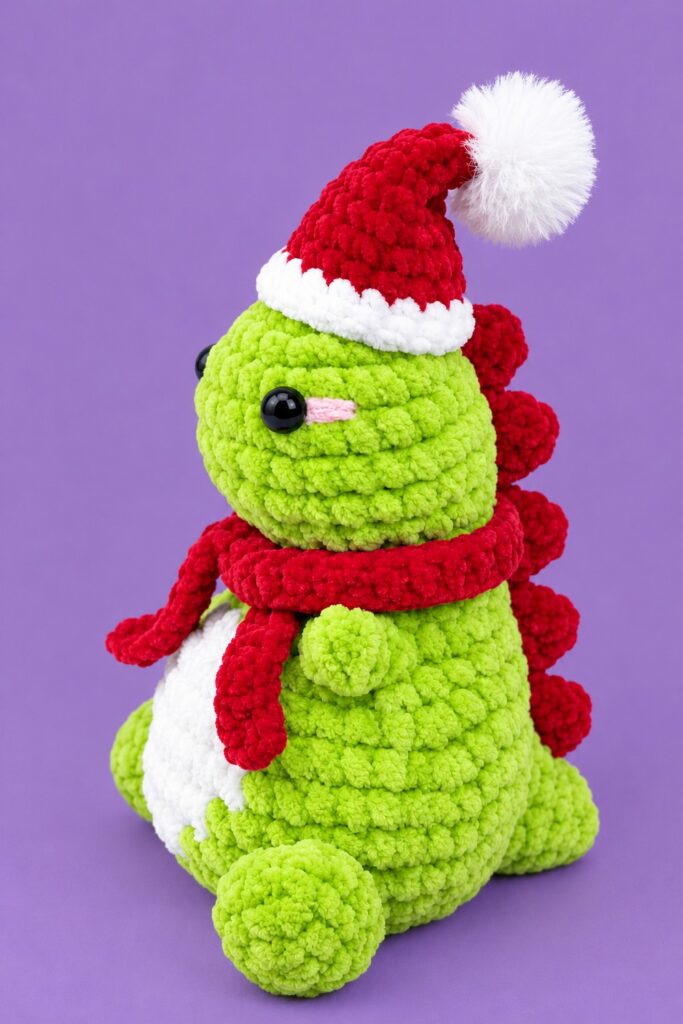
Last time, you learned to crochet a no-sew, FASTEST crochet holiday dinosaur plushie toy! Today, I will be sharing a CUTER and more detailed crochet baby dinosaur holiday accessories pattern! So, say hi to your new festive buddy, the crochet sitting fat dinosaur plushie celebrating Christmas in a red scarf and a fluffy Santa hat. Our crochet dino bud has a green body and red spikes that perfectly complement the holiday Grinch theme.
This adorable Baby Dinosaur Amigurumi is a sweet and chubby little dinosaur that can stand on its own, making it a wonderful desk companion, pocket buddy, bag charm, or keychain.
Crocheted using cotton or plush yarn, this project features a seamless head-to-toe body with arms crocheted directly into the rounds and an inlaid white belly patch. The cute chunky legs, tail, and spiky back ridges are crocheted separately and stitched in place to give your dino its iconic prehistoric charm. Now, continue reading for learning more about this crochet plush dino project!
Pattern to Crochet Holiday Mini Dinosaur Buddy for Gifting
Skill Level: Beginner – Level 4
Materials & Tools
Yarn: 4-ply Milk Cotton Yarn (or any DK/Sport weight yarn) in:
Main Body Color: Lime Green (or Pastel Green / Pink)
Belly Color: White
Spine Color: Red (or any contrast color)
Cheek Blush: A small strand of Pink
Crochet Hook: 2.0 mm (or appropriate hook for your yarn)
Safety Eyes: 6 mm black safety eyes or beads
Fiberfill Stuffing
Tapestry / Yarn Needle
Stitch Marker
Scissors
Sewing Pins (for positioning parts before sewing)
For Hat
Red plush yarn
White plush yarn
2.5mm crochet hook
Faux fluffy pom-pom
Yarn needle and scissors
For Scarf
Category 5 plush yarn
3.5mm crochet hook
Abbreviations (US Terms)
MR: Magic Ring
ch: Chain
sc: Single crochet
inc: Increase (2 sc in the same stitch)
dec: Invisible decrease (single crochet 2 stitches together)
hdc: Half double crochet
dc: Double crochet
sl st: Slip stitch
Pop (Popcorn / Bobble): Work 5 dc into the same stitch, drop the loop from the hook, insert the hook into the first dc, pick up the dropped loop, and pull it through to form a rounded arm.
st(s): Stitch(es)
[ … ]: Repeat instructions within brackets as indicated.
Pattern Notes
This pattern is worked in joined rounds: at the end of each round, join with a sl st into the first stitch of the round, then ch 1 to begin the next round (the ch 1 does not count as a stitch).
When changing colors, work the last stitch before the color change until two loops remain on the hook, then complete the final yarn-over with the new color. Carry the unused yarn loosely along the inside.
Grinch Dinosaur Plush Video Tutorial? Here it is!
Part 1: Head & Body (Worked Top-Down)
Begin with Main Body Color (Yellow).
Round 1: 6 sc into a MR. Sl st to join, ch 1 [6]
Round 2: 6 inc. Sl st to join, ch 1 [12]
Round 3: [1 sc, inc] x 6. Sl st to join, ch 1 [18]
Round 4: [1 sc, inc, 1 sc] x 6. Sl st to join, ch 1 [24]
Rounds 5–7 (3 rounds): 24 sc around. Sl st to join, ch 1 [24]
Neck Indentation:
Round 8: 8 sc, 4 dec, 8 sc. Sl st to join, ch 1 [20]
Round 9: 5 sc, 5 dec, 5 sc. Sl st to join, ch 1 [15]
Round 10: 15 sc around. Sl st to join, ch 1 [15]
Chest & Arms:
Round 11: 4 sc, [1 sc, inc] x 3, 5 sc. Sl st to join, ch 1 [18]
Round 12: [2 sc, inc] x 2, 1 Pop (first arm), 1 sc, inc, 2 sc, inc, 1 Pop (second arm), 1 sc, inc, 2 sc, inc. Sl st to join, ch 1 [24]
Belly Shaping (Colorwork Begins):
(Y = Yellow / Main Color, W = White)
Round 13:
(Y) 9 sc, inc, 1 sc (change to White on last st)
(W) 2 sc, inc (change to Yellow)
(Y) Skip the stitch directly at the back/top of the popcorn arm to maintain alignment, 3 sc, inc, 6 sc. Sl st to join, ch 1 [27]
Round 14:
(Y) 10 sc, inc, 1 sc (change to White)
(W) 4 sc, inc (change to Yellow)
(Y) 4 sc, inc, 5 sc. Sl st to join, ch 1 [30]
Round 15:
(Y) [4 sc, inc] x 2, 2 sc (change to White)
(W) 2 sc, inc, 4 sc, inc (change to Yellow)
(Y) [4 sc, inc] x 2. Sl st to join, ch 1 [36]
Round 16:
(Y) 14 sc (change to White)
(W) 8 sc (change to Yellow)
(Y) 14 sc. Sl st to join, ch 1 [36]
Round 17:
(Y) 15 sc (change to White)
(W) 6 sc (change to Yellow)
(Y) 15 sc. Sl st to join, ch 1 [36]
Round 18:
(Y) 16 sc (change to White)
(W) 4 sc (change to Yellow)
(Y) 16 sc. Sl st to join, ch 1 [36]
Fasten off White yarn, knot securely on the inside, and tuck ends in. Continue with Yellow only.
Bottom Decreases & Closing:
Round 19: [4 sc, dec] x 6. Sl st to join, ch 1 [30]
Round 20: [3 sc, dec] x 6. Sl st to join, ch 1 [24]
Round 21: [2 sc, dec] x 6. Sl st to join, ch 1 [18]
Stuffing: Stuff the head and body firmly with fiberfill, smoothing out the tummy and head curves.
Round 22: [1 sc, dec] x 6. Sl st to join, ch 1 [12]
Round 23: 6 dec [6]
Fasten off, leaving a short tail. Thread the tail onto a yarn needle, weave through the front loops of the remaining 6 stitches, pull tight to close the bottom, knot securely, and hide the yarn tail inside.
Part 2: Legs (Make 2)
Using Main Body Color (Yellow).
Round 1: 6 sc into a MR. Sl st to join, ch 1 [6]
Round 2: [1 sc, inc] x 3. Sl st to join, ch 1 [9]
Round 3: [1 sc, inc, 1 sc] x 3. Sl st to join, ch 1 [12]
Round 4: 12 sc around. Sl st to join [12]
Fasten off, leaving a long tail for sewing. Make 2 pieces. Lightly stuff before attaching.
Part 3: Tail
Using Main Body Color (Yellow).
Round 1: 4 sc into a MR. Sl st to join, ch 1 [4]
Round 2: [1 sc, inc] x 2. Sl st to join, ch 1 [6]
Round 3: [1 sc, inc] x 3. Sl st to join, ch 1 [9]
Round 4: [1 sc, inc, 1 sc] x 3. Sl st to join, ch 1 [12]
Round 5: [1 sc, inc, 1 sc] x 4. Sl st to join, ch 1 [16]
Fasten off, leaving a long tail for sewing. Lightly stuff with fiberfill.
Part 4: Back Ridge / Spikes
Using Orange yarn.
Ch 15.
Starting in the 2nd chain from hook, work the following across:
[2 sl st, (1 hdc, 1 dc, 1 hdc) into the next ch] x 4
Work 2 sl st in the last 2 remaining chains.
Fasten off, leaving a long yarn tail for sewing. You will have a strip with 4 neat triangular spikes.
Hat Pattern
R1: 6 sc in MR (6)
R2: inc, 5 sc (7)
R3: inc, 6 sc (8)
R4: inc, 7 sc (9)
R5: inc, 8 sc (10)
R6: [3 sc, inc] × 2, 2 sc (12)
R7: [4 sc, inc] × 2, 2 sc (14)
R8: [5 sc, inc] × 2, 2 sc (16)
R9: [6 sc, inc] × 2, 2 sc (18)
R10: Change to white yarn. [7 sc, inc] × 2, 2 sc (20)
R11: [4 sc, inc] × 4 (24)
Matching Plush Scarf Pattern
Foundation: Chain 41 using the red plush yarn.
Row 1: Starting in the 2nd chain from the hook, work 40 sc across. Turn. (40)
Repeat this row for all!
Part 5: Assembly & Details
Attaching the Tail:
Pin the tail to the lower back of the body, centered right behind the white belly patch (spanning approximately Rounds 16–21).
Sew firmly in place using the tail’s yarn end. Ensure it helps balance the dinosaur so it can sit upright.
Attaching the Legs:
Position the legs on the lower sides of the body, angled slightly forward so the feet sit level with the base and tail.
Sew along the open edges into the body, knot, and hide ends inside.
Attaching the Back Ridge:
Pin the ridge strip along the center of the dinosaur’s spine, beginning from the top back of the head, traveling down the neck and back, and ending onto the top curve of the tail.
Stitch through each base slip stitch along the back of the body using the orange yarn tail. Knot and weave in the end.
Face Details:
Eyes: Attach 6 mm safety eyes (or glue/sew beads) between Rounds 4 and 5 of the head, spaced 5 stitches apart, centered above the belly.
Blush: Thread a needle with pink yarn and embroider a small horizontal stitch directly underneath or right beside the outer edge of each eye. Tie off and bury the thread inside the head.

See More:
Tester Call: How to Crochet Surprise Gift Amigurumi No-Sew Grinch-Eyed Ghost Buddy for Gifting
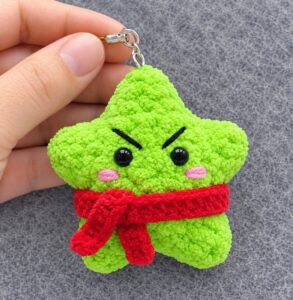
Tester Call: How to Crochet Plush Grinch Star Buddy & Ornament Gift for Christmas
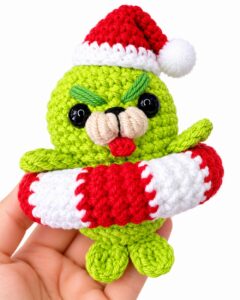
How to Crochet Grinch Seal in a Peppermint Swimming Tube Amigurumi Holiday Gift
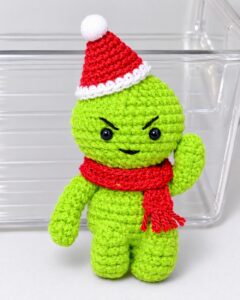
How to Crochet Amigurumi Grinch Smiski For Christmas Gifting
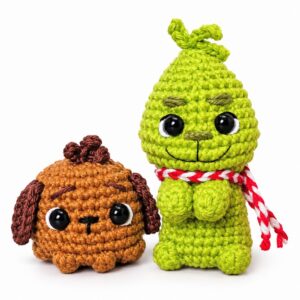
How to Crochet Peppermint Scarf & Cutest-Eyed Grinch Buddy Amigurumi Clip-Toy
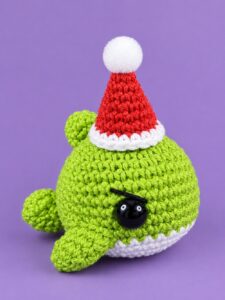
Tester Call: How to Crochet Amigurumi Miniature Grinch Whale Present Toy
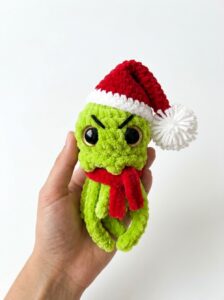
Tester Call: How to Crochet Mr. Grinch Jellyfish Plushie in Santa Hat & Scarf
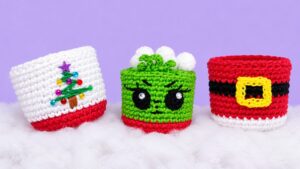
3-in-1 Crochet Tree Embroidery, Grinch and Santa Miniature Treat Baskets
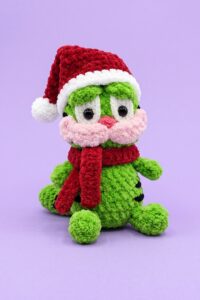
Tester Call: How to Crochet Santa Hat & Scarf Tiger Grinch Buddy Plushie for Gifting