Show support for Marifairyland!
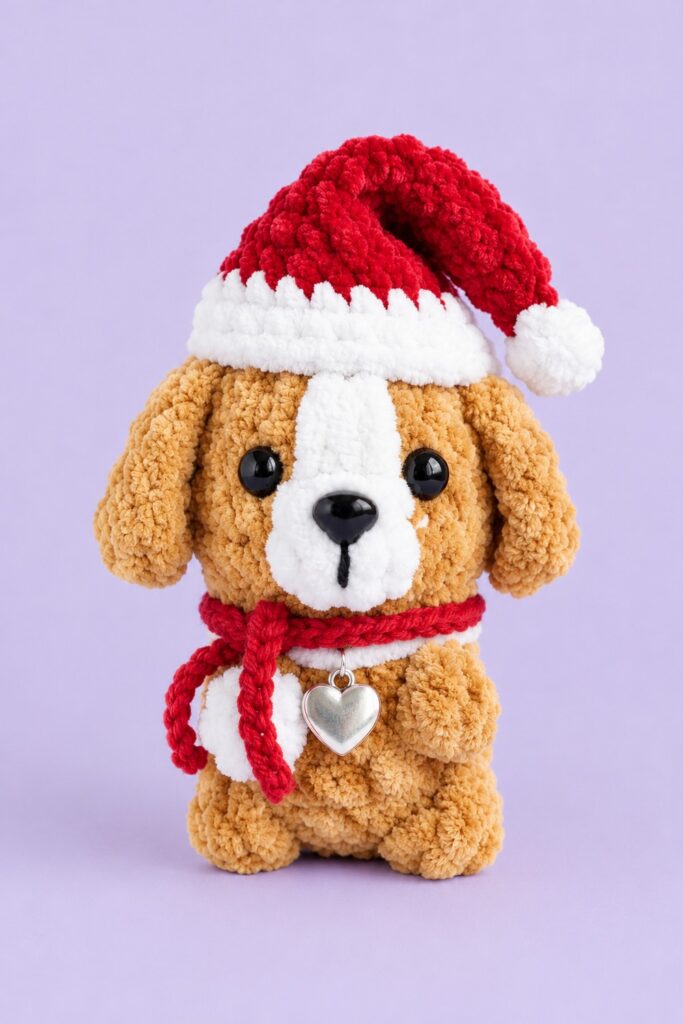
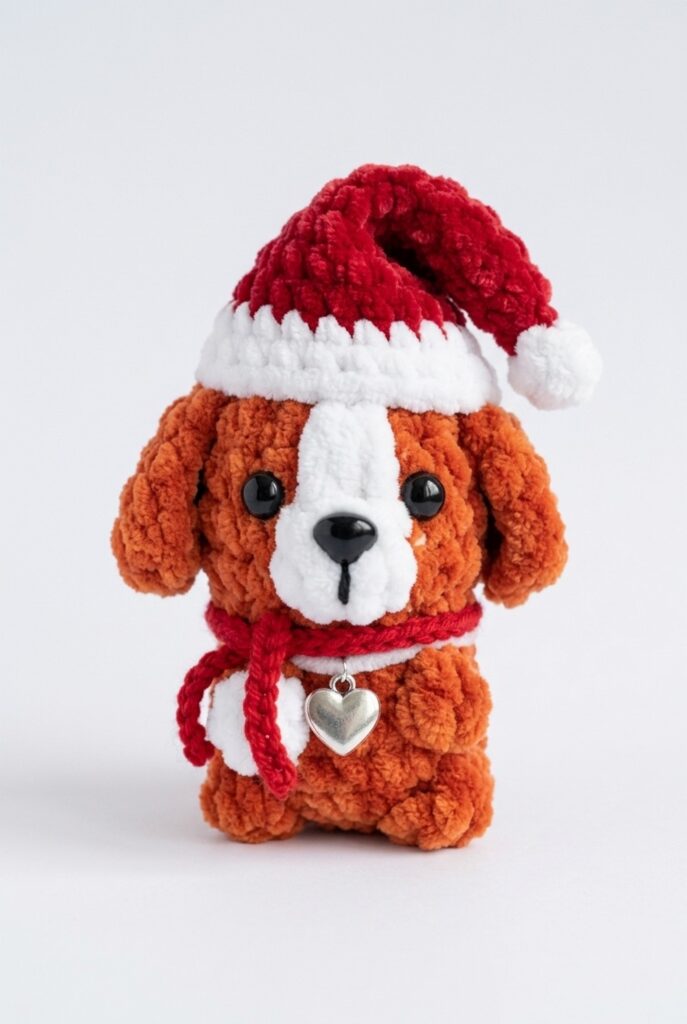
For today’s crochet CUTEST festive animal plushie pattern, I have chosen the crochet no-sew buddy puppy gift. Introducing the crochet plush honey puppy buddy in a Christmas scarf and slouchy hat, with a FREE written pattern. absolute beginners. This adorable miniature puppy is a quick, fun, and beginner-friendly crochet puppy project made with super-soft plush (chenille) yarn.
Standing at just 6.5 cm (about 2.5 inches) tall, this toy is completely seamless and no-sew: the tail, hind legs, front paws, muzzle, and ears are all crocheted directly into the body and head as you go!
It is an ideal way to use up leftover yarn scraps and makes a pocket toy, bag charm, or gift. Now, continue reading for learning more about this crochet quick and super easy last-minute gift plush buddy!
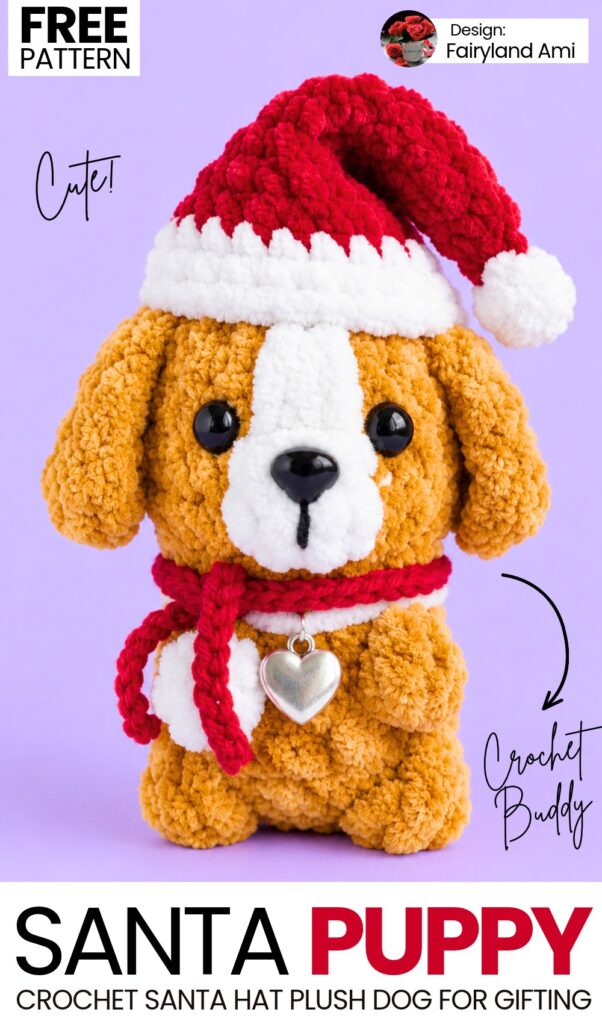
Pattern to Crochet the Santa Hat Puppy Buddy
Height: Approx. 6.5 cm (~2.5 inches)
Materials & Tools
Plush/Chenille Yarn: Category 5/6 bulky yarn (approx. 100 g / 120 m, e.g., YarnArt Dolce or Himalaya Dolphin Baby):
Main Color (MC): Dark Beige / Taupe (Color #754) — or your choice of Black, Brown, etc.
Contrast Color (CC): White (for the muzzle)
Crochet Hook: 4.5 mm (US 7)
Eyes: 7 mm black half-beads / flatback eyes (or safety eyes)
Nose: 9 mm × 7 mm plastic flatback/safety nose
Glue: Hot glue gun or fabric craft glue (for eyes and nose)
Charm & Collar: Small metal pendant (e.g., bone or “I Love My Dog” heart) and thin black cord/thread
Embroidery Thread: Fine black thread and embroidery needle for muzzle detailing
Fiberfill: Polyester stuffing (holofiber)
Notions: Stitch marker, yarn needle, sharp scissors, tweezers (for stuffing)
Abbreviations (US Terms)
ch: chain
sc: single crochet
inc: increase (2 sc in the same stitch)
dec: decrease (single crochet 2 together)
hdc: half double crochet
dc: double crochet
sl st: slip stitch
st(s): stitch(es)
MC / CC: Main Color / Contrast Color
Puff Stitch (2-dc cluster): Yarn over, insert hook into indicated st, pull up a loop, yarn over, pull through 2 loops (2 loops on hook). Yarn over, insert hook into same st, pull up a loop, yarn over, pull through 2 loops (3 loops on hook). Yarn over and pull through all 3 loops; ch 1 to lock.
Video tutorial to Crochet the Buddy Plushie
You can learn to crochet better with this crochet miniature buddy puppy plushie tutorial for beginners:
Pattern Instructions
Body & Head (Worked in One Piece from the Bottom Up)
1. Base & Hind Legs
Start with Main Color (MC):
Round 1: Ch 2, work 6 sc into the 2nd ch from the hook
[6]Round 2 (Tail & Hind Paws):
1 sc in the first st (place marker in this stitch).
Tail: ch 3; starting in 2nd ch from hook, work 2 sc back down the chain.
In the same first st on the base, work 1 sc (this completes an increase for st 1).
In next st: inc (2 sc).
In next st: Paw 1 — work a [Puff Stitch, ch 1], then work 1 sc in the same st.
In next st: inc (2 sc).
In next st: Paw 2 — work 1 sc, then in the same st work a [Puff Stitch, ch 1].
In next st: inc (2 sc).
[Round 2 total: 12 sts]
Round 3: 12 sc around (working into each sc and into the locking ch-1 above each paw)
[12]
2. Body & Front Paws
Round 4 (Front Paws):
5 sc
Front Paw 1: in next st, work [Puff Stitch, ch 1]
2 sc
Front Paw 2: in next st, work [Puff Stitch, ch 1]
3 sc to end of round
[12]
Round 5: 12 sc around (working into each sc and into the ch-1 above the front paws)
[12]
3. Head & Muzzle
Round 6 (Head Increases):
(2 sc, inc) repeat 4 times
[16]
Round 7 (Muzzle Colorwork):
With MC: 8 sc.
In next st (9th st): start a single crochet, but before completing the final yarn over, drop MC and pull through with White (CC) to change color.
In next st (10th st): with CC, work 2 Puff Stitches in the same stitch to form the cheeks (Puff st, ch 1, Puff st).
Drop CC; yarn over with MC to make 1 ch and close the muzzle.
With MC: 6 sc to the end of the round
[16].Cut the white yarn and tuck the yarn ends inside the body.
Rounds 8–9 (2 rounds): 16 sc around in MC (crochet neatly across the top of the white muzzle)
[16]
4. Ears & Top of Head
Round 10 (Ears):
7 sc
Ear 1:
ch 6
Starting in the 3rd ch from hook: work 3 dc, then 1 hdc in the last ch
Sl st back into the base stitch on the head.
7 sc along the front of the head
Ear 2:
ch 6
Starting in the 3rd ch from hook: work 3 dc, then 1 hdc in the last ch
Sl st back into the base stitch on the head.
2 sc to complete round
[16 sts around head]
Round 11 (Decreases):
8 dec around
[8]Sl st into the first st of the round and fasten off, leaving an 8-inch (20 cm) tail for closing.
5. Stuffing & Closing
Using tweezers or a tool, firmly pack the body and head with fiberfill, gently shaping the rounded cheeks and forehead.
Thread the yarn tail onto a blunt needle.
Weave the needle through the front loops only of the 8 remaining stitches around the crown.
Pull firmly to close the hole tightly, make a secure knot, and bury the yarn tail inside the head.
6. Assembly & Details
Muzzle Embroidery
Thread a fine needle with thin black thread.
Insert from the base or side of the head and come out right between the two white cheek puffs.
Take a vertical stitch down between the cheeks to define the muzzle indentation, anchoring it securely at the bottom.
Knot and bury the thread ends inside the body.
Attaching Eyes & Nose
Nose: Apply a drop of hot glue or fabric glue to the back of the 9×7 mm nose and press it firmly centered directly above the embroidered vertical muzzle line.
Eyes: Glue the two 7 mm half-bead eyes on the head just above the outer corners of the white muzzle.
Collar & Charm
Take a length of thin black thread or cord and slide the metal charm (heart or bone) to the center.
Wrap the cord around the neck indentation between the head and body.
Tie a snug double knot at the back of the neck.
Thread the loose ends onto a needle and weave them into the body to hide the knot, trimming any excess.
Your tiny plush puppy is finished and ready to cuddle!
Pompom Bobble (3-dc cluster): [Yarn over, insert hook, yarn over, pull up a loop, yarn over, pull through 2 loops] 3 times into the same stitch (4 loops on hook). Yarn over, pull through all 4 loops, then ch 1 to secure.
Hat Body
Using 4.5 mm hook and Bulky Red yarn:
Rnd 1: 4 sc in MR (4)
Rnd 2: (3 sc, inc) (5)
Rnd 3: (4 sc, inc) (6)
Rnd 4: (5 sc, inc) (7)
Rnd 5: (6 sc, inc) (8)
Rnd 6: (7 sc, inc) (9)
Rnd 7: (8 sc, inc) (10)
Rnd 8: (4 sc, inc) x 2 (12)
Rnd 9: (5 sc, inc) x 2 (14)
Rnd 10: (6 sc, inc) x 2 (16)
Rnd 11: (7 sc, inc) x 2 (18)
Rnd 12: (8 sc, inc) x 2 (20)
Rnd 13: (9 sc, inc) x 2 (22)
Change to Bulky White yarn on the last stitch of Rnd 13.
Brim
Rnd 14: (10 sc, inc) x 2 (24)
Rnd 15: (23 sc, inc) (25)
Rnd 16: (24 sc, inc) (26)
Fasten off white yarn, weave in ends, or tuck tails neatly inside the hat.
Top Pompom
Insert your 4.5 mm hook directly into the top center tip (Magic Ring) of the red Santa hat.
Pull up a loop of White super bulky plush yarn and ch 1.
In the same top spot, work 1 Pompom Bobble (3-dc cluster + ch 1 to secure).
Sl st back into the exact same center spot of the hat to anchor the pompom securely.
Fasten off, pull the tail inside the hat using a yarn needle, knot securely, and trim any excess yarn.
See More:
How to Crochet Festive Mini Pink Bird Wearing Scarf & Santa Hat for Gifting
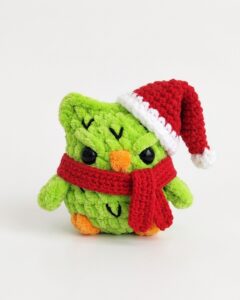
How to Crochet Angry Slouchy Santa Hat Owl Plushie Bag Charm (Grinch Owl)
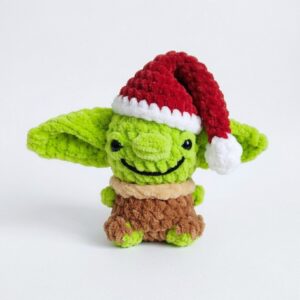
How to Crochet Slouchy Santa Hat Grinch Baby Yoda Plushie for Gifting
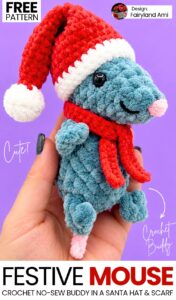
How to Crochet Funny Santa Dress Mouse Plushie Fidget Toy Gift for Christmas
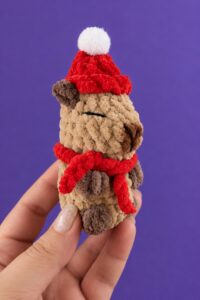
How to Crochet Miniature No-Sew Mr. Capy in Santa Hat Plushie Christmas Gift
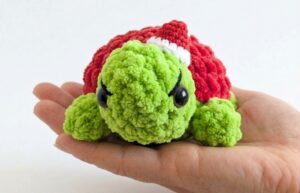
Tester Pattern: How to Crochet Santa Hat Grinch Turtle Plushie for Christmas Gifting
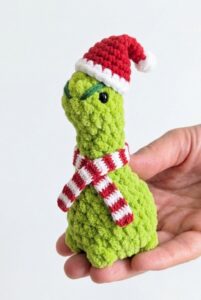
Tester Call: Crochet Santa Mr. No-Sew Dino Grinch Plushie for Gifting
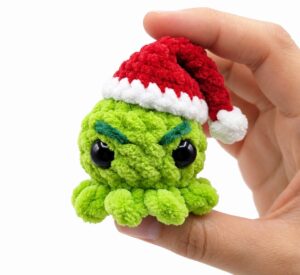
Tester Call: How to Crochet Mini No-Sew Grinch Santa Octopus Plushie for Kids
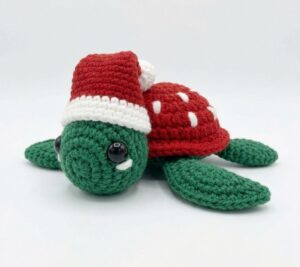
Tester Call: How to Crochet Amigurumi Buddy Slouchy Santa Hat Turtle Gift