Show support for Lyubov!
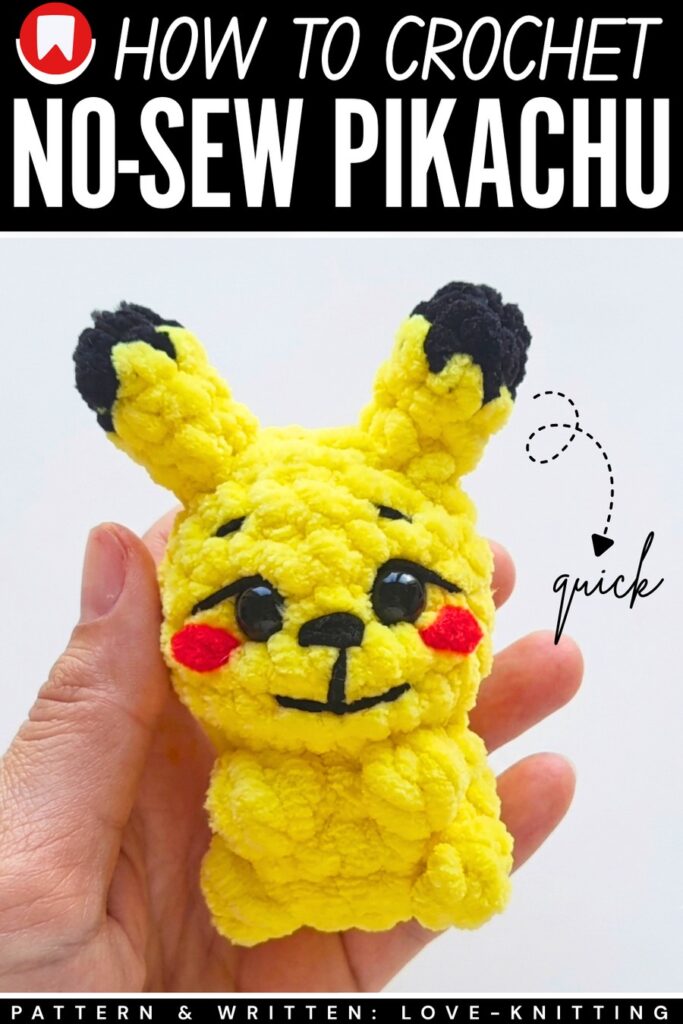
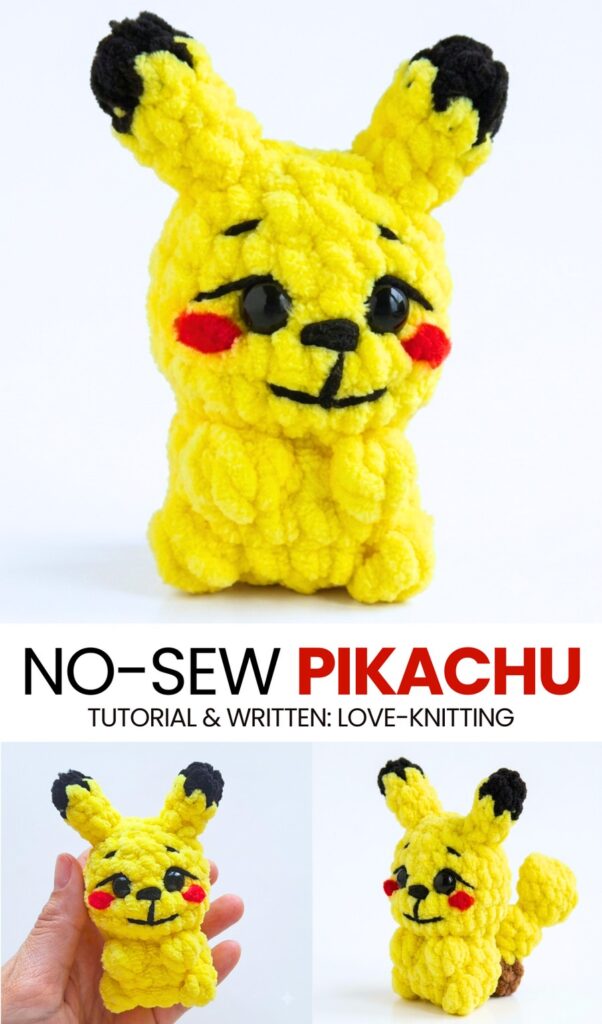
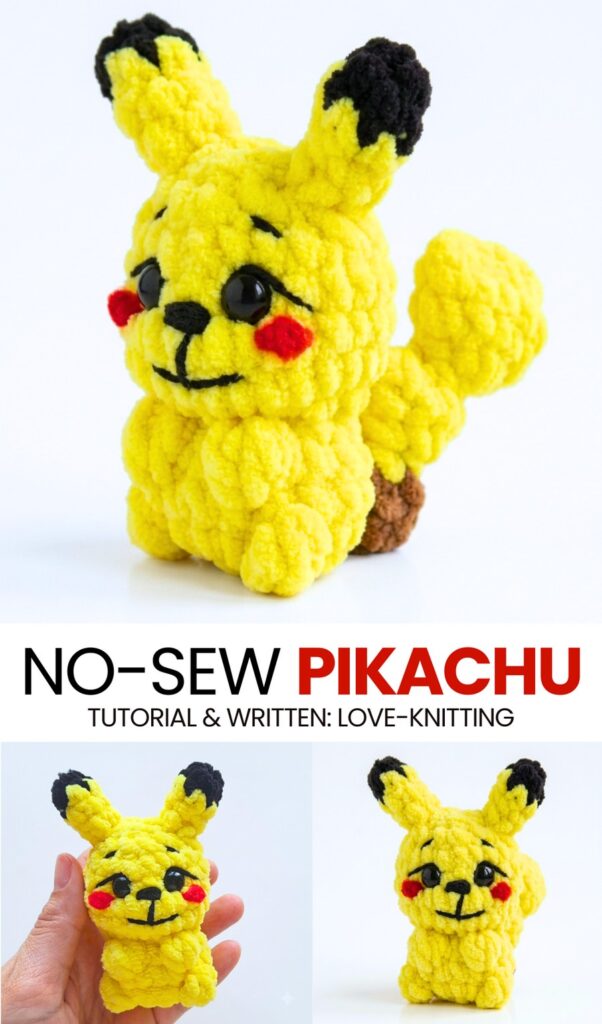
Here is another pattern from the “iconic crochet characters made low-sew & quick” series! Today, you will learn how to crochet this miniature & no-sew, 10cm tall Pikachu plushie with a free written pattern. This is a small yellow table buddy & toy for the busy Pokémon-loving makers. You can easily crochet this kawaii Pikachu within 35 minutes. Remake this Pikachu buddy as a bag charm, desk friend, or back-to-school present.
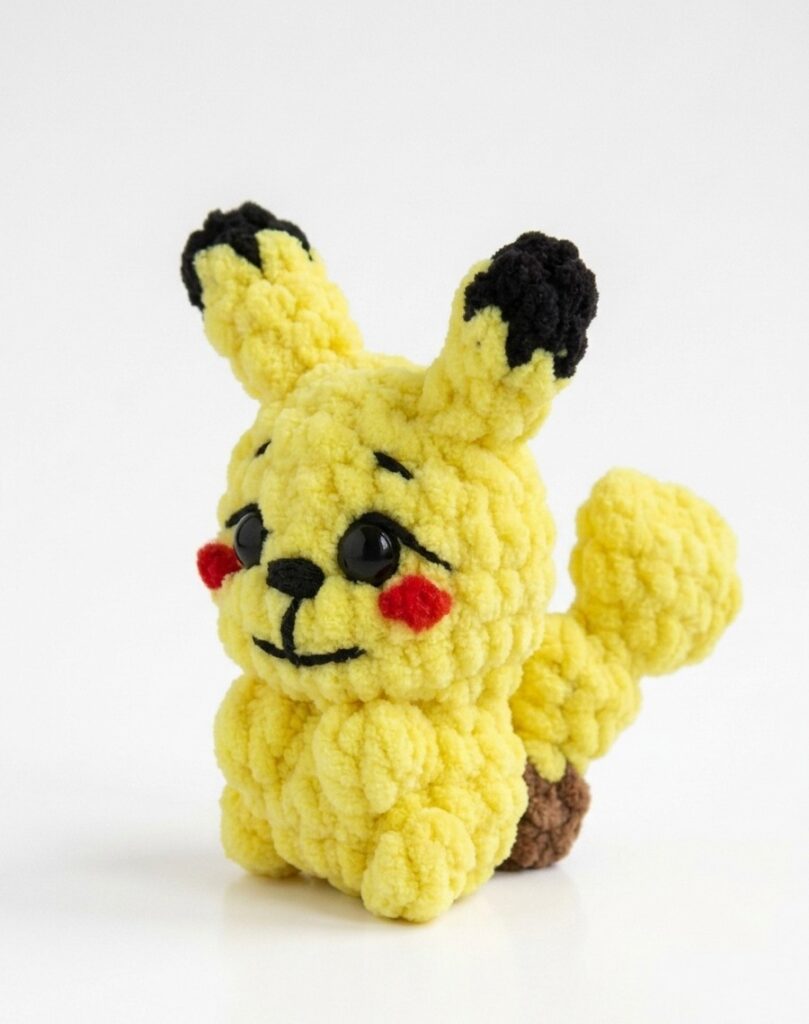
This Pikachu amigurumi is crocheted from the familiar “bobble stitch sitting animal doll” base. We shall focus on recreating Pikachu’s iconic face in the CUTEST way. Just look at its embroidered red spots and the eyebrows on the eyes!
The most special part of this crochet Pikachu plush is its stuffed tail that is intentionally crocheted bigger than usual. This tail gives the Pikachu plush its complete character; we all LOVE it. And all this will take less than an hour of your time. So, be sure to crochet this Pikachu with the pattern below.
[ez-toc]
Pattern to Crochet the No-Sew Pikachu Doll
This continuous, seamless plush Pikachu features built-in bobble-stitch arms and legs to minimize sewing. The long ears and iconic lightning-bolt tail are crocheted separately and stitched on at the end. The final Pikachu plush measures approximately 10 cm tall.
Materials Needed
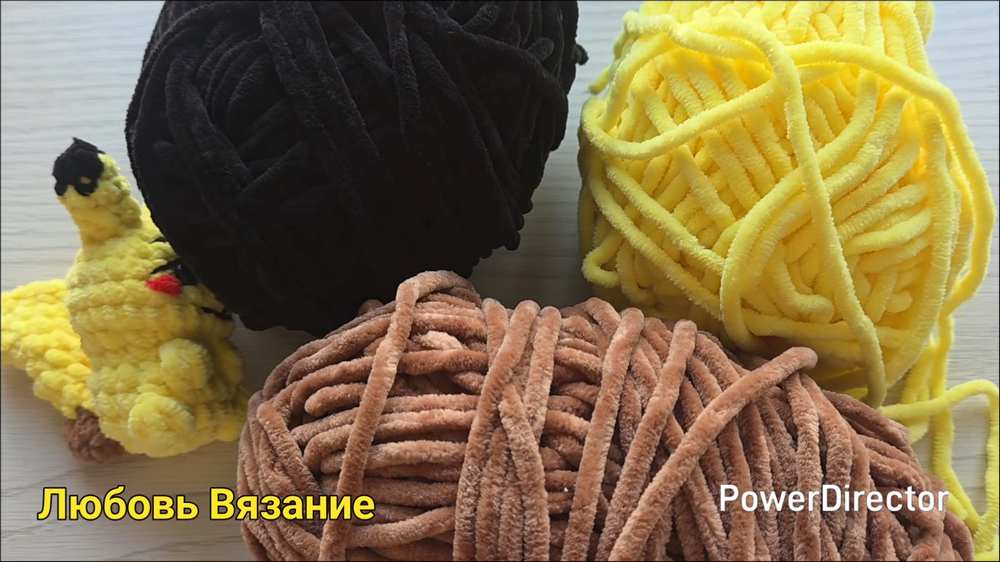
Plush Chenille Yarn: Main Yellow, Black (for ear tips), Brown (for base of tail), and a tiny bit of Red (for cheeks).
Hook: 4.0 mm crochet hook.
Safety Eyes: 10 mm plastic eyes.
Other: Fiberfill stuffing, a yarn needle, and thin black embroidery or cotton thread (for eyelashes, nose, and mouth).
Abbreviations (US Terms)
MR: Magic Ring
ch: Chain
sc: Single crochet
inc: Increase (2 sc in one stitch)
dec: Decrease (invisible single crochet decrease)
bo3: Bobble stitch using 3 partially finished double crochets closed together with a single top loop.
Are you a Beginner? Learn Crocheting Easily!
You can learn to crochet better with this miniature Pikachu plush tutorial as a beginner:
Share on Social Media!
See More:
How to Crochet Leggy Anti-Stress 4-in-1 Christmas Character Amigurumi for Gifting
Featuring: Crochet Goggle-Wearing Yellow, Blue and Black Buddy Character Plushie for Gifting
Featuring: To Crochet Plush Yarn Iconic Mouse Character Plushies (Both Variations)
Tester Pattern: How to Crochet Green Christams Character Ornament Ring Pluhsie
Tester Call: How to Crochet Mr. Enternainer Funny Character Cone Plushie for Gifting
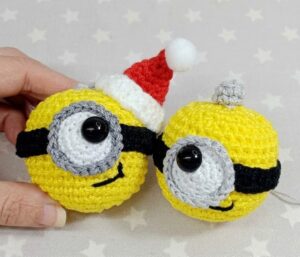
How to Crochet Christmas Yellow Goggle Character Bell Buddy in Santa Hat
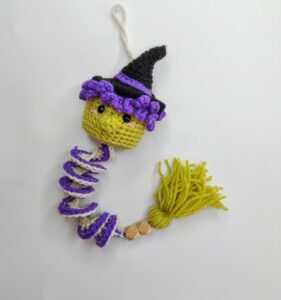
Featuring: How to Crochet 5-in-1 Character Wind Spinners for Gifting
![[PDF Pattern] How to Crochet A Green Christmas Character Basket in Santa Hat Pattern](https://criazalblog.com/wp-content/uploads/2026/09/crochet-grinch-basket-1-296x300.jpg)
[PDF Pattern] How to Crochet A Green Christmas Character Basket in Santa Hat Pattern
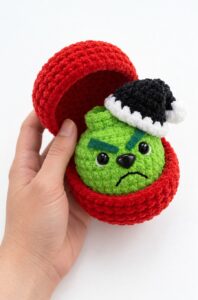
Tester Pattern: To Crochet A Plush Green Christams Character Food in Basket Plush