Show support for Lyubov!
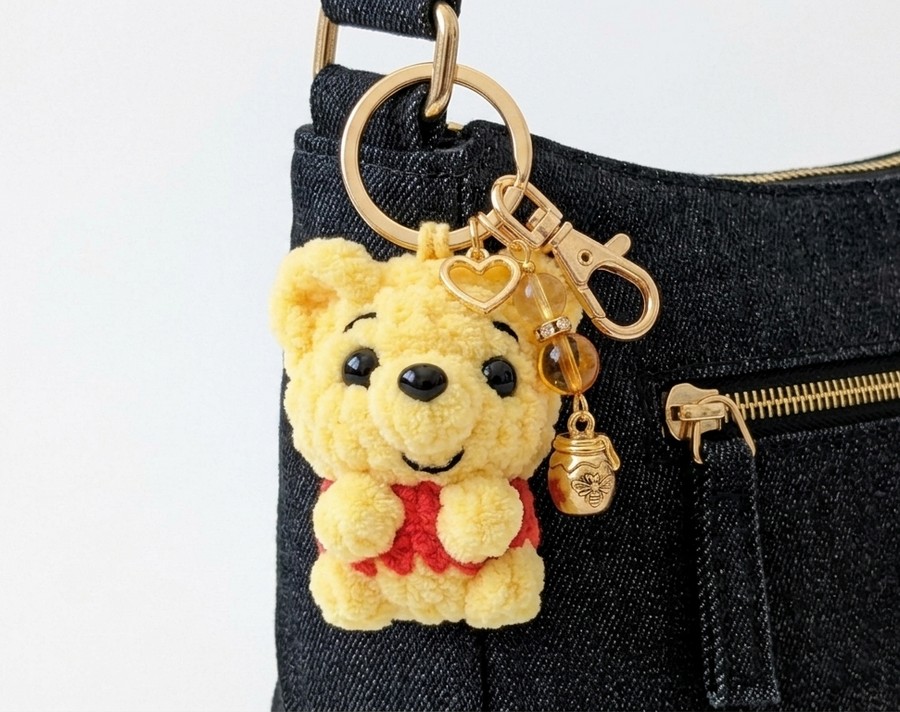
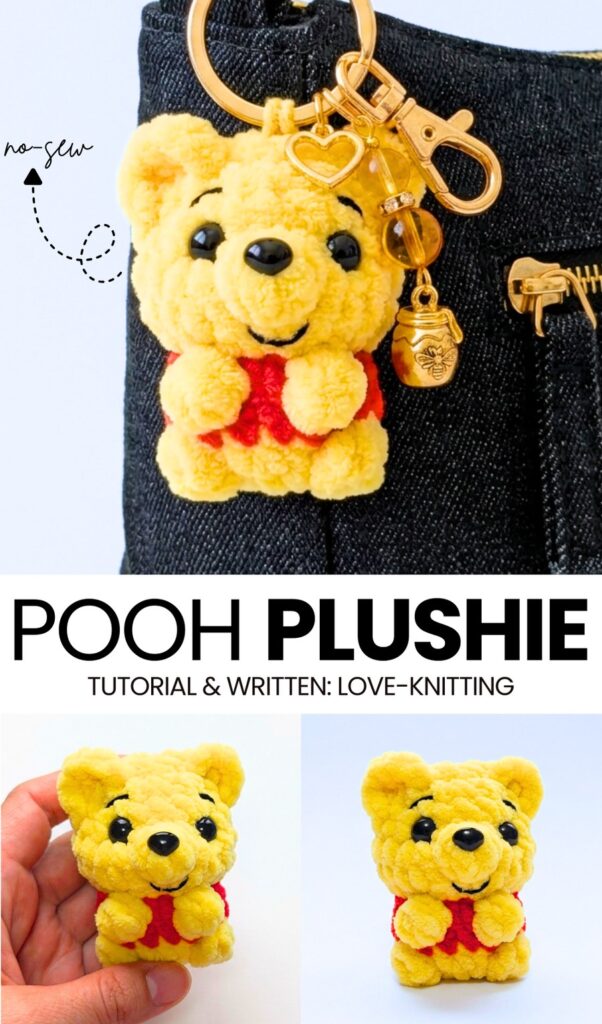
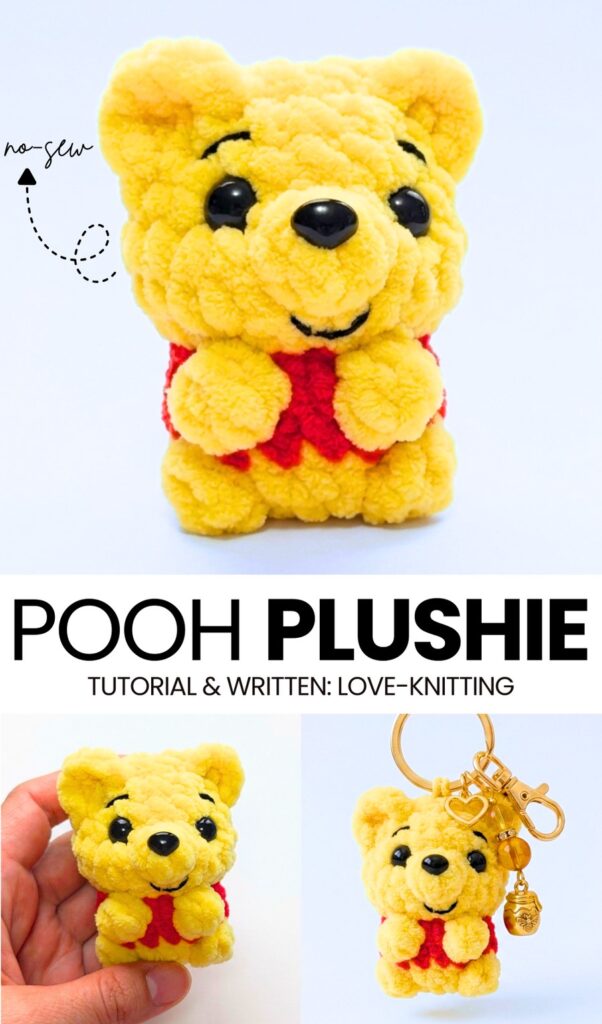
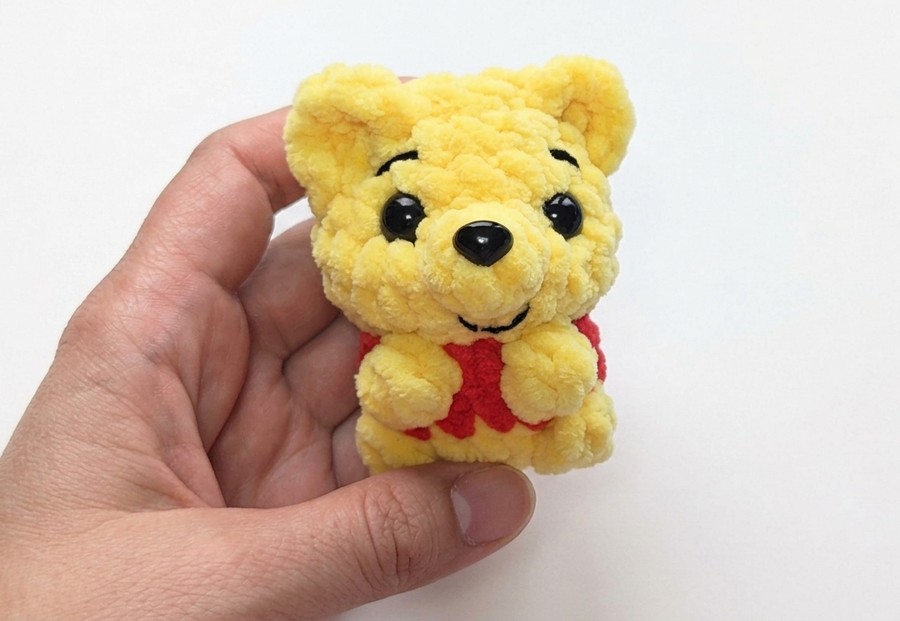
The CUTEST & the easiest (even no-sew!), crochet Winnie the Pooh plush pattern is finally here! Introducing the crochet no-sew miniature Winnie the Pooh desk buddy plushie that is quick and simply KAWAII! This crochet little Winnie the Pooh plushie is a last-minute present for kids whose charm is irresistible. Just take a look at its tiny nose, smile, and red shirt. Crochet it as a keychain gift!
This is designed as a chubby Winnie the Pooh bear plush with the shirt crocheted as you go while you are working from the bottom up. This version even has the funny bear tail and the embroidered eyebrows.
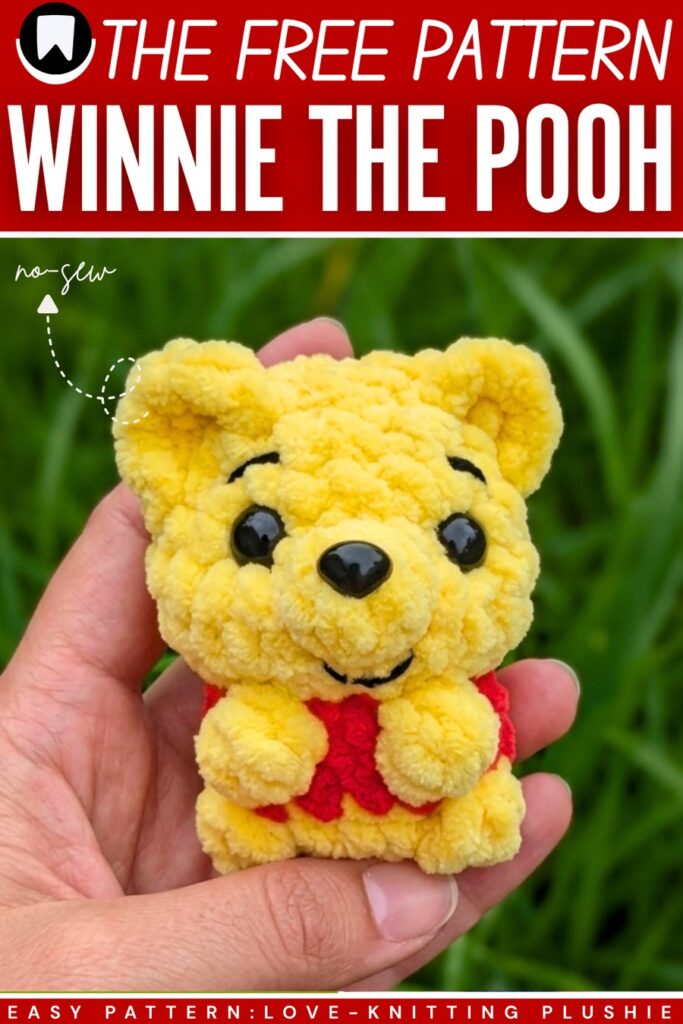
The body, legs, and arms are crocheted as a single piece, even the iconic shirt (as mentioned already). All this is thanks to the clever use of color changes and the bobble stitch for the legs and the arms. This version is also perfect for crocheting any other bear-like animal plush such as the panda, koala, cat, and even dog. Continue reading for the full Winnie the Pooh pattern below!
Similar Project(s)

Pattern to Crochet Mini Winnie the Pooh Plush Doll
This project is an adorable, squishy Winnie the Pooh amigurumi bear made using chunky plush yarn, making it work up quickly and feel incredibly soft. The pattern is worked in rounds using standard amigurumi techniques. You will crochet the legs first and join them to form the body, switching colors halfway up to create Pooh’s classic little red shirt.
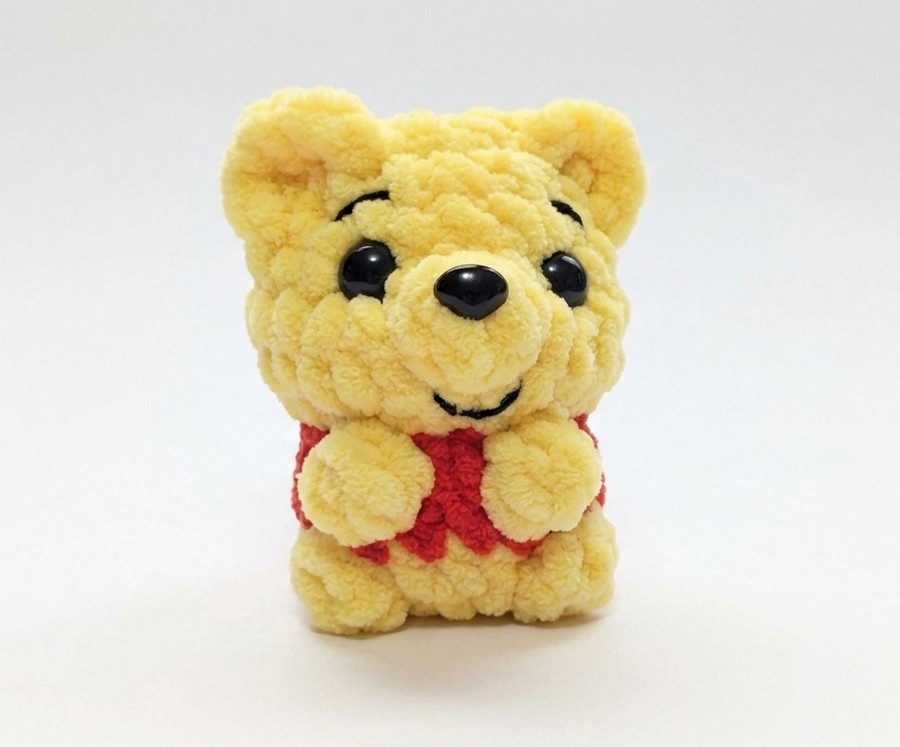
The head, arms, muzzle, and ears are crocheted separately and sewn onto the body at the end. It is a fantastic, beginner-friendly weekend project that results in a perfectly huggable stuffed toy!
Materials Needed
Chunky / Plush Yarn (Super Bulky, approx 100g/120m):
Yellow (Main body color)
Red (For the shirt)
Thin Cotton or Acrylic Yarn: Small amount of Black for embroidering the nose and eyebrows.
Crochet Hook: 4.0 mm (Size G)
Safety Eyes: 10 mm or 12 mm (Black)
Stuffing: Polyester fiberfill
Tools: Yarn needle (with a large eye for plush yarn), stitch markers, and scissors.
Abbreviations (US Terms)
MR = Magic Ring
CH = Chain
SC = Single Crochet
INC = Increase (2 SC in the same stitch)
DEC = Invisible Decrease (SC 2 stitches together)
SL ST = Slip Stitch
BLO = Back Loop Only
FLO = Front Loop Only
ST(S) = Stitch(es)
[ … ] = Repeat the sequence inside the brackets
( … ) = Total number of stitches at the end of the round
Pattern Instructions
1. Arms (Make 2)
Start with Yellow yarn. Round 1: 6 SC in a MR. (6)
Round 2: [1 SC, INC] 3 times. (9)
Rounds 3-4: 1 SC in each ST around. (9) Color Change: Switch to Red yarn.
Rounds 5-8: 1 SC in each ST around. (9) Stuff only the bottom half of the arm lightly. Fold the top opening flat.
Are you a Beginner? Learn Crocheting Easily!
You can learn to crochet better with this no-sew chubby Winnie the Pooh plush tutorial as a beginner. Or, continue reading to the pattern;
Round 9: Crochet 4 SC across both sides to close the arm. Fasten off, leaving a long tail for sewing.
2. Legs & Body (Worked from the bottom up)
First Leg: Use Yellow yarn.
Round 1: 6 SC in a MR. (6)
Round 2: 6 INC. (12)
Rounds 3-5: 1 SC in each ST around. (12) Fasten off the first leg. Do not fasten off after making the second leg.
Joining the Legs to start the Body:
Round 6: From the second leg, CH 2. Insert hook into the first leg and SC around the 12 STS of the first leg. 1 SC in each of the 2 CHs, SC around the 12 STS of the second leg, 1 SC in the opposite side of the 2 CHs. (28)
Round 7: [6 SC, INC, 7 SC] 2 times. (30)
Rounds 8-10: 1 SC in each ST around. (30) Color Change: Switch to Red yarn.
Round 11: 1 SC in each ST around. (30)
Round 12: Working in BLO (Back Loop Only) for this round: 1 SC in each ST. (30) Note: We leave the front loops exposed so we can create the bottom rim of the shirt later.
Round 13: 1 SC in each ST around. (30)
Round 14: [3 SC, DEC] 6 times. (24)
Rounds 15-16: 1 SC in each ST around. (24)
Round 17: [2 SC, DEC] 6 times. (18) Stuff the legs and body firmly.
Round 18: [1 SC, DEC] 6 times. (12) Fasten off, leaving a long tail for sewing.
Shirt Rim: Attach Red yarn to the exposed Front Loops of Round 12. Crochet 1 SC in every FLO around. Fasten off and weave in the ends.
3. Head
Use Yellow yarn.
Round 1: 6 SC in a MR. (6)
Round 2: 6 INC. (12)
Round 3: [1 SC, INC] 6 times. (18)
Round 4: [2 SC, INC] 6 times. (24)
Round 5: [3 SC, INC] 6 times. (30)
Round 6: [4 SC, INC] 6 times. (36)
Rounds 7-11: 1 SC in each ST around. (36)
Round 12: [4 SC, DEC] 6 times. (30)
Round 13: [3 SC, DEC] 6 times. (24) Insert safety eyes between Rounds 9 and 10, about 5 stitches apart. Start stuffing the head firmly.
Round 14: [2 SC, DEC] 6 times. (18)
Round 15: [1 SC, DEC] 6 times. (12)
Round 16: 6 DEC. (6) Fasten off. Weave the yarn tail through the front loops of the remaining 6 stitches, pull tight to close, and hide the end inside the head.
4. Muzzle
Use Yellow yarn.
Round 1: 6 SC in a MR. (6)
Round 2: 6 INC. (12)
Round 3: [3 SC, INC] 3 times. (15) Fasten off, leaving a long tail for sewing. Using thin black yarn, embroider a triangular nose onto the top center of the muzzle and a small vertical line down from the nose.
5. Ears (Make 2)
Use Yellow yarn.
Round 1: 6 SC in a MR. (6)
Round 2: [1 SC, INC] 3 times. (9)
Round 3: 1 SC in each ST around. (9) Do not stuff. Fold flat.
Round 4: Crochet 4 SC through both sides to close. Fasten off, leaving a long tail for sewing.
Assembly
Head to Body: Using the long yarn tail left from the top of the body, sew the body to the bottom center of the head.
Muzzle: Pin the muzzle to the center of the face, right below the eyes. Stuff it slightly with fiberfill before sewing it completely shut.
Ears: Sew the ears to the top sides of the head (roughly around rounds 4-6 of the head).
Arms: Sew the arms to the sides of the body, right on the red shirt segment, slightly below the neck seam.
Details: Using the thin black yarn, embroider two small angled eyebrows right above the safety eyes to give him his classic, sweet Pooh expression.
Share on Social Media!

See More:

How to Crochet Aqua Pumpkin Cutie Plushie for Fall & Halloween

How to Crochet CUTE Pumpkin Ice Cream Cone Plushie for Fall & Halloween

Featuring: How to Crochet A Big Soccer Ball Plushie for Fifa World Cup

Featuring: How to Crochet the CUTEST Kitty Pumpkin Plushie Tutorial for Halloween

Featuring: How to Crochet the Fall’s CUTEST Fidget Toadstool Mushroom Plushie Tutorial

Featuring: How to Crochet 100% No-Sew Daffodil Turtle Plushie for Gifting FINISHED

Featuring: How to Crochet No-Sew Rose Turtle Plushie (Pastel & Red Variations)

Featuring: How to Crochet the CUTEST No-Sew Halloween Pumpkin Turtle Plushie

Free Crochet Miniature No-Sew Fox Plushie Keychain for Fall