The pattern type available is the Video tutorial by Heather! So, show support for her!
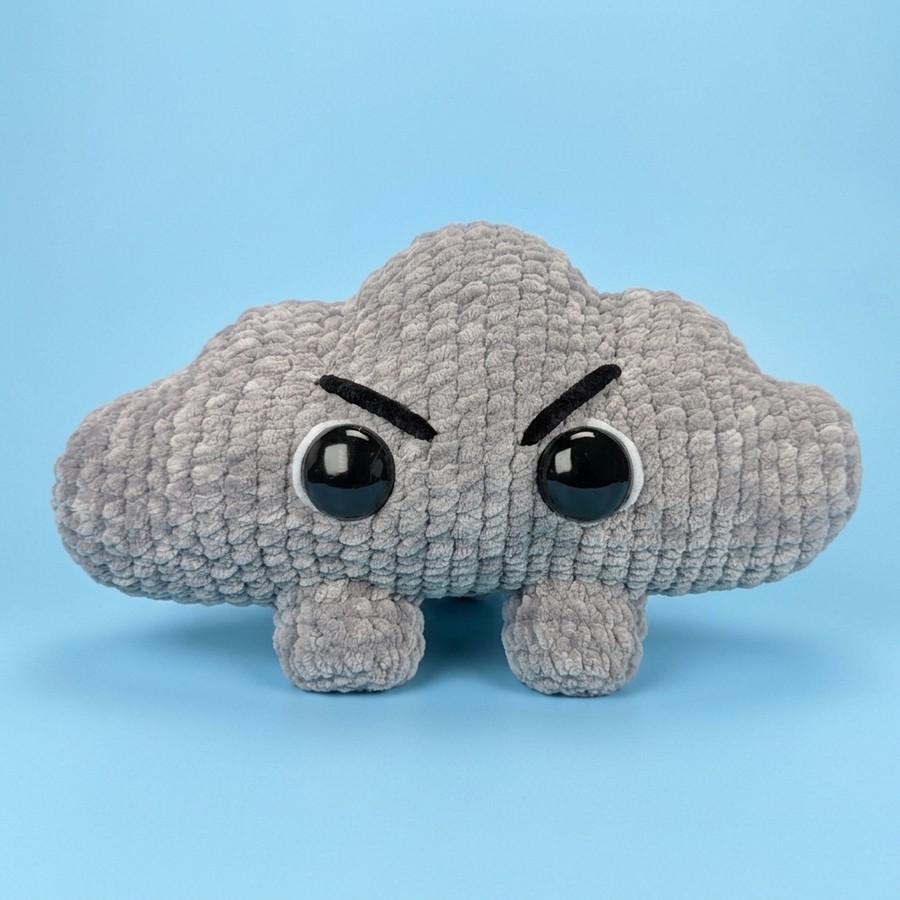
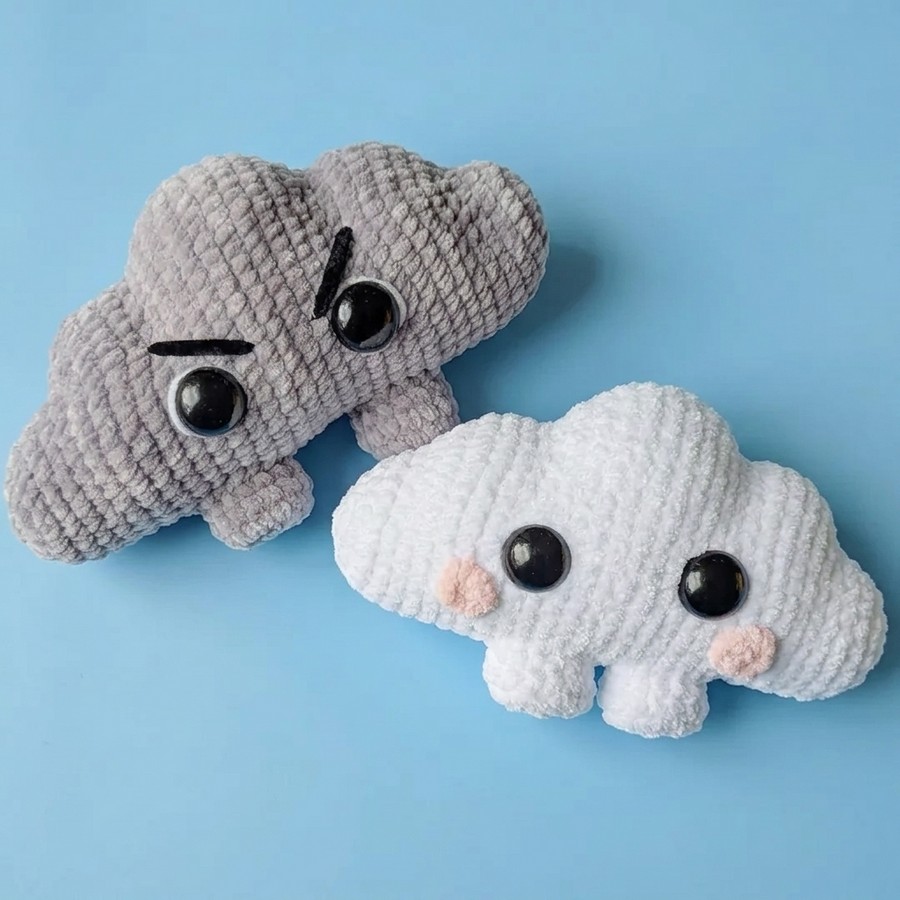
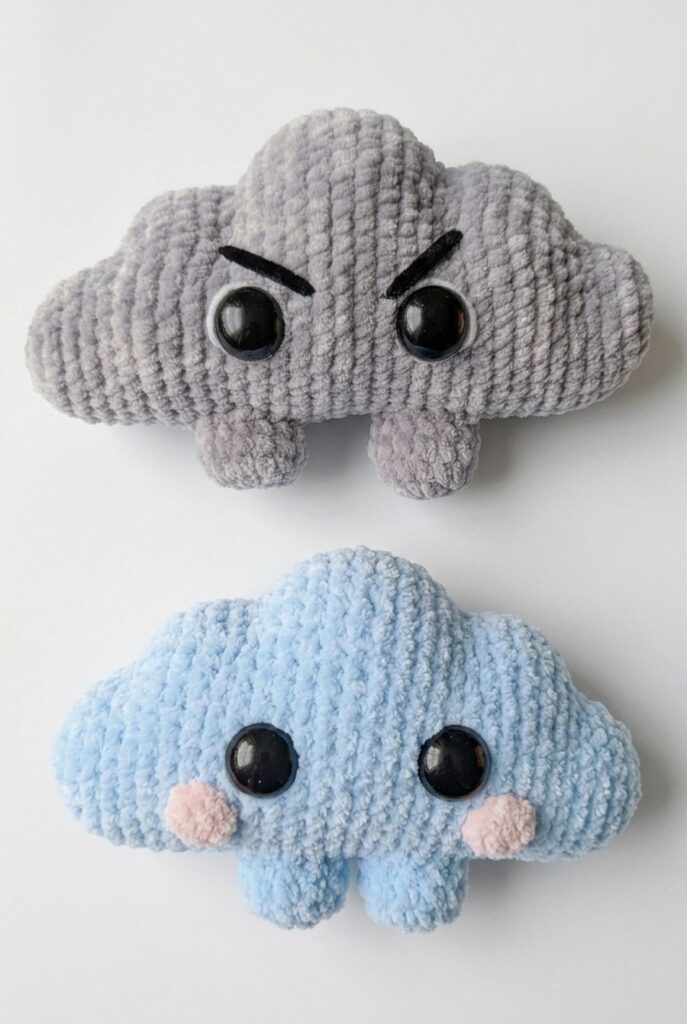
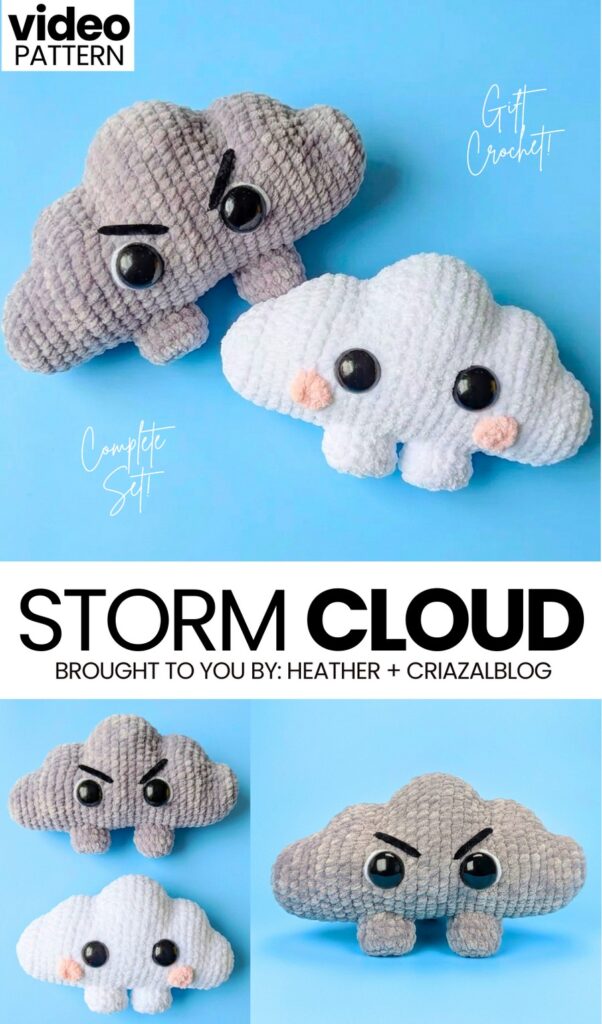
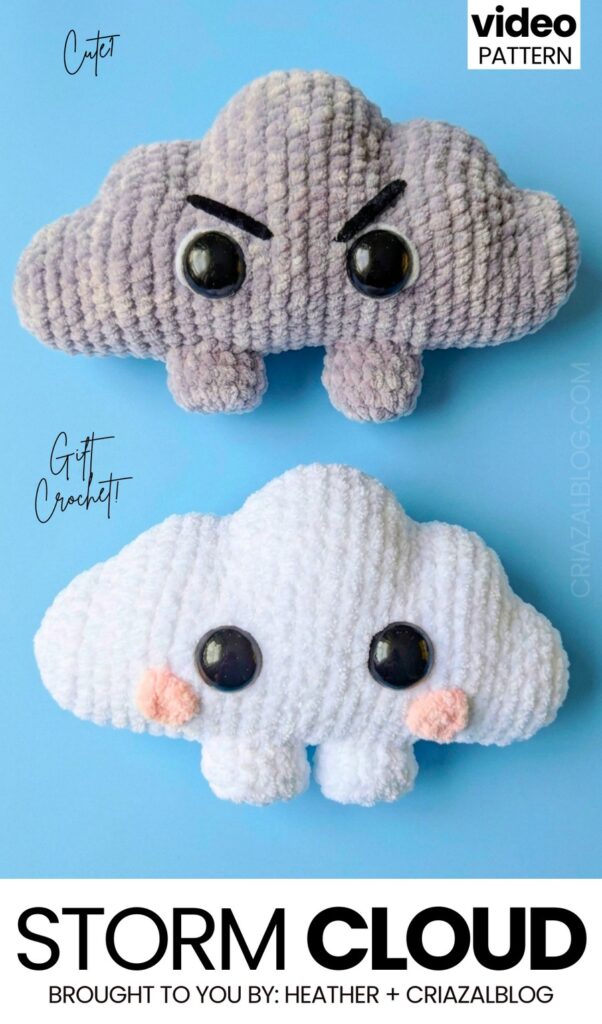
This is part five of “making the crochet trendy plushie“! Just like previous crochet plushie patterns, today you will also learn how to crochet a kawaii, soft, and plush anti-stress buddy! Introducing the adorable, angry cloud and storm crochet pillow + 2-in-1 desk buddy plushie. This is a no-sew crochet kawaii cloud plushie that you can also remake using the amigurumi cotton yarn. It has two tiny legs that make it stand upright without support, so be sure to bring this little cloud buddy home by crocheting one with the free step-by-step tutorial for beginners.
You can also apply some makeup brush on the cheeks of your crocheted cloud in anger plushie. The idea is to crochet it in grey to show the storm and embroider the tilted eyebrows to make it look angry.
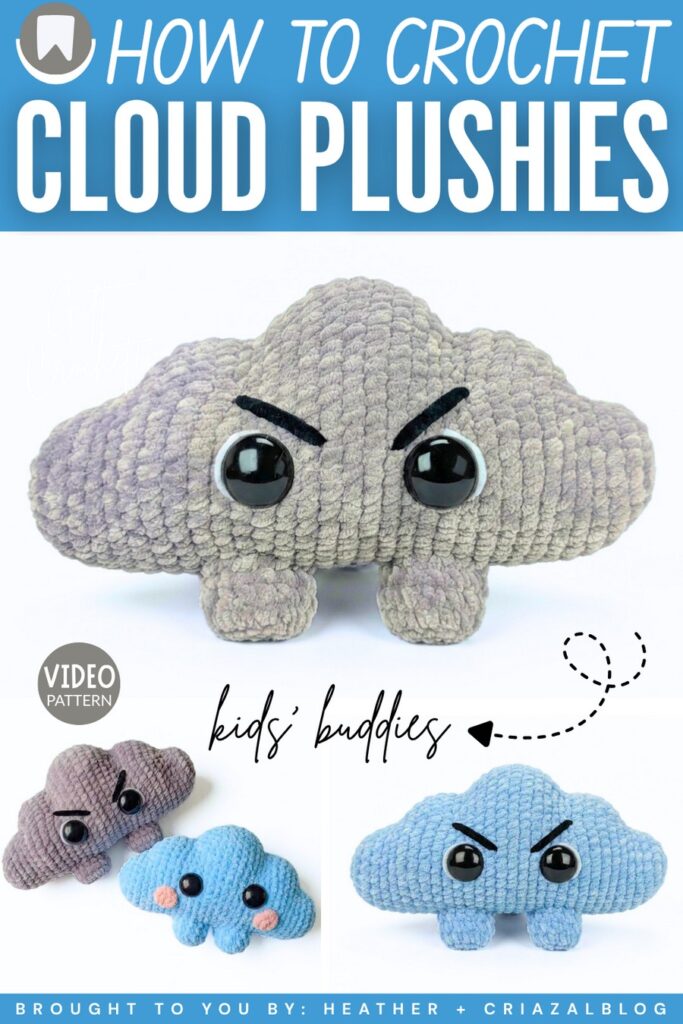
This crochet cloud plush will instantly lift your mood, and you can also optionally add a mouth if you want a smiling cloud plush. I would also recommend crocheting some 3D star amigurumi and moons and hanging this in the kids’ room. This also makes a perfect baby rattle once you crochet the rattle handle. You can also make your crochet cloud in white and crochet a small Santa hat for it to prepare it for Christmas. Anyway, continue reading to learn more about this quick cloud project!
[ez-toc]
Tutorial to Crochet the Storm Cloud Plushie
This tutorial guides you through crocheting a storm cloud amigurumi with small legs. First, make two legs starting with a magic ring, single crocheting in rounds, and using back loop only stitches to create a flat base edge. Next, crochet the main cloud body starting from a magic ring. Work continuous rounds of single crochets with strategic increases and decreases to form the cloud bumps. Attach safety eyes between specified rounds, embroider eyebrow details using black yarn, and stuff the body with fiberfill. Finally, decrease the top to close the opening, weave in loose ends, and sew both legs underneath.
Difficulty Level
Easy / Advanced Beginner
Reason: The project uses basic amigurumi stitches (single crochet, increases, decreases, and working in back loops). While shaping the cloud requires counting stitches carefully to create the bumps, there are no complex stitches or difficult assembly steps.
Pattern Abbreviations & Materials
Pattern Abbreviations:
MR: Magic Ring (Magic Circle)
sc: Single Crochet
inc: Increase (2 single crochets in the same stitch)
dec: Invisible Decrease (single crochet 2 stitches together)
BLO: Back Loop Only
sl st: Slip Stitch
Materials:
Worsted weight yarn (grey or white for the cloud body)
Small amounts of black and white yarn (for eye highlights and eyebrows)
Crochet hook appropriate for yarn weight
20 mm safety eyes
Fiberfill stuffing
Stitch marker
Yarn needle/tapestry needle
Scissors
Detailed Stitch Instructions
Invisible Decrease (dec):
Insert your hook under the front loop only of the next stitch.
Without yarning over, insert your hook under the front loop only of the second stitch (you will have 3 loops on your hook).
Yarn over and pull through the first 2 loops.
Yarn over again and pull through both remaining loops on your hook.
Magic Ring (MR):
Drape the yarn end over three fingers and wrap it around to make an “X” shape.
Pass your crochet hook under the bottom strand, catch the top strand, and pull up a loop.
Remove your fingers and chain 1 to secure the loop.
Work your specified number of single crochets directly into the ring, then pull the tail end tightly to close the central hole completely.
Learn Crocheting Now!
Better learn the whole method of crocheting this crochet Christmas tree with the following tutorial:
Written Pattern?
You can also use the “ask” feature of the tutorial to retrieve the quick pattern. This pattern-getting method is designer-compliant!
Share on Social Media!
See More:
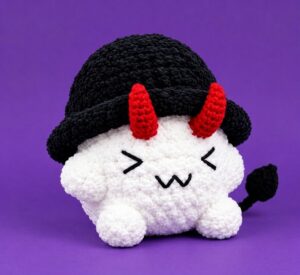
Tester Pattern: How to Crochet A No-Sew Mr. Red Horns Mushroom Plushie
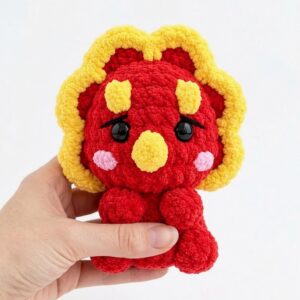
Featuring: How to Crochet No-Sew Red & Yellow Tricera Buddy Plushie
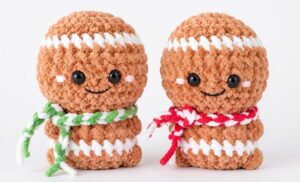
Featuring: How to Crohcet Mr. Cookie Sitting No-Sew Buddy Plushie for Gifting
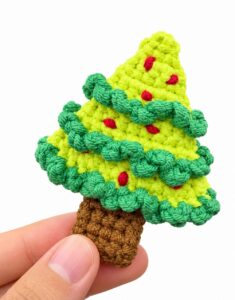
How to Crochet Mini is the Christmas Tree Holiday No-Sew Bag Charm Pattern
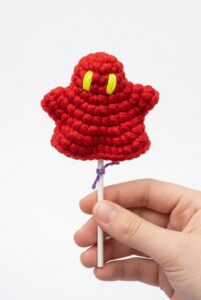
How to Crochet REALLY BOO No-Sew Pocket and Palm Buddy Ghost Gurumi
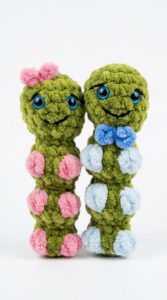
Featuring: How to Couple Gift Fidget Caterpillar Pair Plushie (no-sew!)
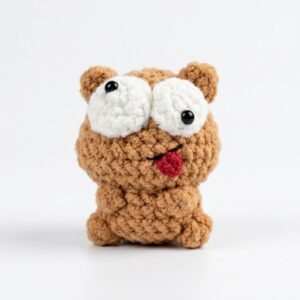
Crochet the Mini Wobbly Eye No-Sew Bear Cutie Plushie
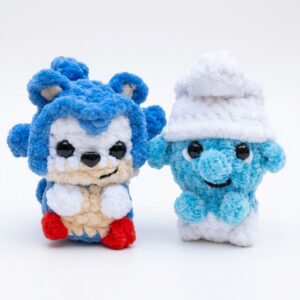
How to Crochet Blue No-Sew Hedghog Superhero Plushie for Kids
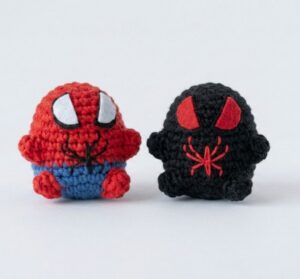
How to Crochet No-Sew Red & Blue Superhero Amigurumi for Kids